Samsung Galaxy S22 Ultra first camera test
It’s not secret that companies promise you the world when they want you to buy their products.
I remember one for the first smartphones I bought and the response from the seller was “you’ll never need another camera anymore, yes it’s that good, I don’t use my DSLR anymore”
Now this was many years ago when the quality of the photos always made me wonder if it was night all the time or if there was some weird snow or rain falling in the shots, in other words, muddy shots with loads and loads and repeat loads of noise.
Ok, when you shoot under perfect conditions there…. no I’m not even going to try they just plain sucked.
And in all fairness not a lot has changed, look at the presentations from Apple, Samsung etc. and they all promise you the perfect camera experience and better performance than before (yeah it would be weird if they said, it’s worse than last year)
I love gadgets and smartphones so most of the times I will upgrade almost every year when the latest and greatest is released and in all honesty I’m mostly highly disappointed. Up until I got my first Huawei phone… wow now that was a difference, it was far from perfect but for the first time I owned a phone that I would label as a hobbyist camera. In other words if I walk around without a real camera I’m more than happy with the smartphone images. But the UI and operation of the camera was… well it’s a smartphone you probably know what I mean right? It just doesn’t feel like a camera.
This changed when I got my Sony Xperia 1 II
Now when we talk about a real camera experience I must say Sony hit the nail on the head and hammered it all the way in. Yes it’s that good. If you ever used one of their amazing Alpha cameras it immediately feels familiar. They do use two apps but when you use the Pro version there is really hardly anyway to go back to the original camera. Also the dedicated shutter button is absolutely genius and works like a charm, the camera is super snappy and switching between the three lenses is fast and easy, even with gloves. The whole experience is a big 10+, The output is also very good in RAW, especially under ok lighting, as soon as it gets to dark the Sony really dives down in quality, and this is something I did miss dearly on the Sony, the Nightmode I got so used to on the Huawei series. But as a photographer I’m honestly more interested in RAW output without any tinkering than a nightmode… but still….
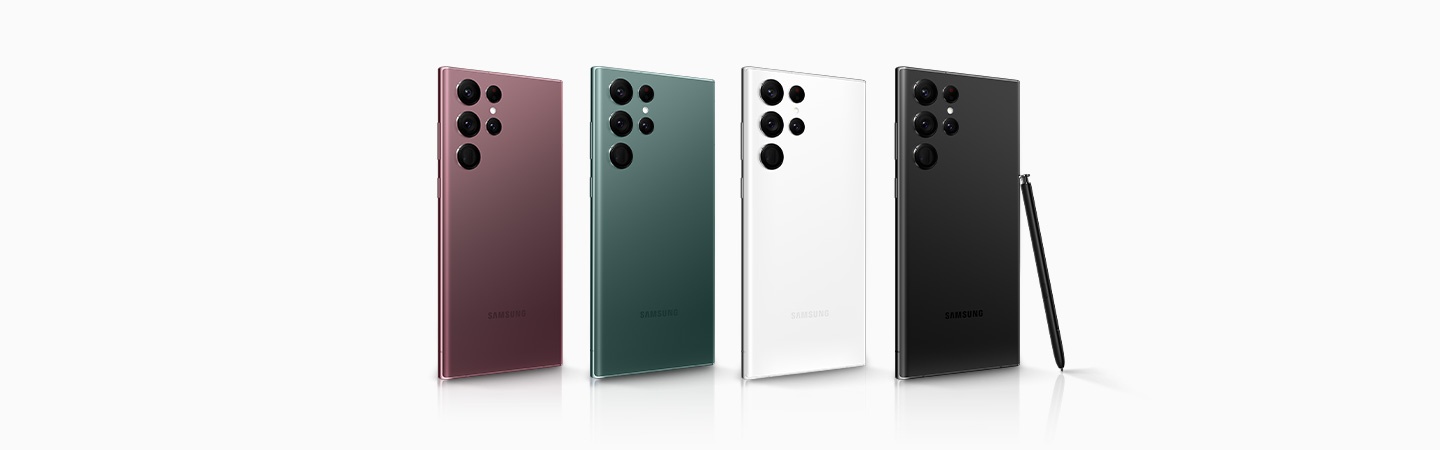
Well if you saw the Samsung presentation one might get the impression that they finally solved all the problems, this is the camera that can also make calls…..Because I did need a new smartphone I decided to take the jump and ordered the Samsung Galaxy S22Ultra 256GB. So lets make clear that I paid full price for my phone and I’m not at all associated with Samsung in anyway.
I’m totally going to skip the Android part, the only thing I can say is that I’m always pretty easy in switching OS and get used to things very easily, but some things I do want to point out.
Most people are active on social media and this is also where a lot of our images end up (when is the last time you printed your images?) so the sharing menu for me is incredibly important that it’s fully customisable and easy/fast to use. This is something that a lot of phones can improve and Samsung did do it right here by making it possible to have a lot of destinations in custom order meaning I can just follow the same order every time I post something I can’t express how important that is.
So up to the cameras
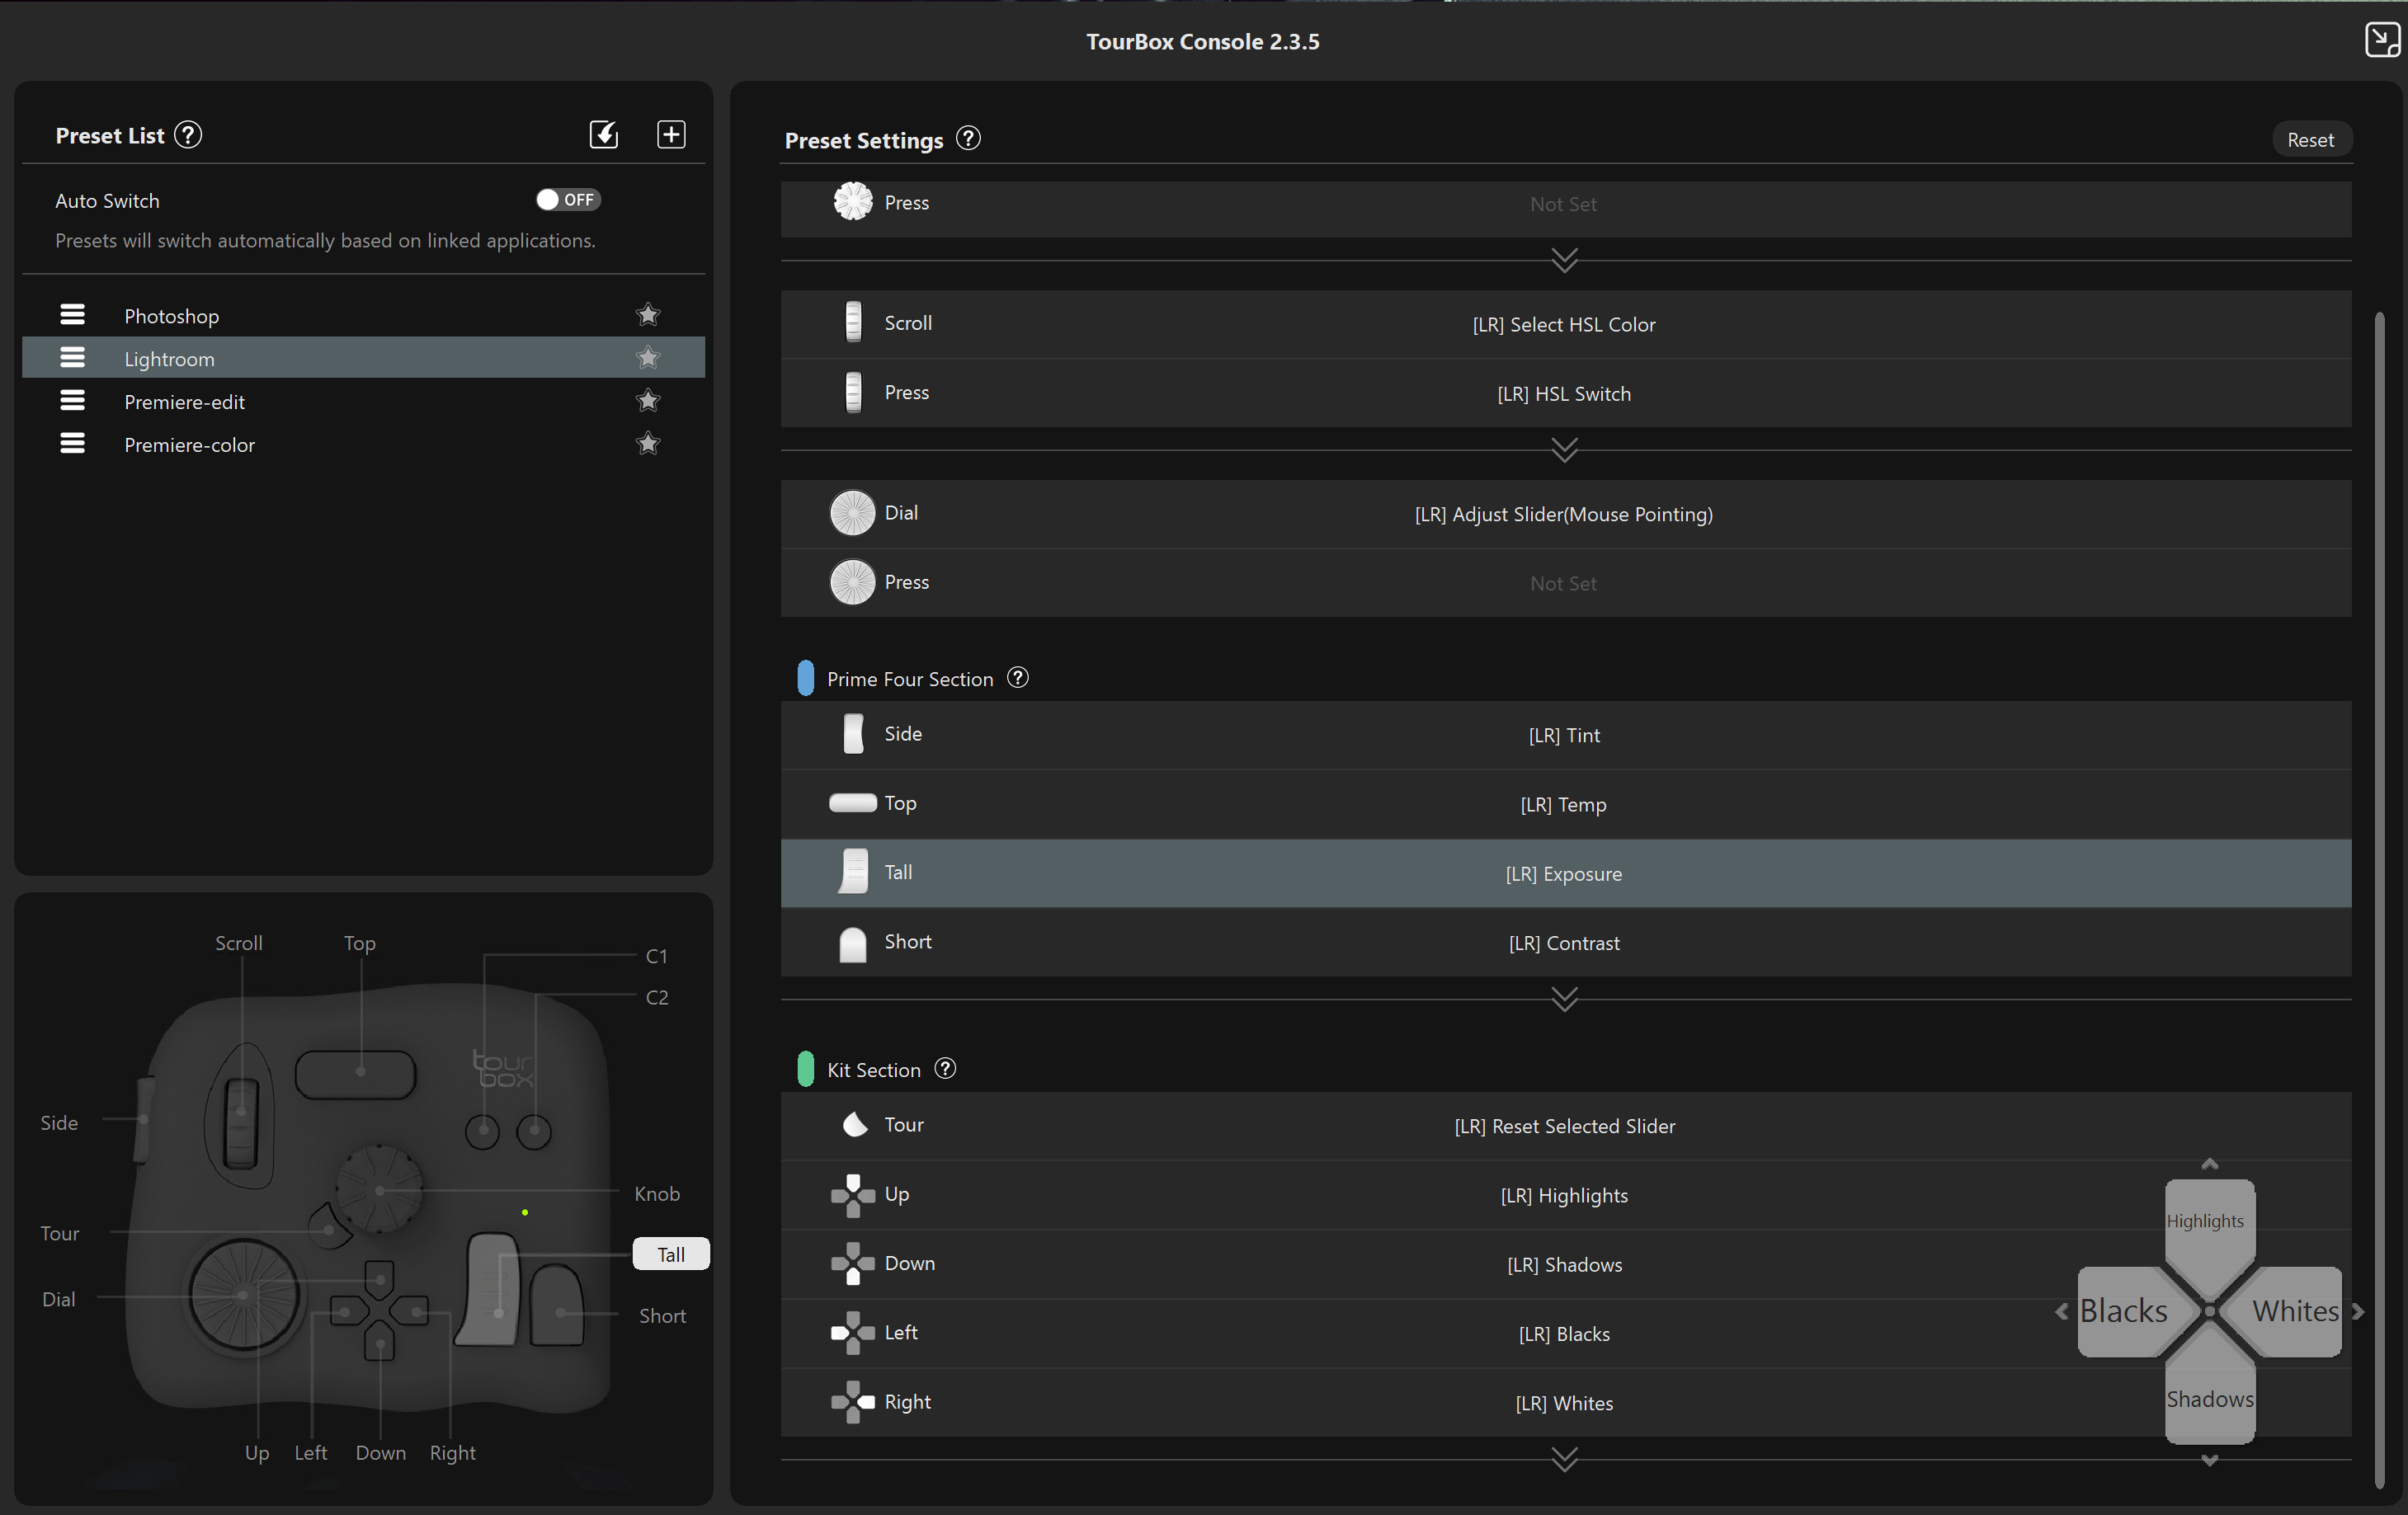
Specs are impressive for a smartphone with a 108MB (binned) main sensor, a 12MP Ultra Wide and 2 10MP tele lenses (3x and 10x).
When looking at the main camera app almost everything is there that you would want (and again fully customisable) we have standard modes for video and photography, a pro mode for both, panoramic mode in wide and ultra wide (nice), nightmode and some more cool things including a ONE SHOT.. (which takes one shot in all the modes you select, now that’s cool).
The standard camera app supports RAW (which is a surprise and awesome) and saves both RAW and JPG files (like most), only on the mainsensor you can opt for the binned output of 12MP or the full 108MP output.
If have to be honest the files coming out of the main camera app are pretty decent and have a lot of play room.
Samsung also has an Expert RAW app which you have to download separately (why not just include it), this app is pure aimed at the pro (they say) and has some real magic going on behind the scenes, 16bits RAW files are already impressive but they also work some internal magic with combining several shots to get some really sharp images that will rival pro cameras.
So is this all true?
Let me start that on the screen of the Phone the images just made my jaw drop on the floor and bounce back a few times. I’m not easily impressed but wow this is something else. But after loading them into Lightroom and looking at them on my 12.9″ iPad Pro there are already some issues, but still they look more than decent, I would even say impressive).
Where it all just gets a lot worse is when you open the images on a desktop.
Where the Sony RAW files exhibit plenty of detail and enough dynamic range to do some proper editing the Samsung files in expert RAW do have the same or slightly better dynamic range (especially from the main sensor) but it does cost you dearly.
When zooming in on a proper calibrated BenQ monitor it’s clear that Samsung needs to go back to the drawing board and do some fine tweaking for people like me.
I’m not saying the images are bad, oh far from.
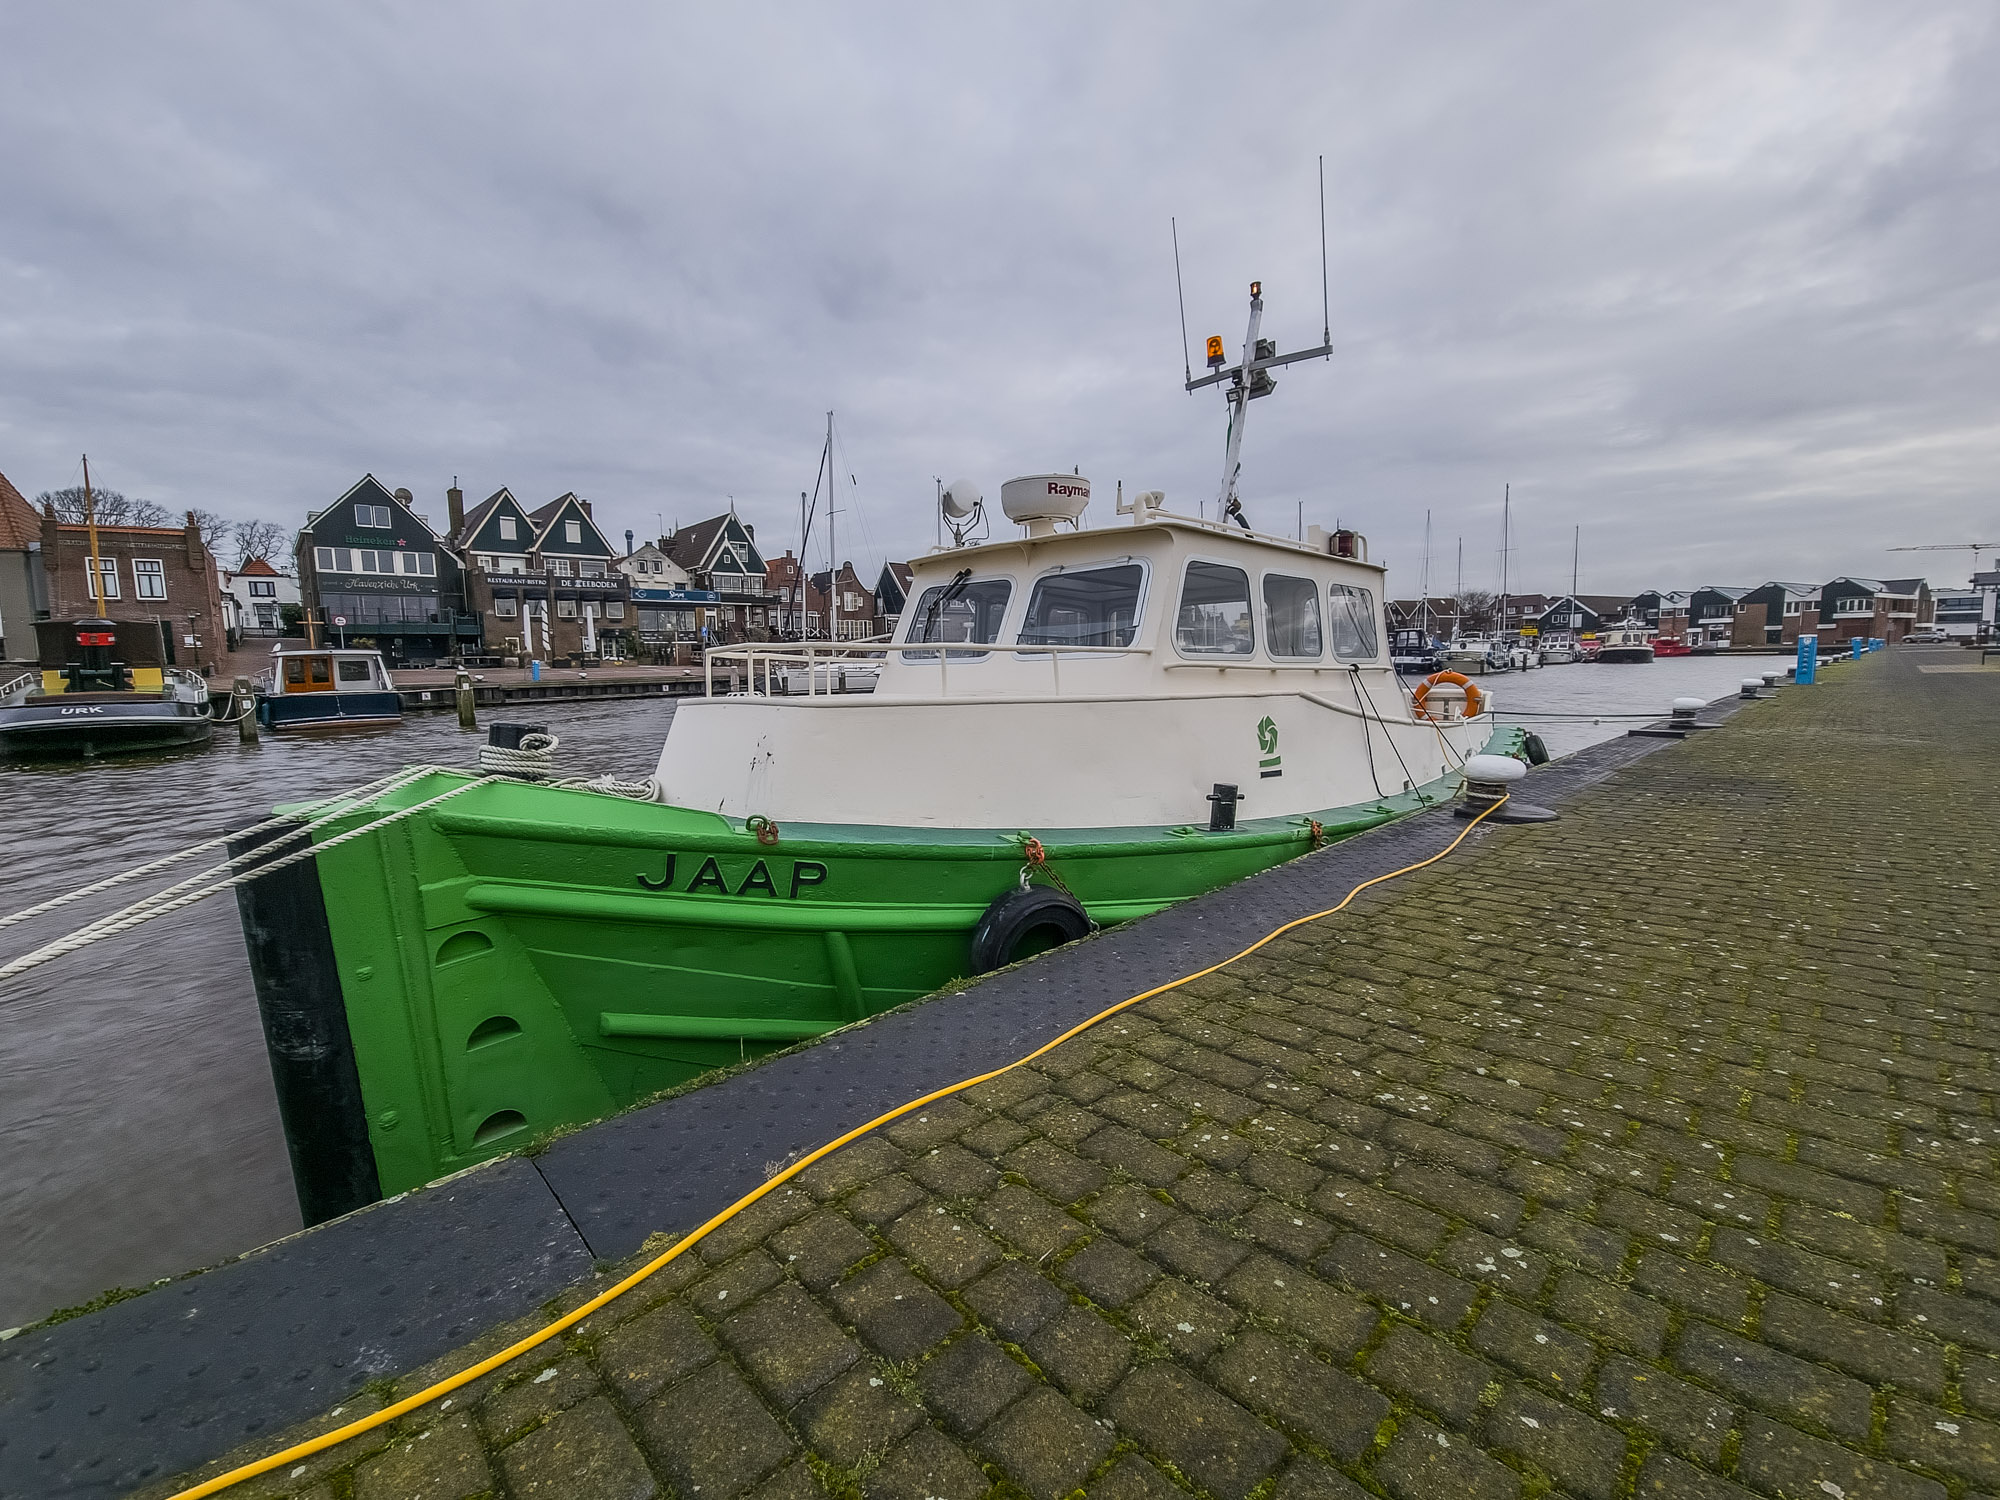
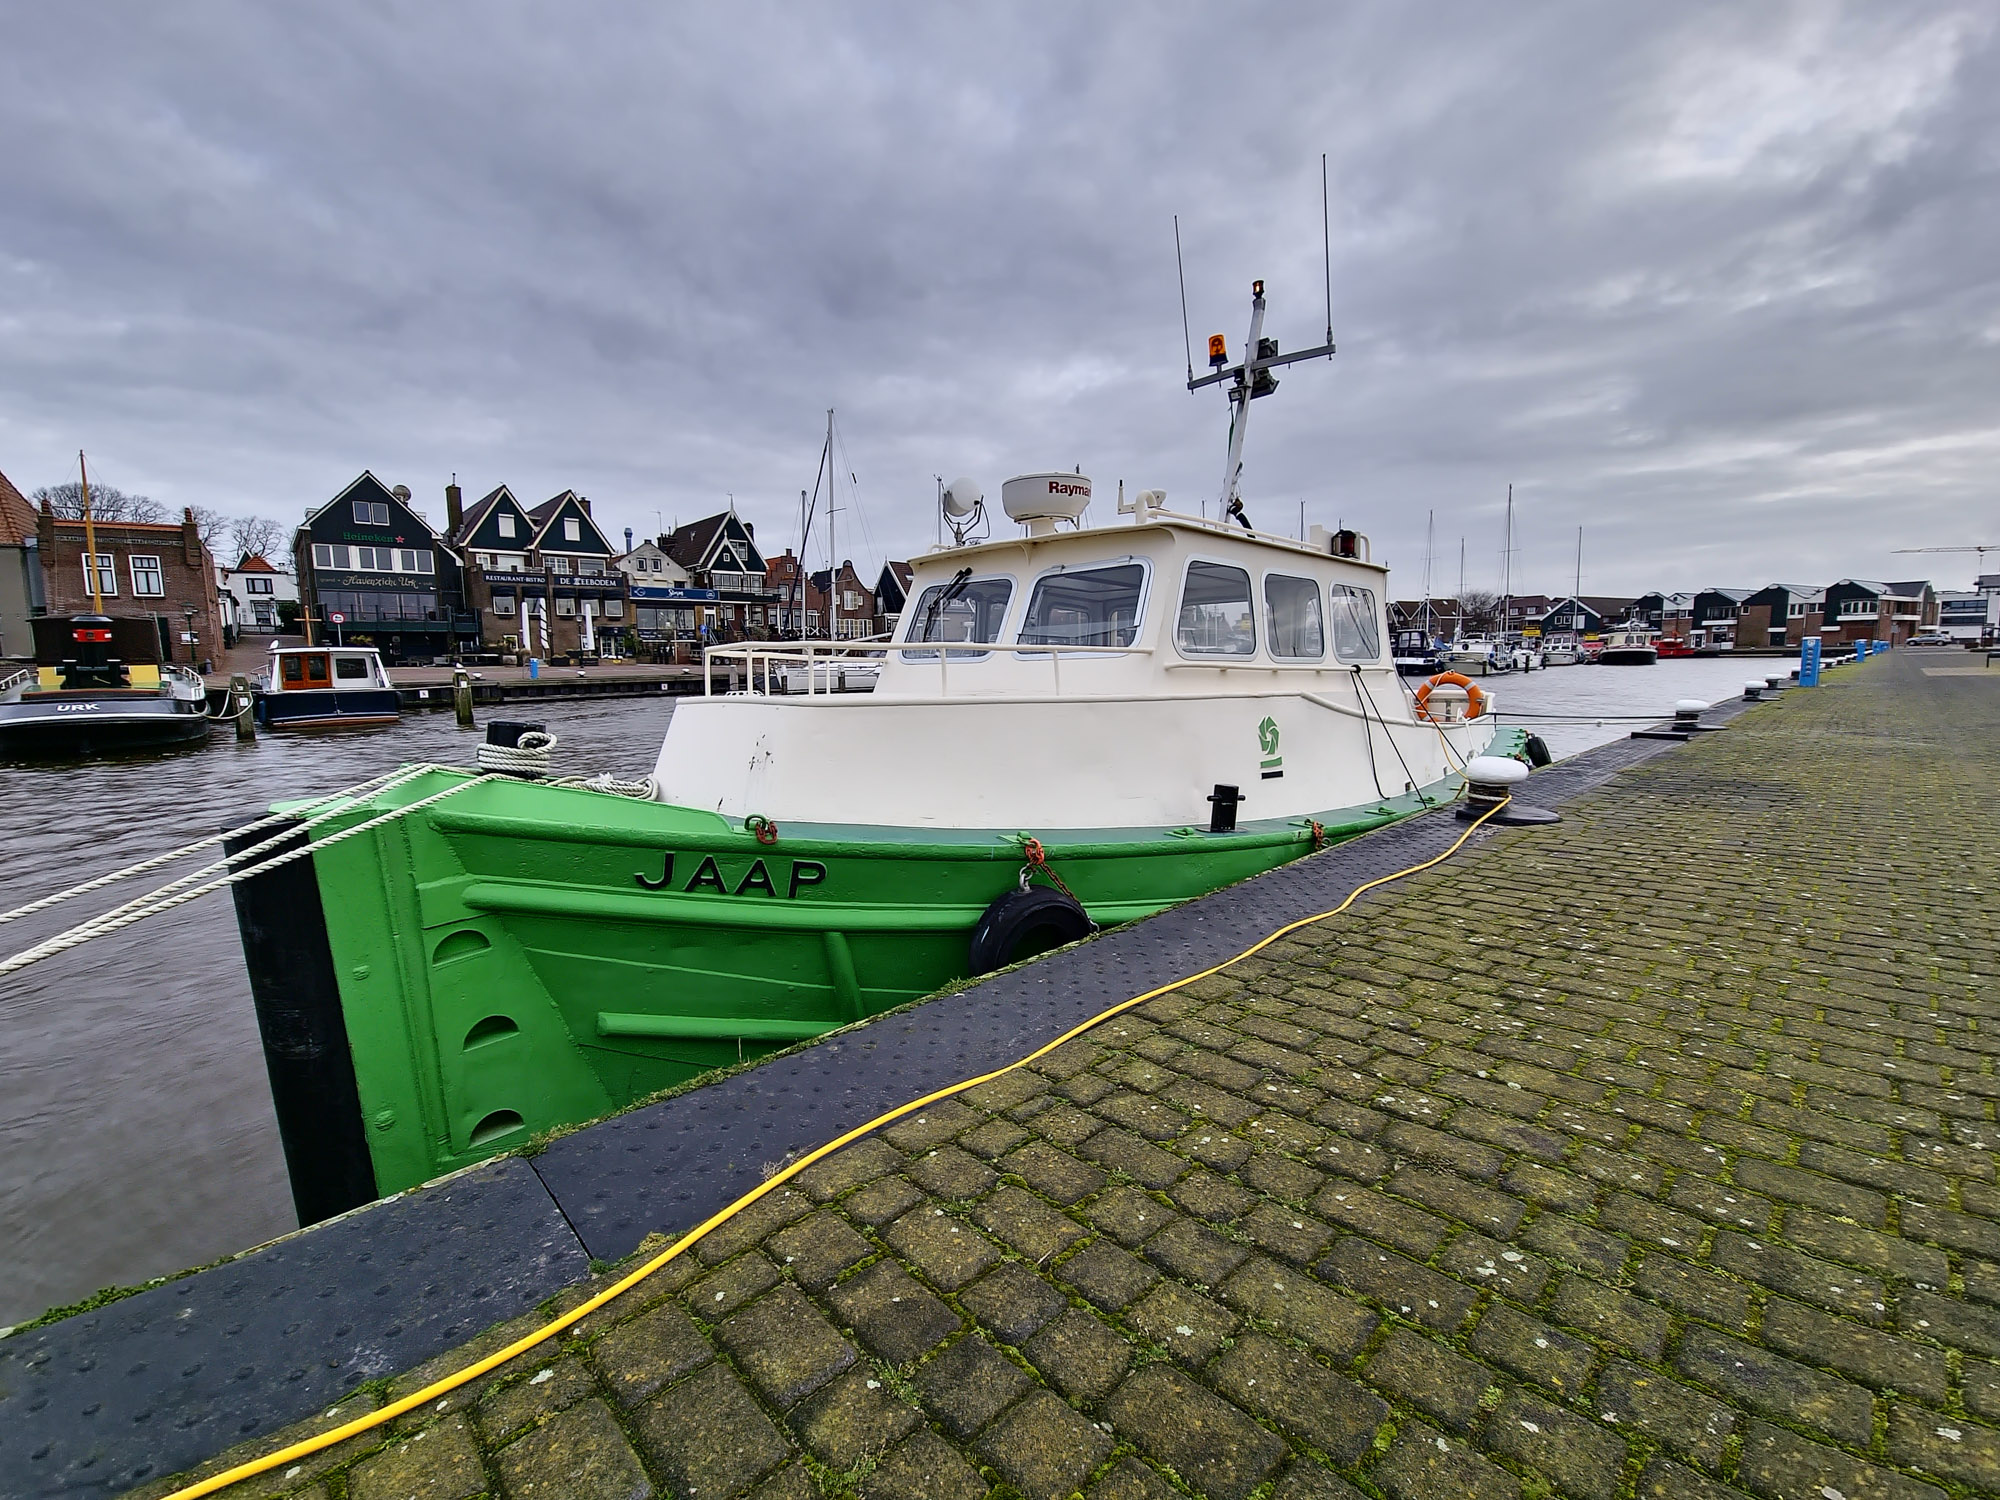
But they suffer from an insane amount of sharpening that should NEVER EVER happen in a RAW file, in Lightroom I have to lower the sharpness all the way to zero to get some of the ringing out of the shots but it’s never totally gone. Now I have to be honest I did not held back in my test images, which you can see at the bottom of the review. Loads of small cables from the boats and of course a high contrast backlit sky. So in most normal situations this will be a non issue or not noticeable but hey we are doing a proper review not a consumer point and shoot review 😀
Where it gets worse is in the combination of images. Somehow you can see that the AI messes up considerably by adding the images together, again I chose some pretty difficult things to shoot, but not that difficult. Some areas of the images are very nice and detailed but a bordering detail can be very painterly or not even sharp, it’s a weird combination of sharp areas and painterly blotches.
Today I intentionally only used the 108MP sensor in the normal camera app and the other images were all shot in Expert RAW, I’ll repeat the test very soon by using only the main camera app in RAW to see if that “stacked” problem is less obvious there.
JPG vs RAW
Where I do have to give a lot of credit to Samsung is the quality of the JPGs.
As you can imagine I’ve seen a lot of different cameras and smartphones but man when looking at the pure JPGs coming from the Samsung one REALLY starts to wonder if shooting RAW is actually worth it. In the gallery I did add some images that are both JPG and RAW, where I have to be honest I do like my RAW processing more because I feel the Samsung is overdoing it a bit/a lot BUT that being said for most users I think they will prefer the JPGs, and on social media I honestly feel the JPGs do a tremendous job and I would not advise using RAW for that kind of usage. Of course if you want a bit more… RAW is the only way I think.
But let’s just for fun already compare two shots.
After my text it’s easy to spot the JPG (second one) but you can also see something else when you take the original files.
Samsung does a lot more than just play with shadows and highlights. I tried to get the exact same look in Lightroom and I just couldn’t without using some kind of masking so for a smartphone this is I think very impressive. The question is do you like it…..?
For who is this phone/camera?
And is it like the Sony a camera that can do other things, or is the Samsung a Phone that can take images?
Well it most definitely doesn’t come close to the UI and dedicated shutter button of the Sony, you can start the camera/expert RAW by double clicking the power button and use the volume buttons as shutter but this is very unnatural, the volume buttons are on the left top side of the phone and ALL cameras (as far as I know) have their shutter buttons on the right side. Meaning I’m always covering my screen when taking a shot, or I have to force myself to use my left hand, which for me feels incredibly unnatural.
That being said, I think the output is very impressive.
During day time the Sony wins hands down when using RAW and 12MP. The files are much cleaner and can be pushed more than enough. The Samsung however wins hands down with special modes like nightmode (which I love), one shot, more range with tele etc.
So… when walking around and shooting images for social media the Ultra 22 might actually be a total overkill camera, the quality is insanely good and it’s almost a shame to post the images on social media only, but that’s where the problem also arises, they are so nice on the smaller screens that you are almost disappointed when you look at them on the big screen, loads of painterly effects, way to much sharpening etc.
Conclusion for now
One could say this is more a review about the Expert RAW app which I absolutely love. Giving all the freedom to the photographer for shutter speed, ISO, focus (with peaking :D) etc. is essential if you want me to take product serious, but RAW for me is RAW meaning a total readout of the sensor without ANY interference that could be labeled as preference. Working with the Ultra S22 leaves me literally split in the middle.
For social media I think this is without a doubt the phone to beat, it crushes everything I saw so far in options, 10x tele might seem useless but the quality is so good it actually does make sense, HOWEVER I’ve seen several reviews that zoom in from the main app, this is not using the tele lens as I understand it (also explaining the very bad quality they show) you really have to switch between lenses, and than the tele lenses are very very good for a smartphone.
For professional use, I would love for Samsung to change some things in the expert RAW app, PLEASE turn down that bloody sharpening and noise reduction, it’s insane we can do that ourselves in Lightroom so if you label something expert don’t treat the users like dummies, we know what to do 😀 I think if Samsung would dial down on those settings you’ll get a lot more noise in the images but I’m 100% sure that Lightroom can do it a lot better than what I see now.
Still I have to be fair towards Samsung, this is one bloody good camera and maybe it’s totally unfair of me comparing it to a real SLR but hey if you claim it, you better make it so and although this is a really really good smartphone camera it’s nowhere near the quality you could get out of a $700 SLR. But putting that into perspective it’s now finally getting to the point where someone (like me) can say “it’s good enough”.
I would however love it when Samsung somehow made it possible to switch between the standard camera app and the expert raw possible within the apps itself. I find myself constantly switching and that means I can use one app without starting my phone and if I want to use a feature from the other one I have to close everything and open up the phone. It would be a huge deal if that wasn’t necessary and there would be a switch (like switching between selfie and front) that would just switch between the apps.
I do have to add one more thing.
In the Ultra22 Samsung did something that I think is really smart, they replaced the Note series. One can argue that the phone is too bulky or squared off and I agree, but a smaller phone doesn’t give me the options I need to edit the images easily, and my case will make it more rounded and easier to hold, so it’s a large phone…. we know. The thing I however feel would really draw creators in is the inclusion of the S-pen, now talk about something insanely handy and professional.
I could do a whole review on how to use the S-pen to take photos from a distance, or make it follow you with the camera, but most of the times I use it to retouch images on the screen, using the healing/clone tool in Lightroom with your fingers is terrible, on the iPad Pro it’s awesome with the Apple Pencil but the Samsung S22 ultra with the S-pen strikes it perfectly with the balance between the pen (not too small) and the screen size, retouching on the iPad Pro 12.9 is still a lot easier but for on the road the Samsung with S-pen will do just fine and will really be a part of the package that photographers/creators will fall in love with.
Here you can find some images in the gallery.
I also enclosed the original files for you guys to play with, it’s a hefty 500MB download so make sure you sit tight.
Download the file here.
I’ll do a follow up if necessary with the stock camera app and nightmode.
If there is anything you want me to test just ask.
Weird lines…
I do want to add one more remark. When starting the phone and using the fingerprint sensor I see some weird colored bars on the screen. Also it seems the proximity sensor doesn’t work as it should with taking screenshots. Let’s hope this will be solved by a firmware upgrade.


You must be logged in to post a comment.