When the audio is bad I often stop the video
Honestly, I can watch a video with imperfect image quality, but if the audio is bad, I’m out. Audio is one of the most important things in video.
For years I’ve been using a Sennheiser wireless lavelier microphone. I always bring this to shows and use it during almost all videos and live streams. And it just sounds awesome and never fails me. But it’s expensive. And for most starting creators it will be overkill, plus in all honesty, you always have to put the wireless transmitter somewhere. It’s not a super small device. Over time I’ve had several (expensive) cables replaced.
Over the years I’ve tested several alternatives from all kinds of brands. And although some are really nice they never really pulled me away from the Sennheiser.
On most cheaper mics my voice sounds like it’s coming from a can without any bass and harsh highs. But they do have something really nice and that’s size and connectivity.
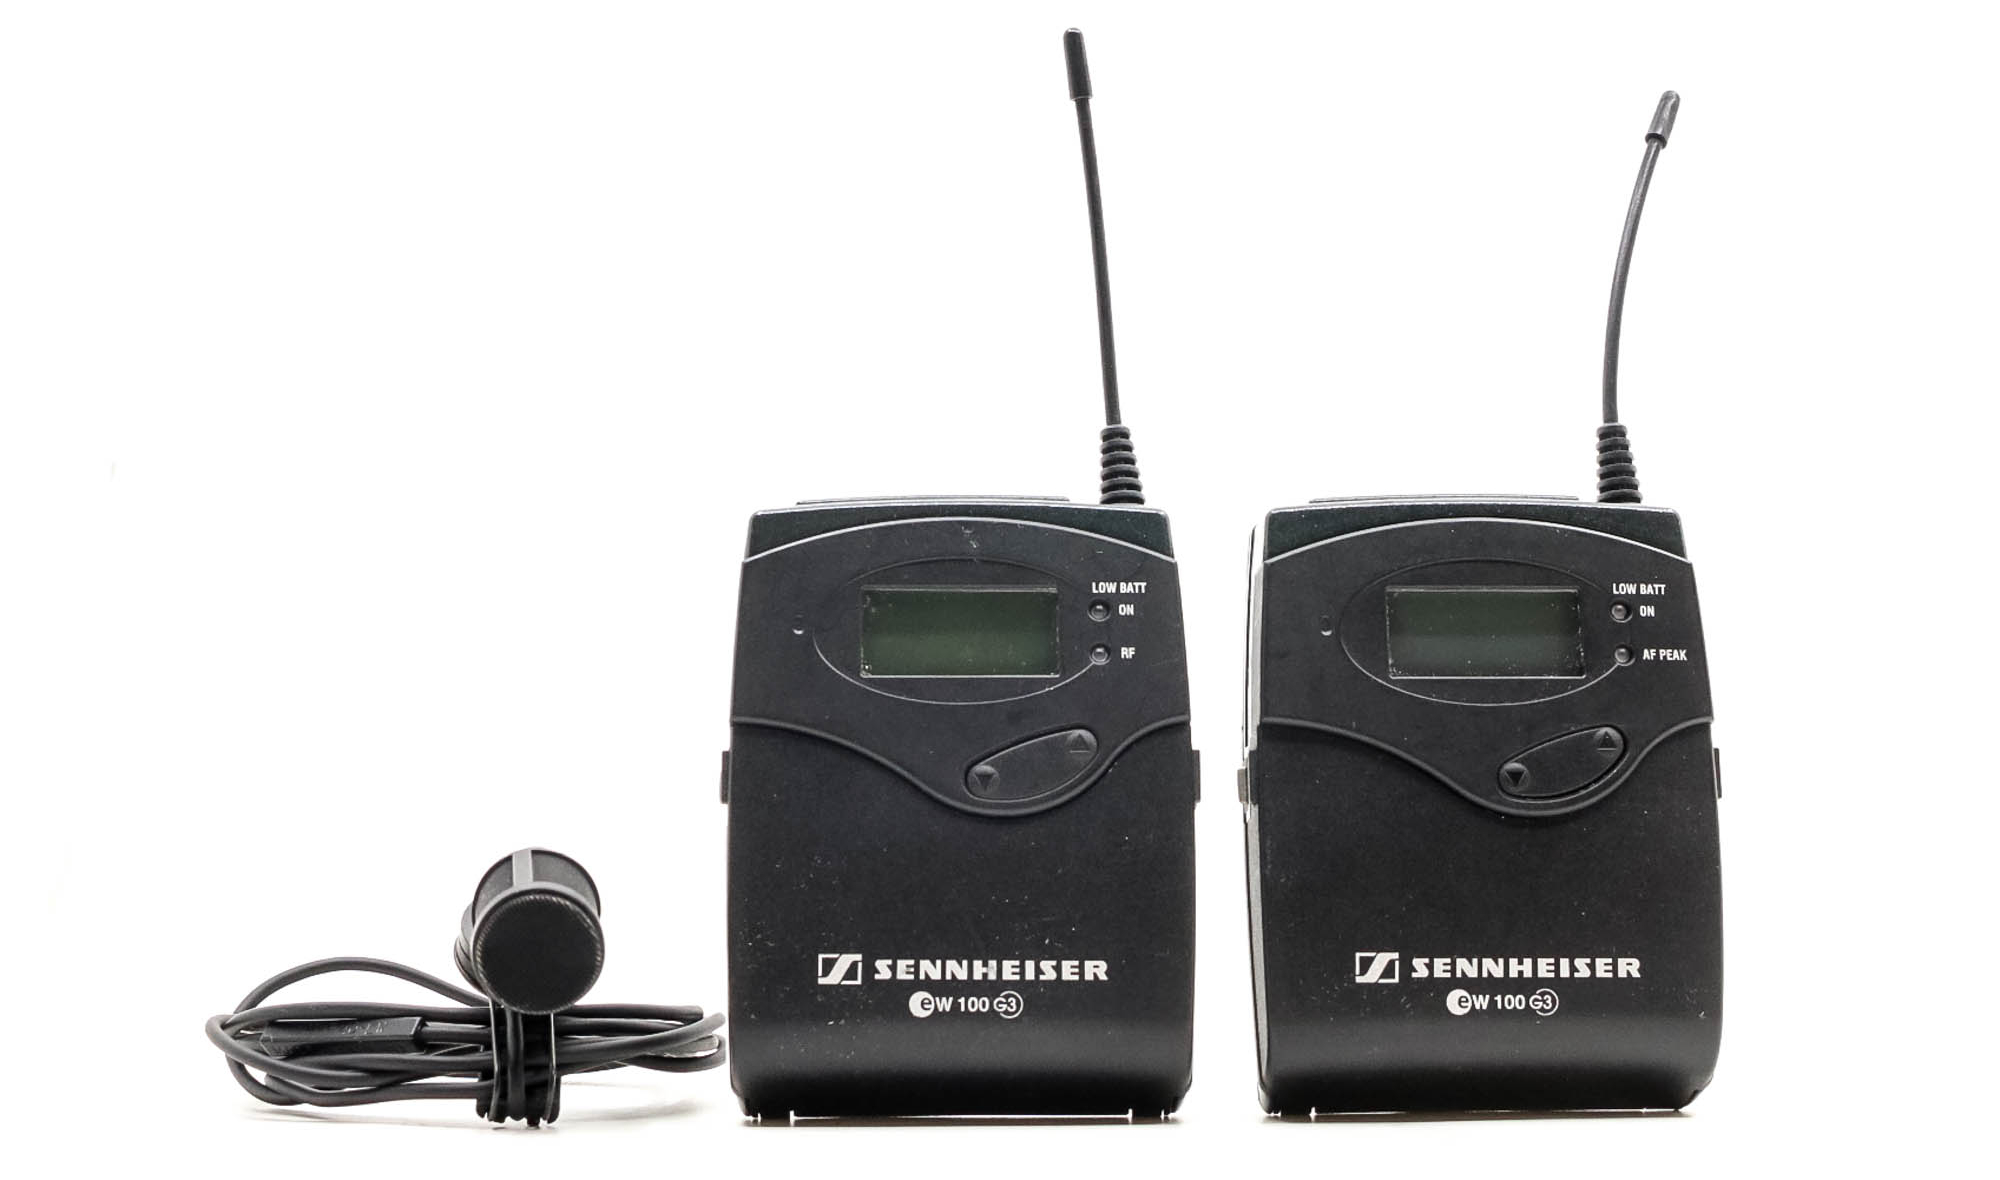
My Sennheiser set never lets me down
We use different audio devices
The time that you shot video on a handycam, photos on your photo camera, etc is over.
Nowadays we use a combination of capture devices, sometimes we shoot behind the scenes or B-roll with iPhones, Osmo Pocket or a Sony A7RIII. So when you buy an audio system you have to make sure it will work on all your devices, and as easy as possible.
I think we found the solution, and I love it.
The Saramonic Blink 500+ Wireless Audio System with 2 mics
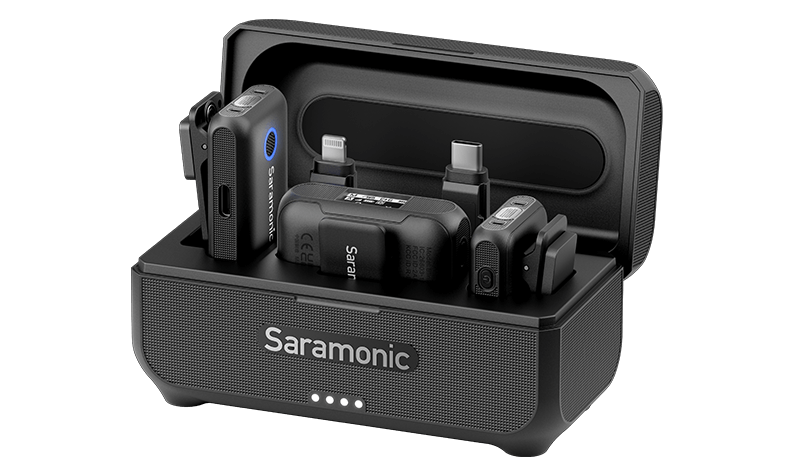
The Saramonic Blink 500+ contains one receiver unit and two wireless microphones.
And that immediately makes it a very interesting set for creators. It now becomes super easy to quickly interview someone on location (or in the studio of course). The connection is made super fast, as soon as you take the microphone out of the case (which charges everything) it is almost immediately connected to the receiver. So no more taking the lavalier off and using it as a microphone to interview someone. Just quickly give them their own mic, which also makes editing audio after the fact much faster and easier.
As mentioned before we need something that can be easily connected to all the devices we use, and the Saramonic doesn’t disappoint there.
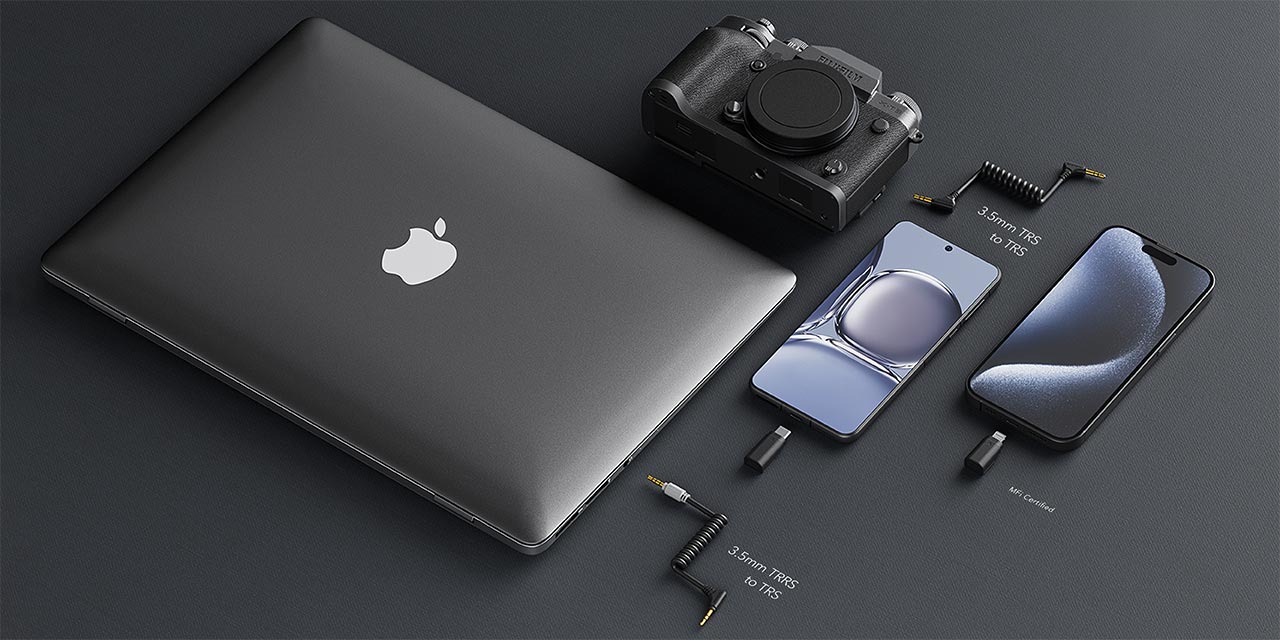
“One Size Fits All”
In the box, you will find different cables and connectors, and in all honesty, I think they cover an impressive array of connections.
It works just as easily on your iPhone as on a console and all without changing settings, just choose the right connector.
Always charged (well almost)
Nothing is more frustrating than empty batteries.
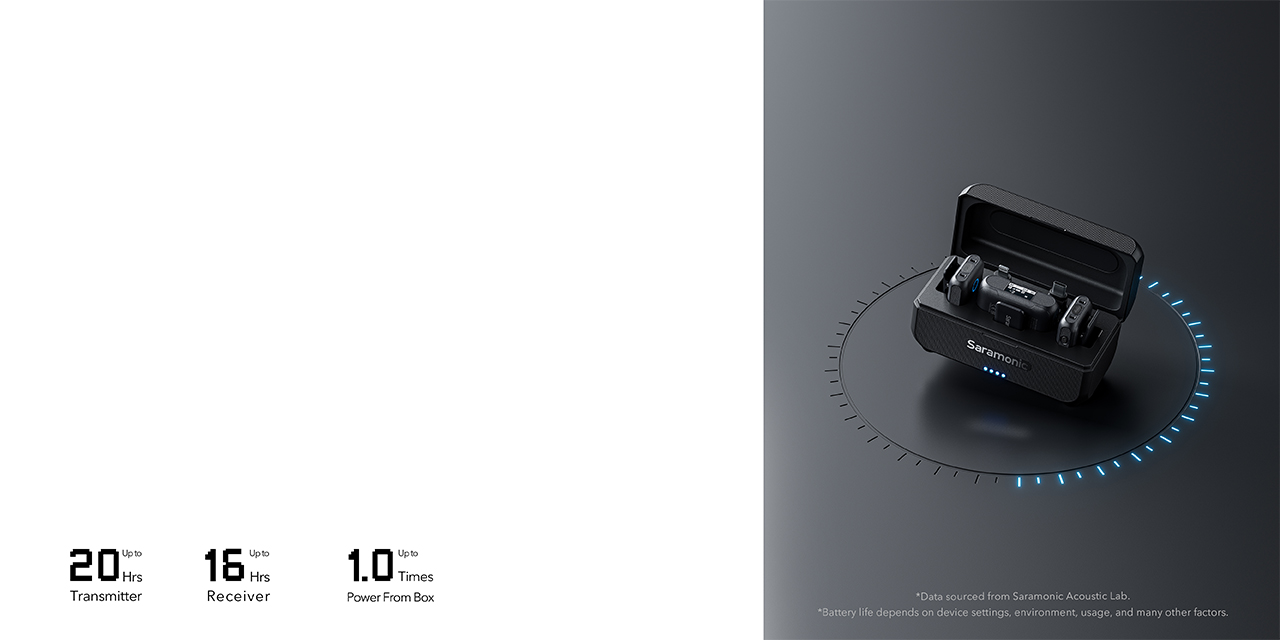
The Saramonic microphones and receiver are stored in a nice case that is both sturdy and not too big. So it will fit easily in most camera bags or even your jacket pockets. The case keeps your devices charged until you take them out. So as long as you make sure the case is charged you know you will always have a full battery when you go live. Now the first time you think about a built-in battery it might be a bit scary. With the Sennheiser, I can easily switch batteries when they run out, but with a built-in battery…. well when it’s empty that’s it. Luckily the battery time with up to 20 hours for the microphones and 16 hours for the receiver it will cover most, if not all activities.
Going the distance
A few of the sets I tested where okay when I stayed close to the receiver. But several mics became a lot more noisy or flat sounding when I walked further away from the receiver. And most even lost connection when I went to the makeup area, which is in a different part of the studio. The Saramonic promises 150 meters, but to be honest I always take those numbers with a grain of salt, and mostly it means in the open field. I didn’t test that but I did walk to the makeup room and didn’t hear any difference in audio quality, and also no extra noise, which actually surprised me a bit, but in a positive way 😀
Where to put it your mic?
We need to place the microphone somewhere of course. With the Sennheiser I’m using a small lavalier microphone, which is great because you hardly notice it. But the disadvantage is that you also have to put the sender somewhere, and that is in most cases my pocket. With the Saramonic the microphone is larger than my lavalier but it has a huge benefit. You can clip it on your clothing, but often it happens I’m wearing a sweater where it’s not really handy to clip a microphone on. And in that case the Saramonic has you covered too, if you don’t want to clip it you can also use the magnet.
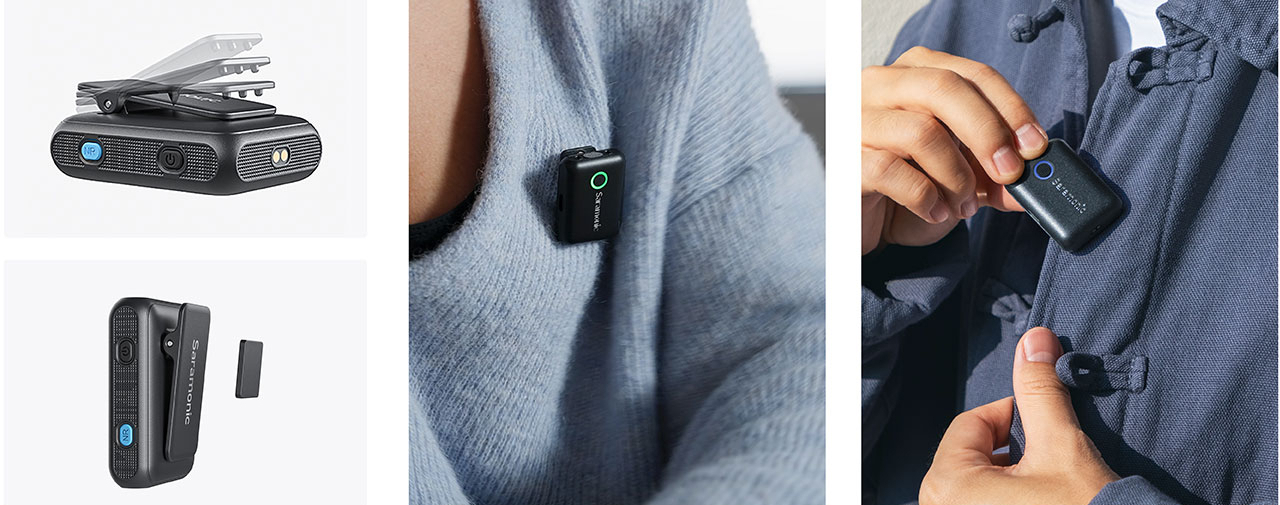
Some key specs
Of course, it’s always important to get the specs right, so here we go.
– Up to 150 meters of wireless transmission.
– Separate noise cancellation control – 48 kHz HD audio format retained.
– Wide-range 20 Hz – 20 kHz frequency response – delivers exceptional high-quality sound.
– Low-cut filter (75 Hz / 150 Hz) – cut off low-frequency noise from common.
– Up to 20 hours of operating time for a transmitter and 16 hours for a receiver.
– Comes with a windproof capsule – minimize unwanted wind noise.
– Attach the transmitter to your clothes with the included magnet.
– Receiver’s 3.5 mm headphone output – monitor your audio in real time.
– High-resolution OLED display – see vital information at a glance.
– Mono / Stereo Safety Track output setting.
– 3.5 mm TRS analog output, USB-C, and IOS Lightning digital output – universal compatibility with cameras, smartphones, and computers.
– Charging case included – make the kit easy to carry on.
In practice
I’ve been using the system for a few weeks now and can honestly say that I love it.
I find that I use a lot more than the Sennheiser. With the Sennheiser I regularly got tangled up in a cable or had fights with the transmitter during shoots. Plus when filming on location it was very uncomfortable to be always “mic-ed” up and taking the lavalier off when interviewing someone. The Saramonic solves all these irritations. We have it with us in the photo case. As soon as we want to film something it’s connected to the camera and I clip on the mic. Give the other mic to the other person and we’re ready to go. Add to this some noise reduction (although I like to edit audio after the fact personally) it’s very nice to have.
I’ve been using the system in the last episode of
Digital Classroom in a live setup and it performed without any problems for the full broadcast. We didn’t lose connection once.
The problem with the live broadcasts is that it always compresses the audio so for the second part of the review I’ll create a video in which I show you the Saramonic in action with the proper quality.
Conclusion
When you want a proper 2 microphone setup that is super easy to use and works without any problems on most capture devices, gives you a good audio quality and some extra features for a very reasonable price. I would highly recommend you check out the Blink series from Saramonic, it might be the perfect solution for you.
I’m not paid for this review. We met the guys from Saramonic at a tradeshow. They gave me one of their demo units to test out.
The review was not seen by them before release and is 100% my personal opinion.
Like this:
Like Loading...













You must be logged in to post a comment.