Tag Archive for: models

A chair and a background an we are done, well almost

Building a small set is loads of fun

And it doesn’t has to be expensive.
For our studio we are always looking for chairs, chandeliers, and in fact almost anything we thing we can use in a photoshoot, in the end we will probably open a thrift store 😀

As you know we use ClickBackdrops backgrounds in our studio, and for the Netherlands we have been the distributor for a while now.
When I advise someone which backgrounds to get it’s always very depending on the type of photography of course.
But one of the tips I always give is to get at least one so called “scenic” backdrop.
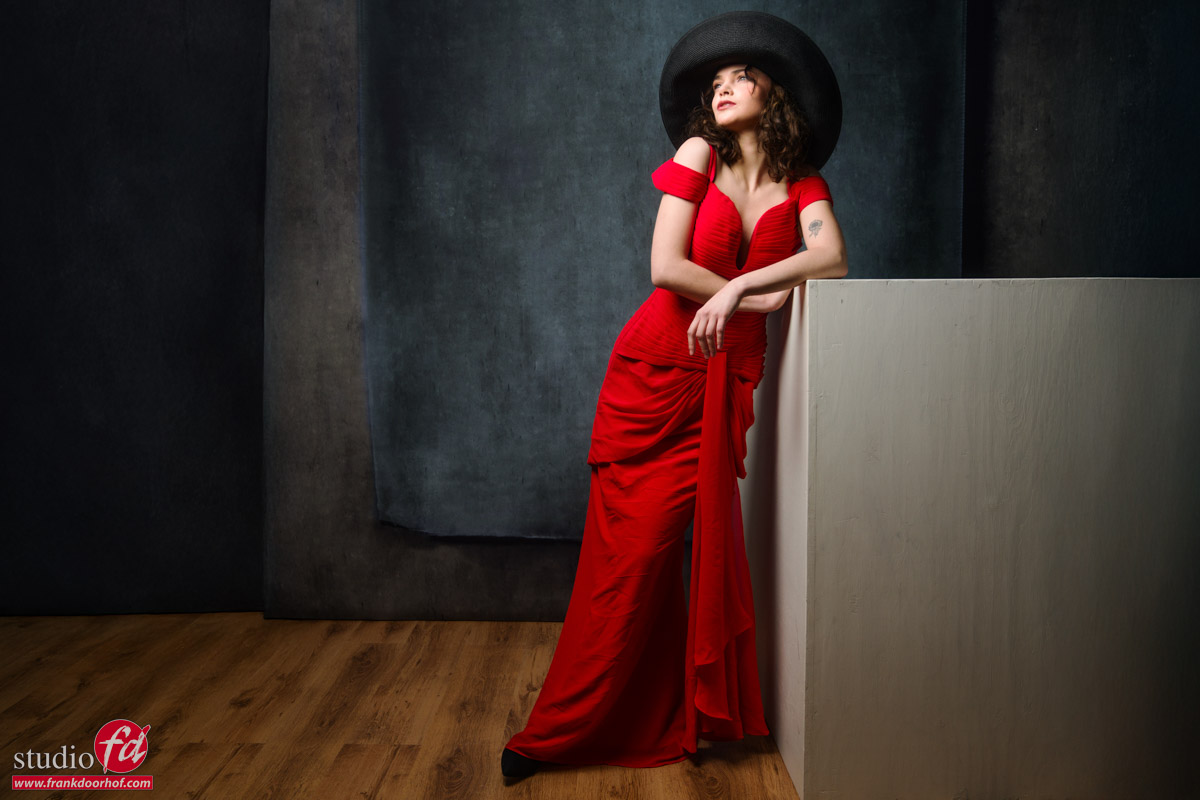
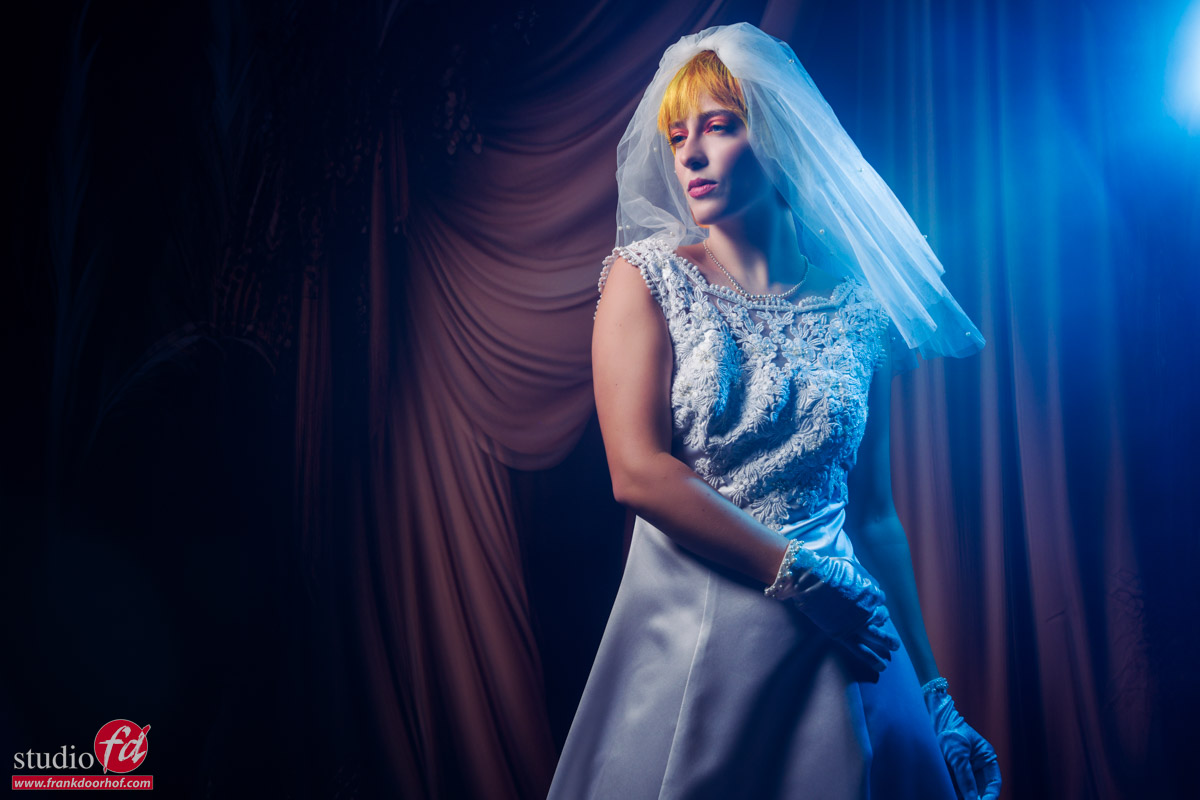
in our case I’m using the “boho drapes” background

I love this background because it’s very easy to build a small set with a chair and some branches.
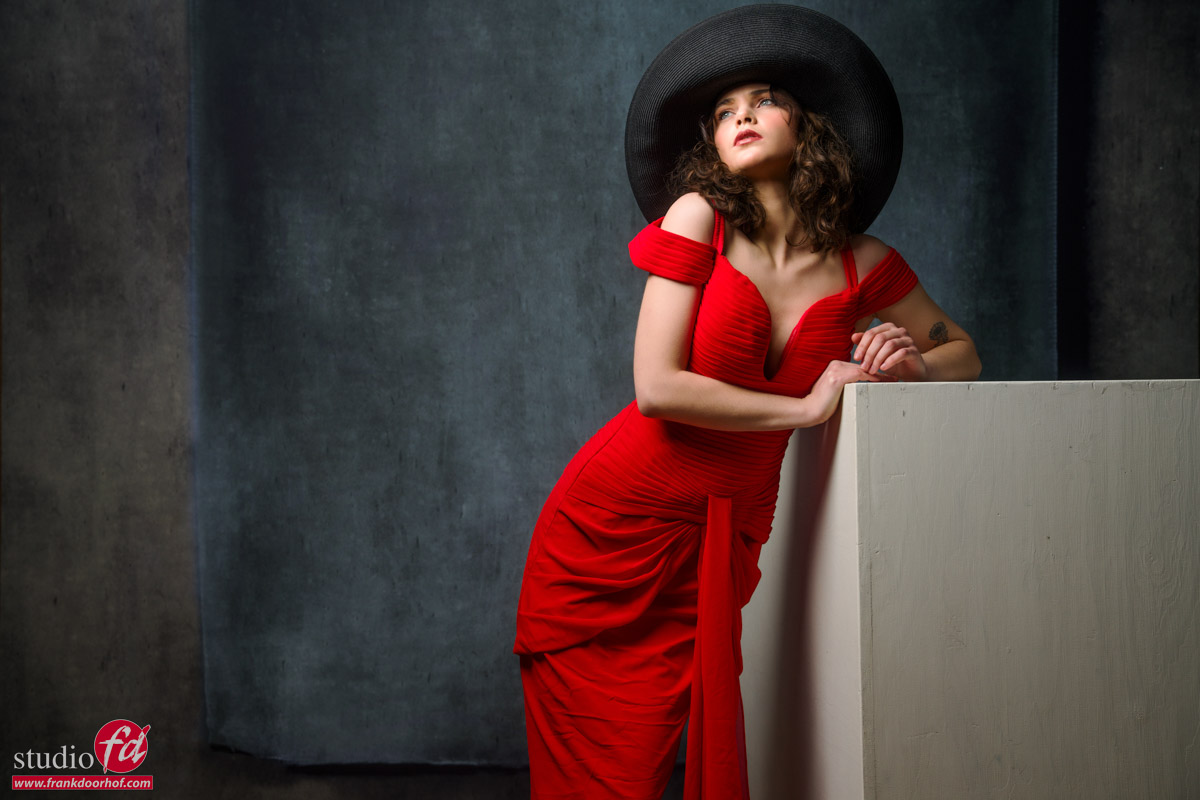
By adding an accent light with a red gel I absolutely love the warm mood you can get from this set, of course the styling and our model Janaika also adds a lot to the final result 😀

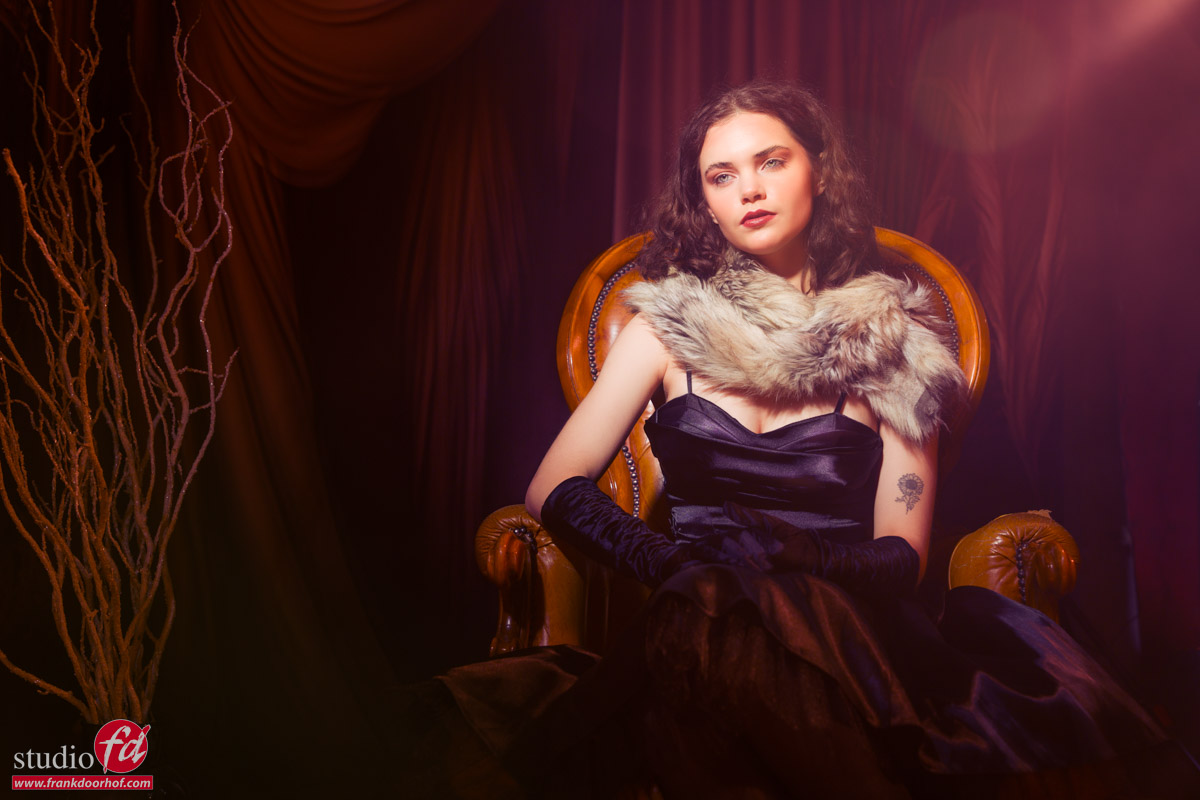
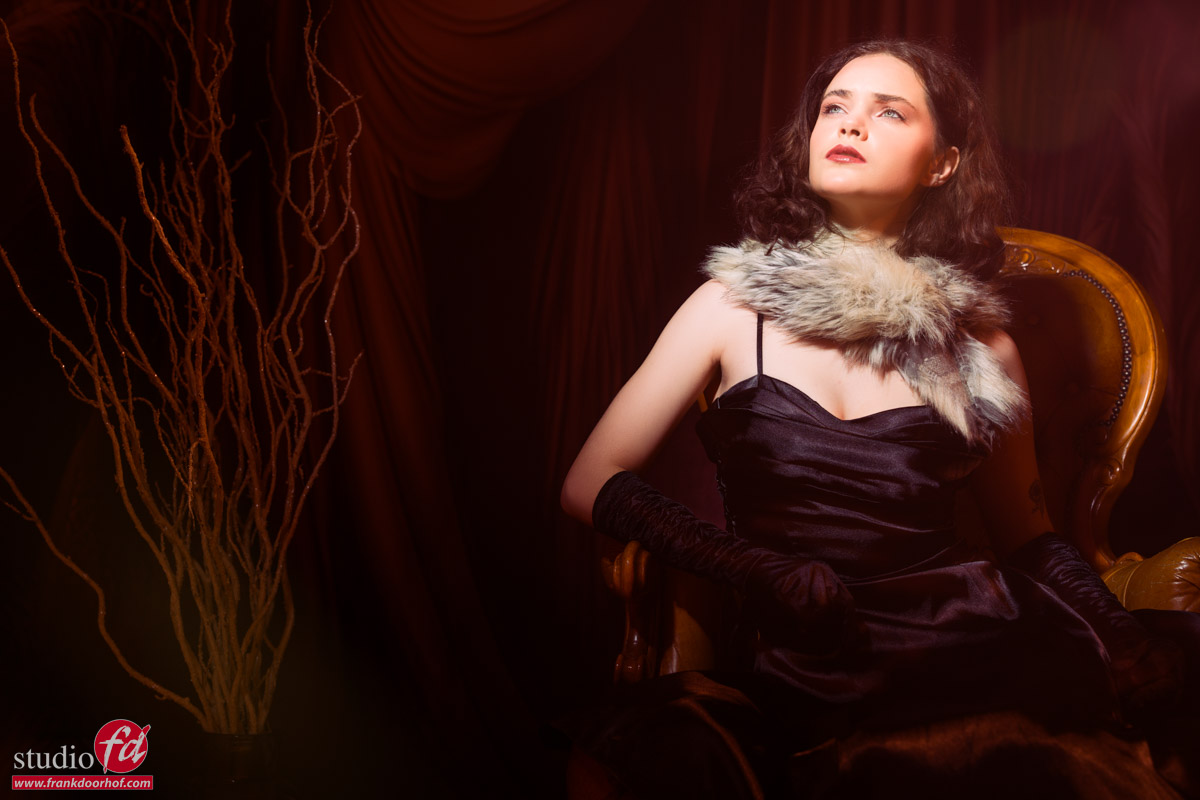
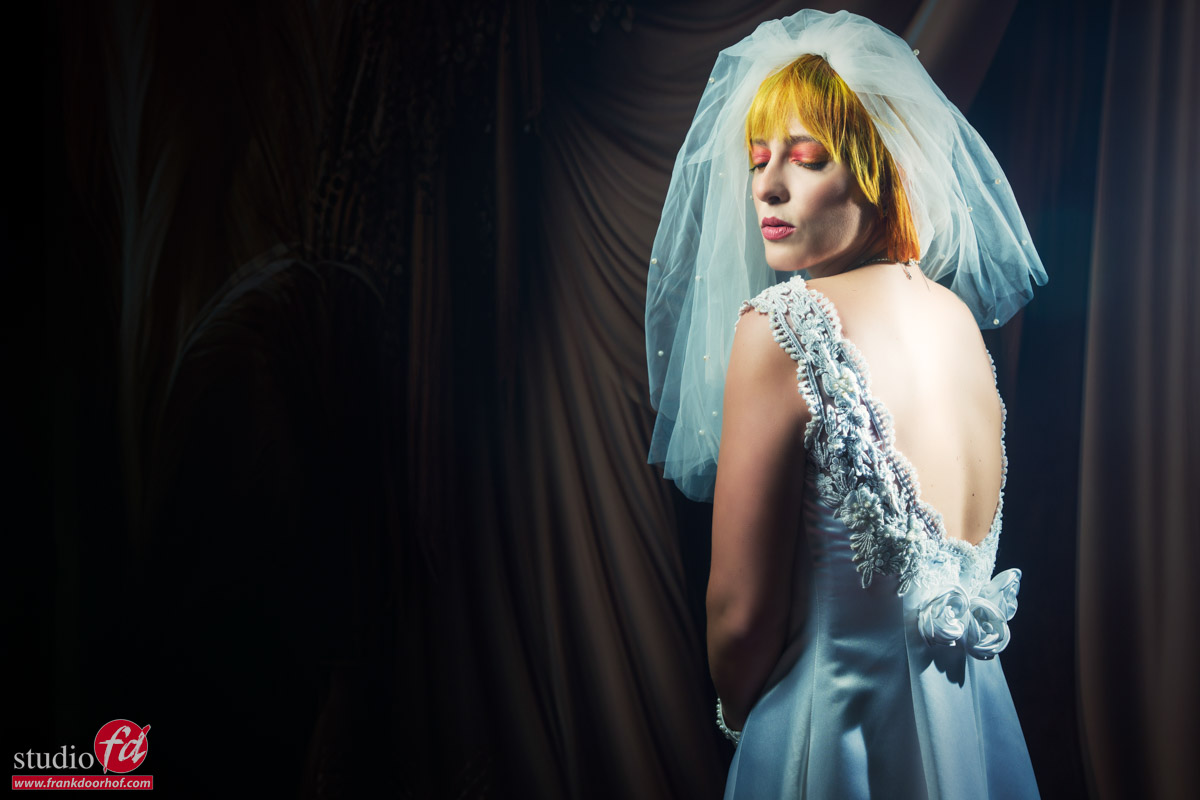
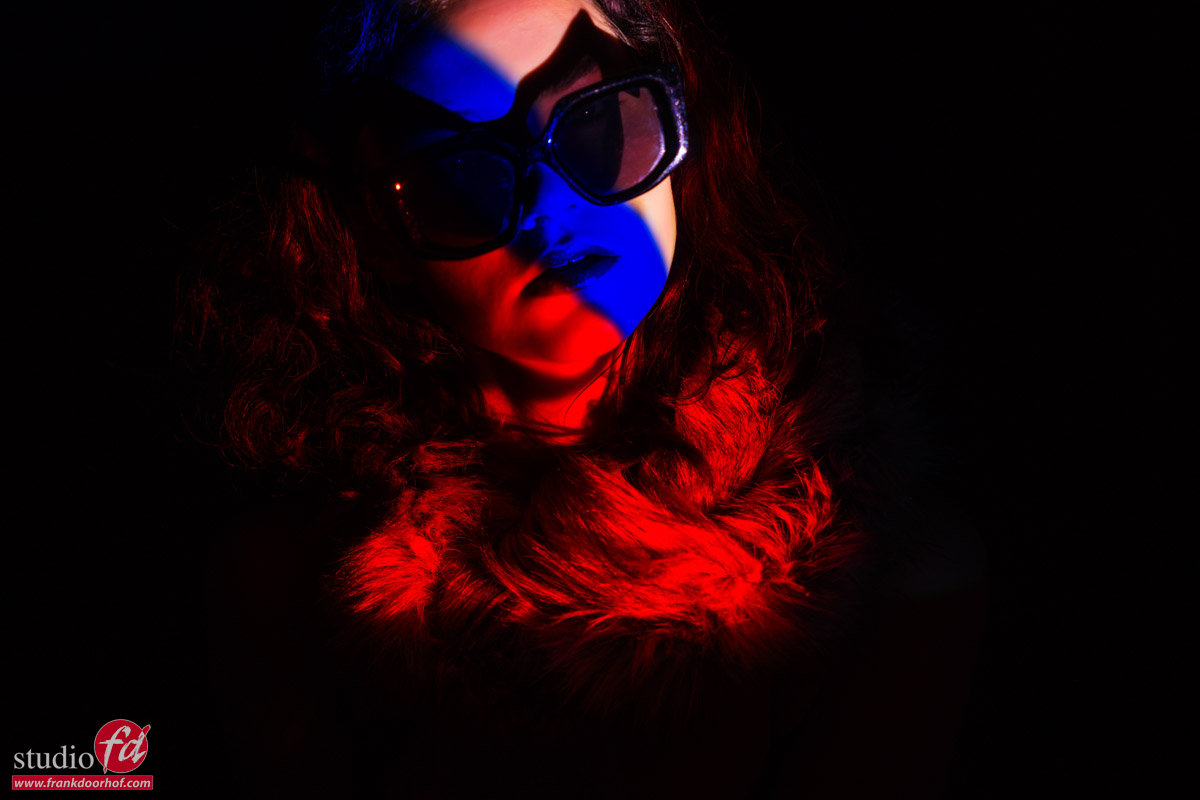
But as you can see, it’s always nice to change clothing during a set.
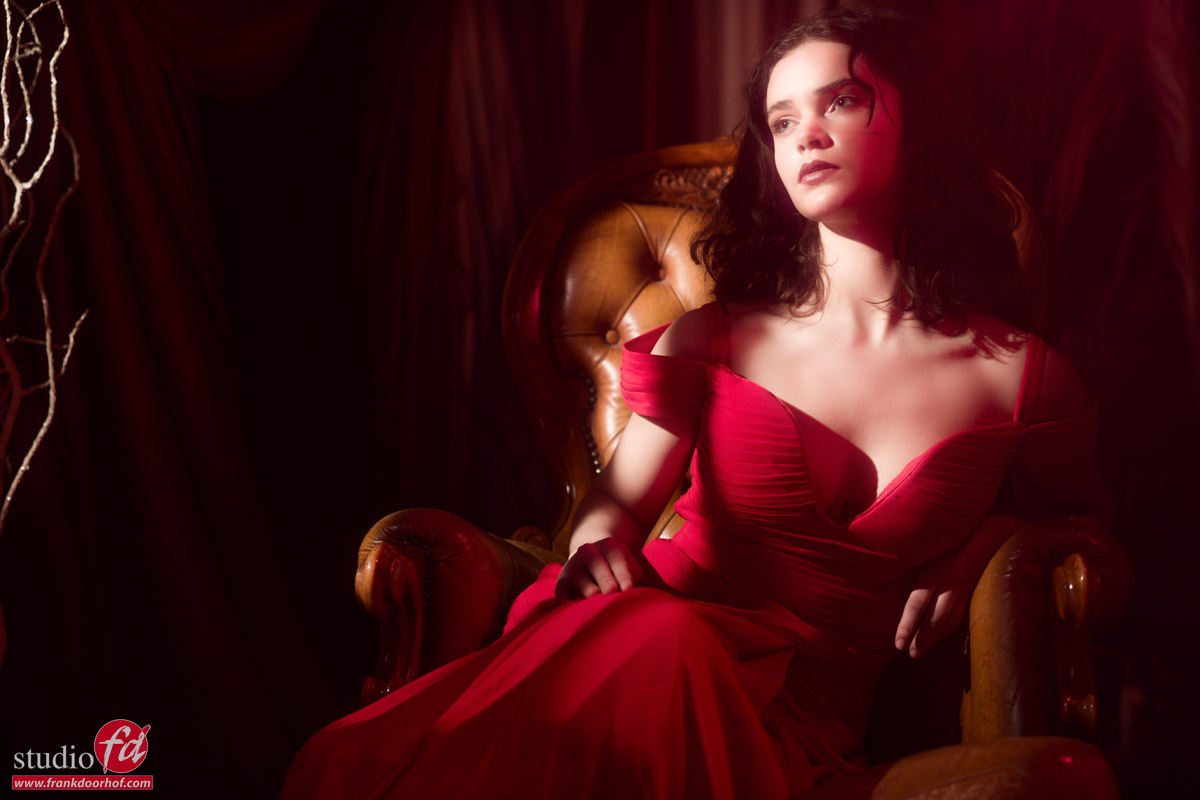
Personally I love both outfits equal, but the red is very striking in this setup.

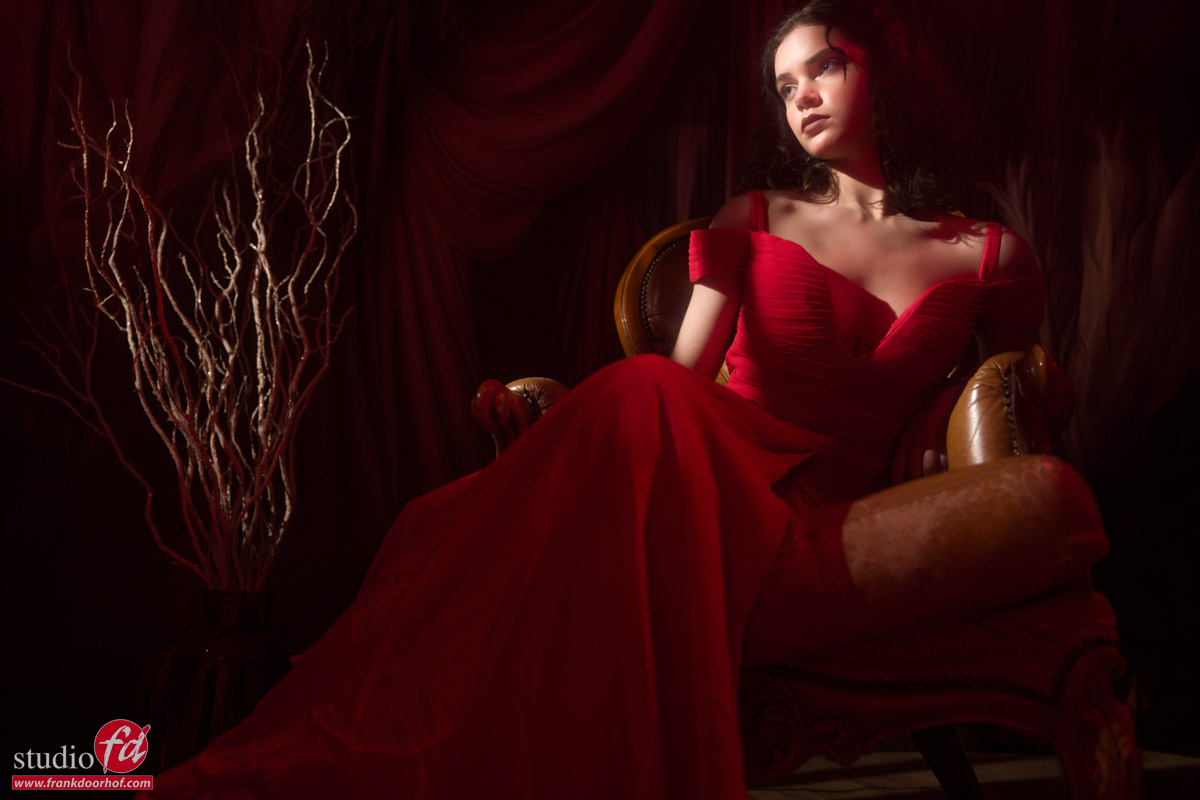
Adding some slight glow to the image will give it a very nice old fashioned glamour look.
Back to the old days of Hollywood, but now in color.

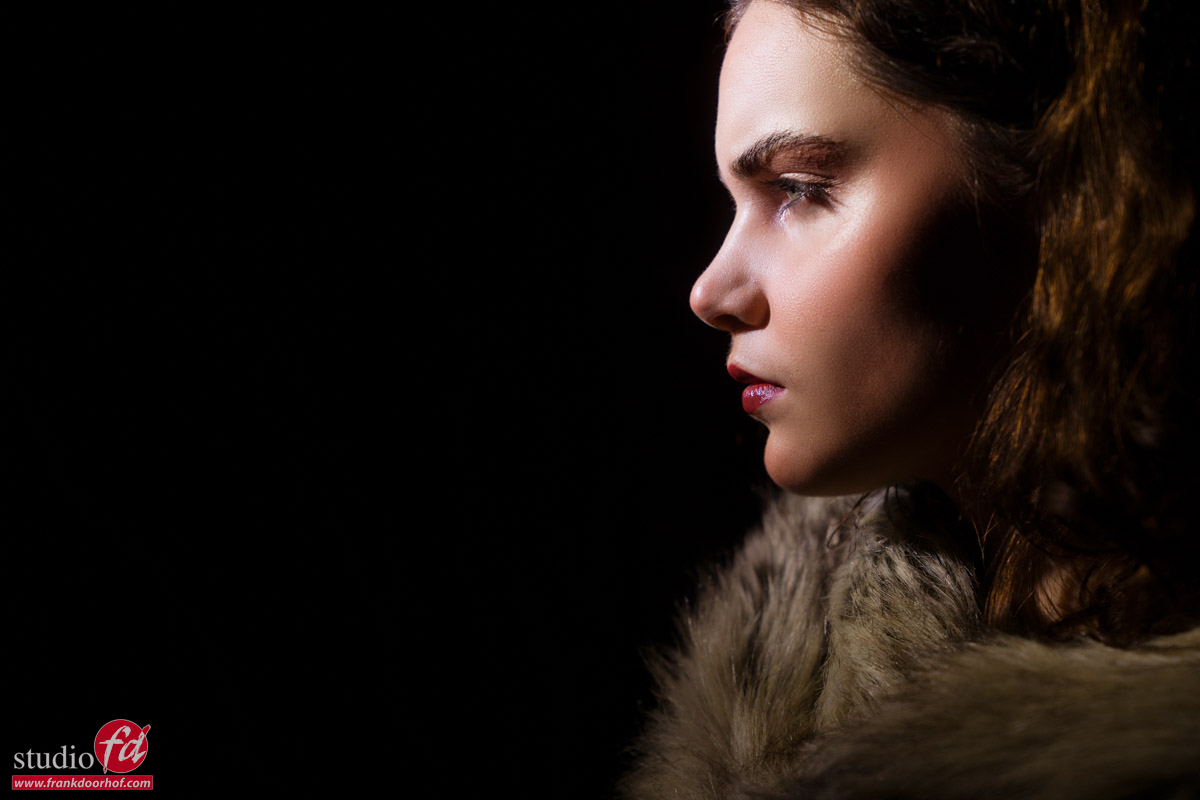
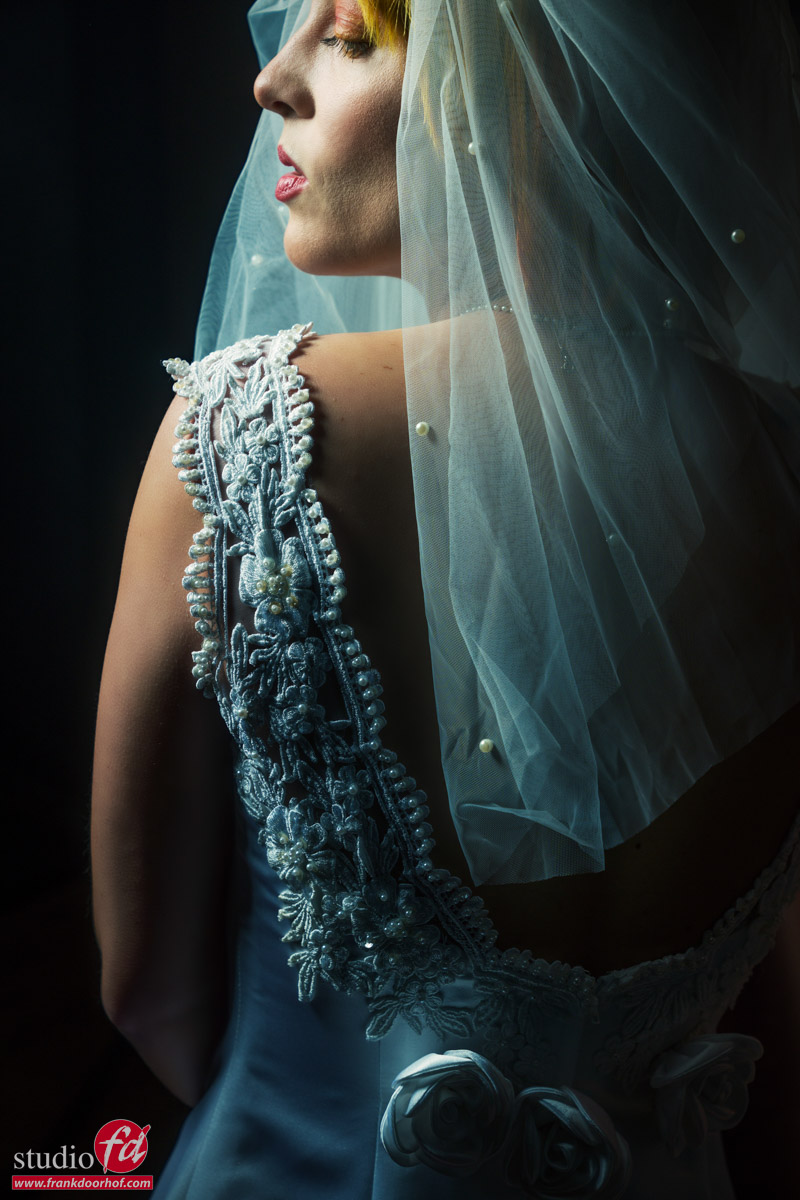
And finally I could not resist to shoot one image from the side for some high contrast portraiture.

Also want to visit a workshop?
Visit www.fotografie-workshops.nl for more info.

A block can really help out in your studio

Sometimes the solution is really simple

We can spend a lot of money on sets and props, but I always love it when it can be done really cheap.
And one of the best investments you can do for your studio is…. a block.

We have several in our studio, and sometimes I don’t use them for months, and then they save a shot.
You can build them yourself but I would advise to make the strong enough for a model to pose on, which makes adds to the usability.
You can even build one that can be used to place a model inside and create some cool creative shots that way.

But for today we are using it purely as a posing help.
It will happen a lot if you work with inexperienced models that they will have some problems to pose freely. when you’re shooting against a backdrop it’s often not possible to lean against the backdrop, and using a chair often makes the problem only bigger. But by using a block to pose agains will often give you immediate results with a lot more interesting poses.

Of course Janaike is an experienced model but I wanted to share some of these images we shot during a recent workshop.
Also want to visit a workshop?
Visit www.fotografie-workshops.nl for more info and the agenda.


A model and a wedding dress

Today some images from Claudia

During the workshops I always build up the set.
This way the attendees can see what every light does in the set and how they interact, and that makes it much easier to solve problems in the future.

So let’s take a look at some images from Claudia during one of the sets.

Let’s build it up

In the first image I’m mostly using my mainlight and just a very slight accent light with a blue gel.

Of course we want some more power on the blue.
With the Geekoto commander it’s very easy to change the output of the strobes individual.
What I mostly advise is to use group A for your main light, B for background, C for color or aCcents, and D for De rest (that’s Dutch for The Rest).
This way you don’t to figure out during a busy shoot what to change and where.

Walk around your model

Often it’s easy to fall into the trap that we have our favourite angle, or favourite lighting setup and we keep using that.
When I shoot or teach I always try to setup my lighting so I can easily walk around my model/subject and shoot from at least 2 different angles.
In this case I chose to disable the blue gel and just shoot with the main light.

For the final shot I removed the blue gel and now we have our main and accent light without gels.
By setting up the lighting this way and using a remote like the Geekoto Commander you can very easily switch lights on or off and also change the output. I will mostly keep my main light on the metered setting, but change the accents just the way I like the effect. In most cases I will shoot at least a few with loads of power and flares and some with just a little bit, your client will be very happy to be able to chose, and you will be happy because you will not ask you to deliver images A with the flare of B but without the …… 😀

Also want to visit a workshop?
Visit www.fotografie-workshops.nl

Using a projector for awesome and unique effects

An unexpected awesome light source

You probably have use one during work, or maybe you have a great Home Theater system, projectors are used in many different situations.
They are awesome for gaming, presentations and of course movies.

But did you ever think about using it as a light source?
The main different between a monitor/tv and a projector is that the projector projects light onto a screen and that creates the image, where a monitor/tv is a flat screen. So what if we replace the screen for our model.

Now you can project whatever you want on your model

But what about taking it one step further
Open up Photoshop and go to full screen mode (F)
Now let the model sit in one location and start painting on the model with your brush.
If you need more space zoom out on the projector (or move the projector further away).
You can chose to keep the images sharp but you can also defocus the projector of course.

Using a projector is awesome for effects you can never achieve any other way.
You do have to take into account that most projectors are not very bright, so expect to shoot on higher ISO’s.
When using the projector chose the vibrant, or presentation mode, this often outputs a lot more light, but you sacrifice a lot in color accuracy which in this case…. is no problem at all.

Model : Janaika
This was shot during a workshop.
Do you also want to visit a workshop visit www.fotografie-workshops.nl