Tag Archive for: model

Adding something really special to a photoshoot with a gobo projector

I love my Westcott gobo projector

I love the old fashioned photography, think about photographers like George Hurrell or for example the world famous Harcourt studios.
In the 30’s and 40’s you often saw harsh light combined with hard shadows, this can be for example a plant, branches, chair, ladder or whatever you want to project on the background.

Quick tip.
If you want really hard shadows, make sure your lightsource is far away from the object that will cast the shadow, and the object is as close to the background as possible. The further you move the light away the harder the edge transfer (shadow)

But although those shadows are nice I love to go one step further, and this is where a gobo projector comes in.
As mentioned I’m using the Westcott Lindsay Adler version, but in essence they all work the same.
You mount the projector to your strobe and you can place different gobo’s (metal discs) between a lens (in my case a Canon mount lens) and the strobe, by focussing the lens you can create a sharper or softer pattern on your subject/set. It’s an awesome light modifier to create stunning images.

You can use the projector on your model to create very sharp areas of light or to light the whole set and use fill in lights for extra detail or mood.
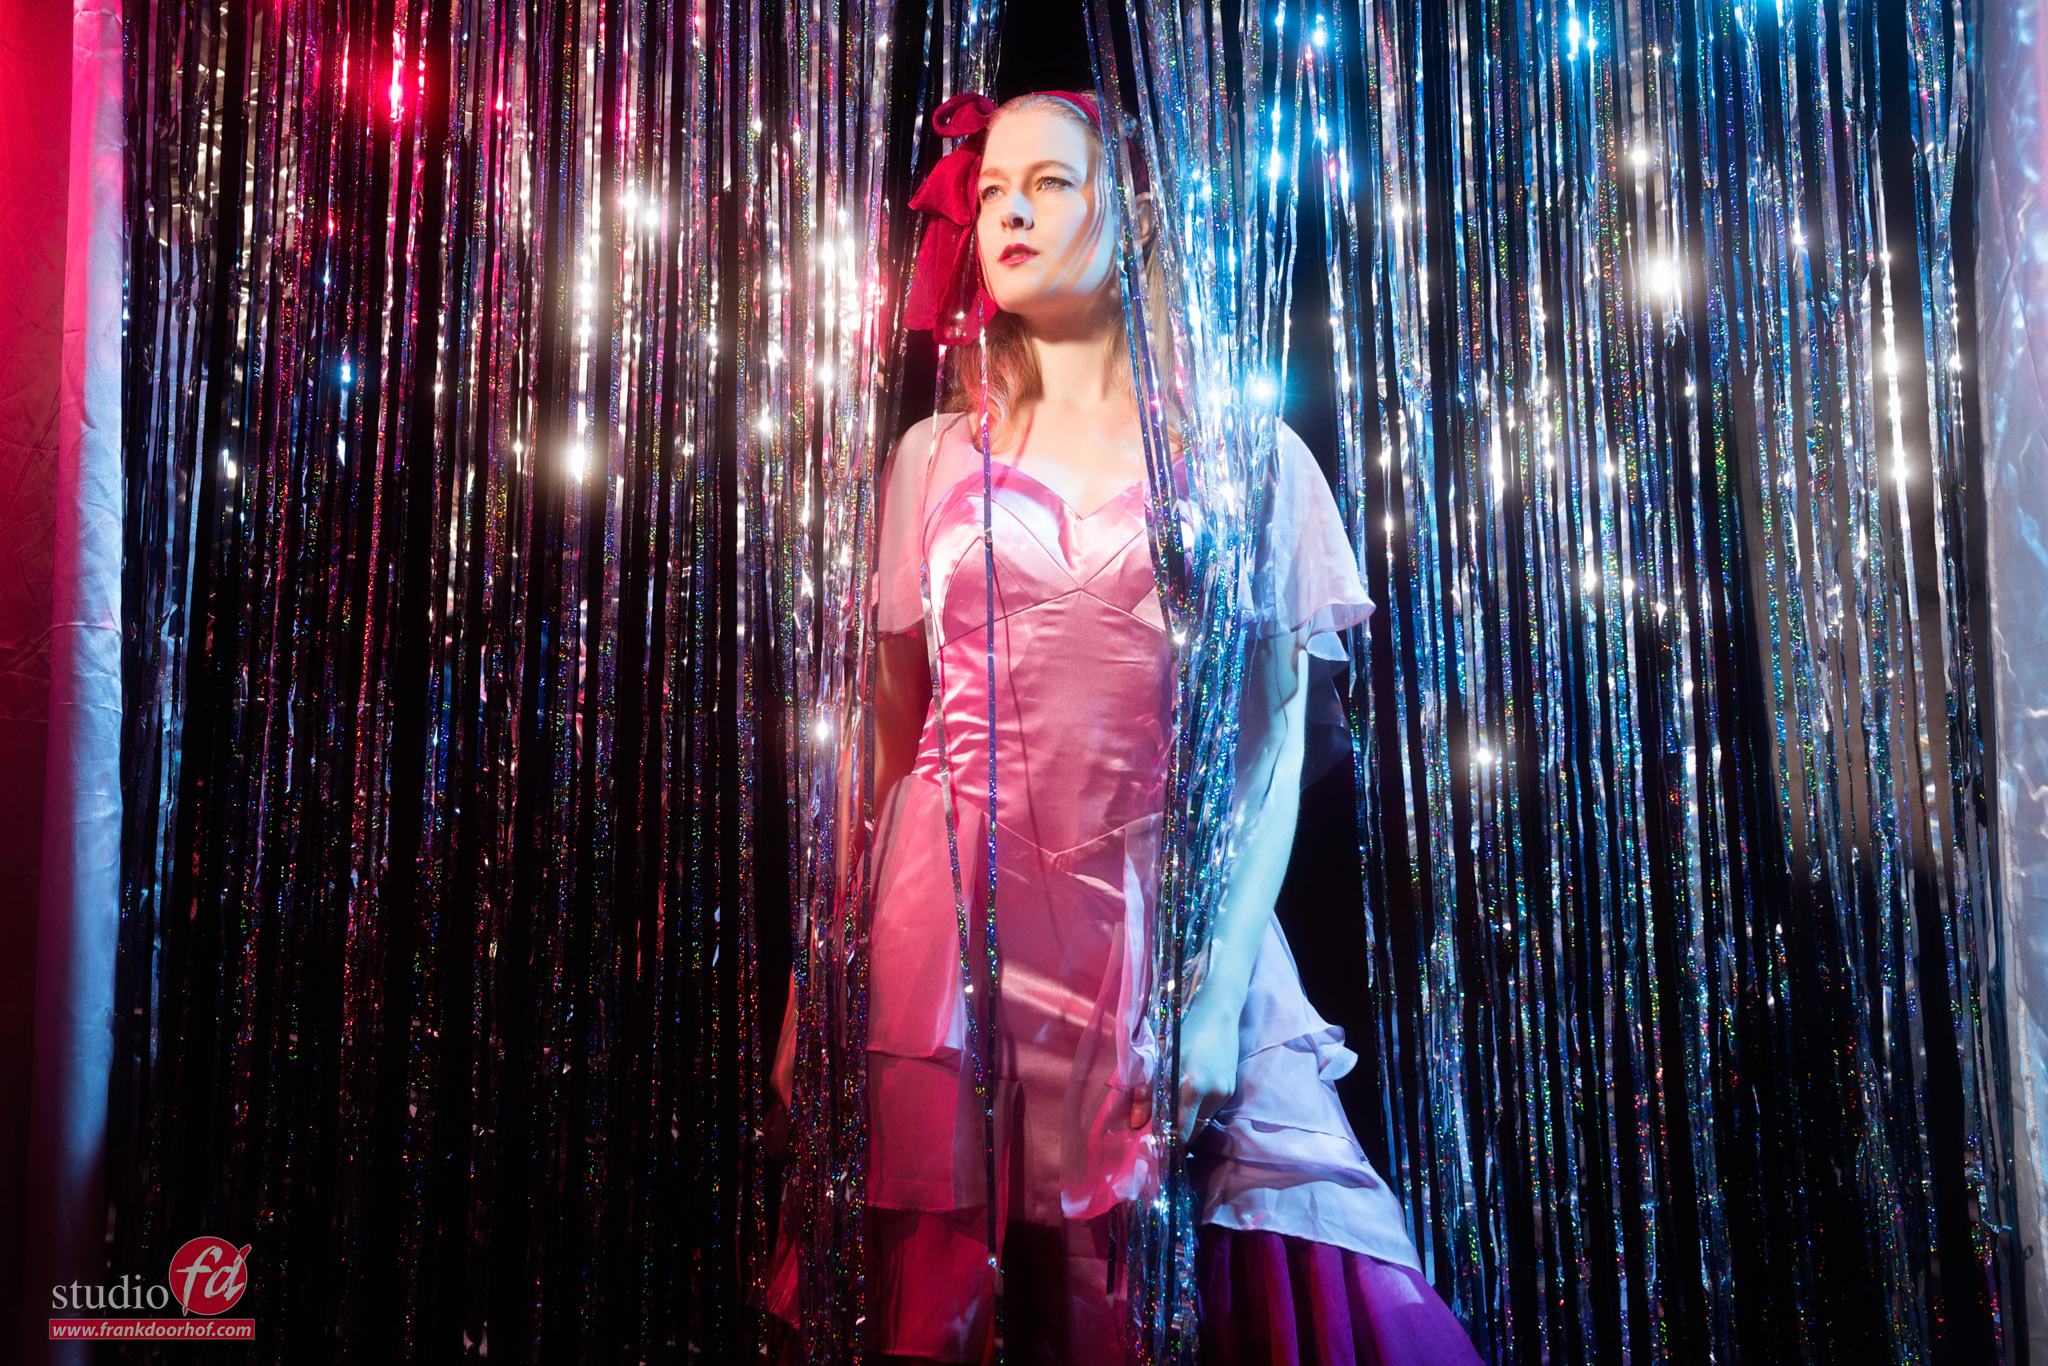
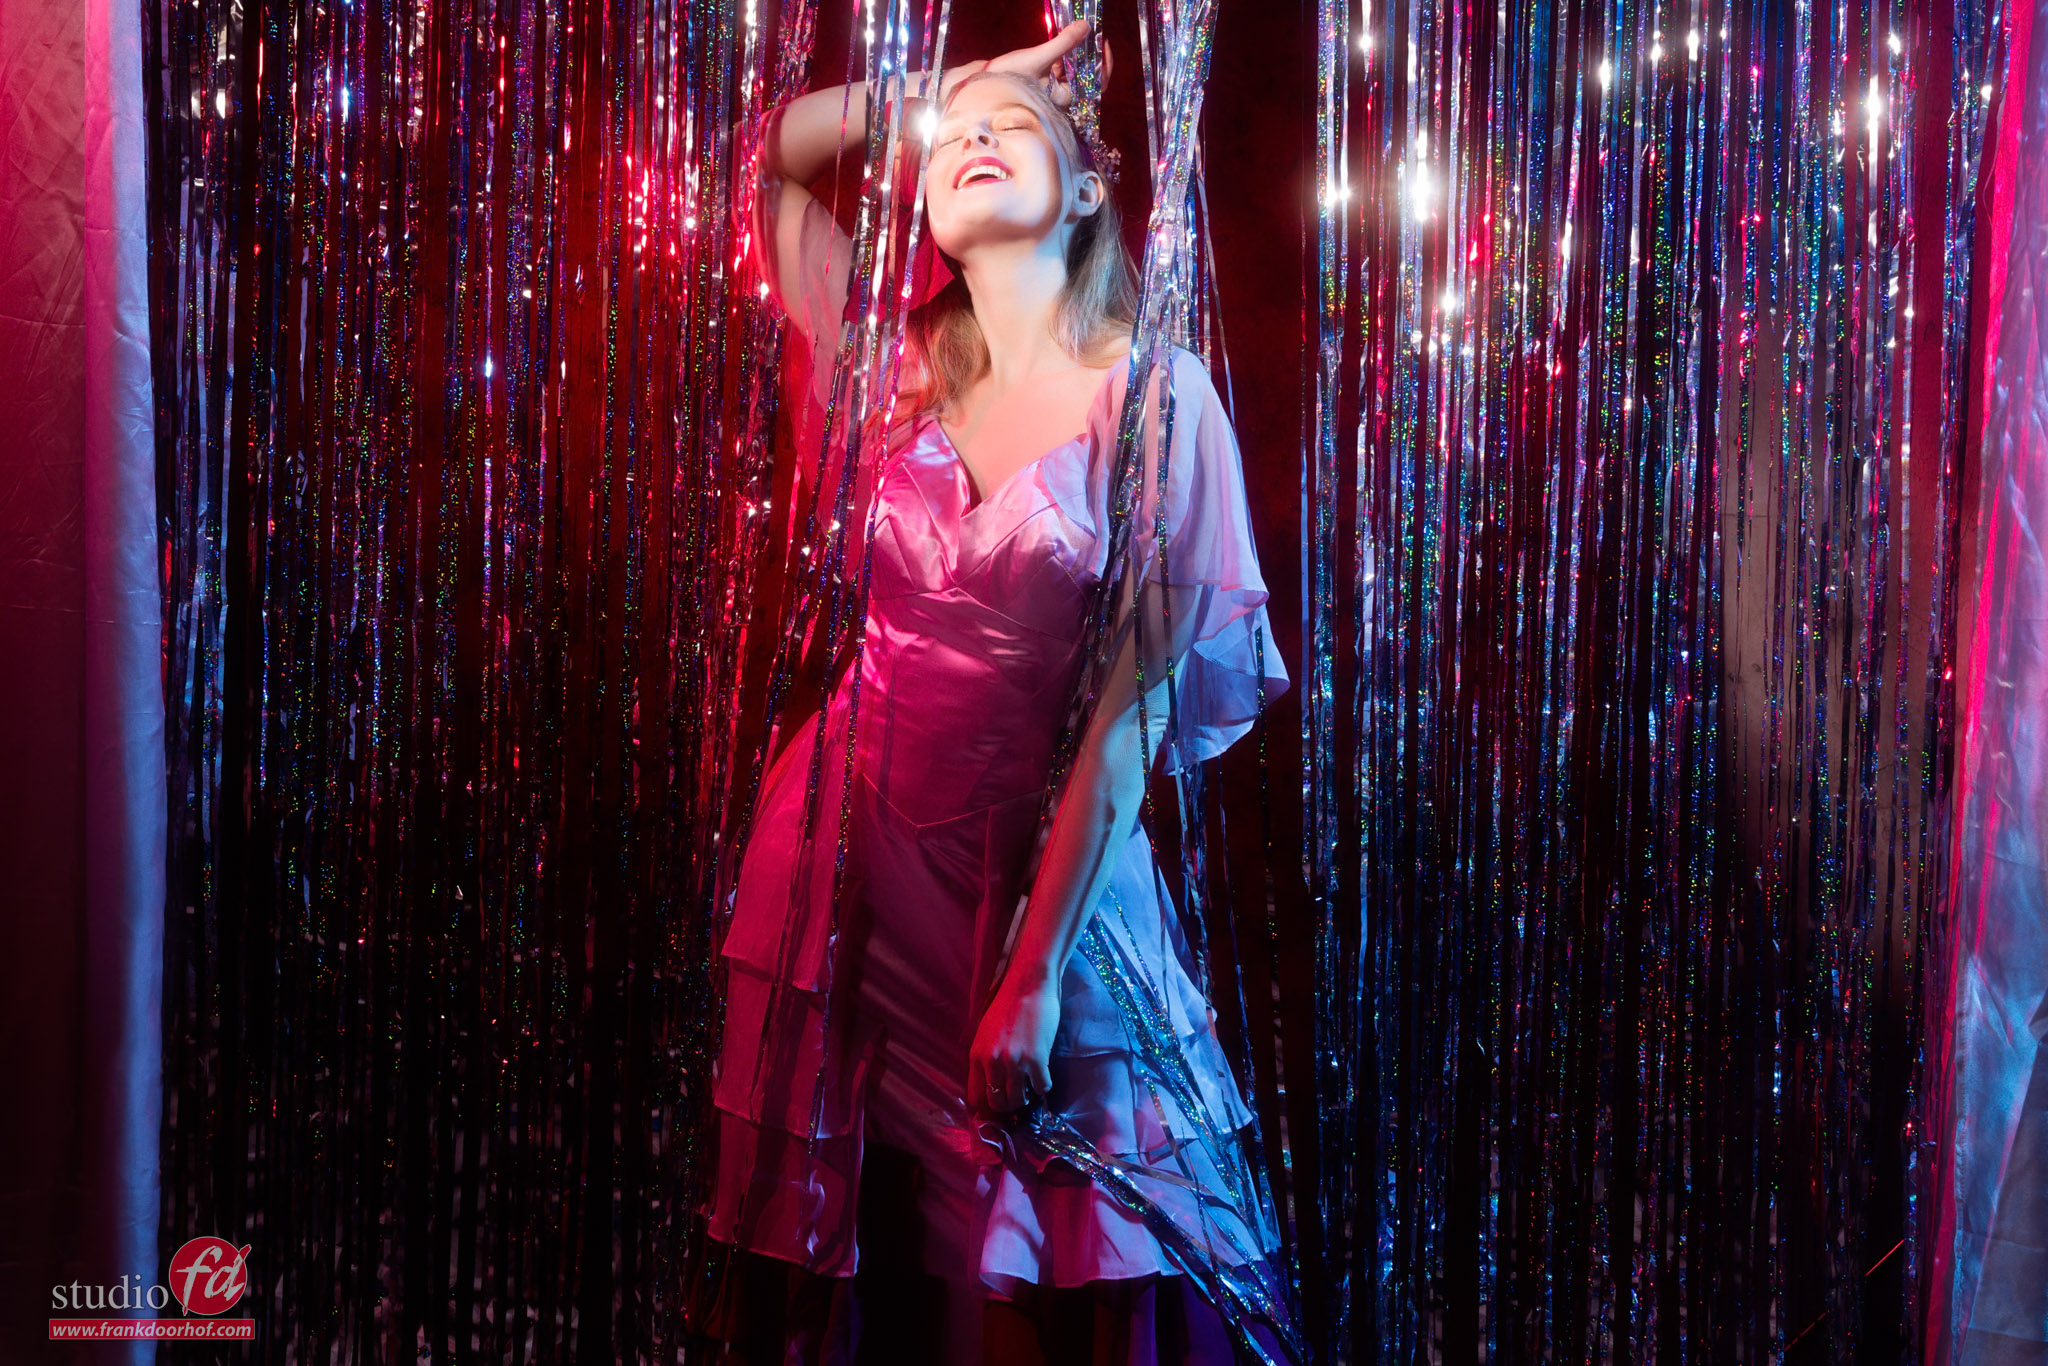
During a recent workshop with Felisa I used the projector exactly for that.

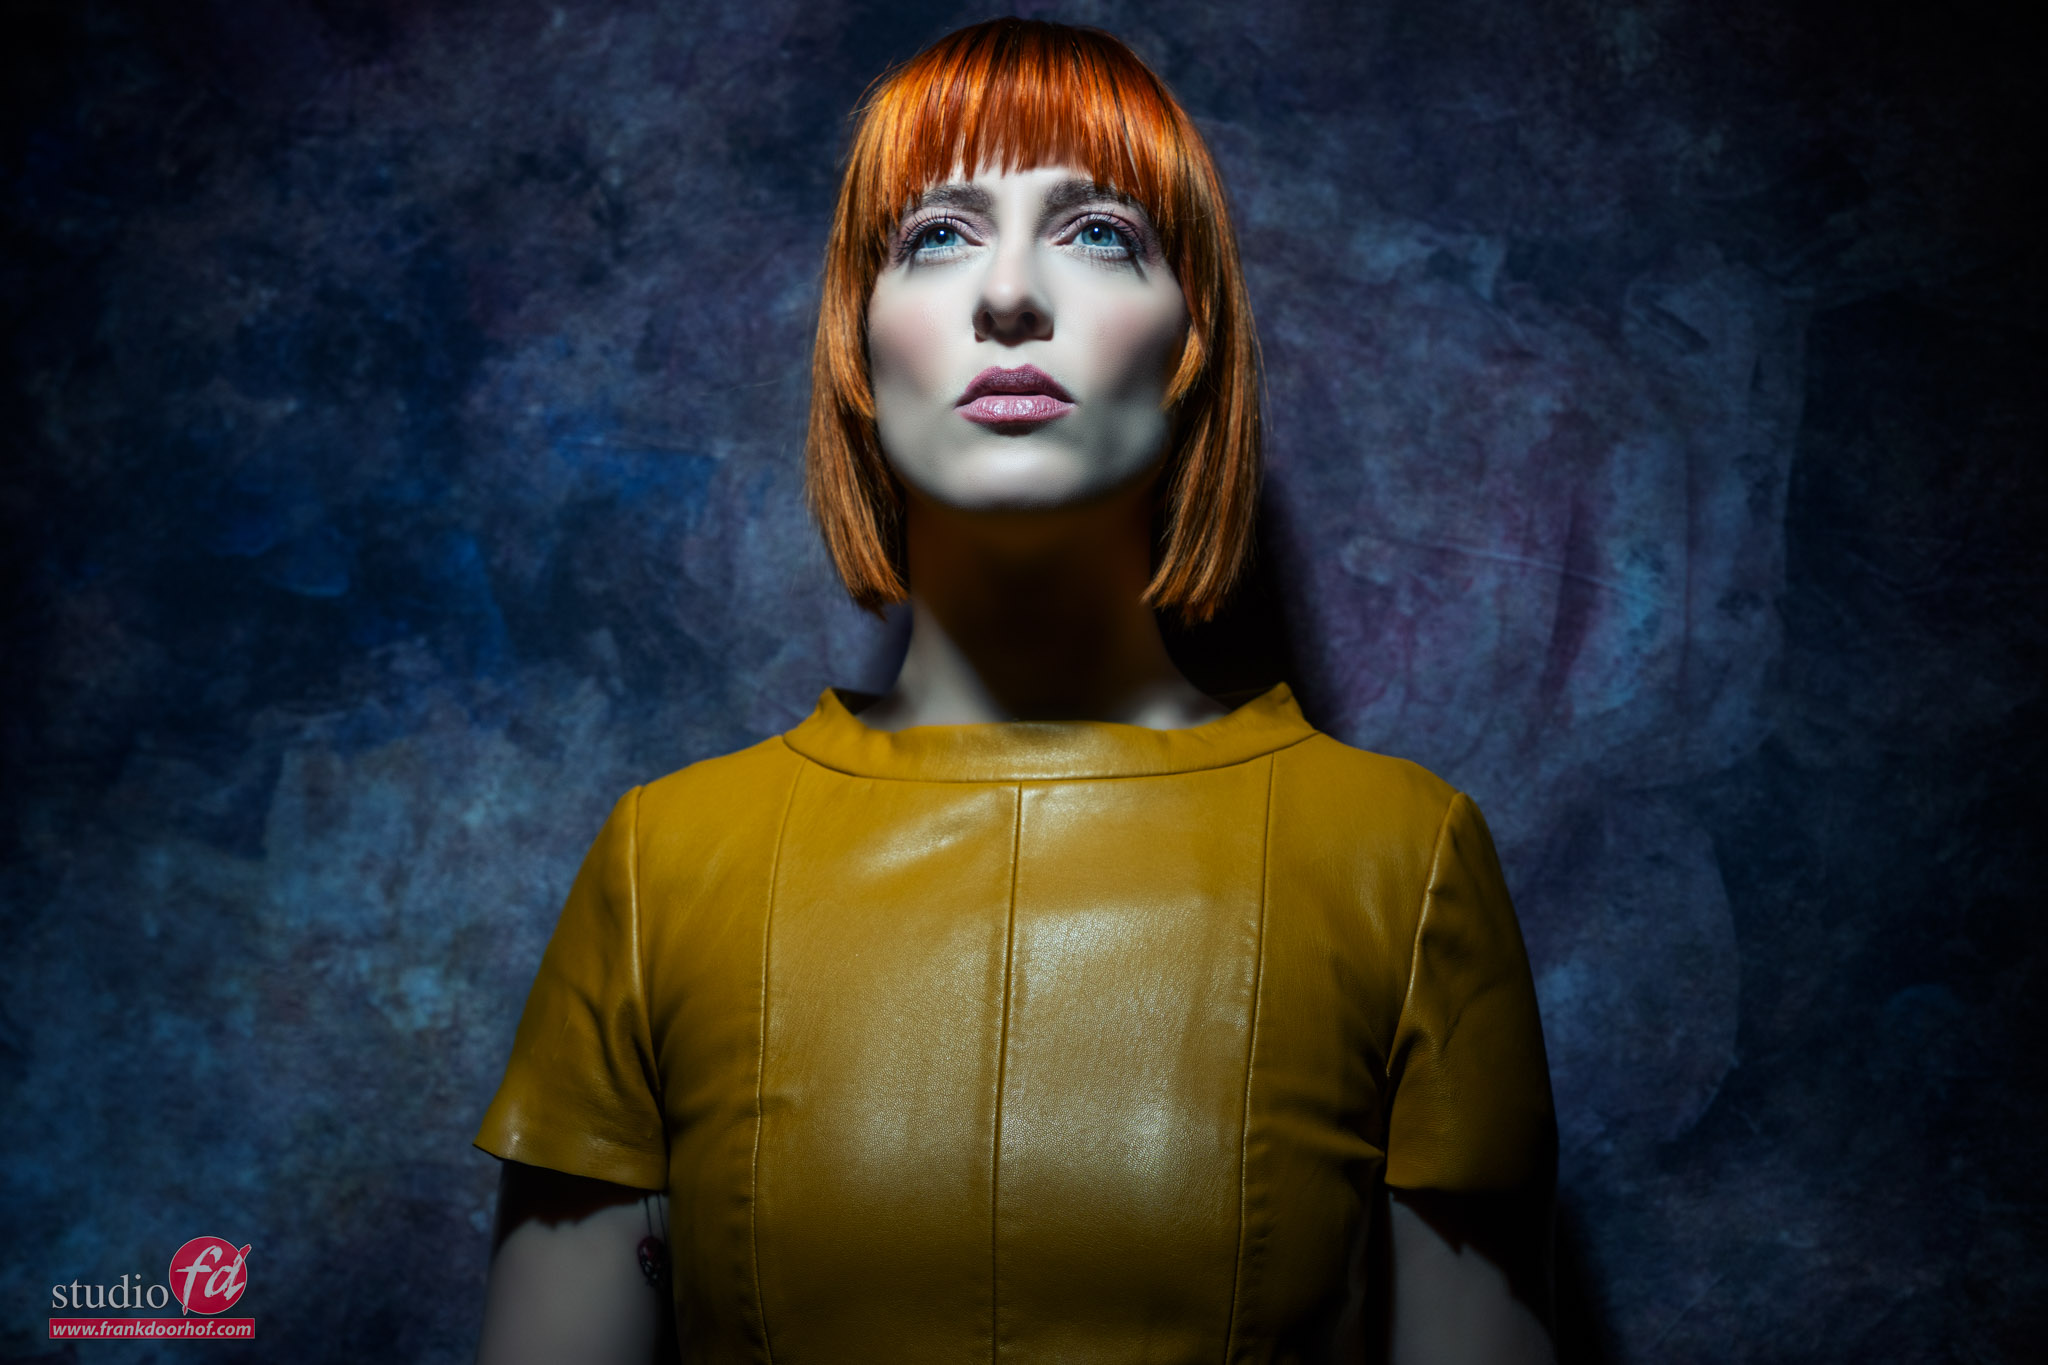
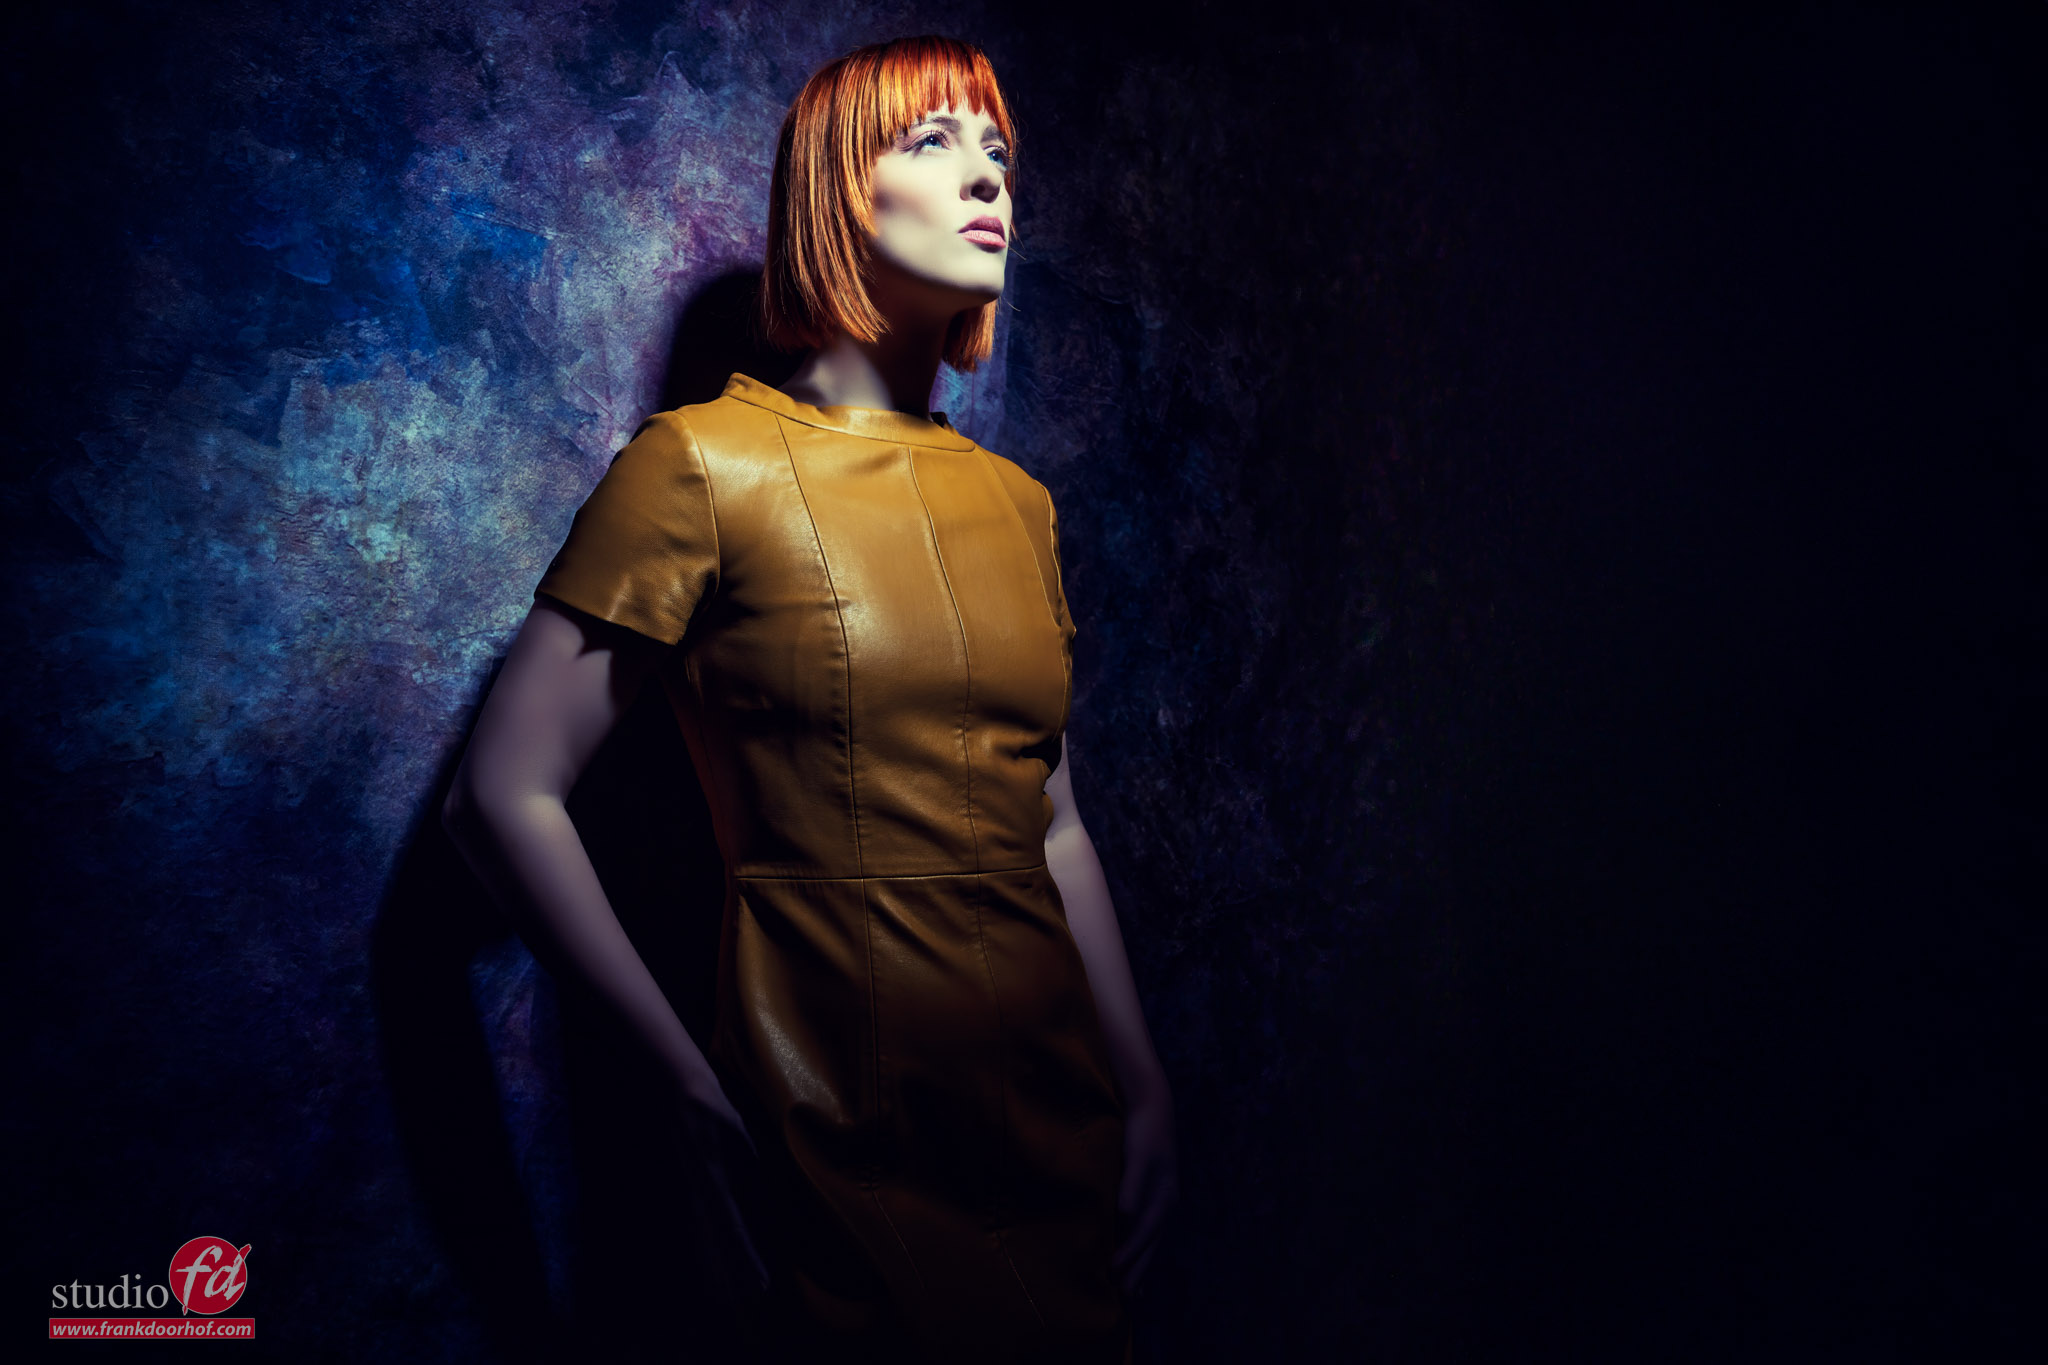
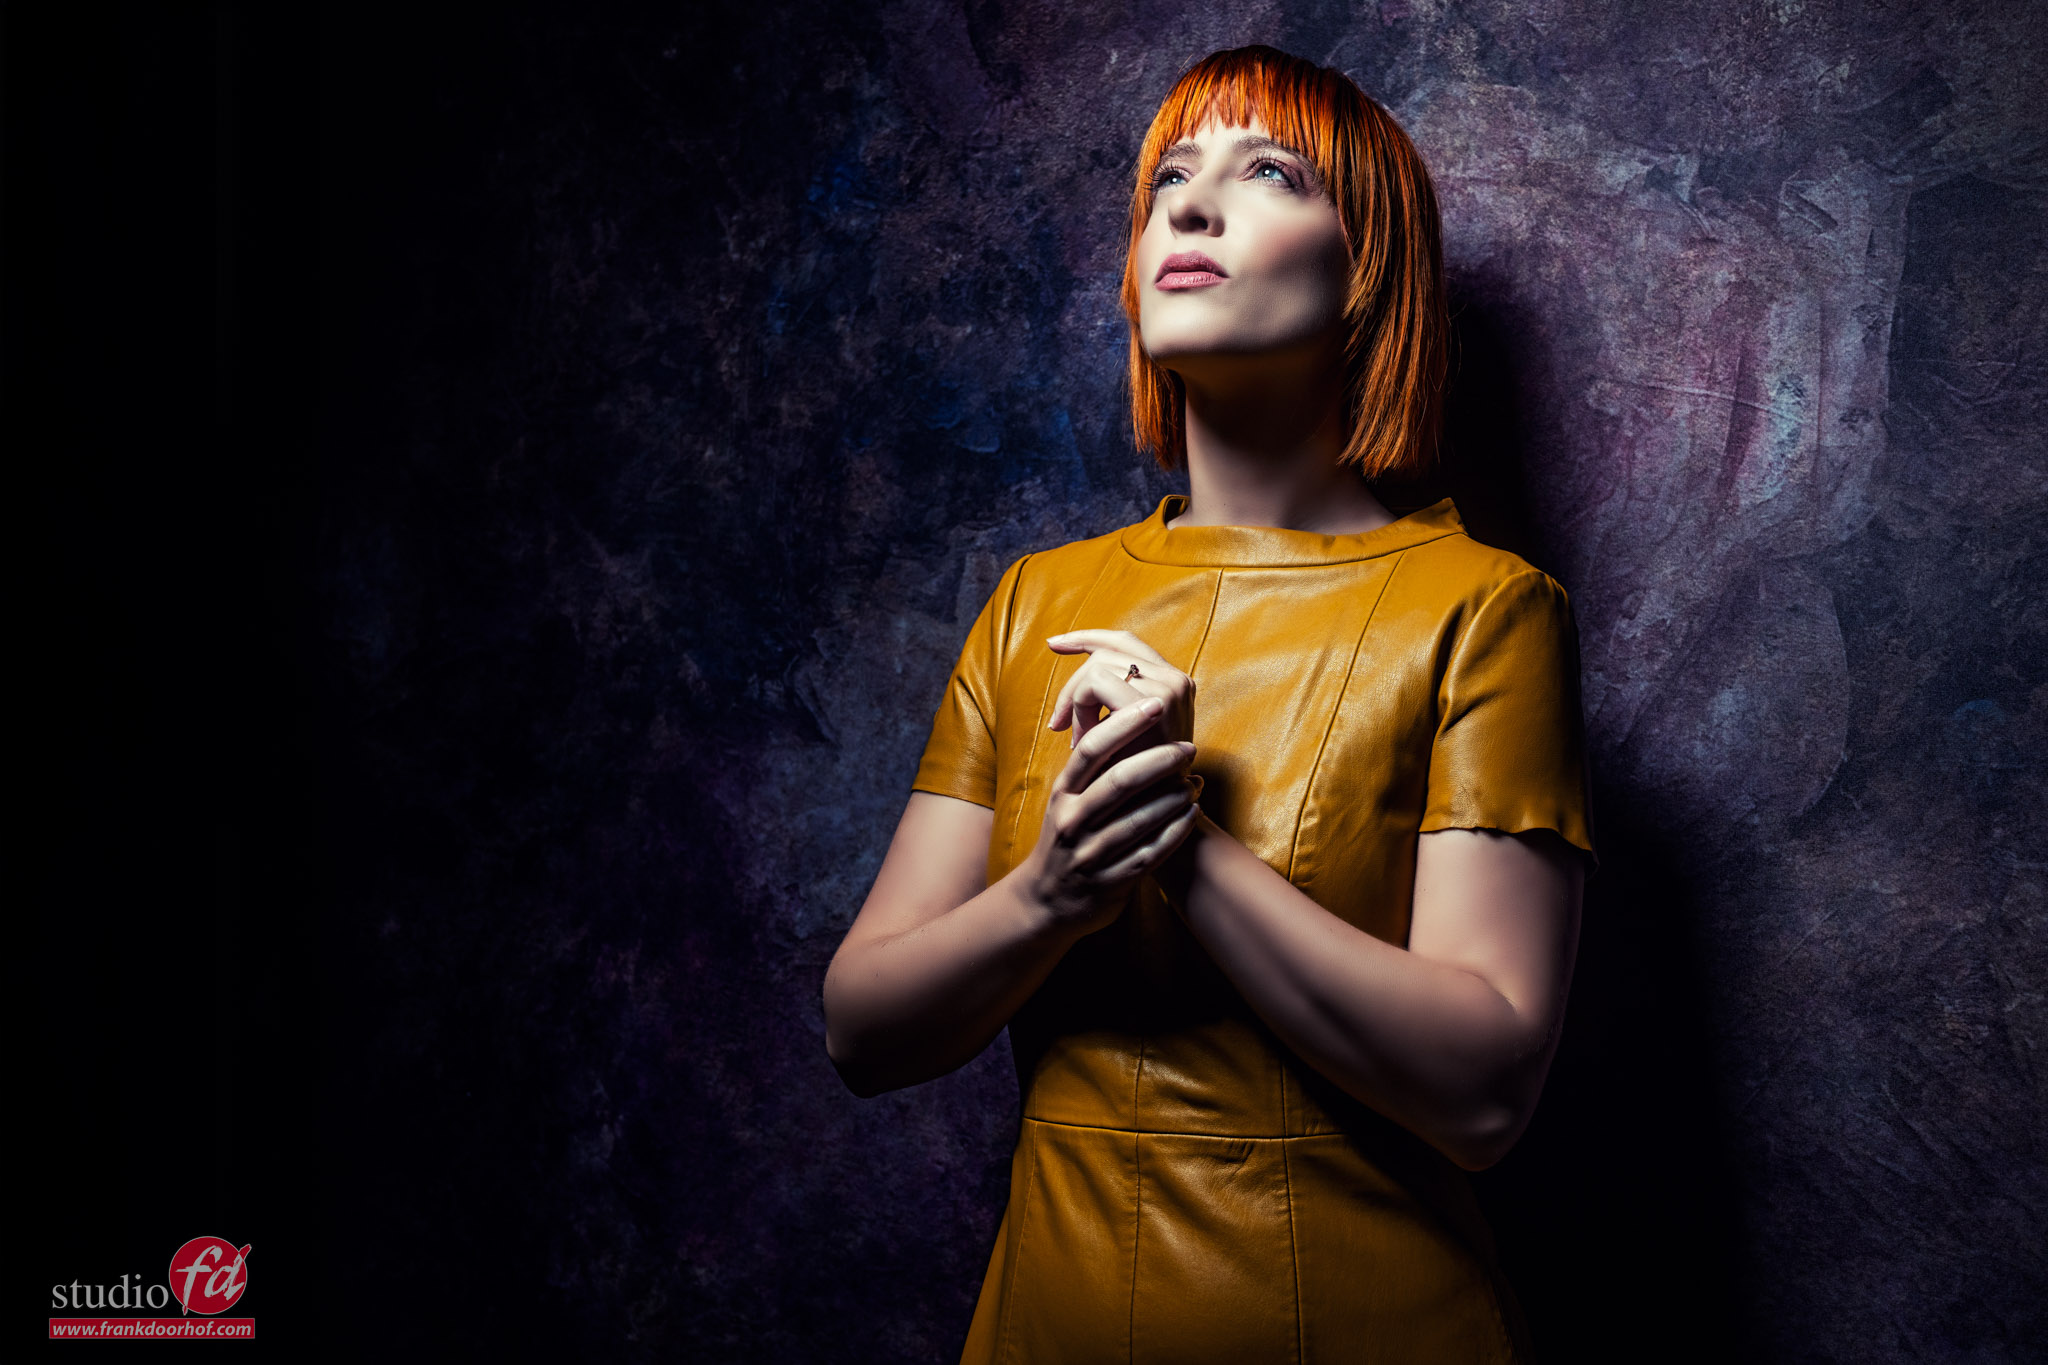
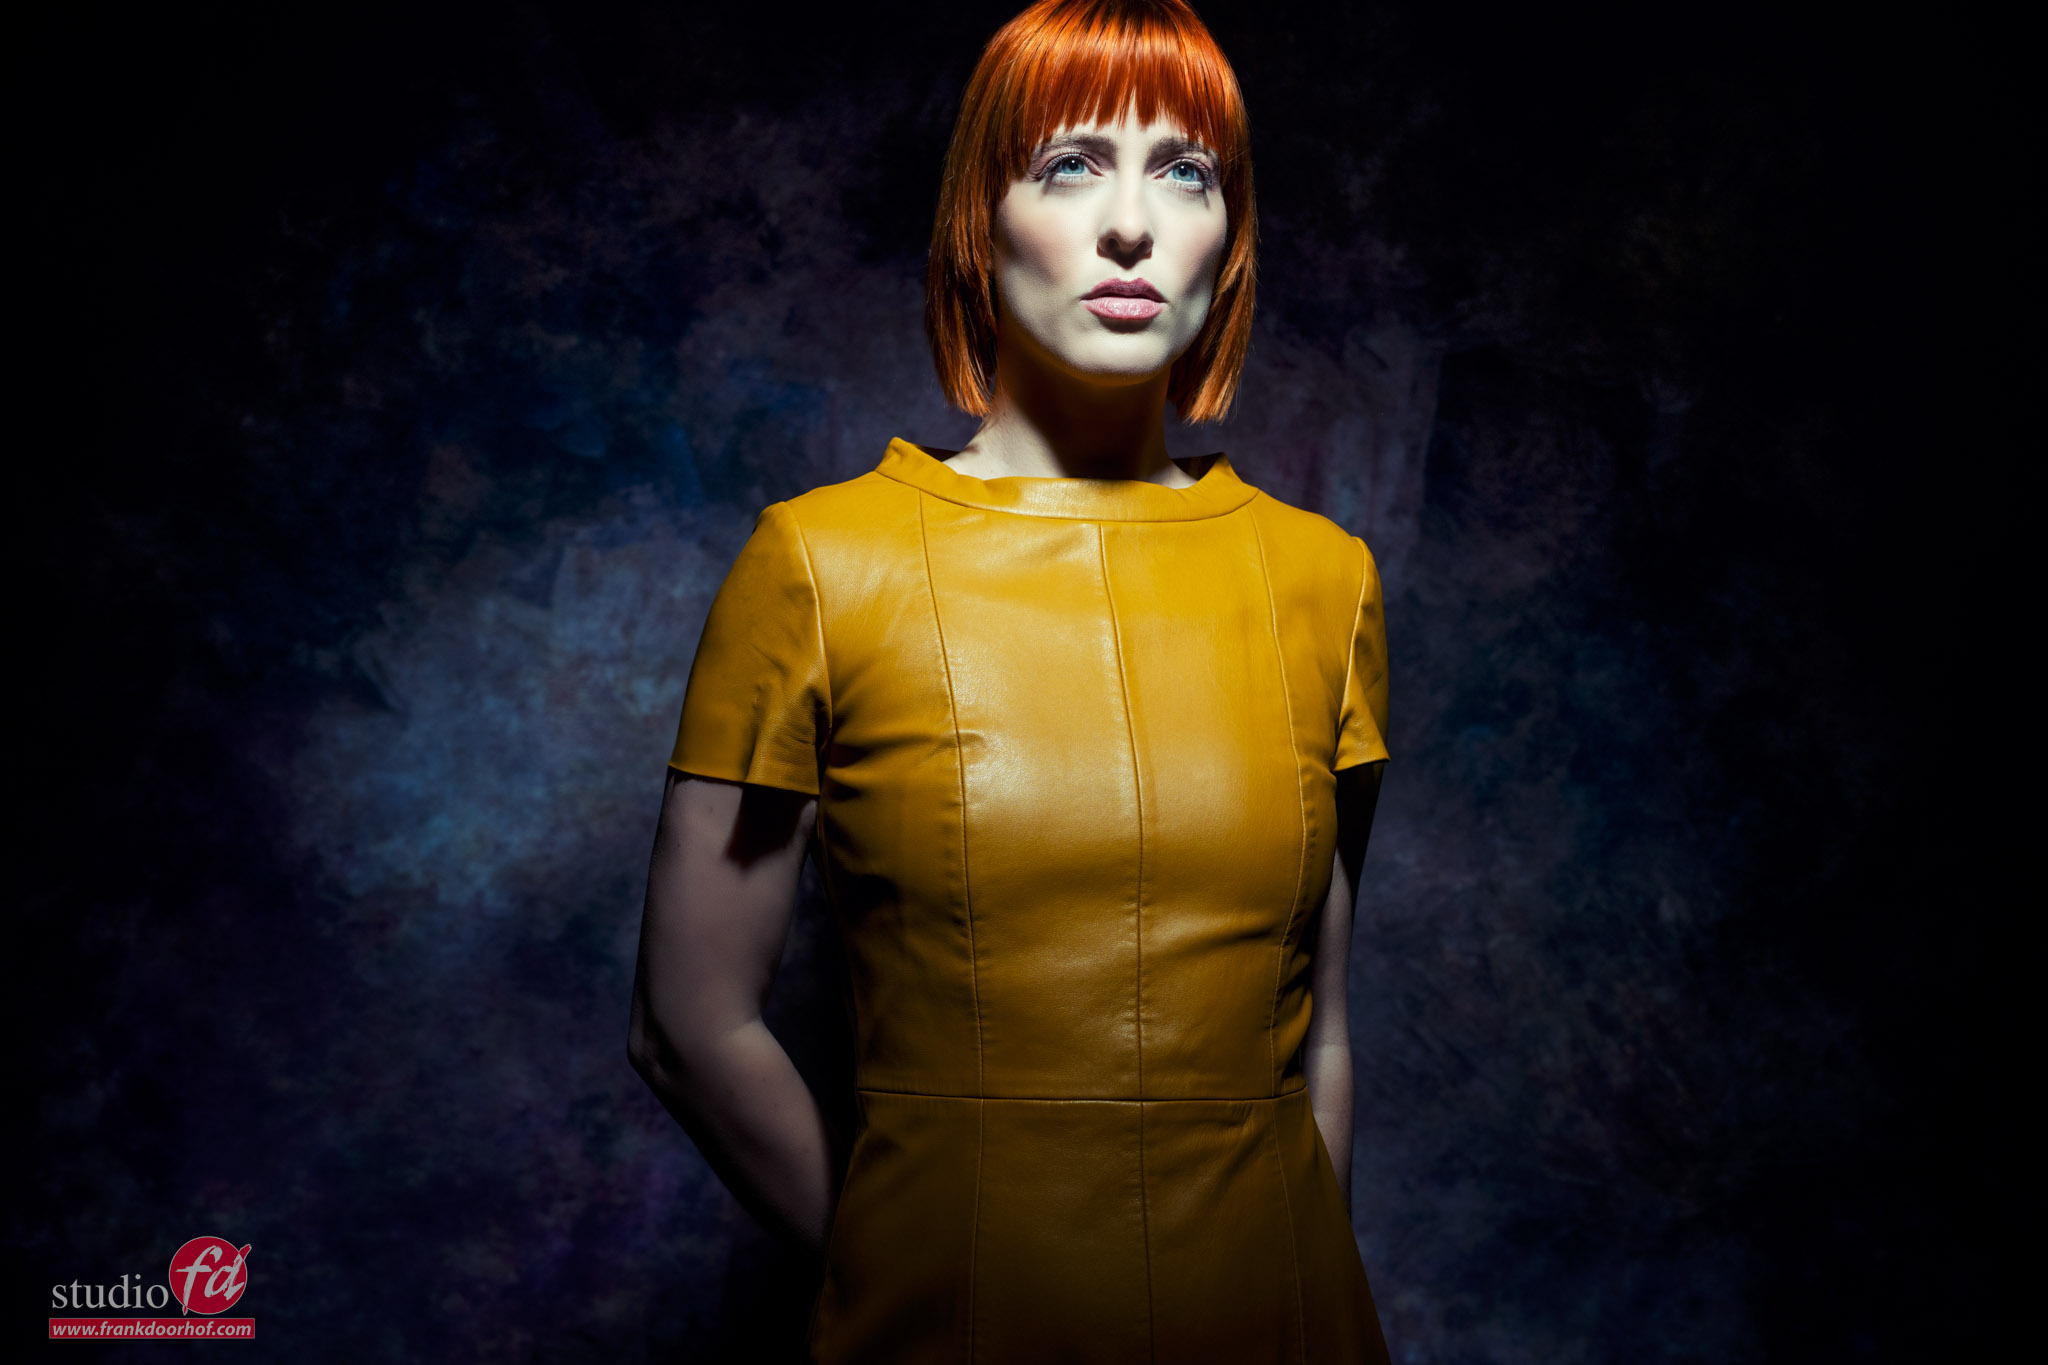
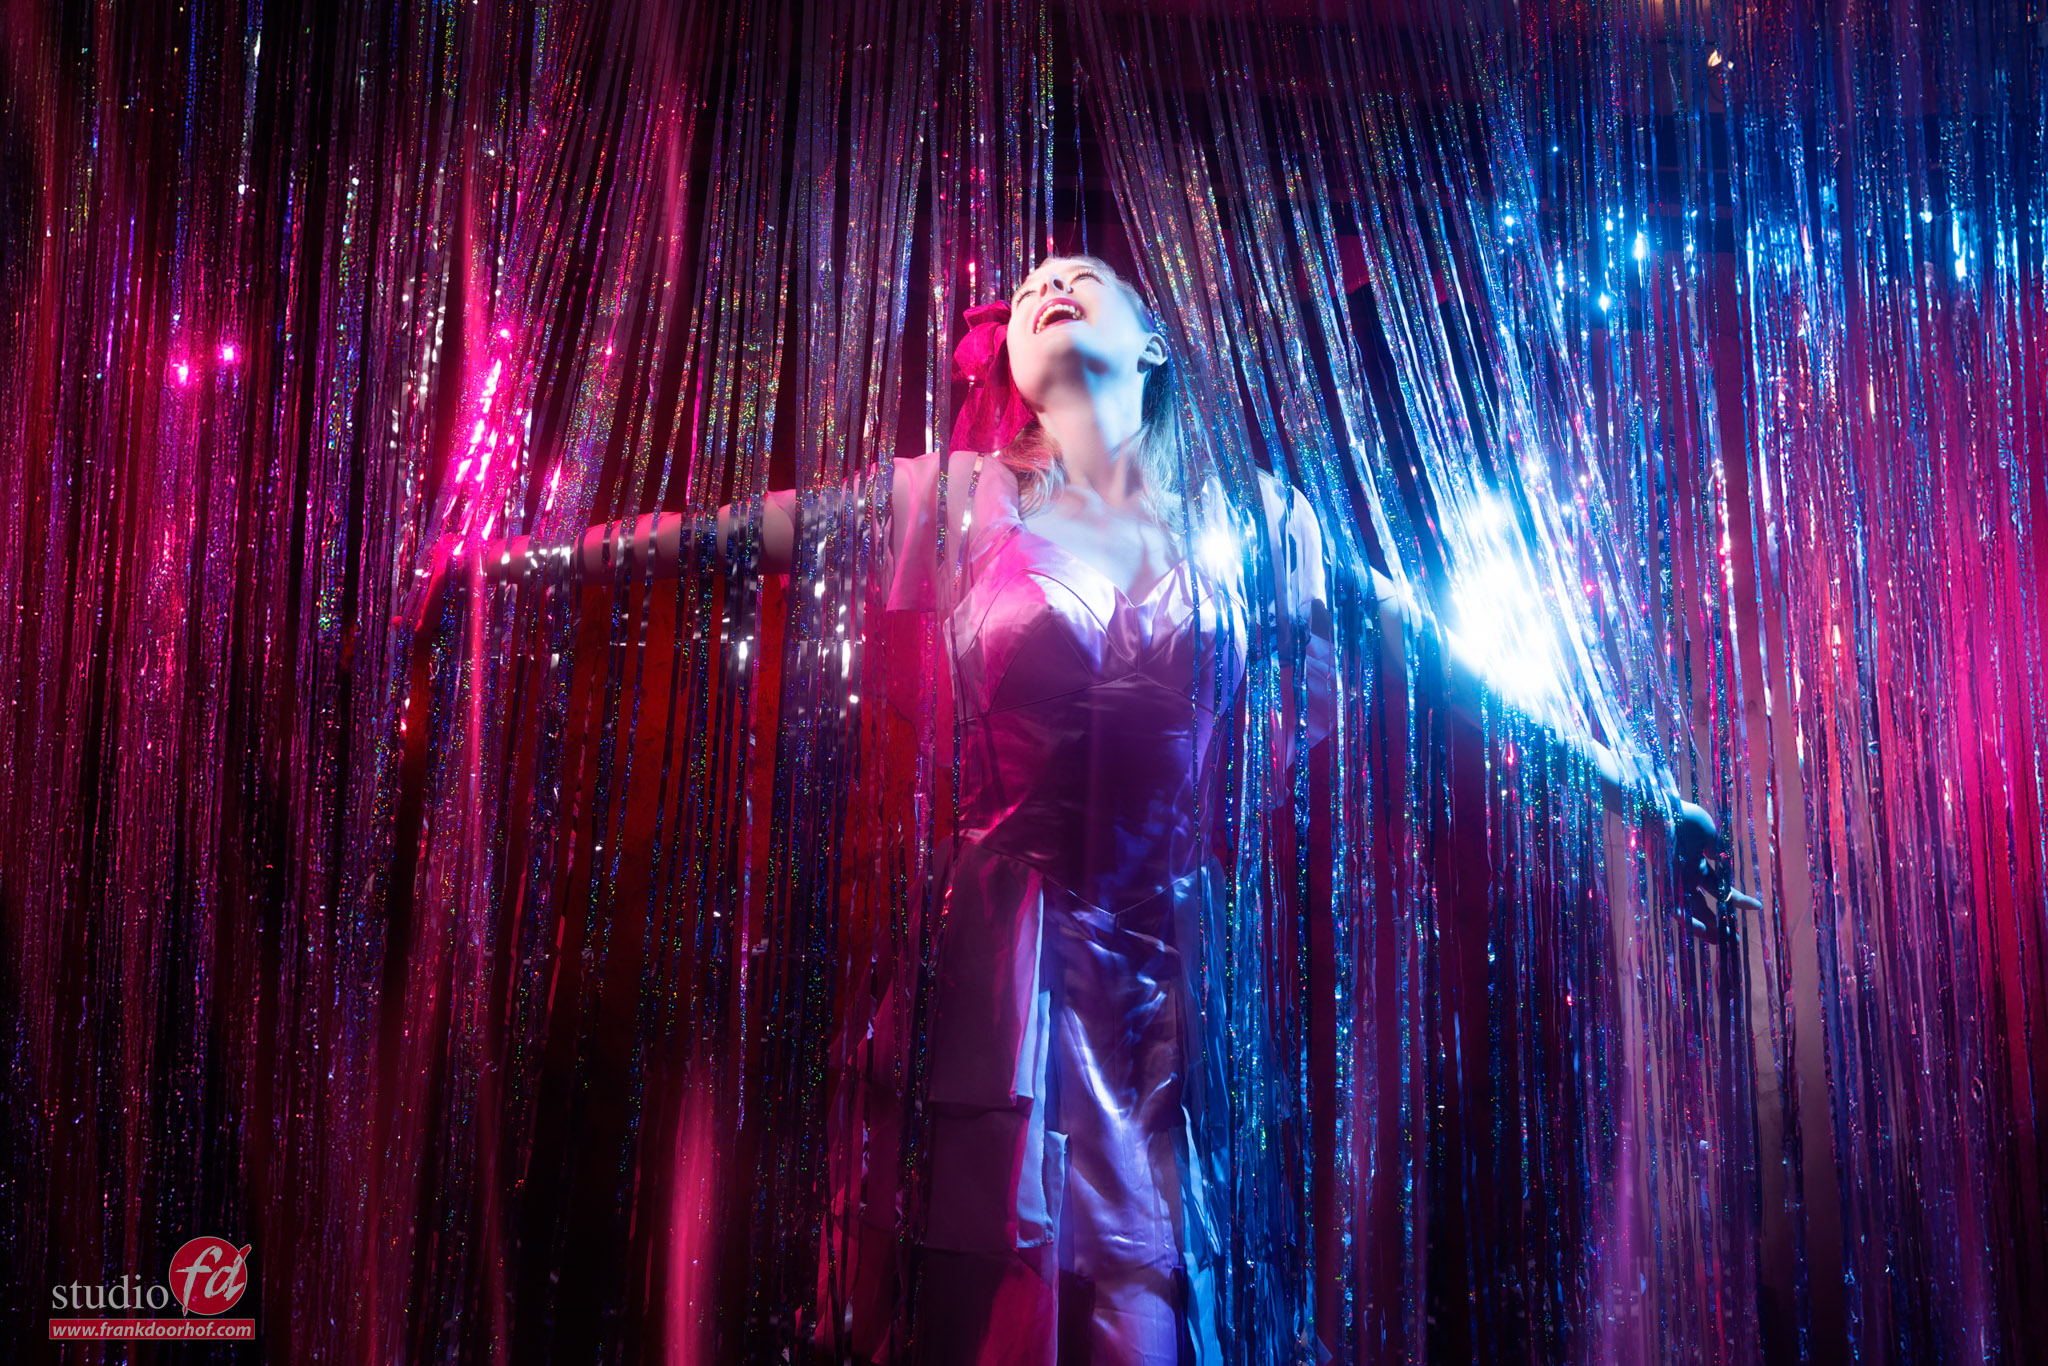
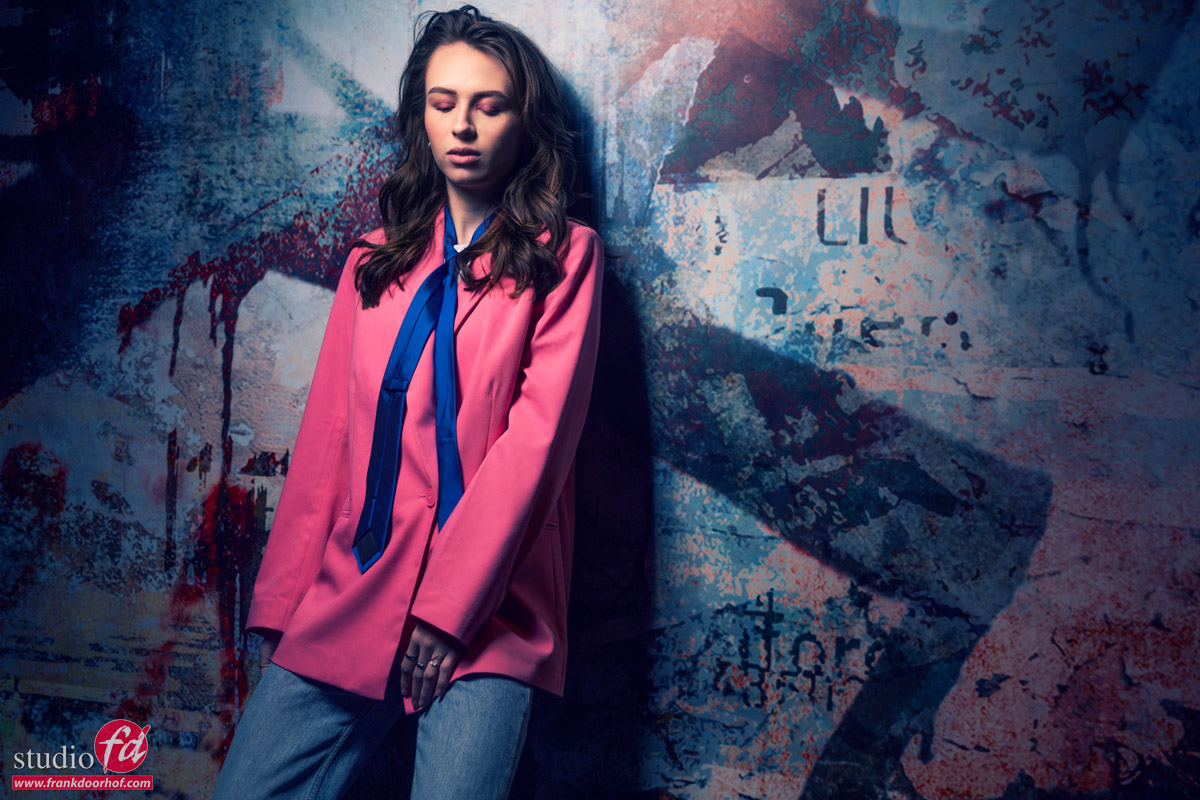
In these images I’m using the projector with a standard gobo with lines on our Geekoto GT400 aimed at Felissa, for the accent light I’m using one Geekoto GT250 with the Rogue Magnetic system and a blue gel. By adding a bit of smoke the blue nicely smeared out over the set.

We build a small set by using 2 of our Clickbackdrops backgrounds.
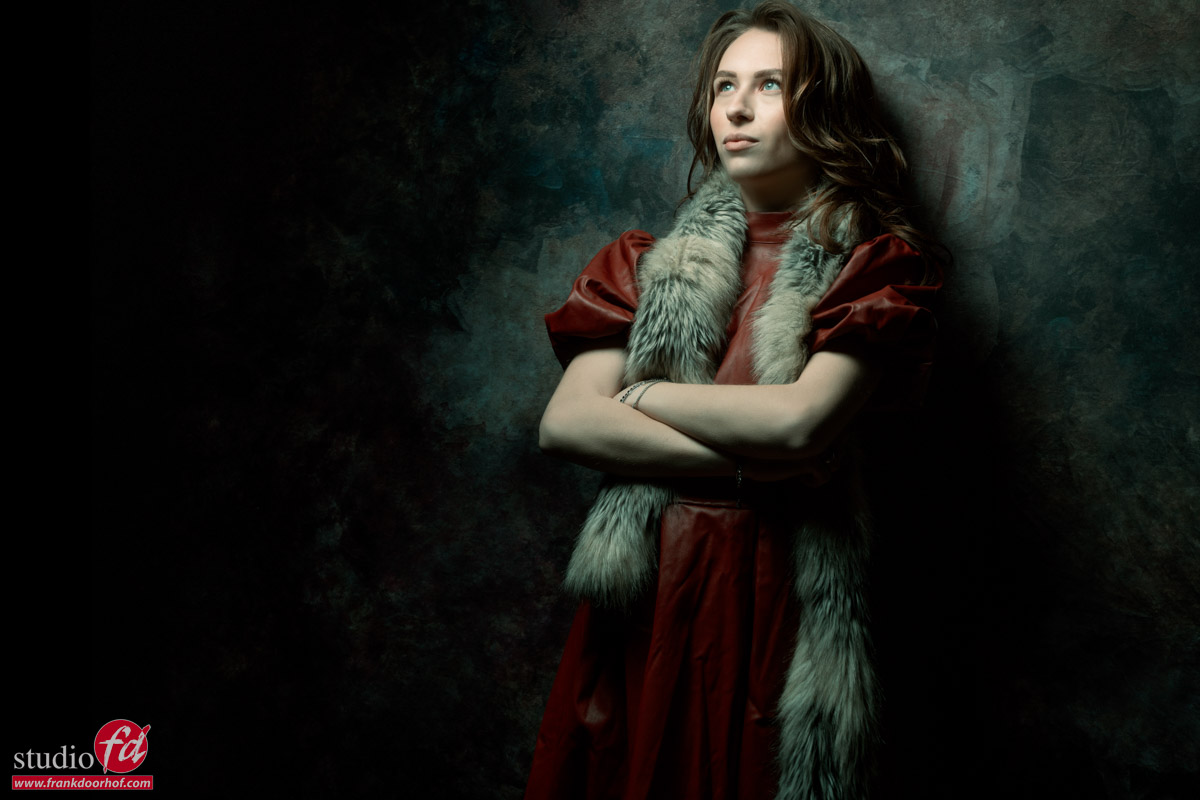
Of course the fur is fake.

A few tips for the Gobo projector

On the Westcott you can mount lenses with the Canon mount.
The lens that was delivered with my set was for me too long and made it impossible to throw the light over a complete set, it does work great for portraits.
So when you want to start using a gobo projector I would advise to get some extra lenses.
Now this is where you have to be careful.
The projector eats light, so make sure that when you get a lens you get the widest possible aperture you can afford, the nice thing is that you don’t need to get a super high quality lens, you could for example use old M42 lenses with a Canon convertor and make it possible to experiment with different lenses.

One of the things I love about the Westcott version is that you don’t need to use the gobos, but you can also use the blades to get some really striking patterns on your model.

And you can of course combine it with some colors for extra stunning effects.

Want to visit one of our workshops?
visit www.fotografie-workshops.nl for the new agenda.
The workshops are in Dutch, but if you let us know a few weeks in advance we can switch the to English.

On location photoshoots : how to kill the ambient light part I

Locations are awesome


But what if they are not? Well, it’s up to you to make them awesome.
Sounds difficult?
Well, it can be, but with the proper lighting and lighting techniques you can create stunning images in locations that are far from awesome. Killing the ambient light is one of those techniques.

Workshop “On location in Emmeloord”

During this workshop, we scout locations close to our studio that look uninteresting but have the potential to become awesome. This is a great workshop to get more secure when working for clients in locations that are a bit less inspiring (or in other words 50% of the time).

During the workshop, I explain the techniques but also tried to create something different in each location.
For this workshop the model was Nadine, and as you can probably see she’s is pregnant so that was a great option to also shoot some pregnancy shots of course.

Today one of the sets from this workshop.

I’m using our Geekoto strobes on HSS in this video.


And, the final results

killing the ambient light

We took this picture during a sunny day and killed the ambient light

killing the ambient light


Day2Night

Killing the ambient light is also called Day to Night (Day2Night). Pictures are taken during the daytime. But it looks like it was taken at night. A lot of my students are interested in this technique. And I always try to incorporate such a scene in the workshop outside.


In this video I went to Times Square in New York, and I’ll give you some tips to look like you took the pictures at night

Check out another video on location with Nadine ad styling of course 

We also did a workshop outside with a Tesla car and model Lois 


Directional light is so much cooler

With directional light, you can really make your model jump out

We recently filmed a brand new class for KelbyOne with our model Claudia.
The video is all about using one strobe and how, by changing light shapes and angles, you can still create totally different looks like using directional light.

Today I wanted to show one of the sets in which I show one of my favourite setups.
In this case, I’m using my main light under an angle from above aimed down.
Because Claudia is wearing glasses I don’t have any problems with shadows under the eyes, or the eyes not getting enough light so I can maximize the direction of light.

The cool thing about this kind of setup is that if you move around your subject the look changes dramatically.
For the mainlight you can use a small softbox like our Geekoto Quicky or for example the Frank Doorhof Rogue Flashbender in striplight configuration.

directional light

Although the whole class is about using one strobe. In this setup, I decided to break that rule and add one more strobe with a blue gel.
In this case, I’m using a blue gel from our Rogue magnetic system.
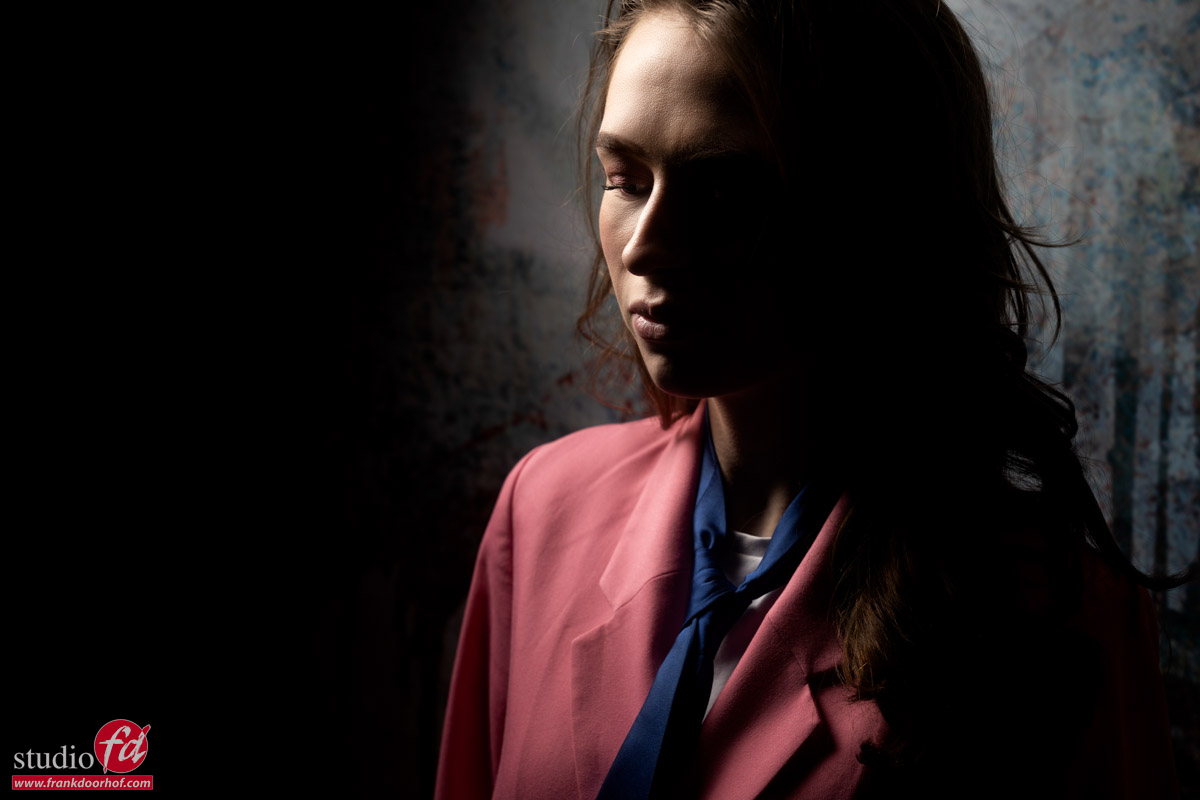
This is an awesome technique in which you first create a focused light pattern on for example the face of the model and make sure the rest is as dark as possible. Now use the second strobe with the gel on a lower setting than the main light and you can get the effect you see below.

Of course, you can experiment with the output and colors.

directional light

Want to see the whole class?

Of course you want 😀
visit www.kelbyone.com for all my classes.


Want to visit a workshop?

If you think “that’s for me, I would love to learn more”
Then visit photography-workshops.eu for the Dutch workshops.
But if you are not living in the Netherlands or don’t speak Dutch we also have other options.
If you let is know 2 weeks in advance I can teach the workshop you want to visit in English.
Or if you can’t travel to our studio we also now offer the option to get a full 1:1 experience with 5 different camera angles, lightroom/Photoshop view and a talkback channel, you also get all the raw files and retouched results from the workshop. Visit our online workshops page for more info.

How to murder your Husband, a Halloween Frank Doorhof Special

It’s Halloween so it’s time for horror

When it’s Halloween it’s time for some cool images of course.
We already showed you the video this morning but now it’s time to see those gory photos in full glory.
I hope you enjoy them as much as we did creating them, and trust me this was one of those workshops where the group totally went for it, I can’t wait for you guys to see the images popping up on their timelines 😀

But in this blogpost… well it’s time for my images.

DISCLAIMER
if you are easily offended don’t read the blogpost, it is Halloween so everything is in good fun of course.

Story time

Photography is paining with light, we all know that expression but for me personally it’s also a large part story telling.
You can do this with sets, lighting, expressions, props etc. but also with adding some special effects in Photoshop.

For this story we knew before hand it would rely heavily on using Photoshop and for me also Boris FX (totally love their optics software). That doesn’t mean however that you can just shoot it all against a blue/green screen of course.
For some images we needed smoke, and besides that I always try to shoot my images already in a setting so that I can use them if my Photoshop skills are not what I thought they were 😀

In this case, I think the images turned out pretty well.

So let’s start.

How to murder your husband

Of course we all love our partners, but what if you can’t stand your husband. And after years of hiding your anger one Halloween night it’s enough. You can’t face the truth yourself so you decided to go to the cellar and put on the mask.

“Honey, can you come downstairs please I need some help”
Yeah help you don’t really need right?
She already got something heavy and put on her wedding dress (because you can see the blood better, and it was more dramatic than jeans and a tanktop).

When the husband comes down the stairs he started laughing “What are you wearing, lol you think it’s already Halloween dummy”

“YES IT’S HALLOWEEN”
And that’s the last thing he heard besides the blows hitting his head.

After the fact she looks at the lifeless body and realises something terrible,….. it’s going to stink like crazy so we have to get rid of the body.
Luckily there is a forrest close by, and the drags the body behind her to a place where no-one will ever find him.

After she dug the grave it was time for the “till death do us part, part”
She took of her cheap wedding ring he got at the pawnshop in Vegas and after 13 years still read the name of that other woman you never met.

Closing up the grave she felt liberated, happy but… also a little bit sad. She did ruin a perfectly great wedding dress.

The grave is closed, the ring is gone, the wedding dress is soaked in blood (this will be a huge cleaners bill).
But one thing still has to be done.
One flower for total liberation

This is how the story end… or does it?


yes it does for now.
But I still wanted to share one more image from this workshop. It was actually an image to test a setup but I still liked it enough to include it into this post.