Tag Archive for: model

Tip on using colored lights

You have probably seen them in kits… color gels.
Most used are the so called CTO gels which can be used to correct colorcasts for example when mixing strobes and tungsten. However there are also the “special effects” gels, for example bright red, green and blue (and many others).


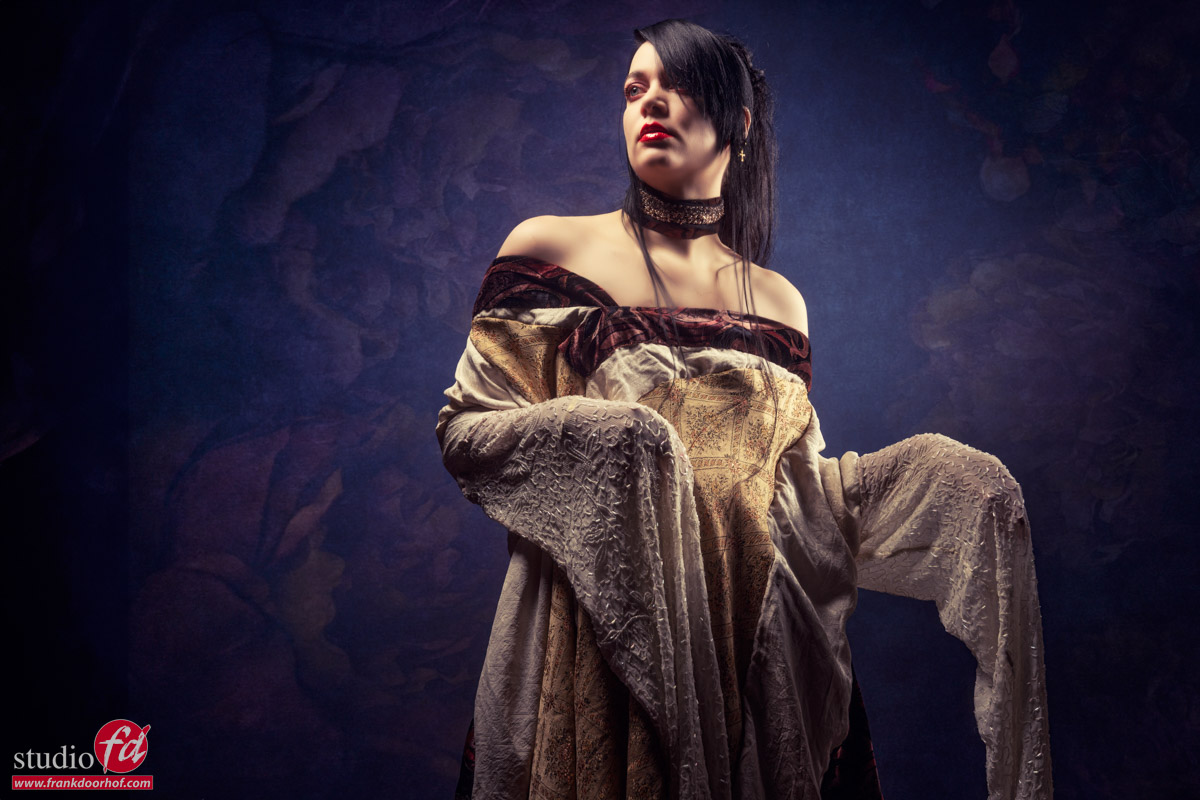
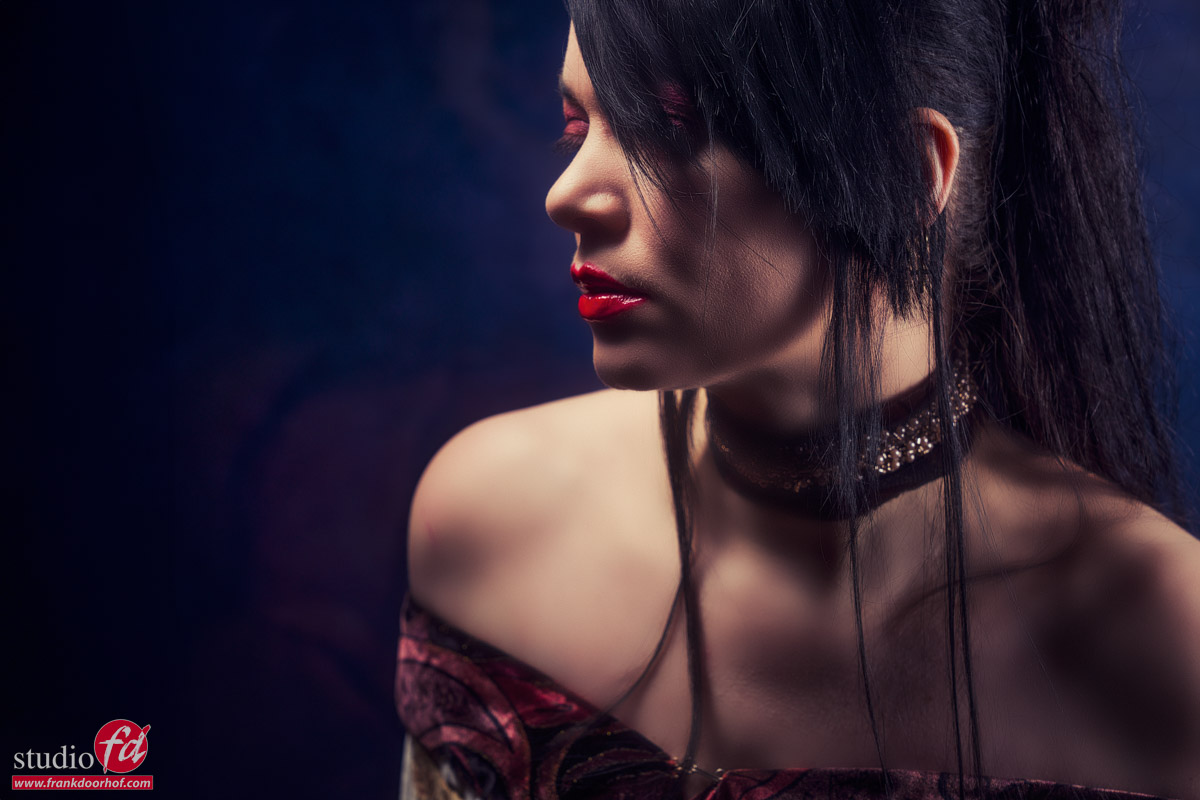
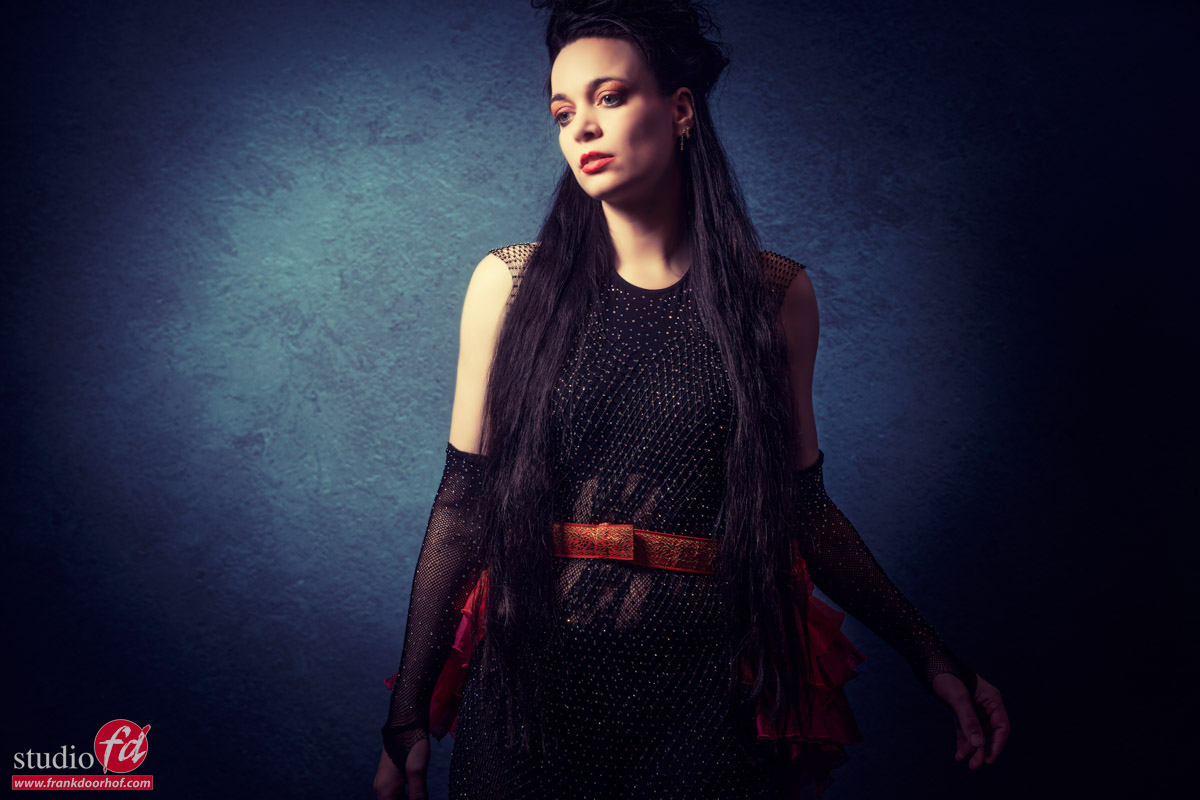
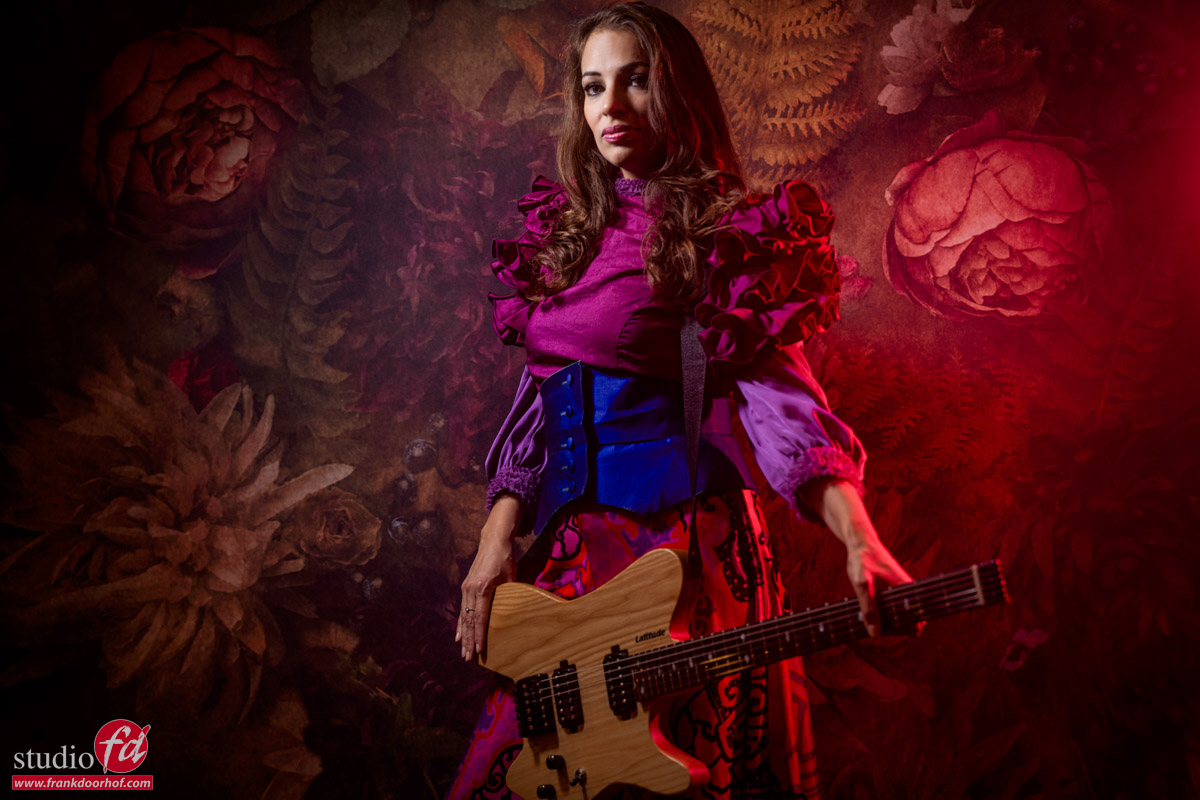
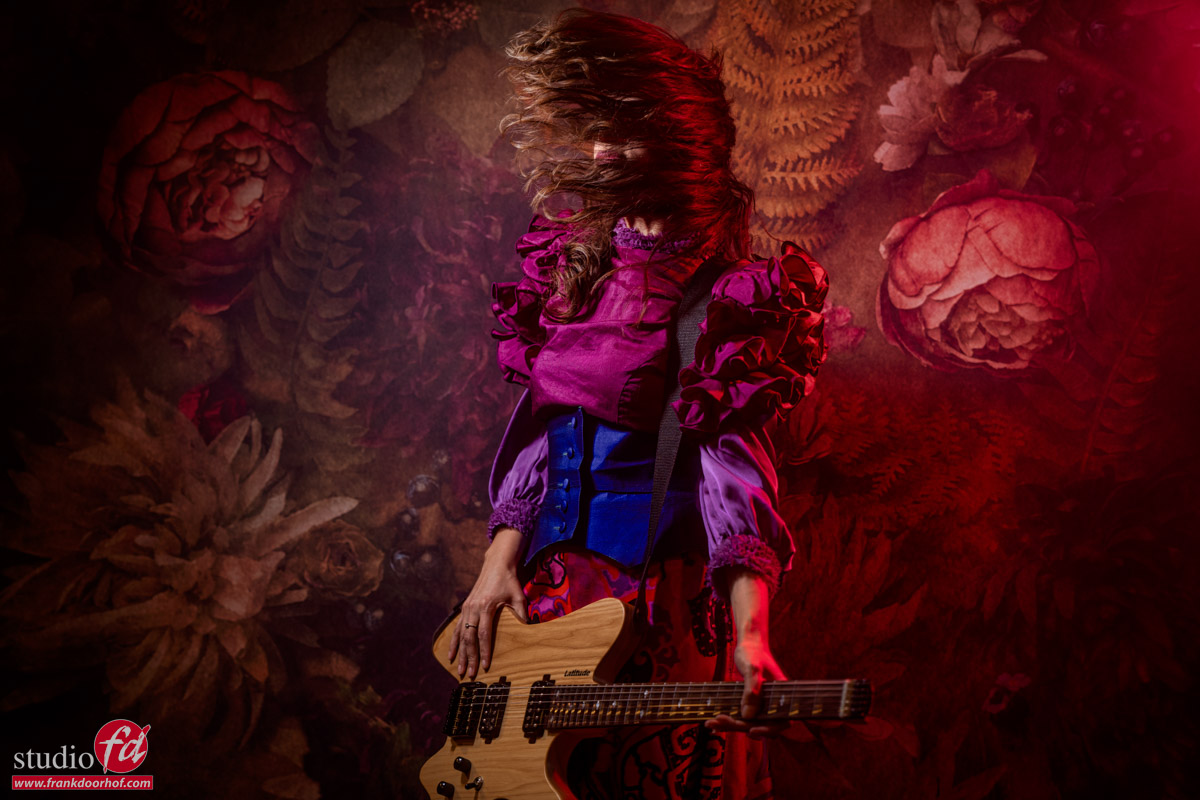
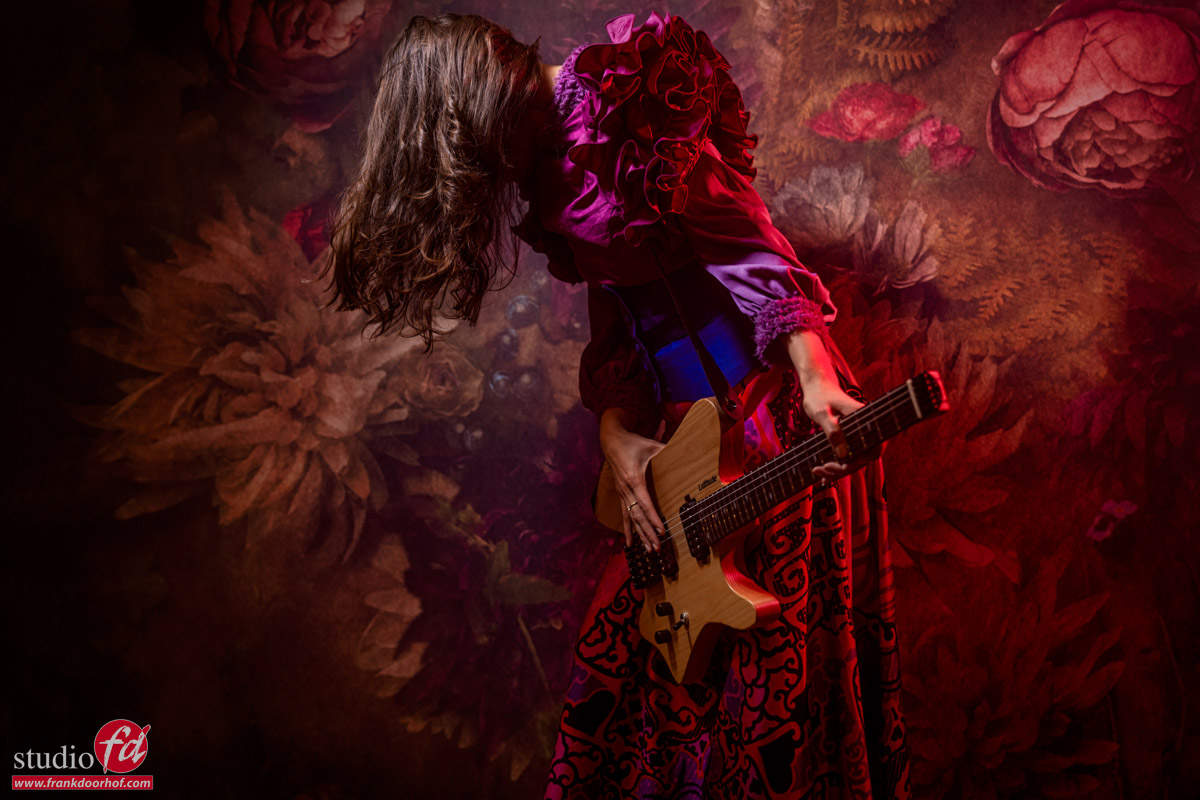
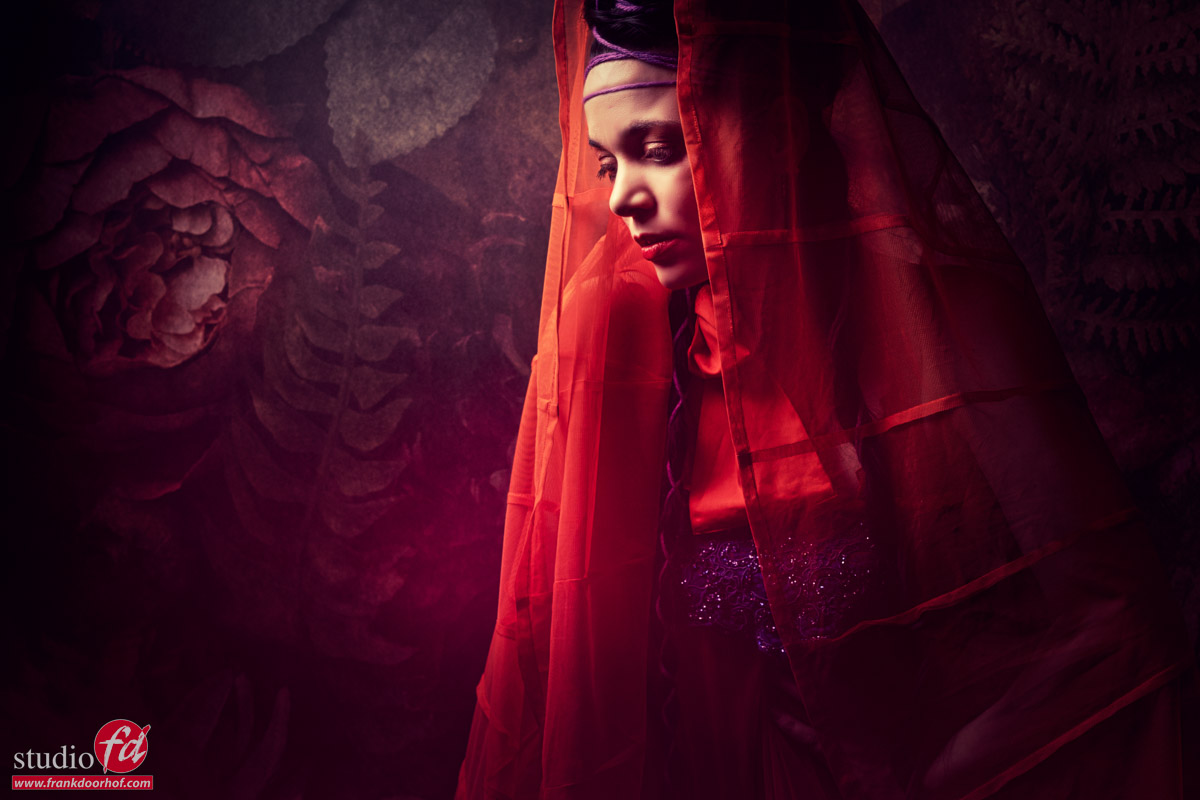
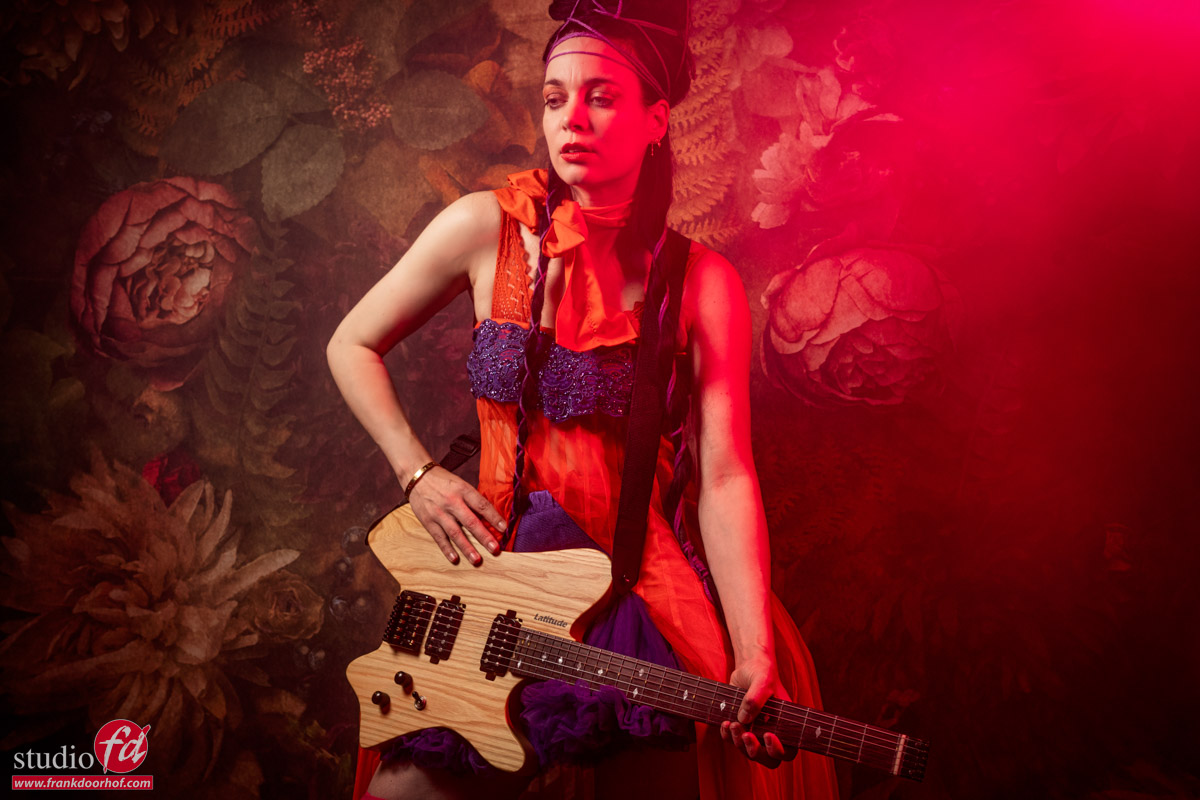
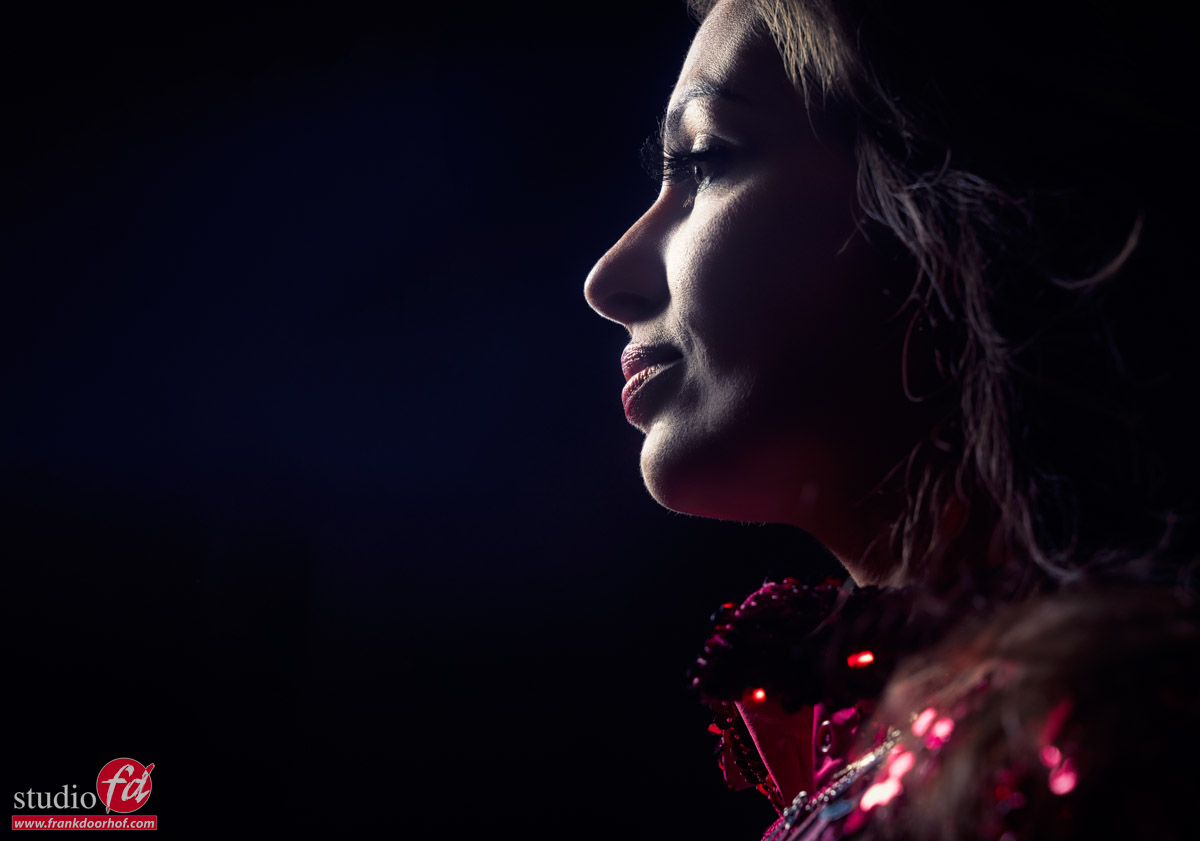
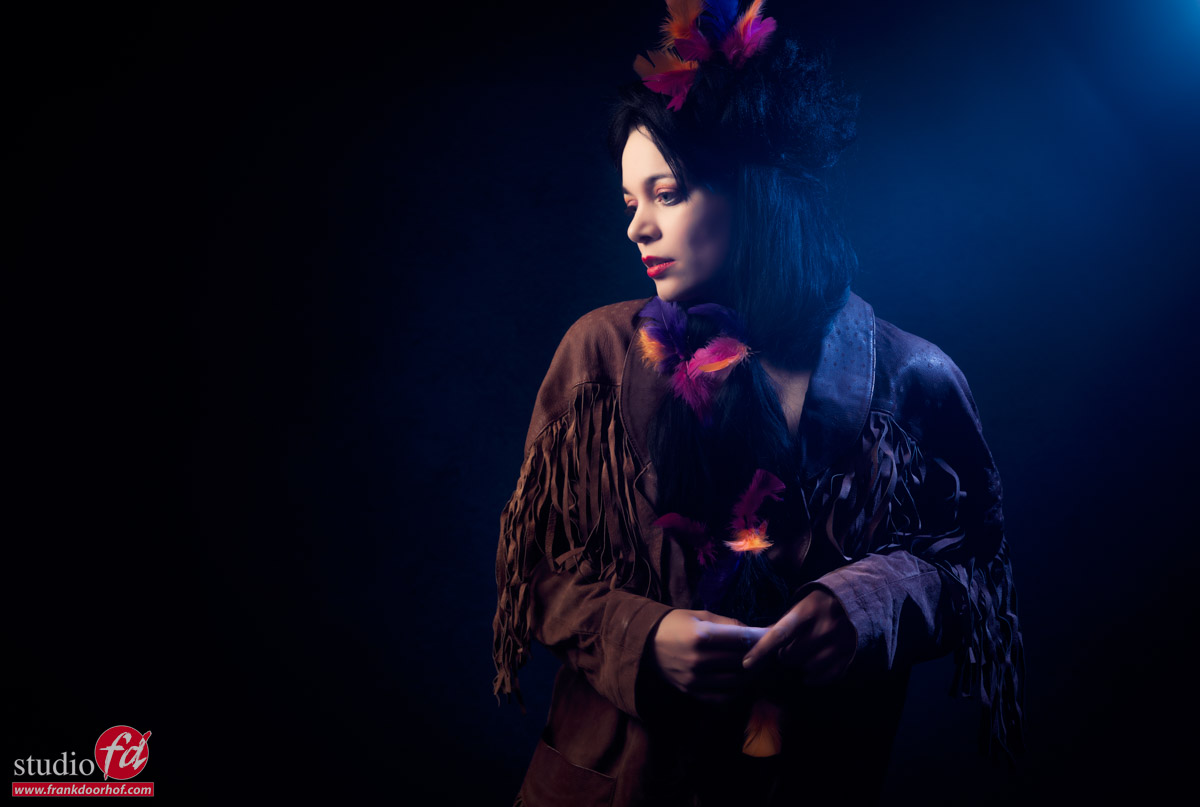
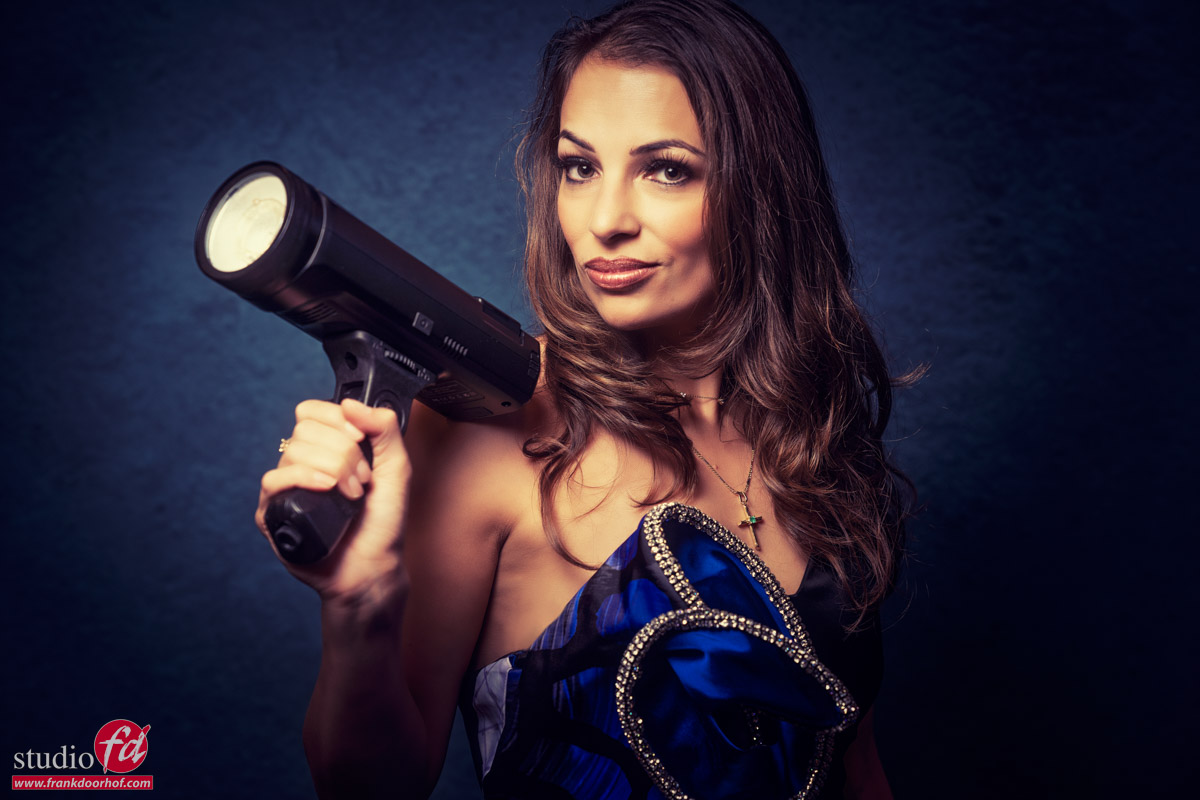
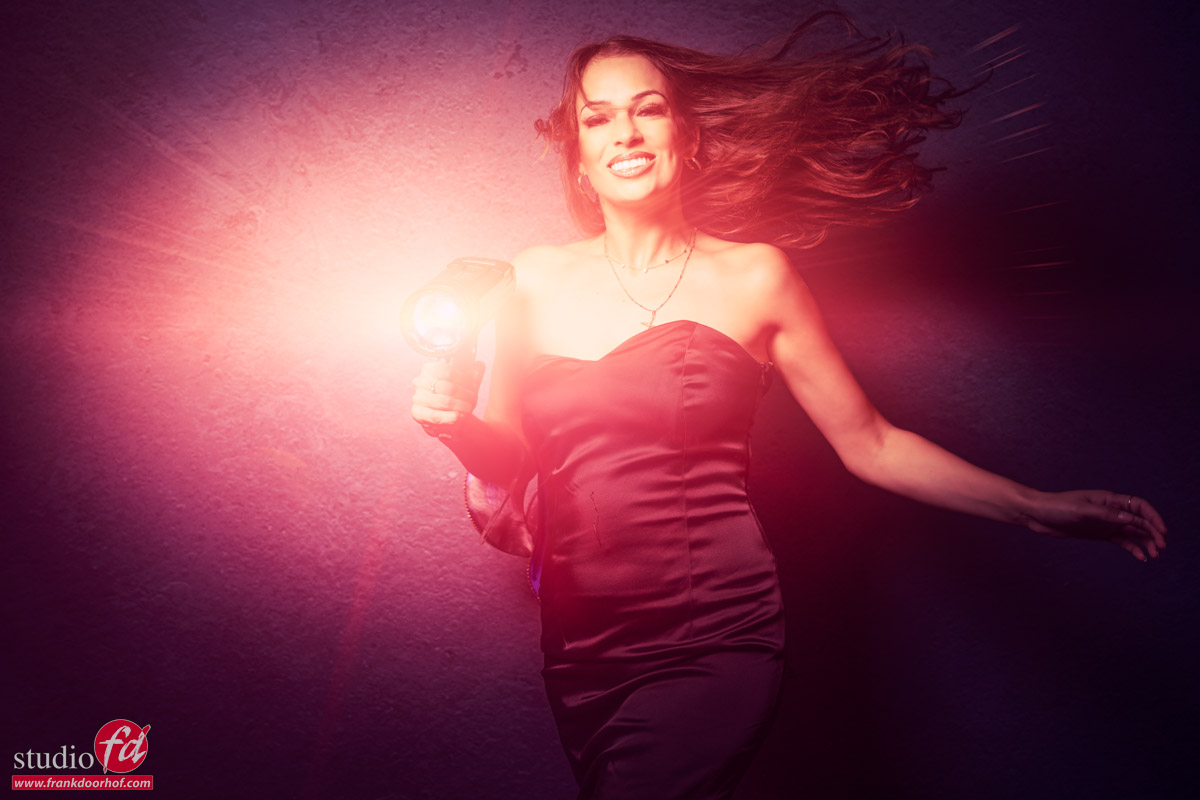
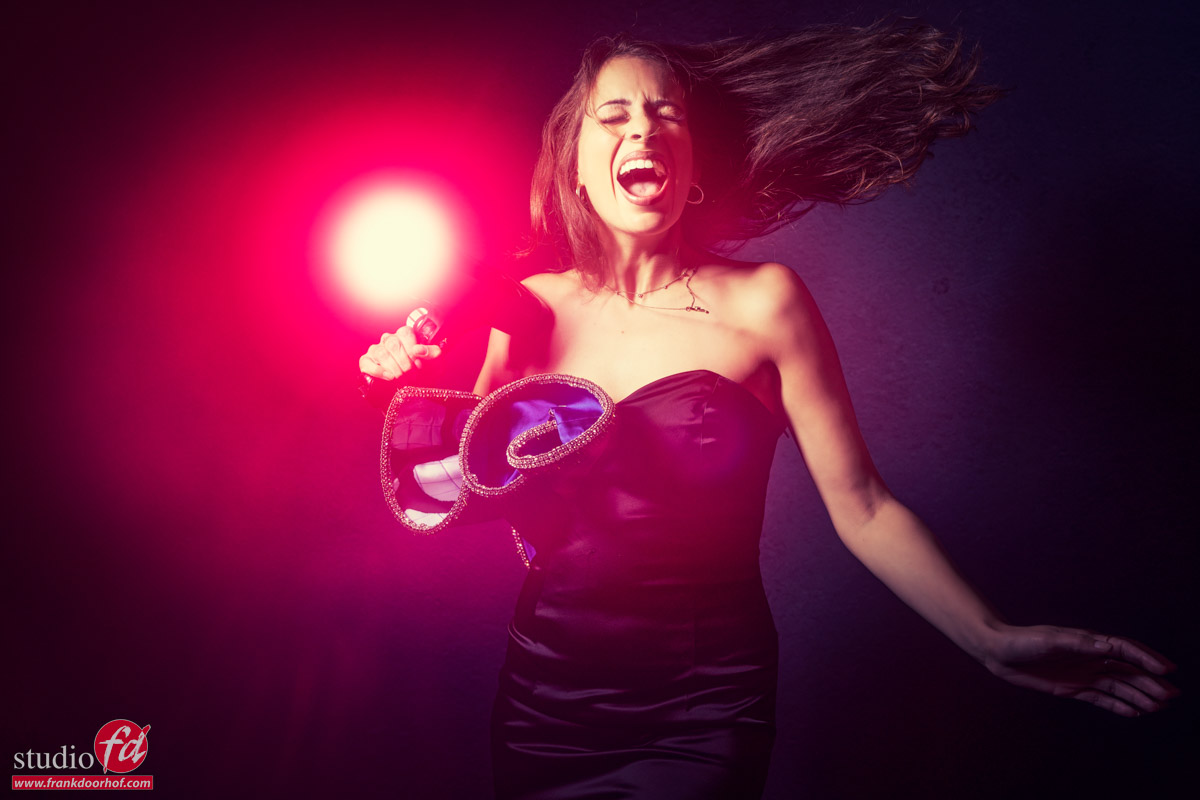
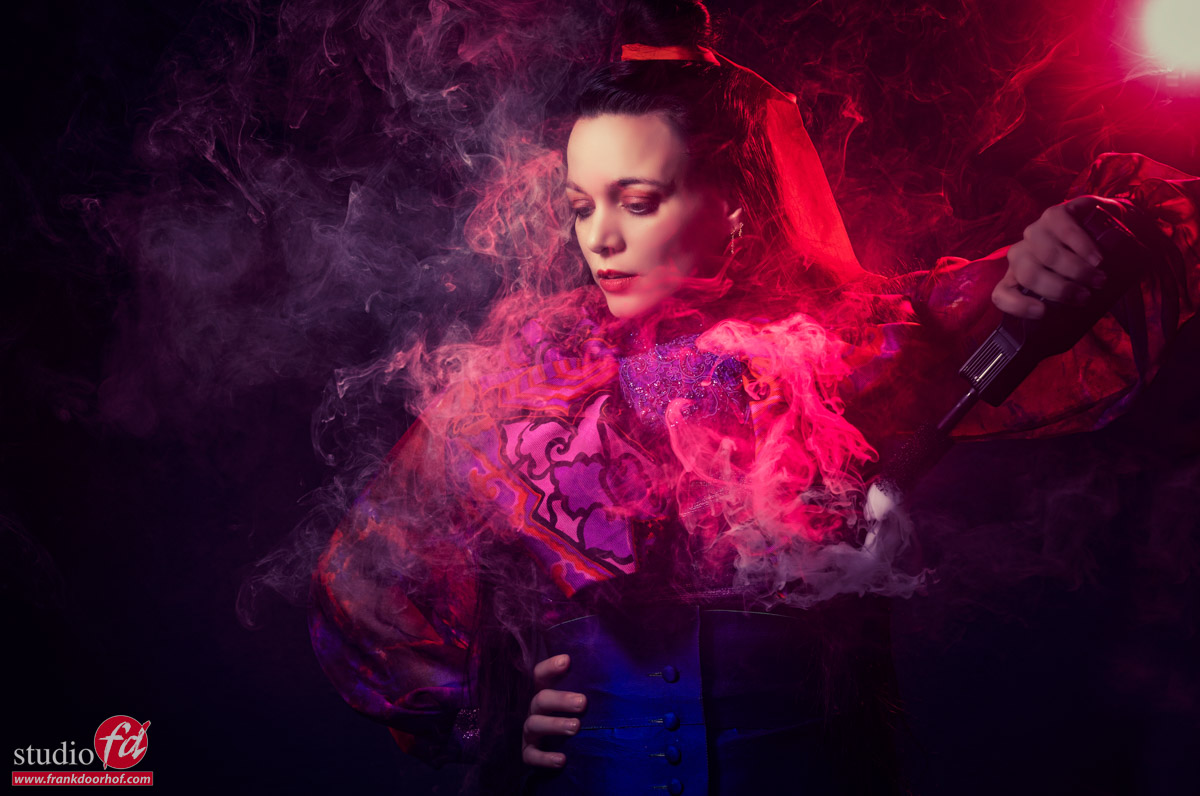
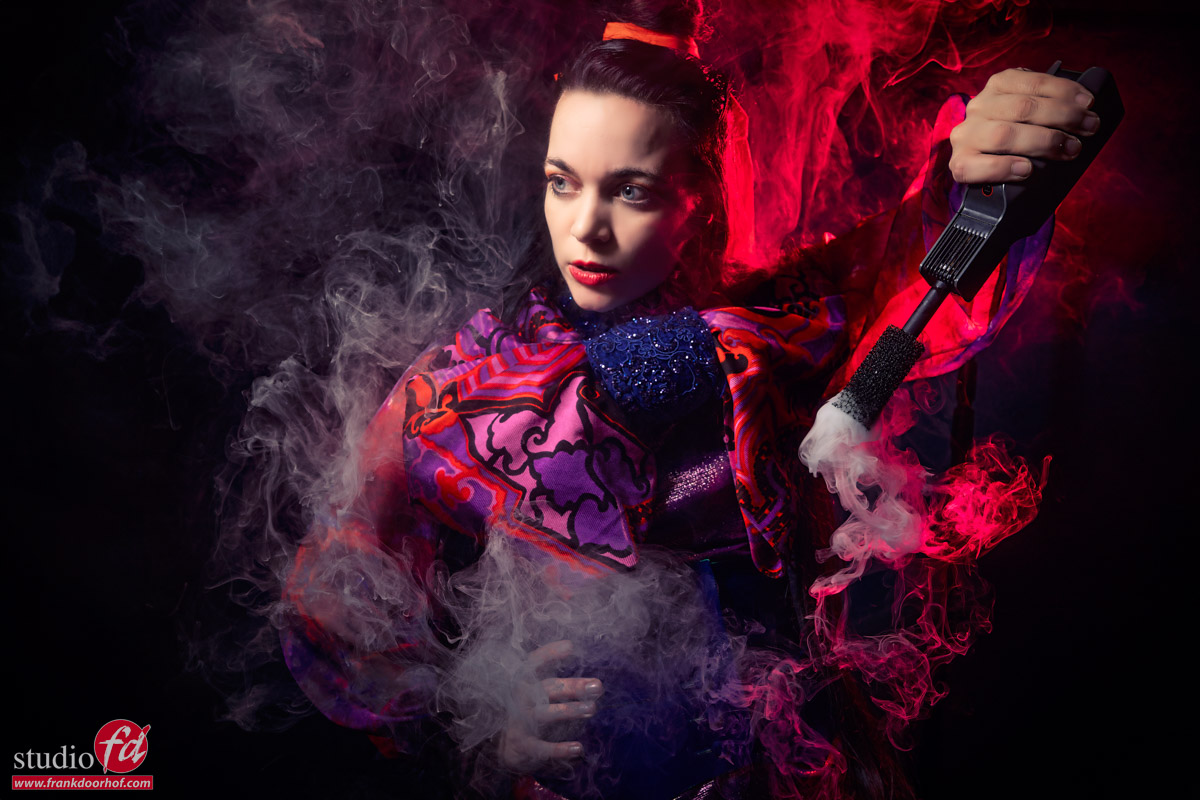
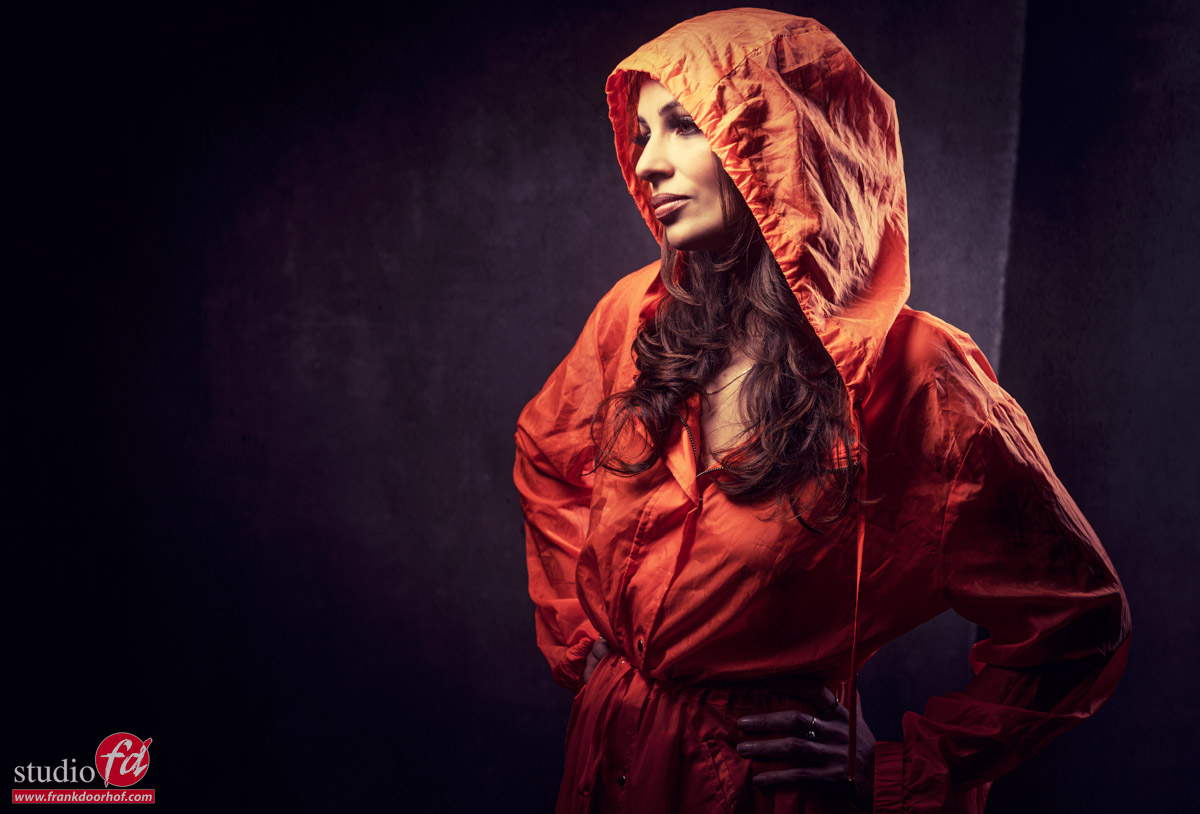
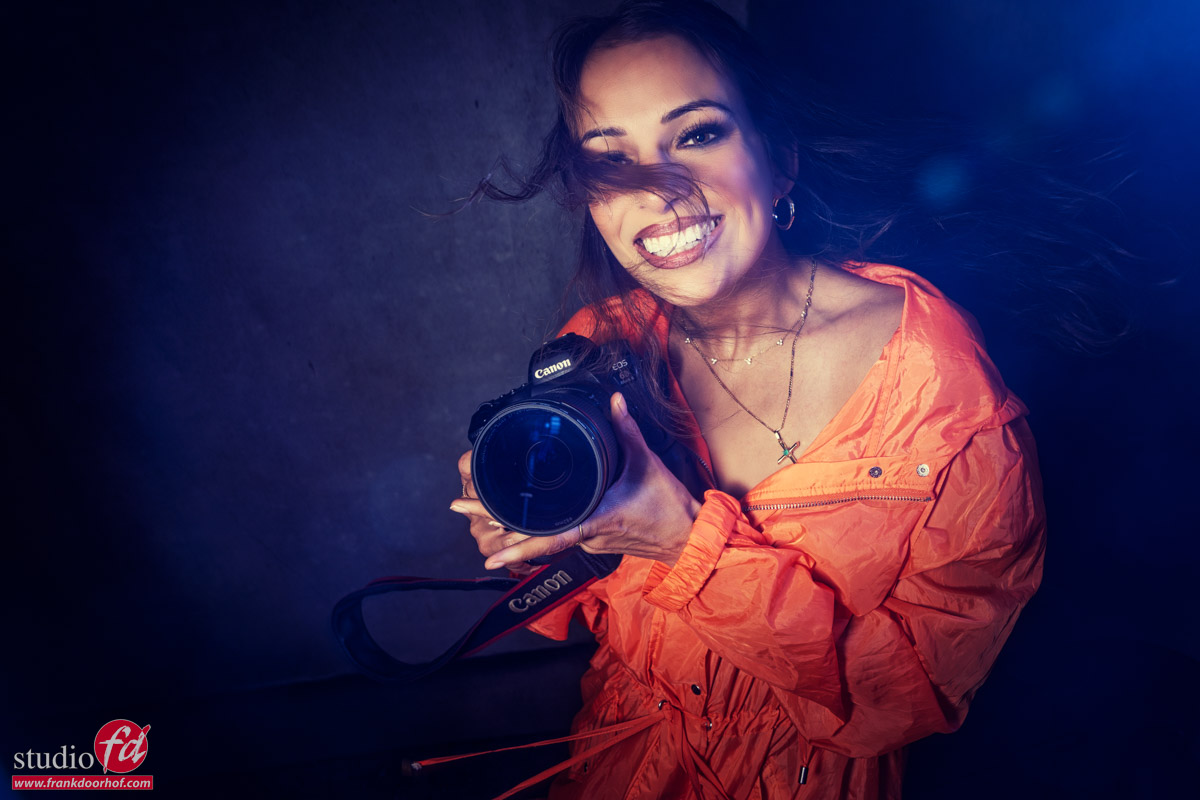
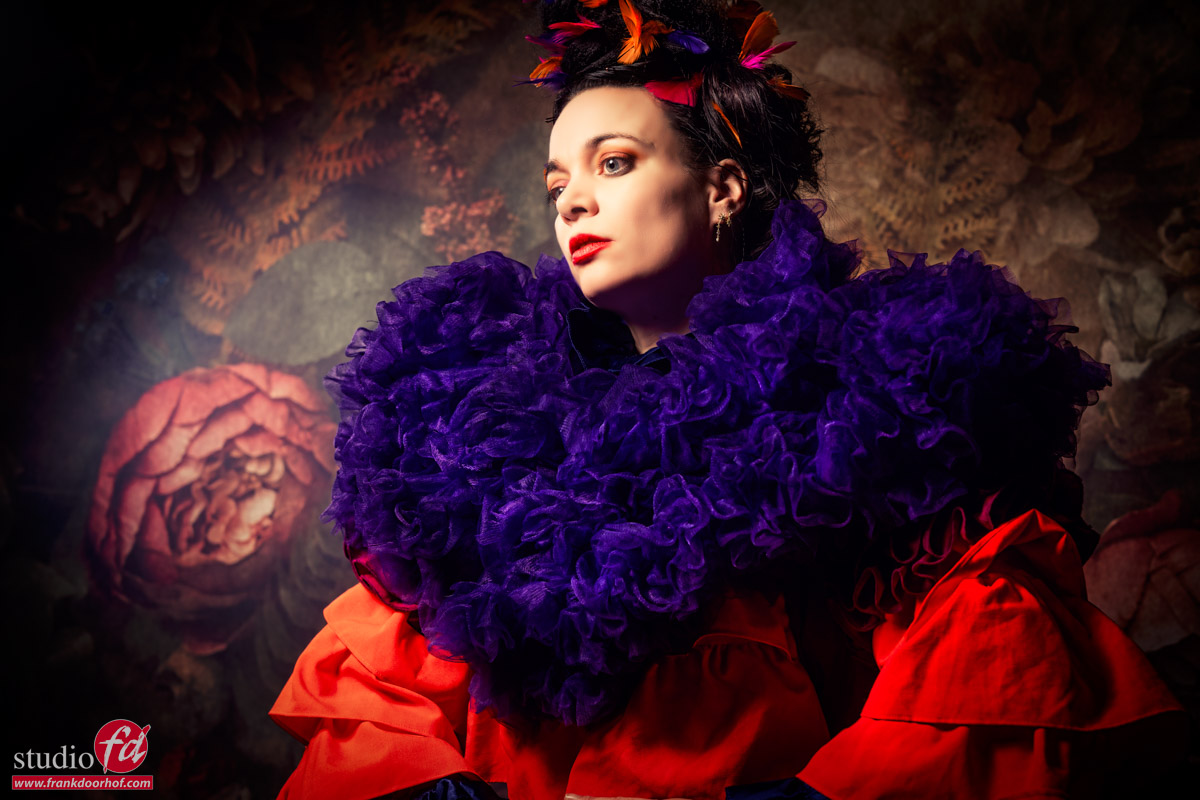
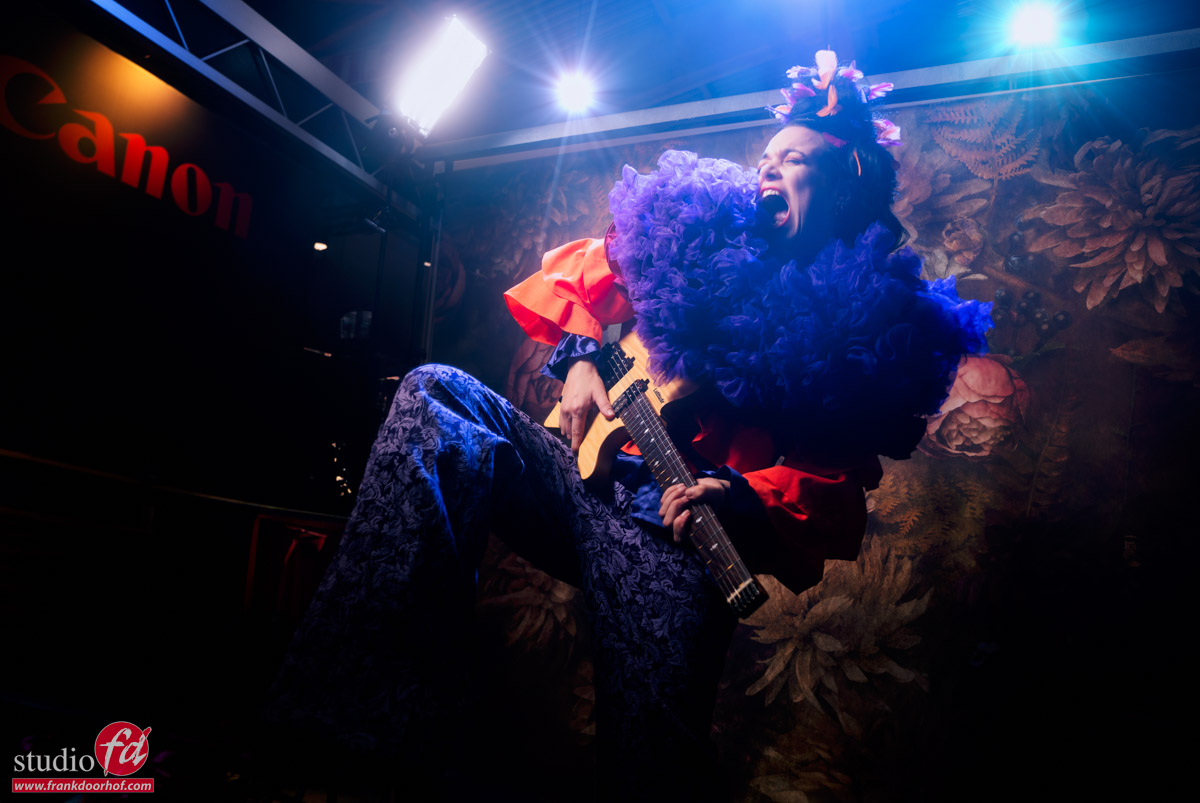
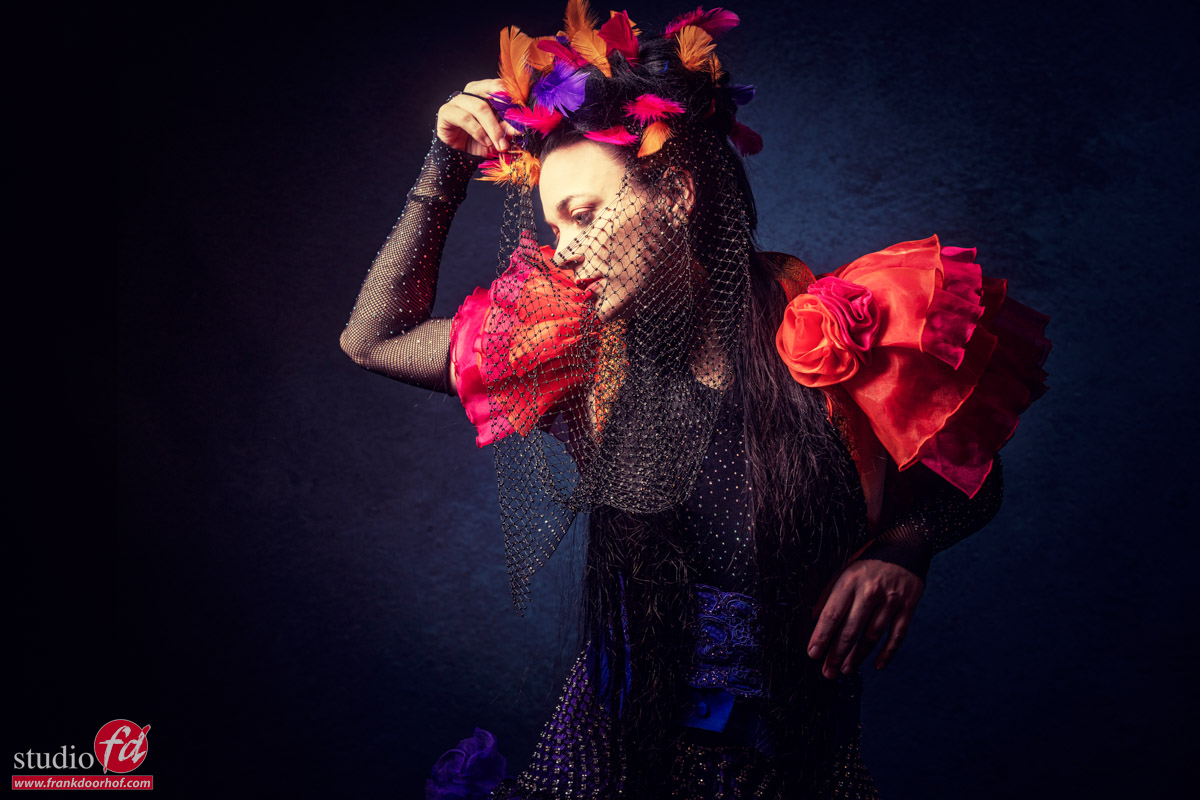
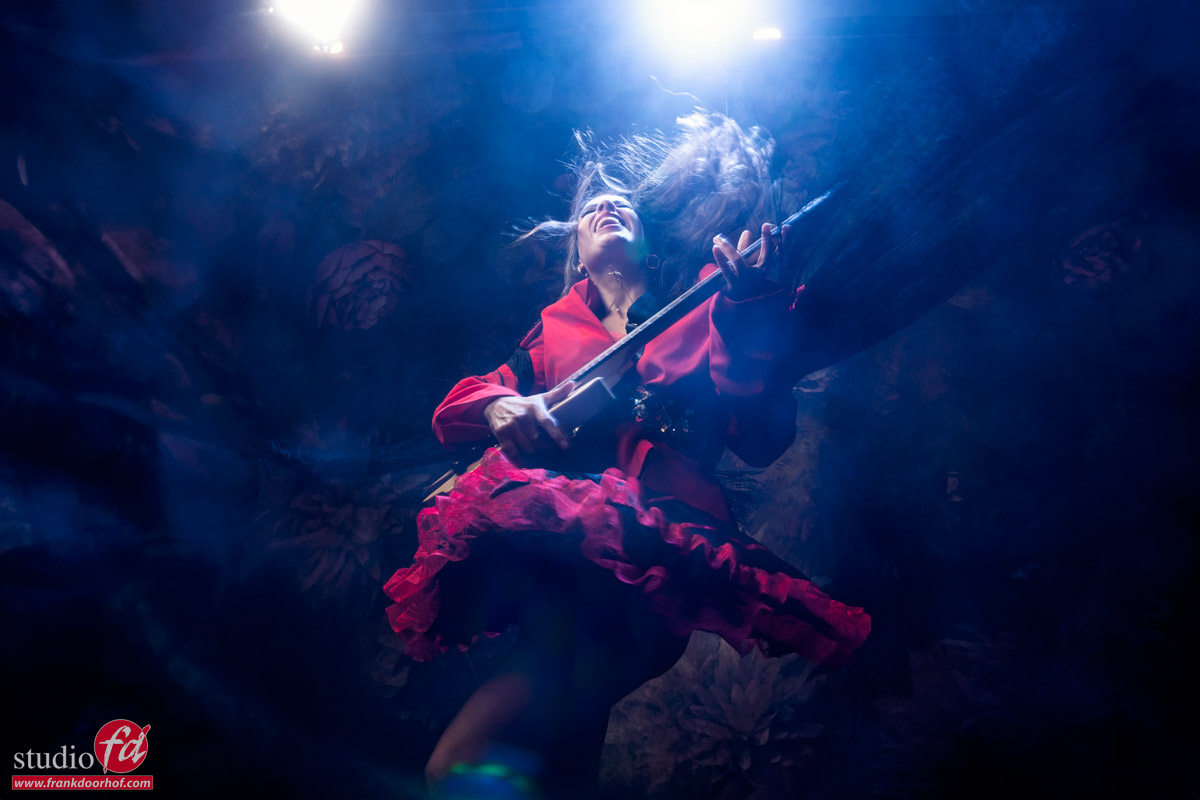
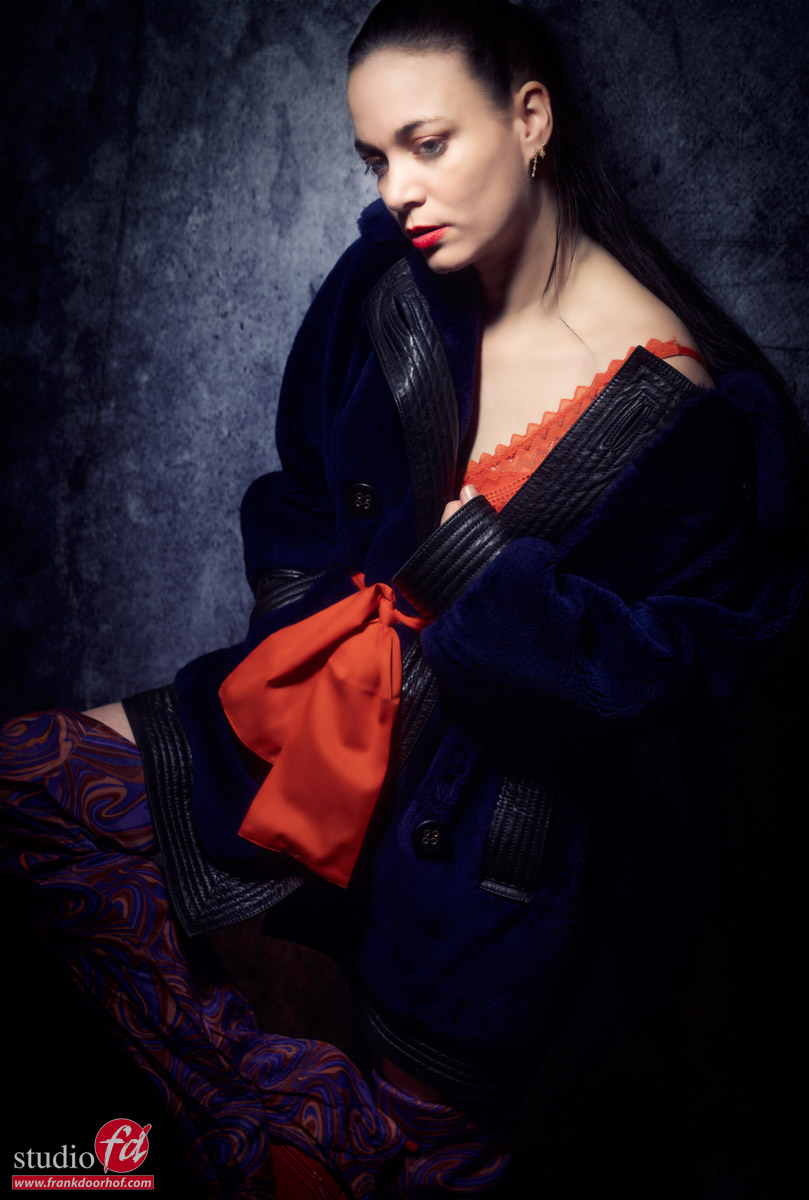
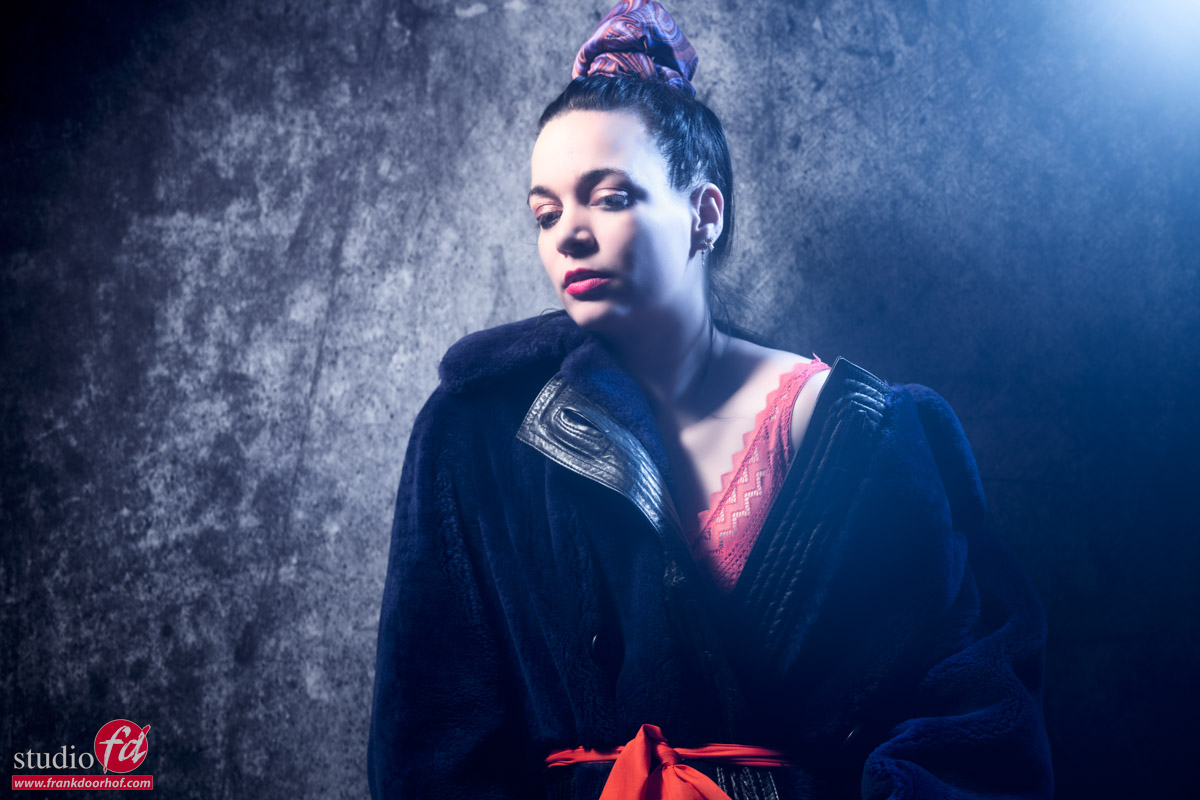
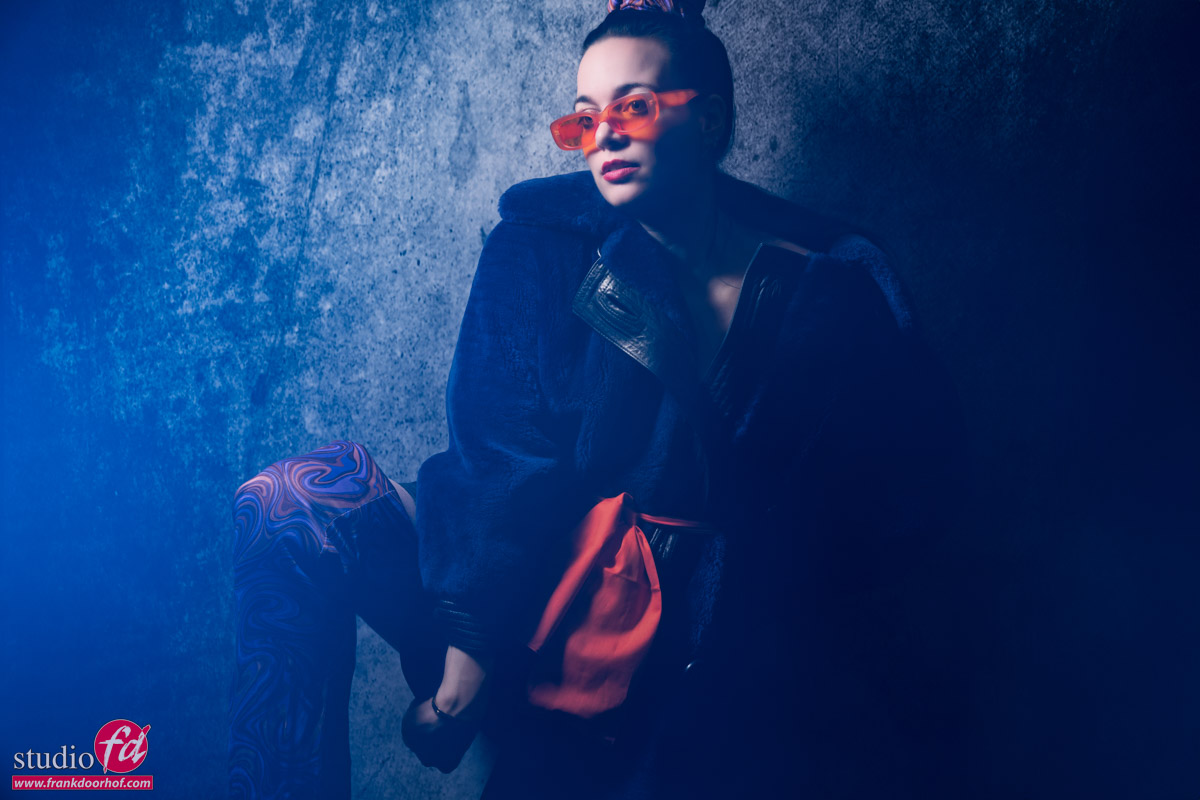
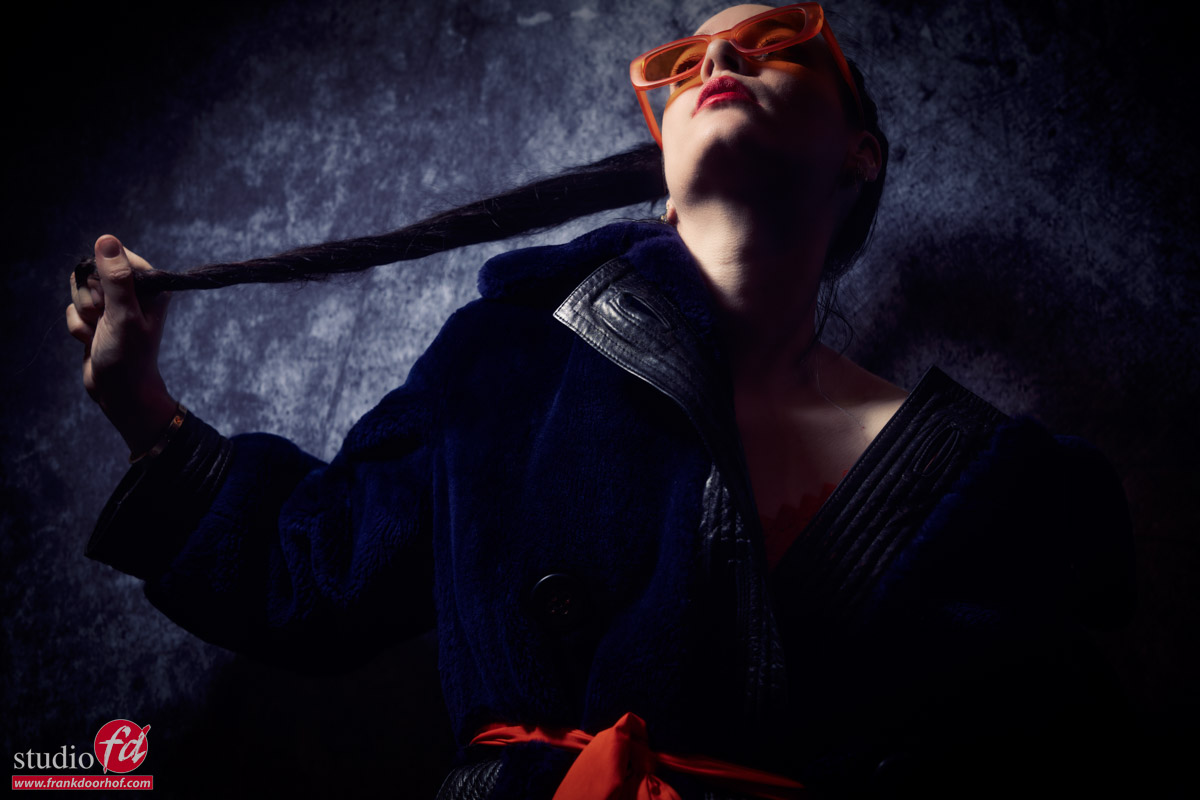
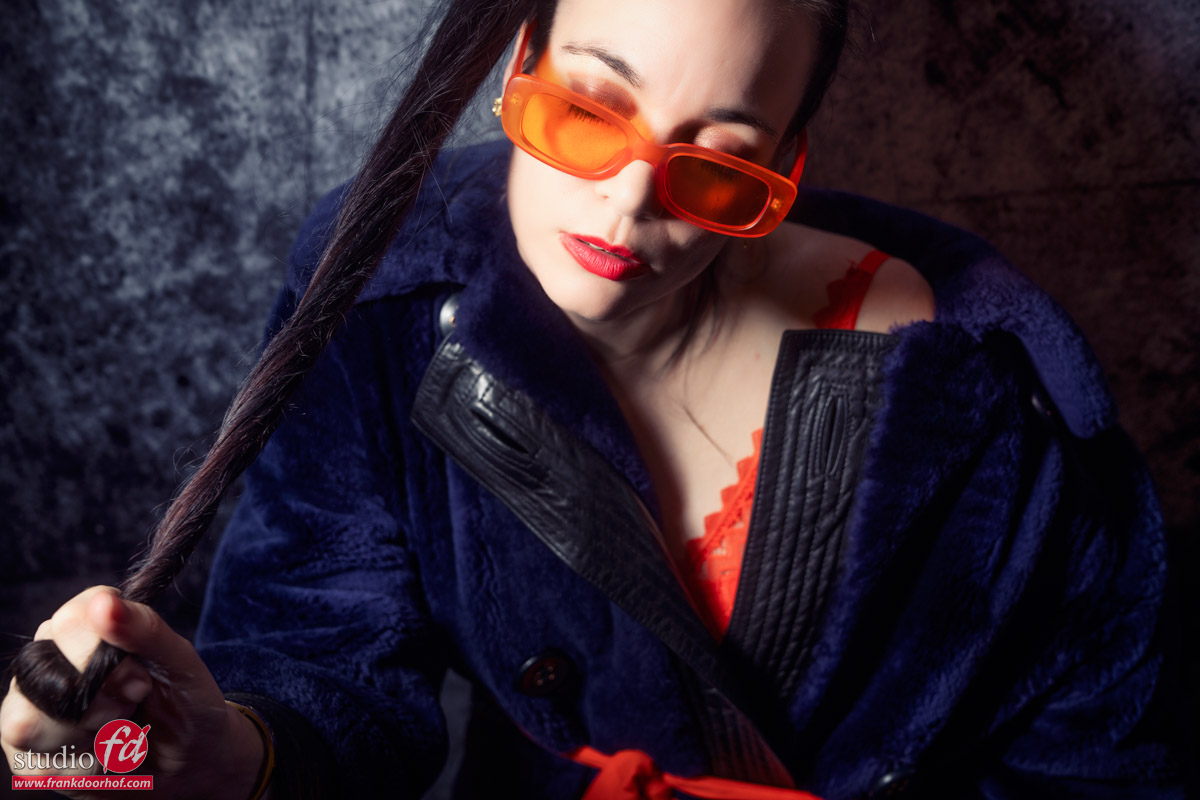
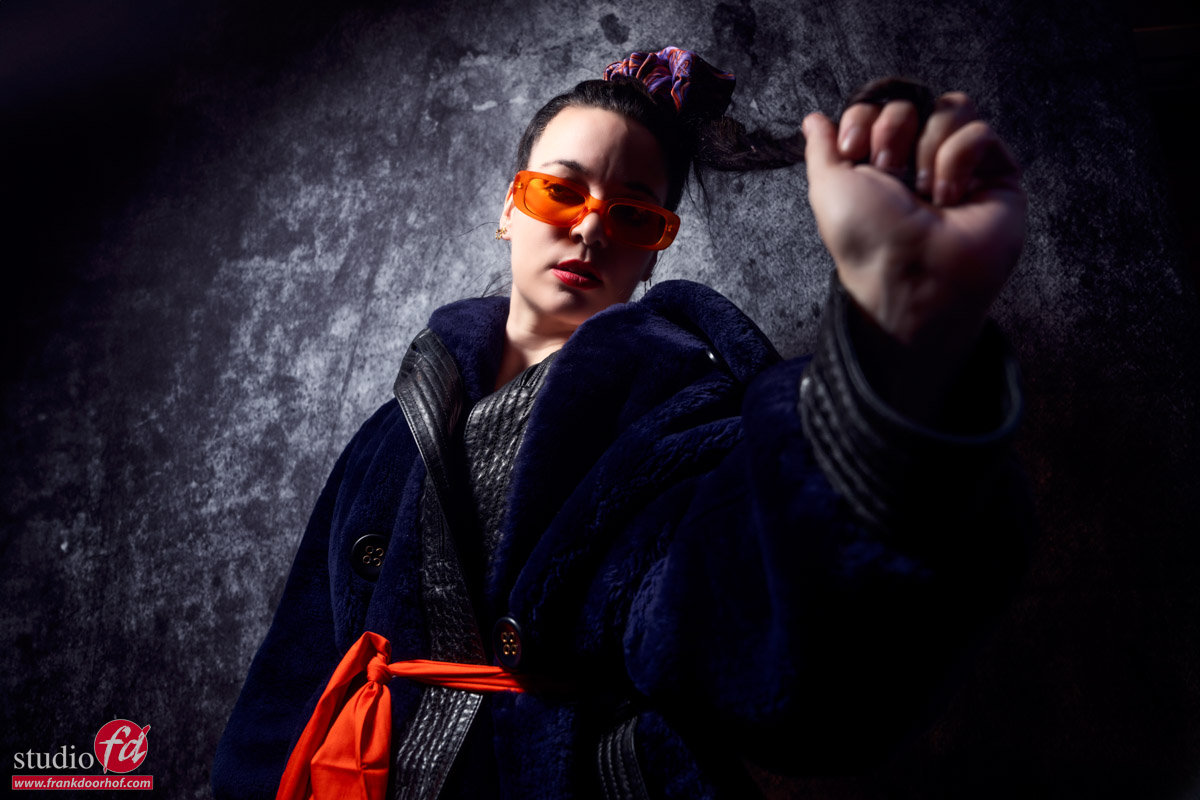
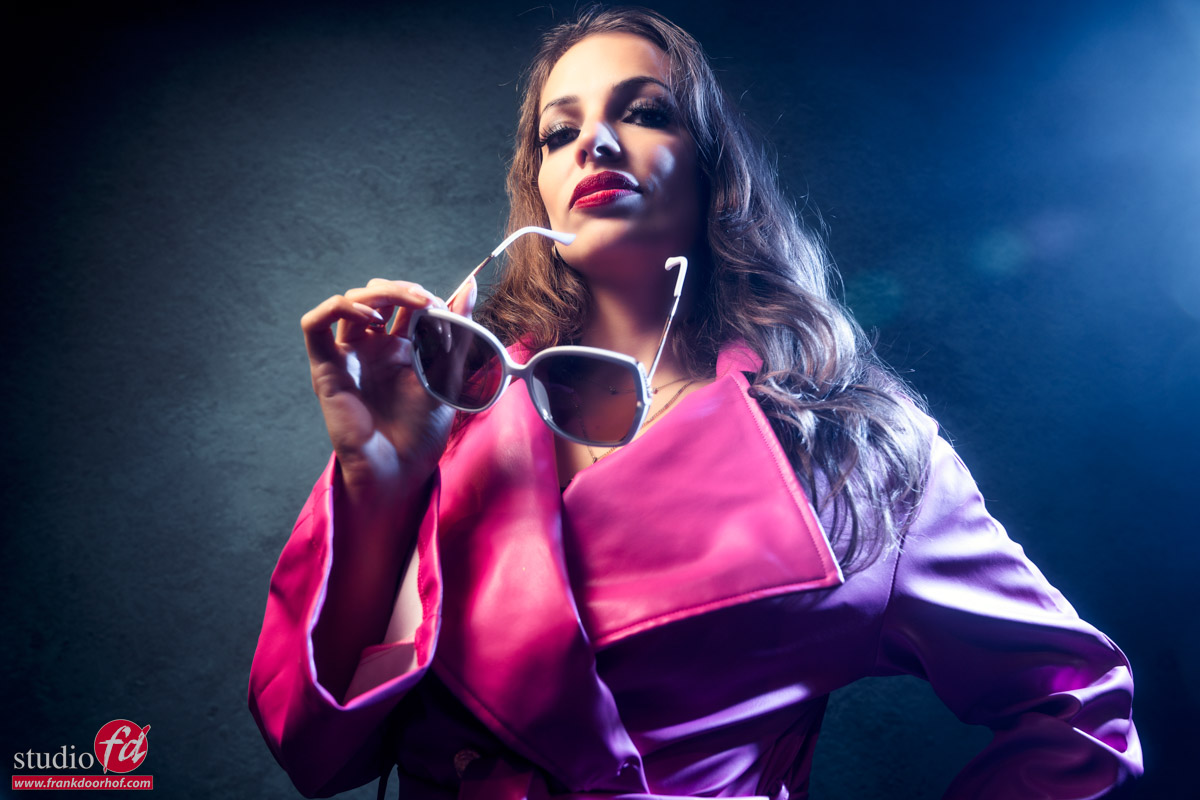
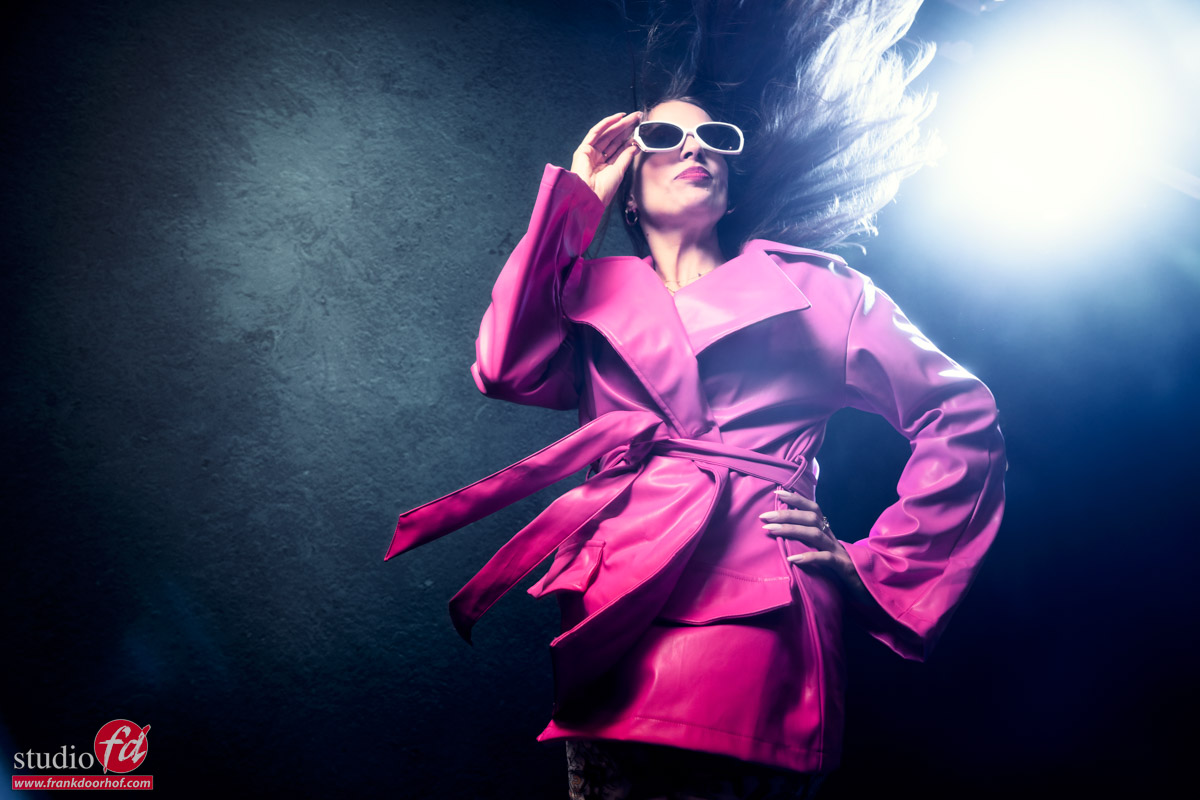
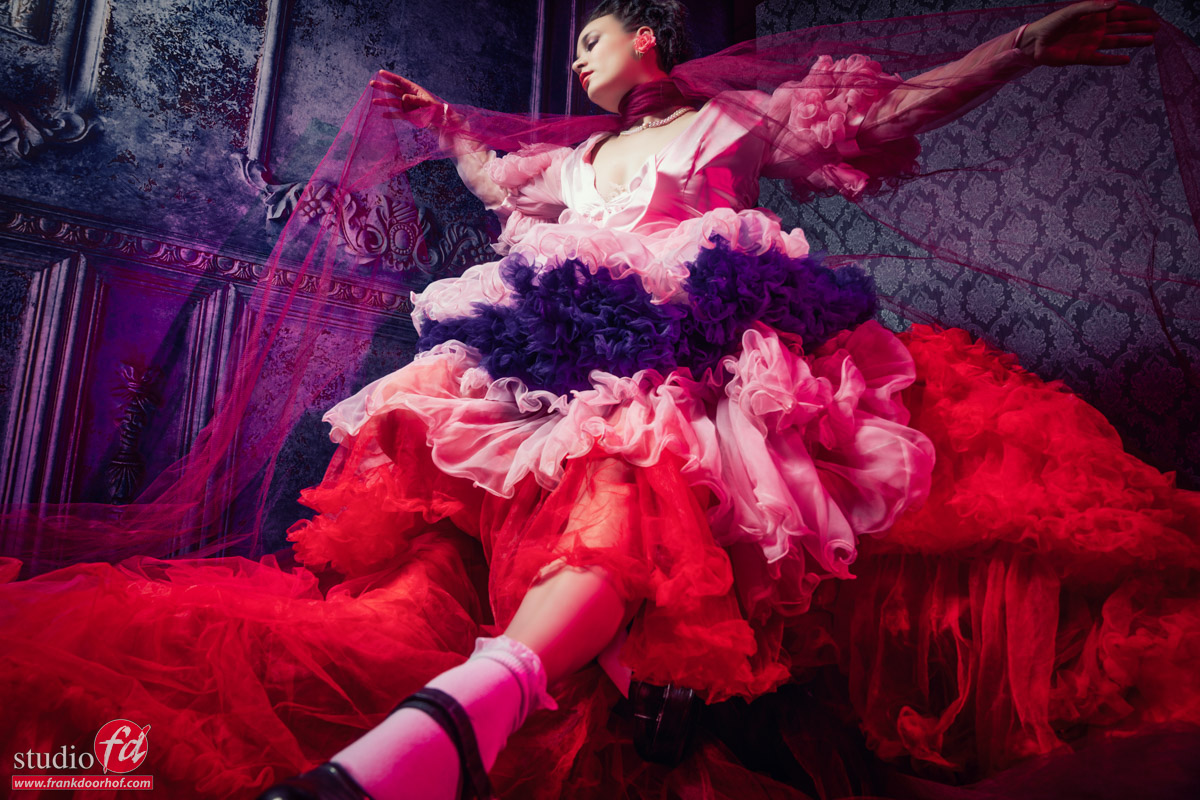
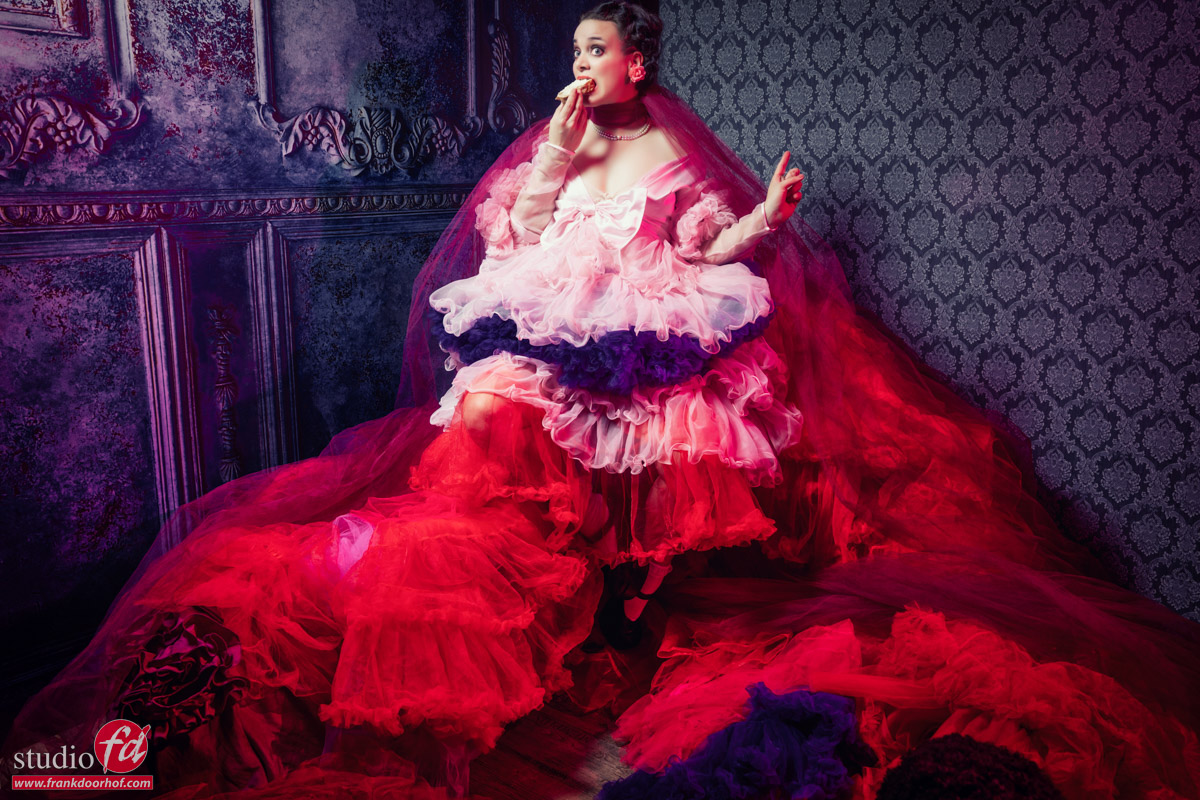
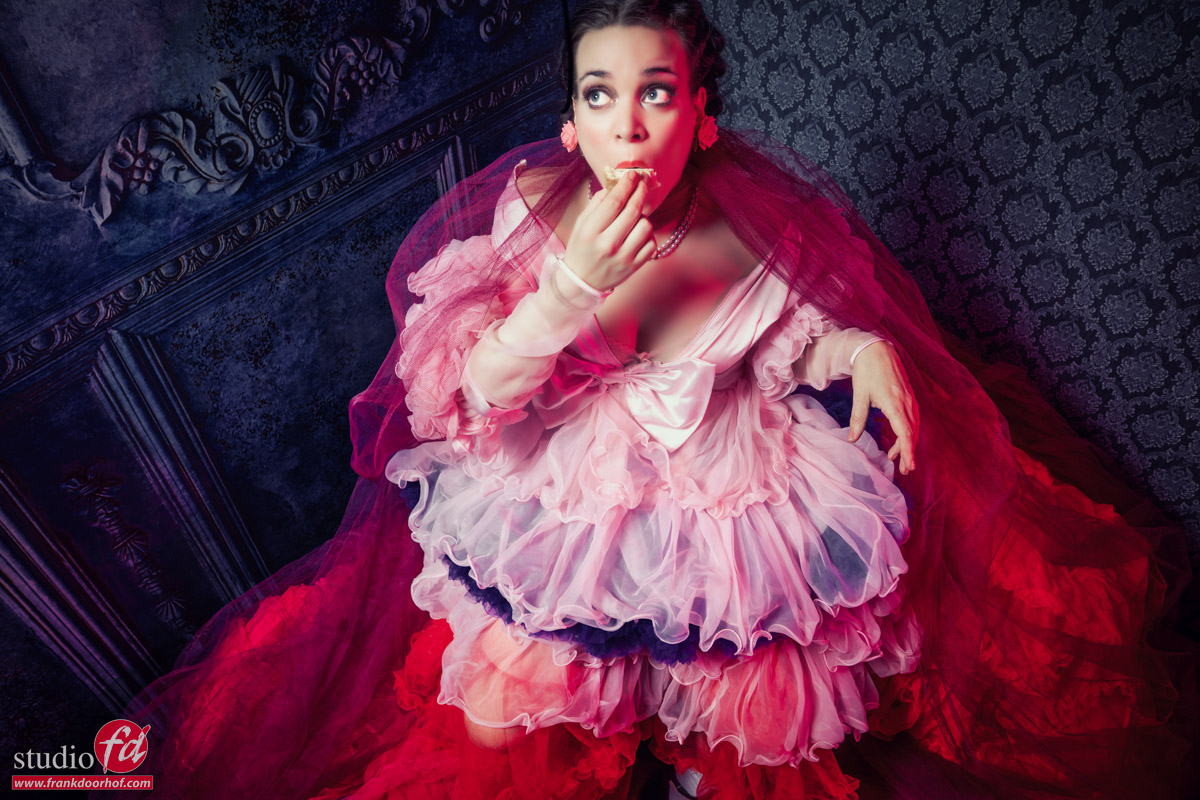
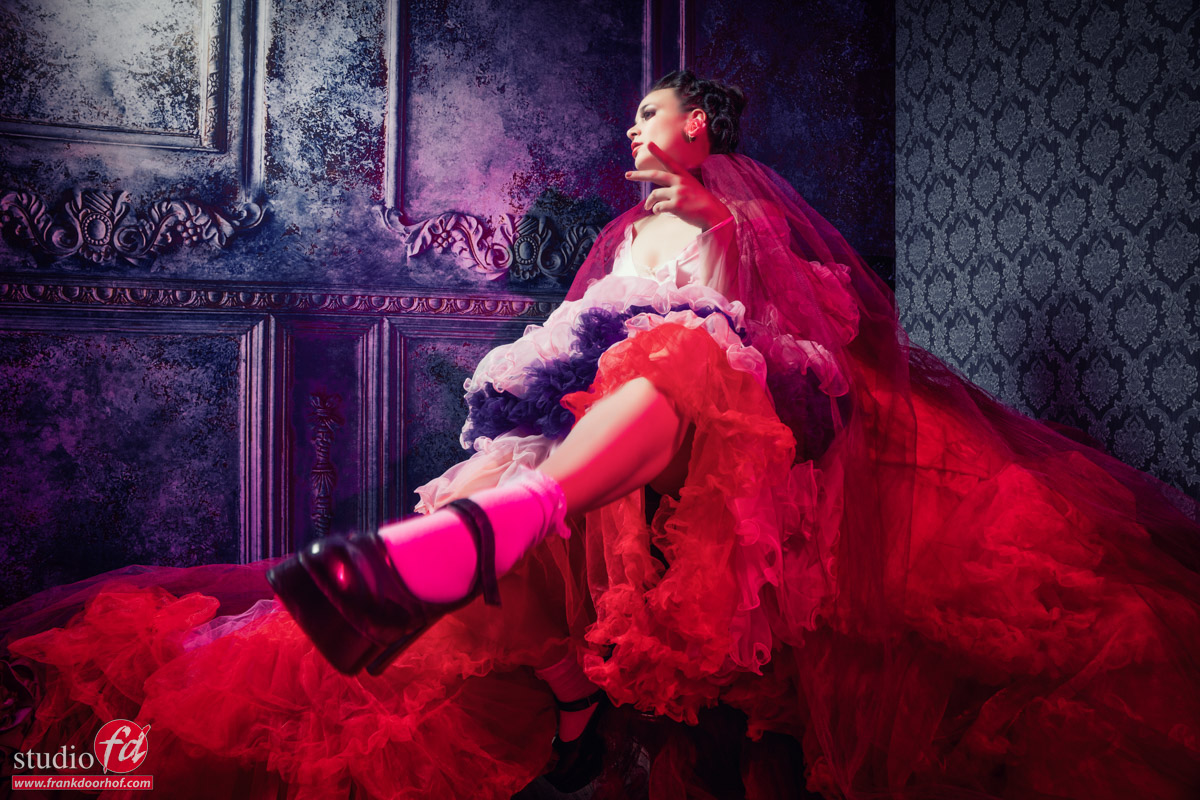
Now when I started out using these some years ago I used them on my black background to give it some color and this is probably how most use them. Later I used them (a lot) when working with smoke for that real “live concert” feeling. However they can also give some great results when you use them as accent lights, which we did during the last glamour workshop of 2015 with Jade.


Today some of the results and some more tips.

Jade December 18 2015 0139

Jade December 18 2015 0406

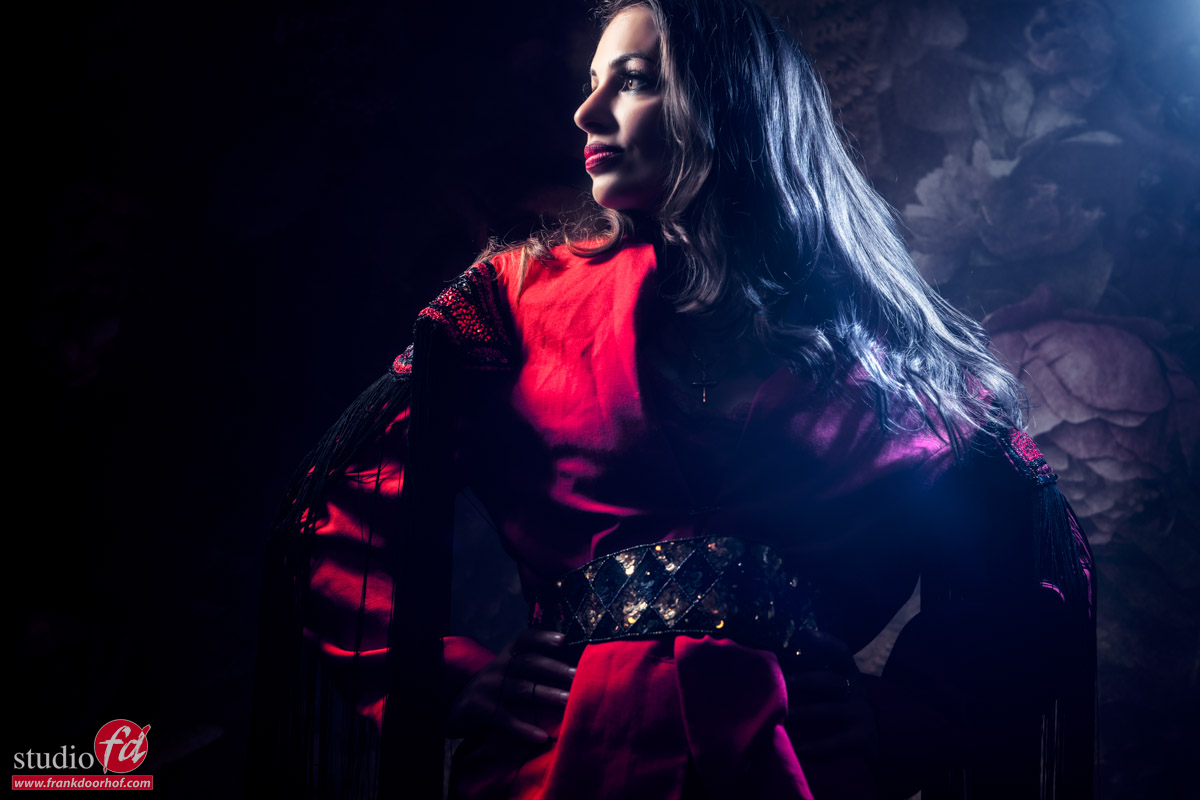
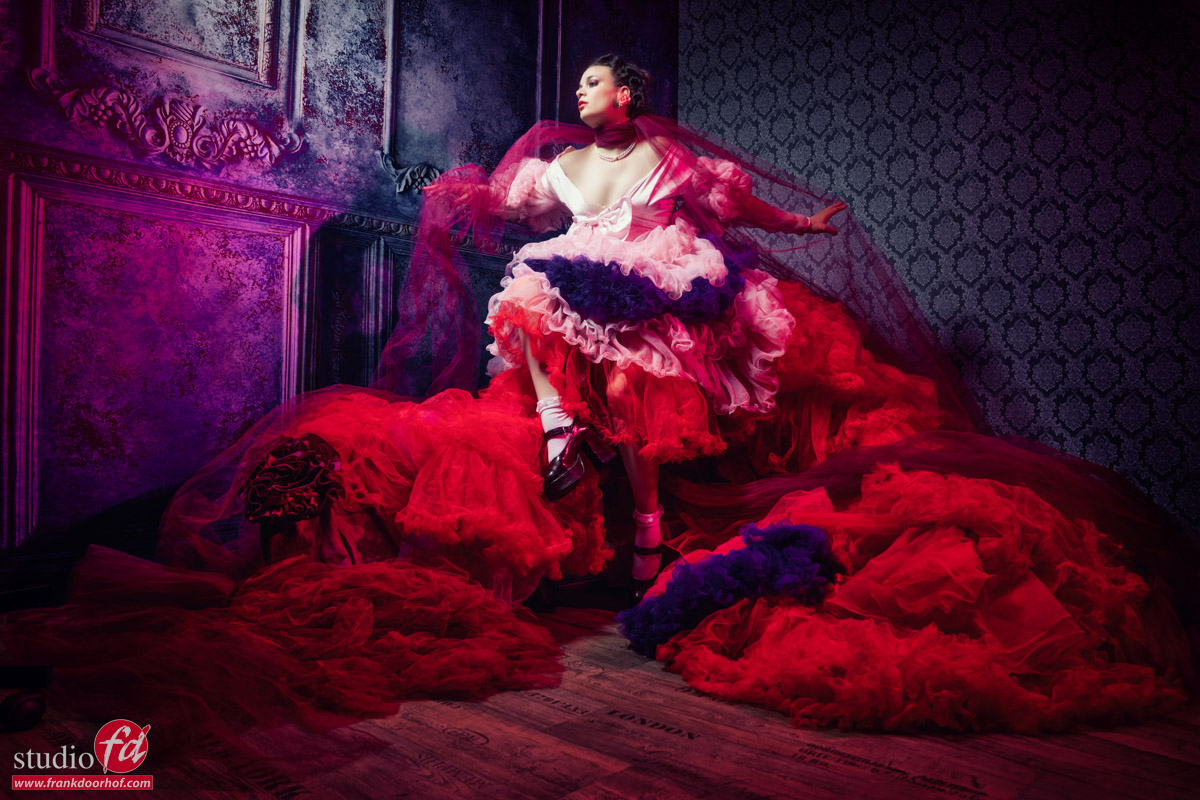
As you can see I did not just use them as accent lights but also to light the floor.
The main light in these shots is an Elinchrom snoot aimed at the face of the model and the rest of the lighting is all from the colored spots from the back (gridded reflector with gels).


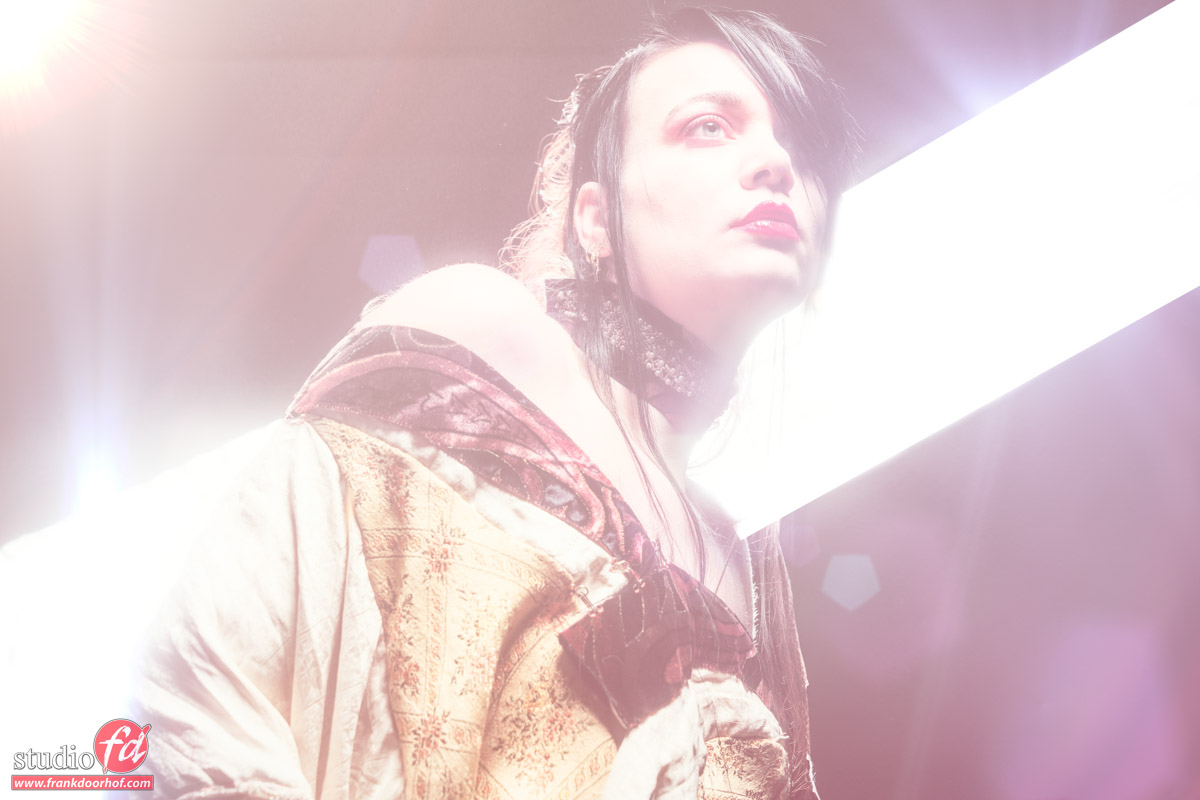
If you start doing this, make sure to not overpower your strobes because in that case the nice tints will be replaced by blowout white areas and only sides with the original color, you can better feather the light slightly away from the model and use the light that way, the benefits from this technique is that you can actually get some funky lens flare if you want but most of all the light fall off is much smoother on the wall, ceiling, model or floor.


If you like these kind of tips make sure to check out my book “Mastering the model shoot” or one of our instructional videos (you can order them from the menu on the left).

New Ultimate weekend in Emmeloord February 26/27 2016

This is without a doubt one of the most intense workshops I teach, and probably the only one like this on the market.
In 2 jam-packed days you will learn anything you want to know about model photography with a small group of attendees in our own studio in Emmeloord.


Topics range from :
Shooting on location and in the studio, working with sets you can build yourself, styling the model/sets, finding the right angles, adding motion, working with smoke, tips and tricks for lenses and gear to spice up the shoot, duo and single model shoots, building complex lighting sets or keeping it simple, mixing light sources, advanced and easy metering, calibrated workflow and much much more.


And that’s just the shoot part… 😀
I also discuss the complete workflow after the shoot including many tips for Photoshop, Lightroom, Capture One and plugins (or without), and new this time is a complete run-through of integrating mobile devices in your workflow for traveling photographers (or coach retouchers)


But it doesn’t stop there….
You will also get loads of business tips to build your brand PLUS every day starts with an intense Q&A in which the attendees can ask whatever they want and get the answers during the Q&A or everything is incorporated into the workshop.


As you can see this is a very complete workshop so we were not able to jam this all into 2 normal days… that’s why the ultimate weekend actually runs a lot longer.


Day 1 :
10:00-21:00 including a nice diner with our team in a local restaurant (according to some this alone is worth the admittance :D)


Day 2 :
10:00-16:00 (17:00)


For more information and bookings check : https://frankdoorhof.com/web/tours/ultimateweekend/
If you already did an ultimate weekend we have a very special “Illumine” discount, contact us for this.


some of the previous results


Nadine February 20 2015 0636

Anna Matthea outside October 3 2015 0041

Linda 3

Manon Juni 13 2015 0289

Nadine May 22 2015 0262

Esther Keuze May 16 2015 0223

Jonathan Hoegen Januari 23 2015 0343


Quite Frankly on plugins

We all love photography right?
And one part of photography is editing, and well… this can be fun but sometimes it’s also a matter of repeating the same thing over and over. This is where plug-ins come in very handy.


Now there is literally a jungle on plug-ins available, so how do you select the right ones?
It will always be very personal, what works for you might not work for me, so in the end you have to make sure you choose what you use/need and not what someone tells you rocks.That being said, I love the plug-ins from MacPhun. I met them a few years ago during Photoshopworld and their intensify plugin/app blew me away, I’ve been using it ever since and found myself more and more switching to all their apps/plug-ins.


The plug-in we are gonna look at today is Intensify, and I believe it’s in 95% of my shots, sometimes very subtle, sometimes a bit more over the top. In my opinion by the way, mixing the effect is a vital importance, you don’t want your images to look like HDR (Highly Destructive Retouching).


In this episode of Quite Frankly (wow 57 already) I talk about plug-ins and demonstrate the Intensify plug-in by MacPhun.
We also made a special deal with them for you guys, surf to www.frankdoorhof.com/macphun for a great discount on their creative suite.

Digital classroom Small flash

Digital classroom is a live broadcast from our studio which we do every month for free.
I started digital classroom to introduce people a bit to what we do with our instructional videos and workshops, of course these go more in depth and are a bit more technical but for a free broadcast I strongly believe it’s a great educational tool.


Digital classroom is not possible to create without the help from some sponsors of course, so we are very grateful for our friends at BenQ and Rogue/Expo imaging to help us out with this.


This time the theme of the Digital classroom is “using small flash”.
It’s a 2 hour instructional video so take your time, sit back, grab your notepad and enjoy.