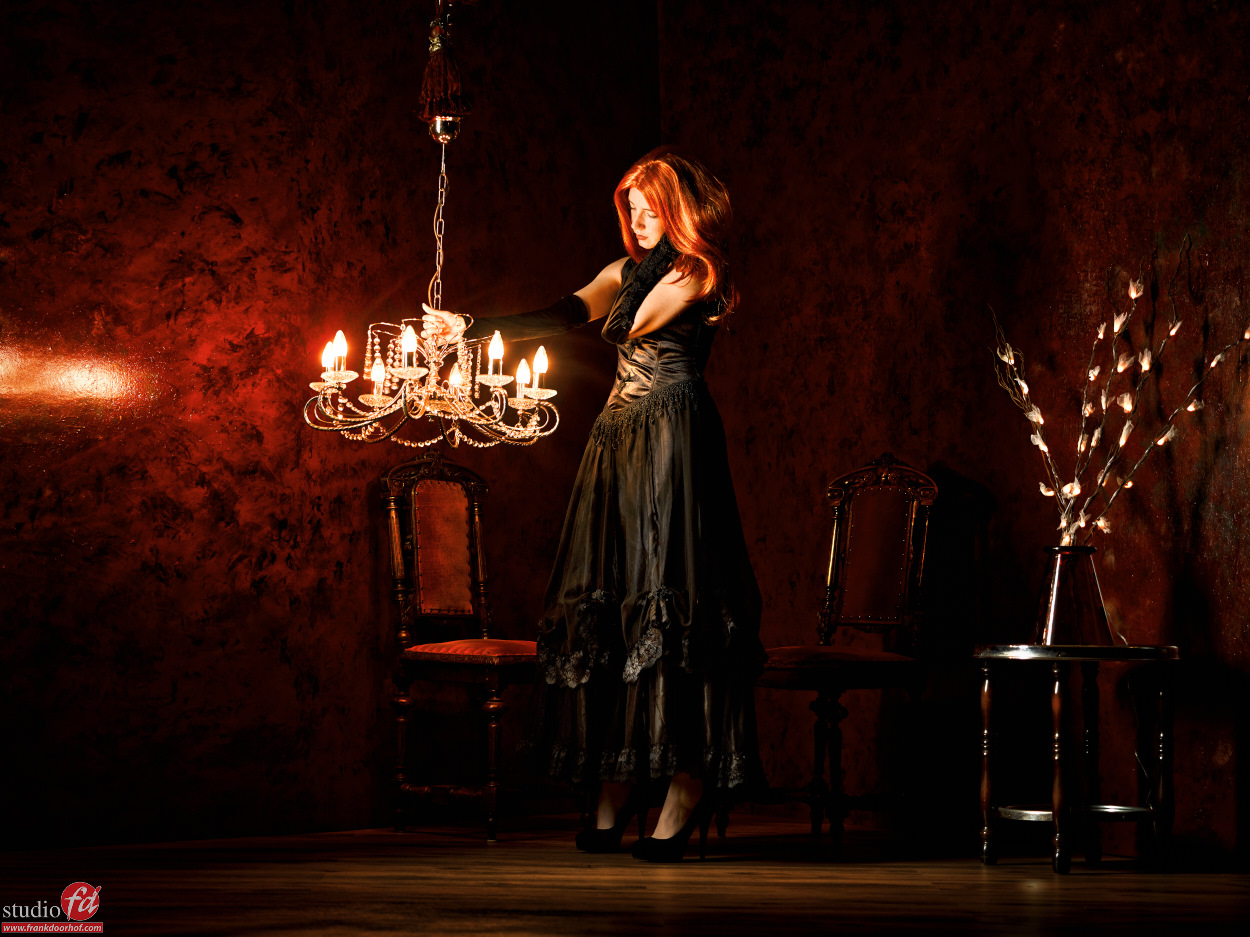
Workshop results smoke and props and tips for smoke machines
Today some of the results from the workshop “smoke and props” with Esther.
This was the first time we used a totally new set painted by our intern Angela.
For the workshops we always try to come up with new ideas and sets and I this time we decided to go for the color red, which is found back in the set, the clothing and of course the props used in the set. As you can also see building a set doesn’t have to be difficult, it’s important that you create a certain “look/Atmosphere” and it will transport the viewer to that place, while in fact…. well it’s just in your studio (or home).
Smoke for me is often the magic ingredient, adding it always transforms a set from OK to wow, but that’s very personal.
This workshop did proof by the way why I always advise to have two smoke machines at hand…. one of them broke down and because we always have two we could continue the workshop and luckily for us our neighbor rents also smoke machines so we could actually continue with two, seeing the price of most smoke machines (below $100.00) I think you should never ever run the risk of having to stop or cancel a session due to equipment failure.
Now which smoke machine should you buy?
Get the once that are WATER based, don’t go for the OIL based ones.
The oil ones do start up quicker but they can “kill” your strobes.
Except the tinting and sharpening these shots are pretty much straight out of the camera. We used several strobes to light the scene and the model and the shutter was used to let in the ambient light from the chandelier and the lights on the branches.


You must be logged in to post a comment.