Sometimes 15 minutes is enough for a commercial photo shoot
Planning is everything in a photo shoot
Sometimes it doesn’t go as planned. Our planning for this commercial photo shoot was good, but it ended in only 15 minutes shooting.
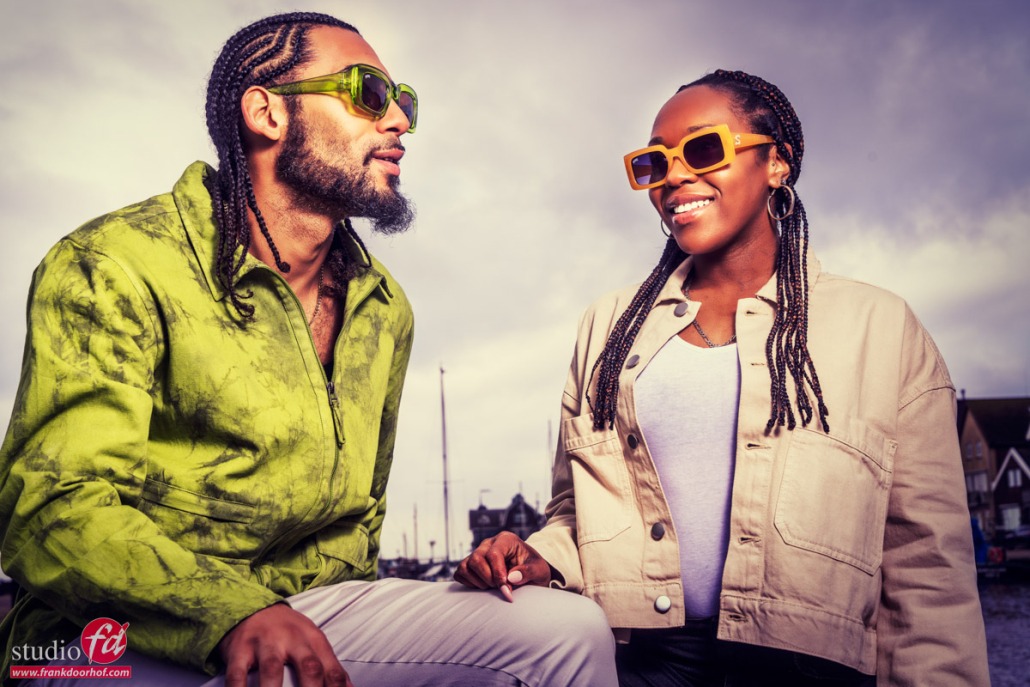
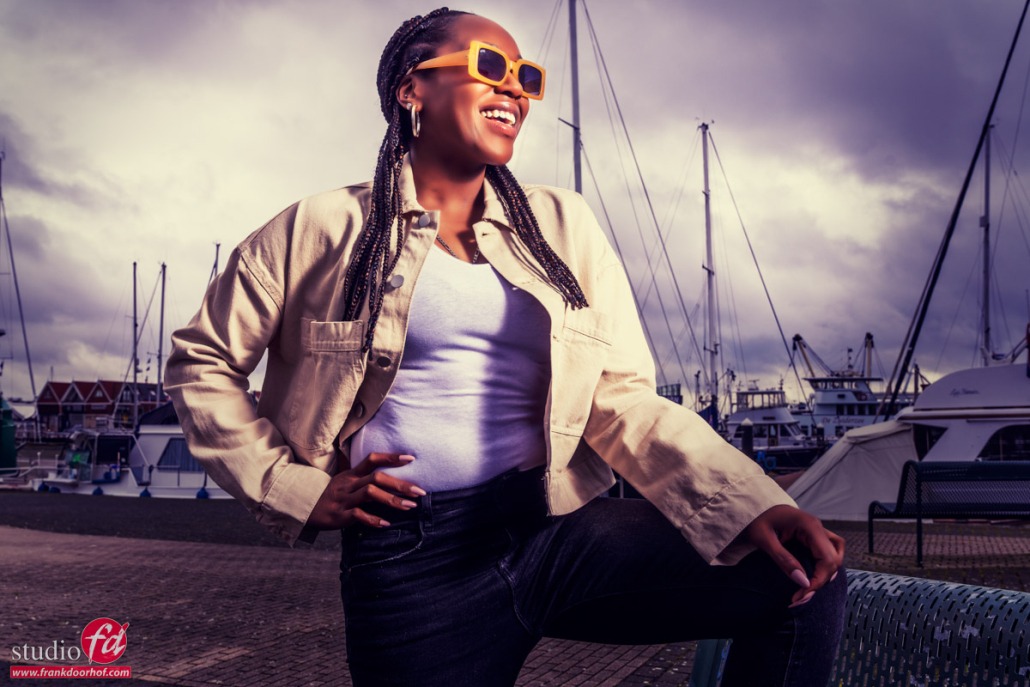
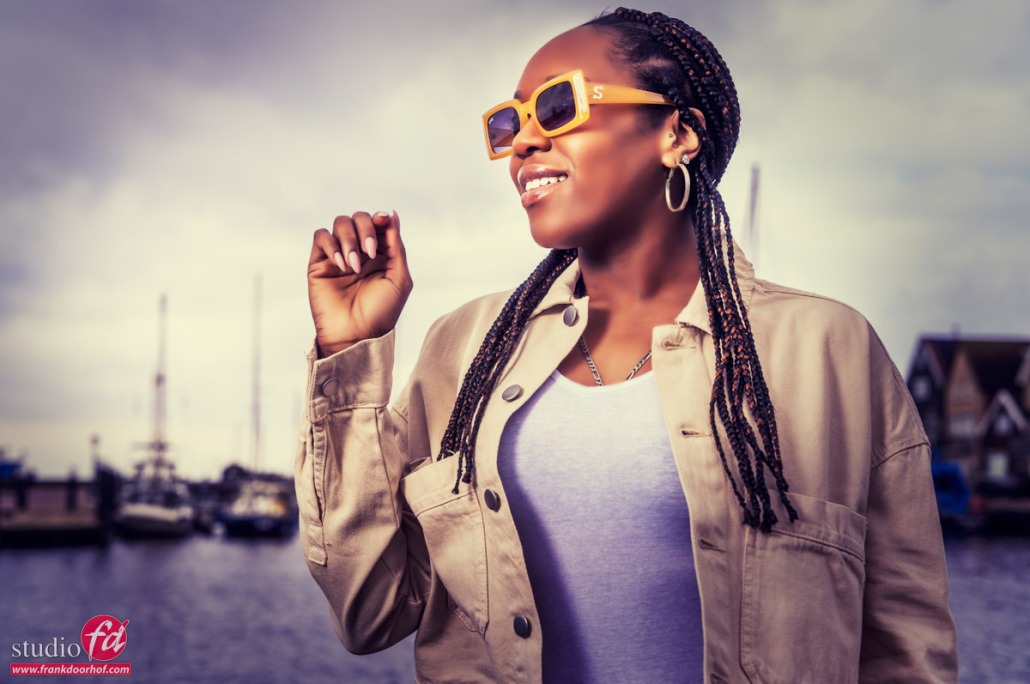
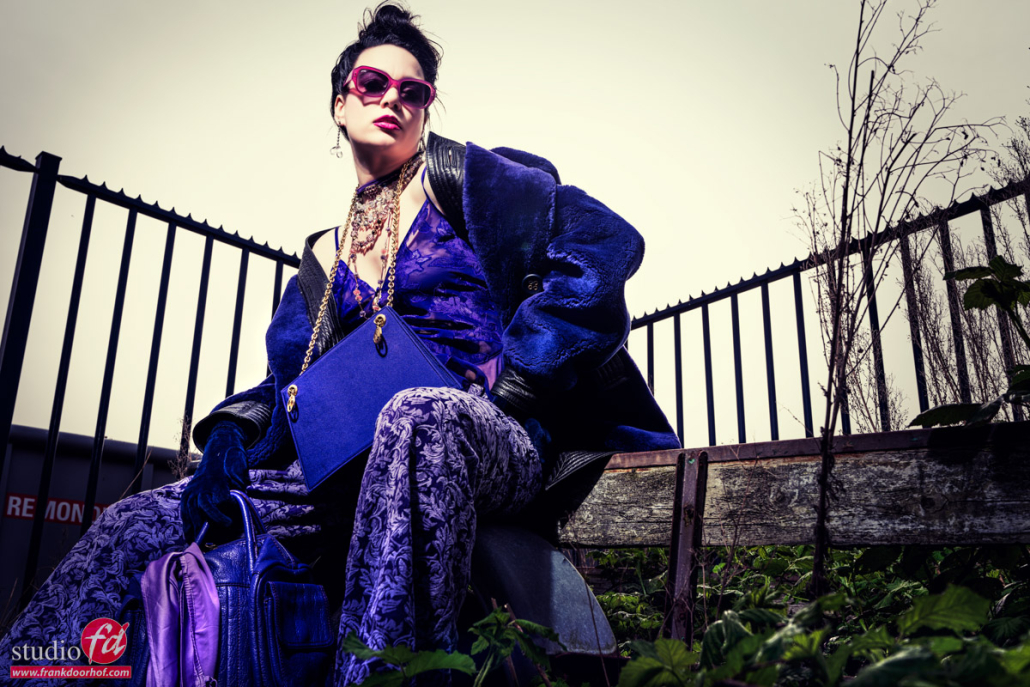
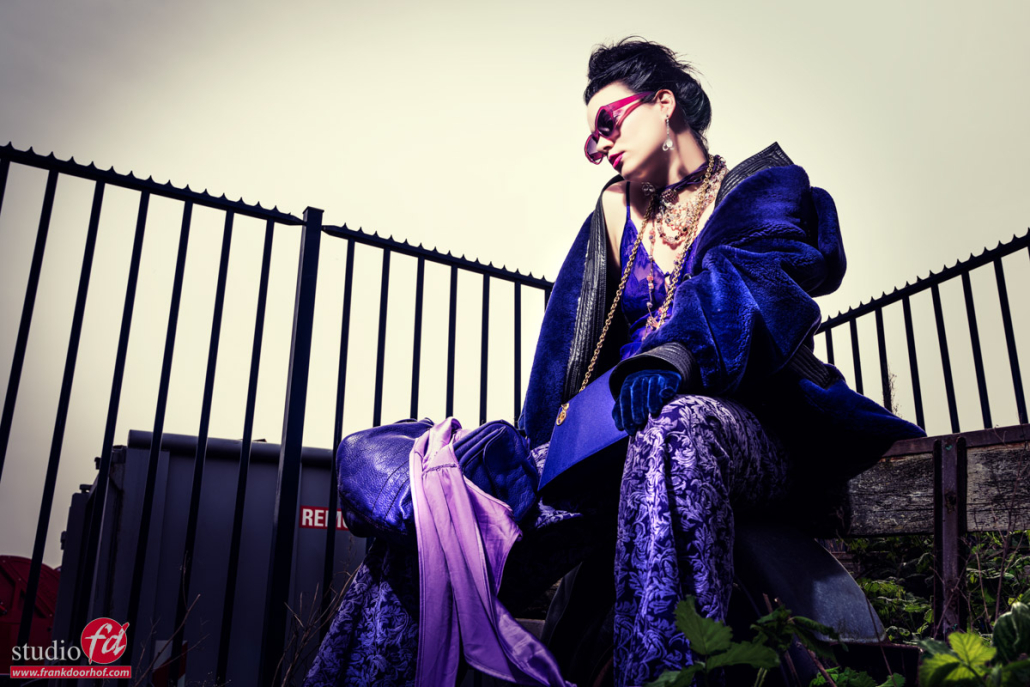
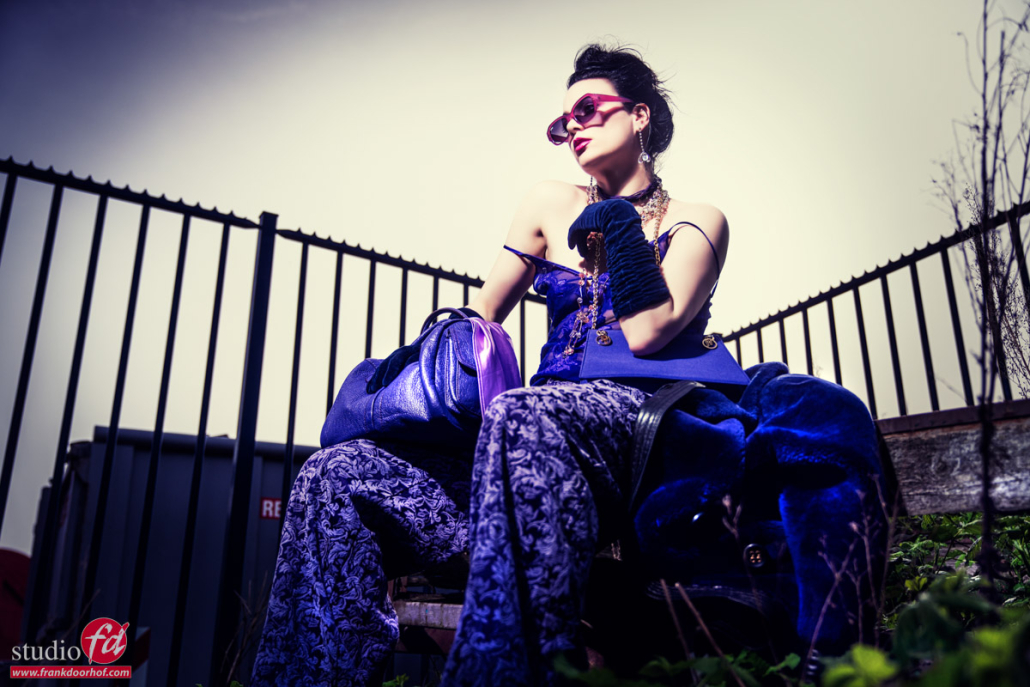
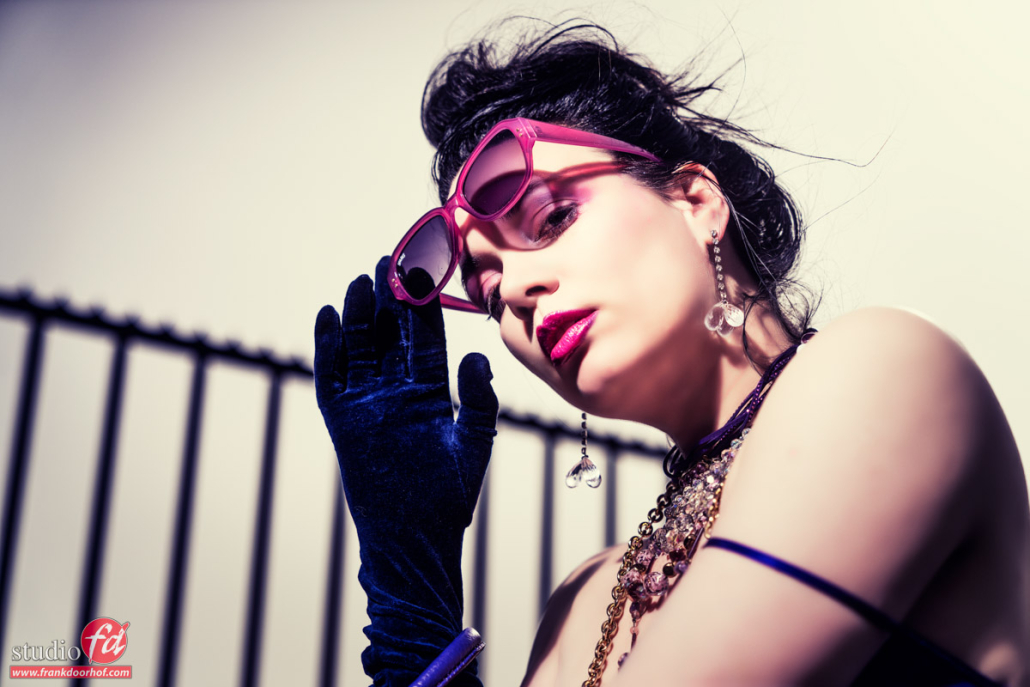
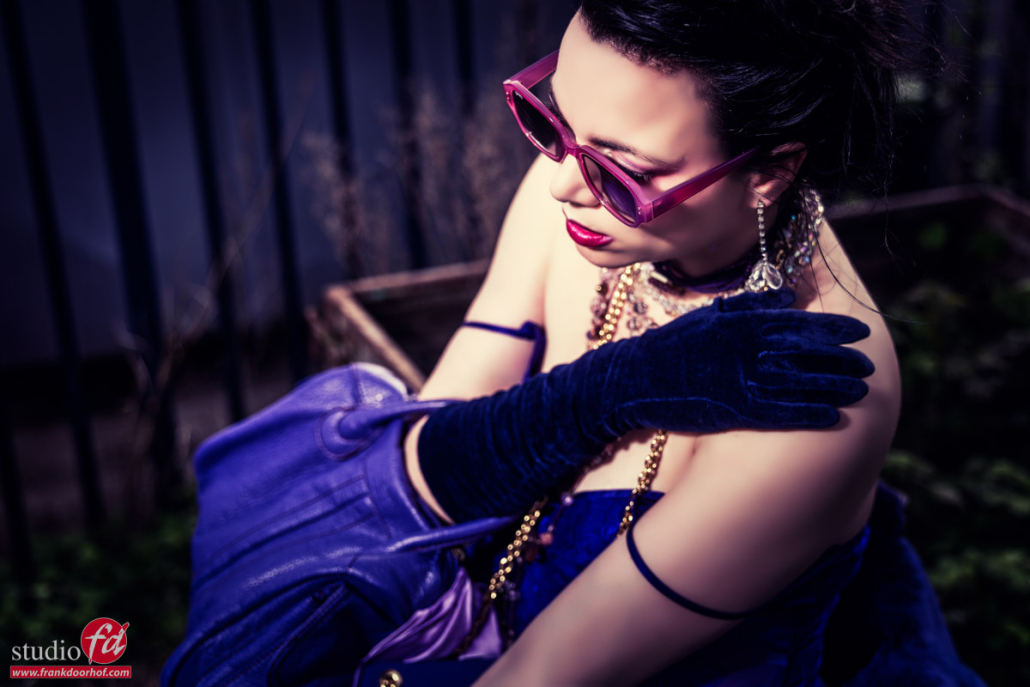
Recently we did a photoshoot for the new Sparks sunglasses collection.
The idea was to shoot the series in Amsterdam, but due to the weather, we decided at the last minute to change the location to Emmeloord so we would have the studio as a backup. and once again we found out that planning a for commercial photoshoot can go differently than you thought.
Rescheduling was impossible because the tickets were already bought from the UK to the Netherlands and back. So we decided to go for it.
Oops… planning for a shoot can go wrong
When the client arrived we started by planning the whole shoot, and to our horror, we found out they had to be back in Amsterdam in….. 2 hours.
This meant we had to drive to the location (Urk), do the photo shoot, and drive the client back to Lelystad, and from there to Amsterdam. In the car to Urk I, actually for the first time, realized I had exactly 15 minutes to do the whole shoot.
Seeing our client was here all the way from the UK I wanted to give them more than they asked for, but 15 minutes… would be a new record 😀
Flash and natural light, ETTL rocks
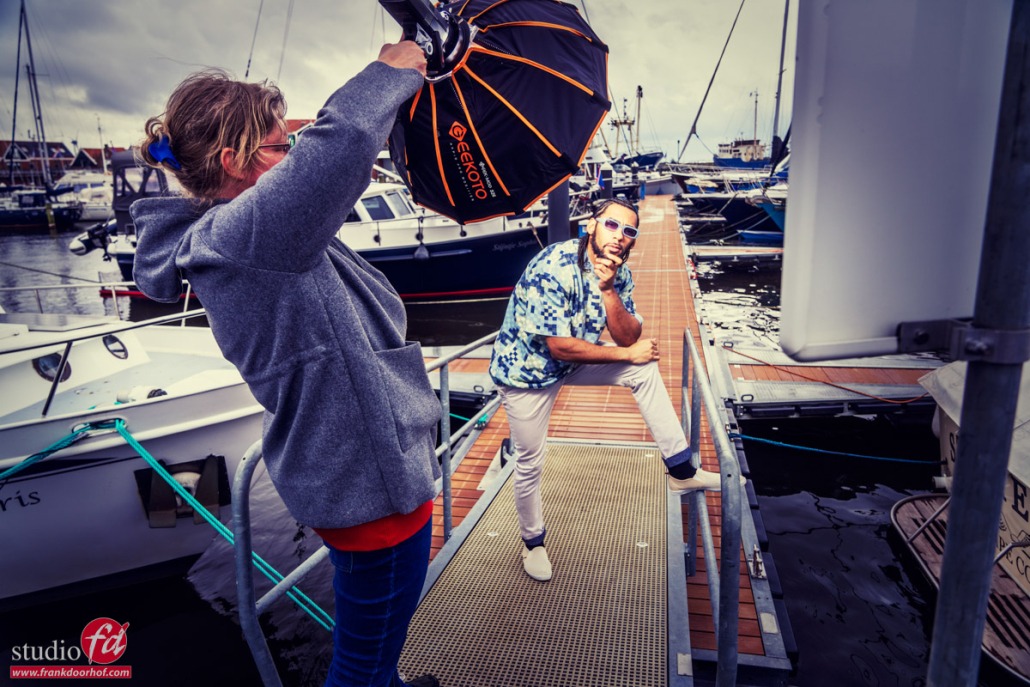
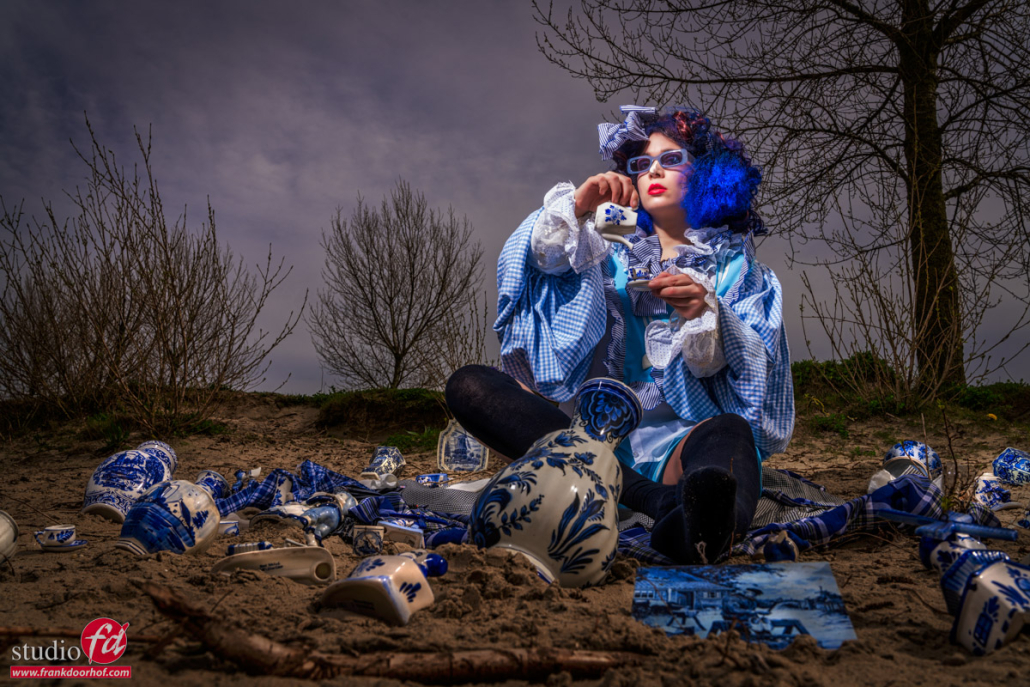
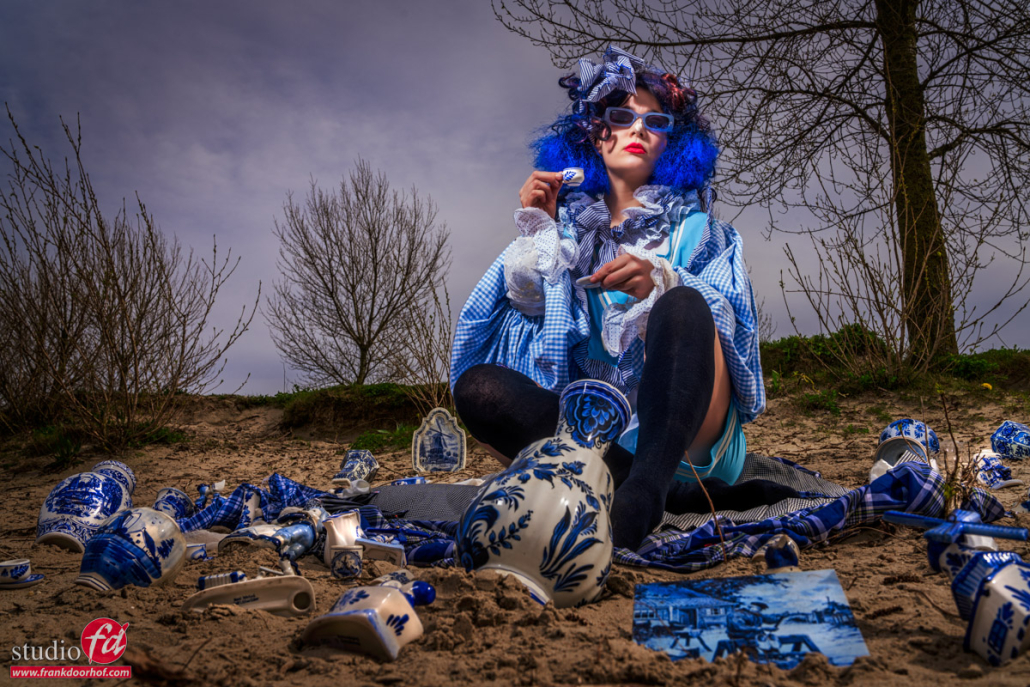
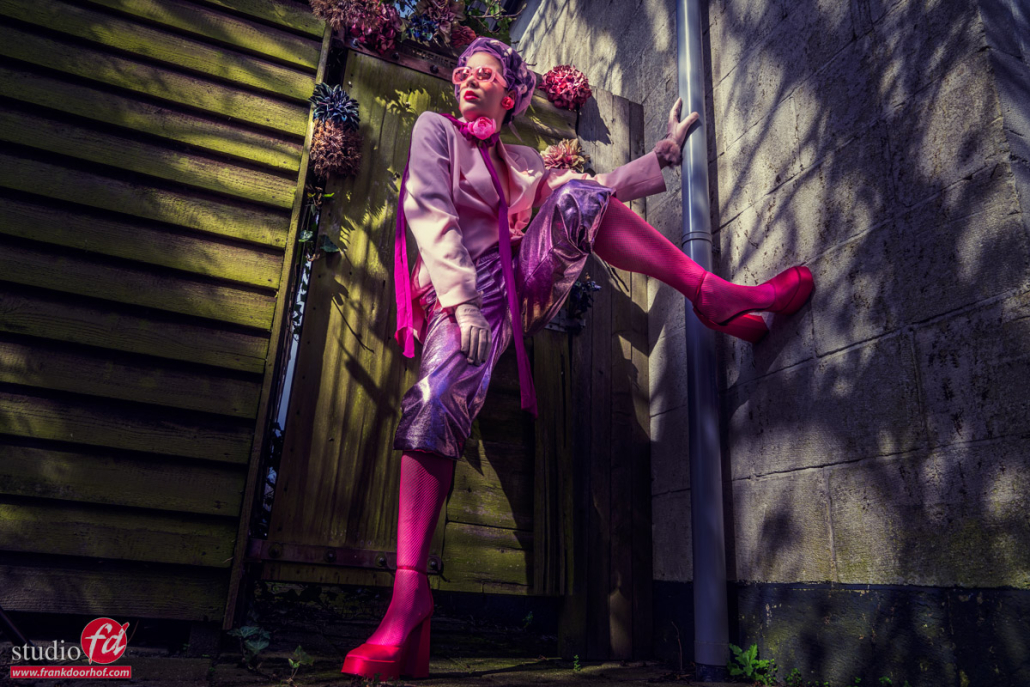
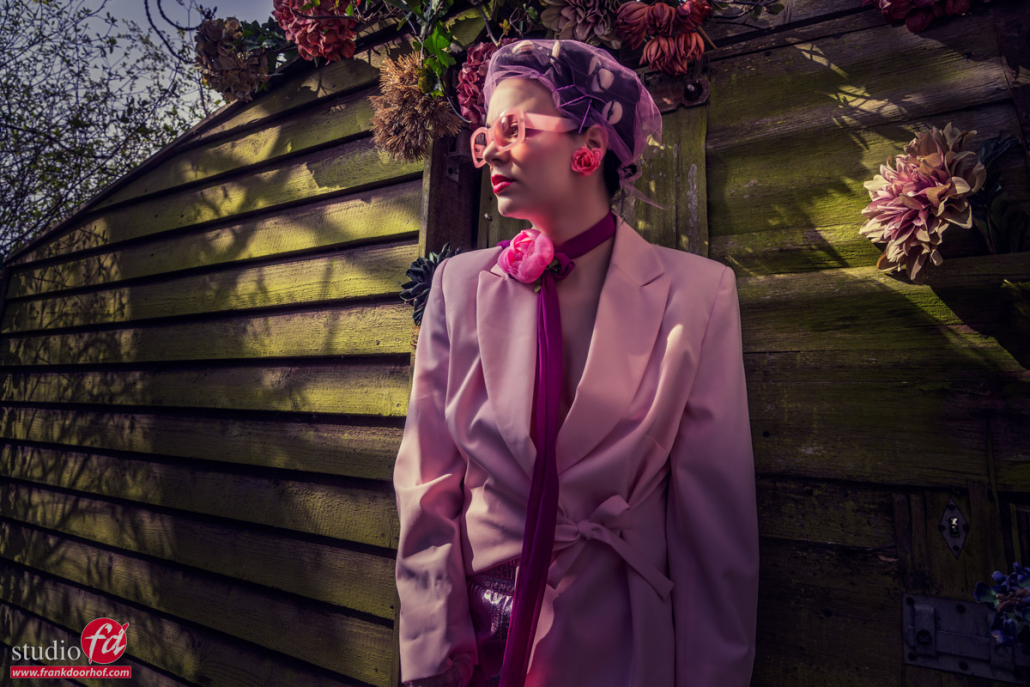
I’m not a big fan of ETTL but luckily our Geekoto strobes support both HSS and ETTL. So I decided to shoot almost everything in 3 fold. One time natural light, immediately after that with strobes as a fill-in light, and then the final shot with a more day-to-night look.
When you set this up correctly it’s possible to shoot 3 different looks in one setup. Just move your body a little bit or change positions. And it almost looks like you did a lot, while in essence, it was a short session.
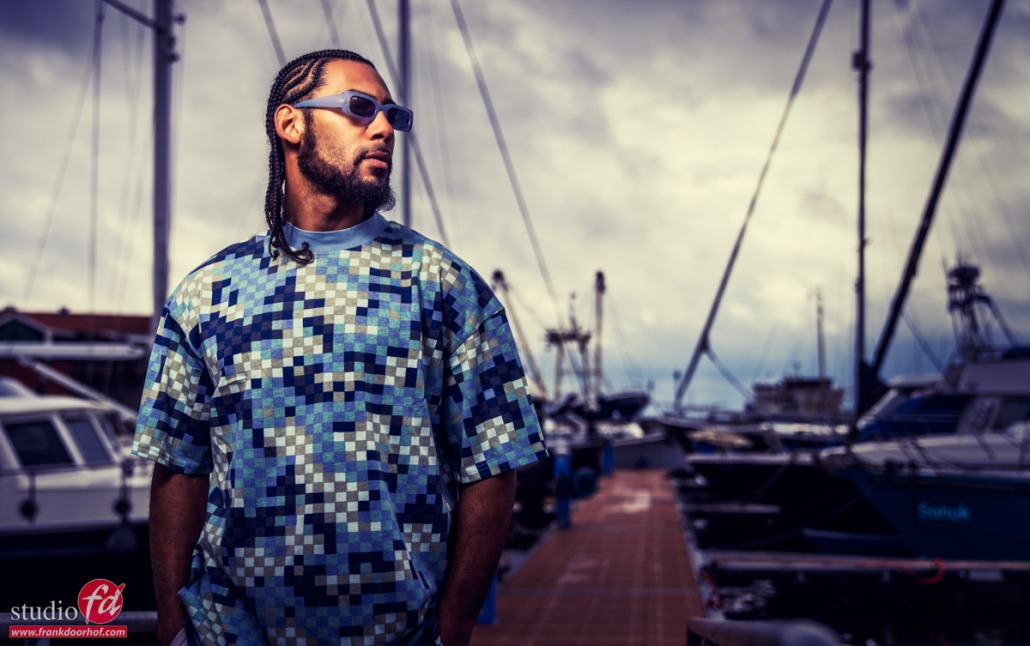
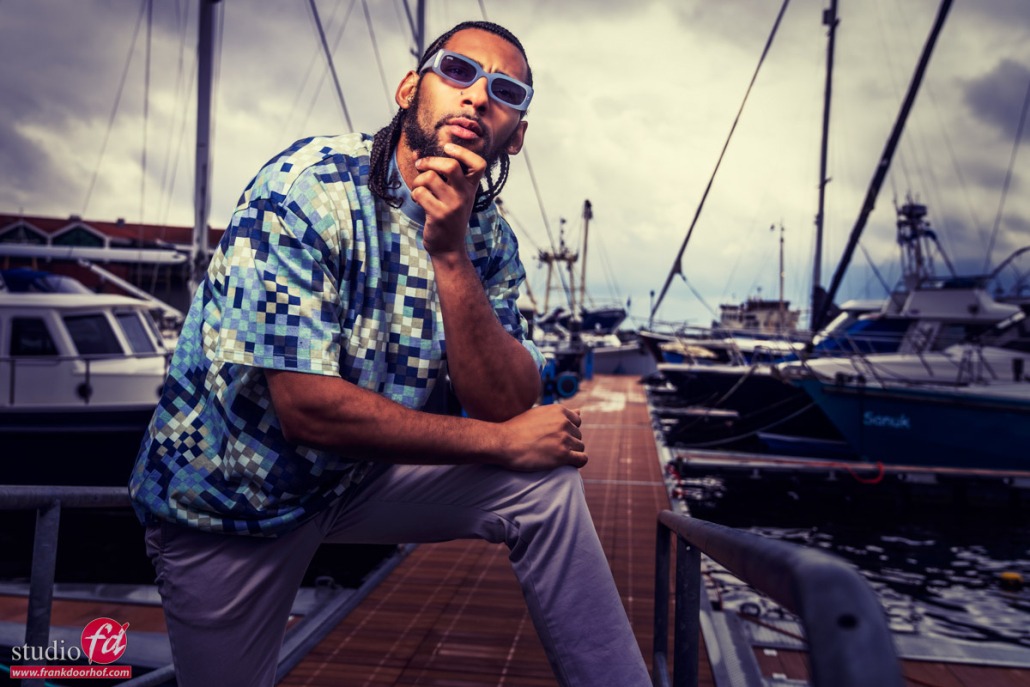
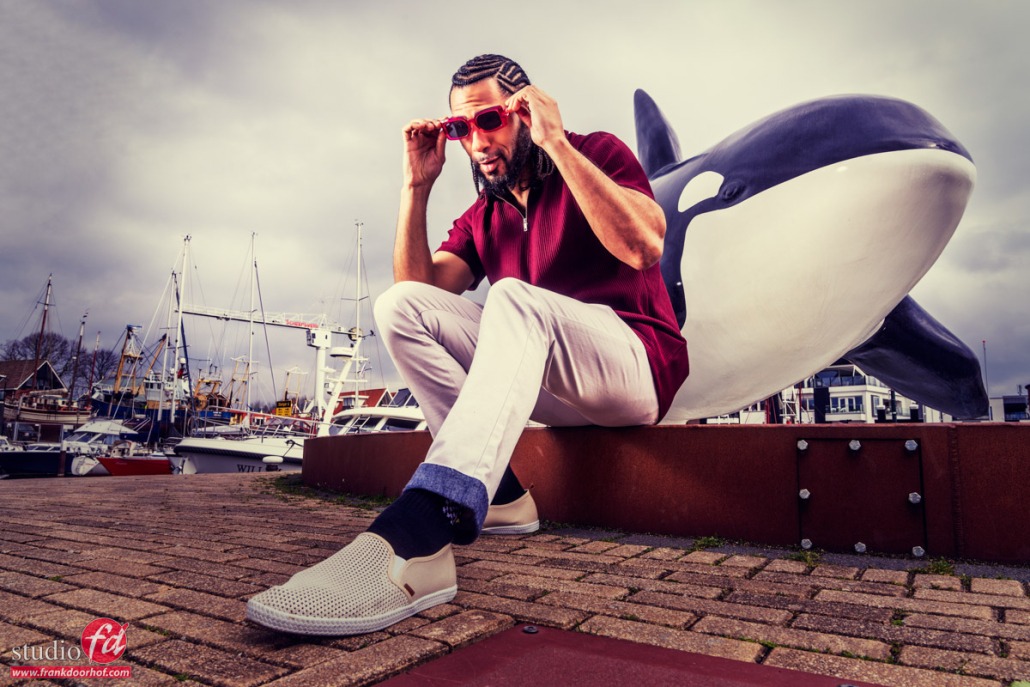
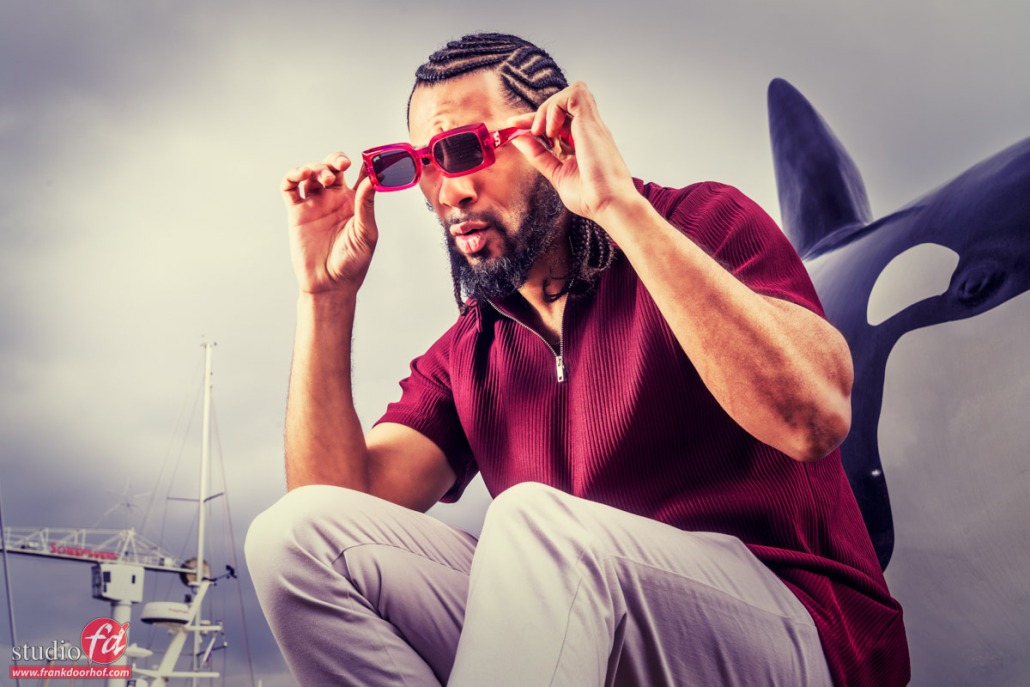
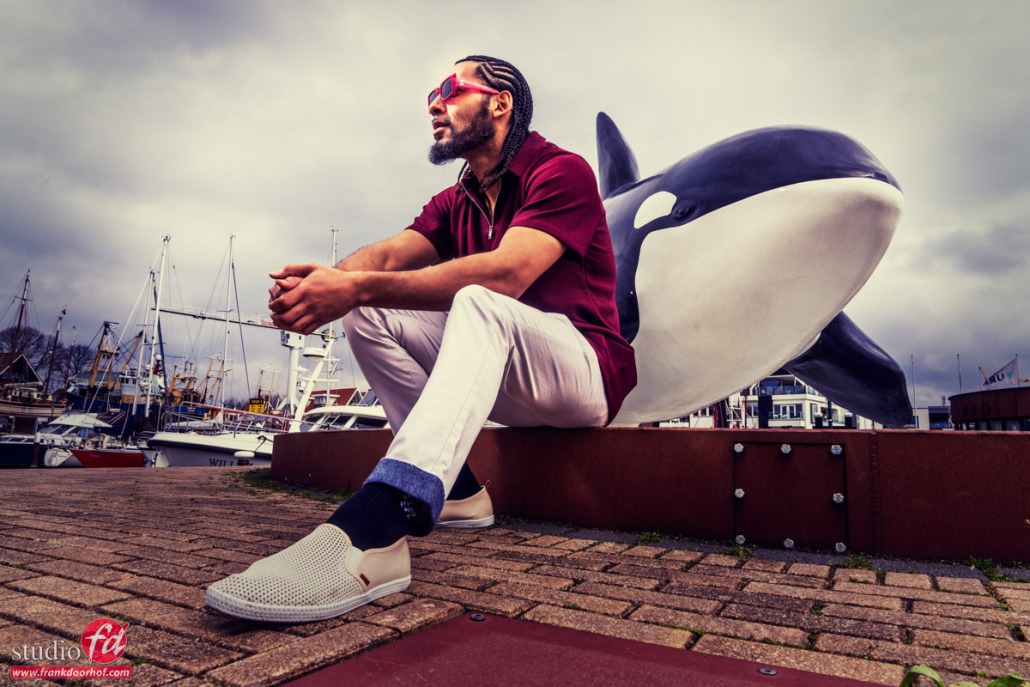
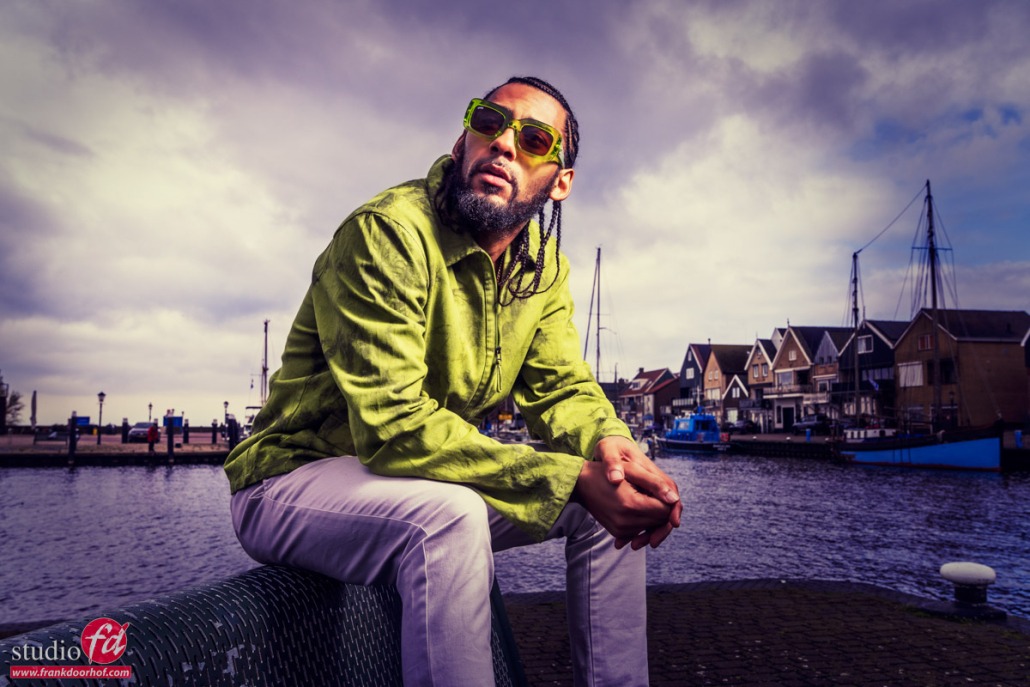
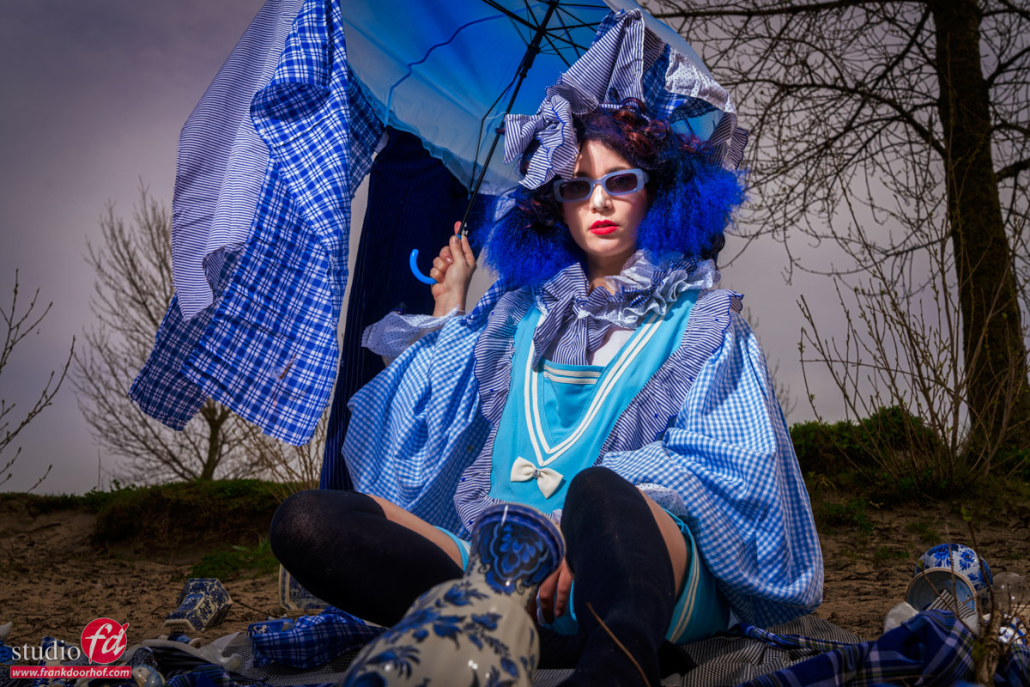
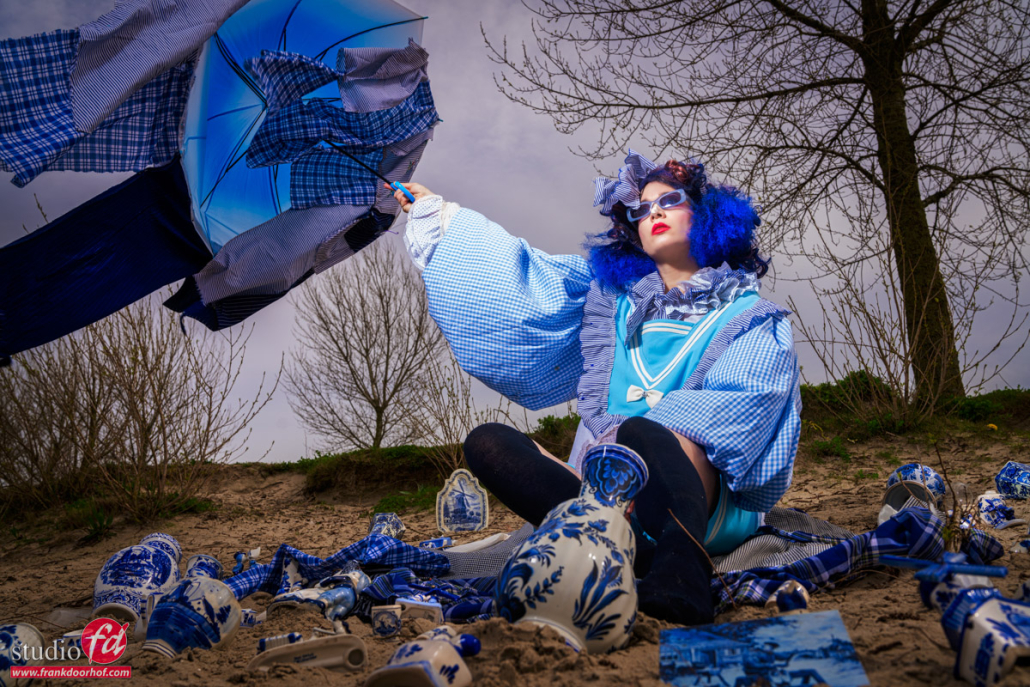
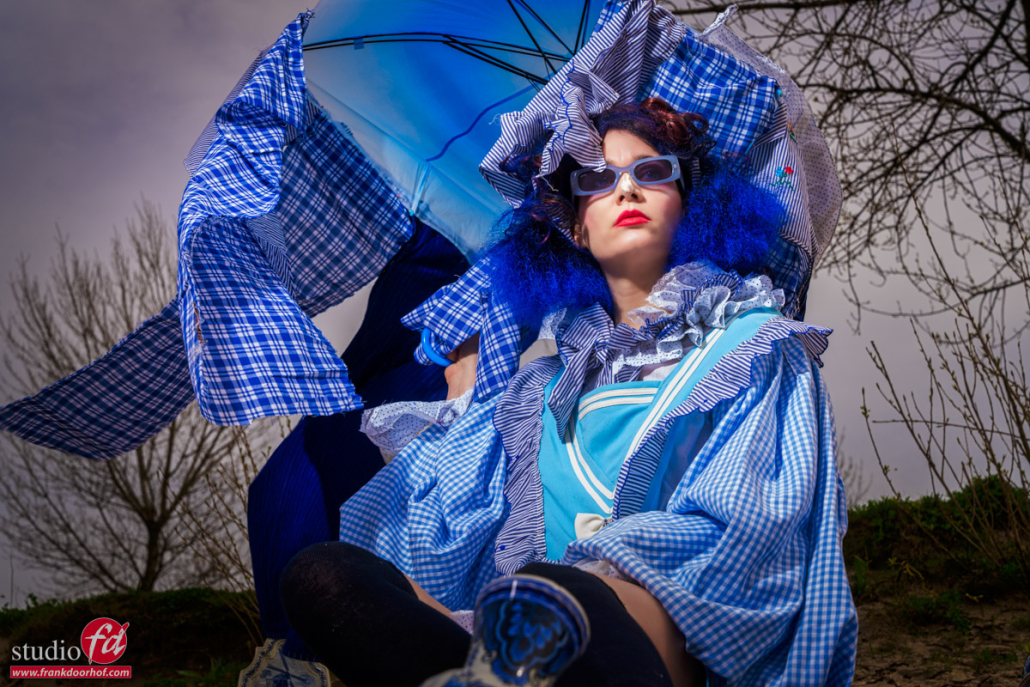
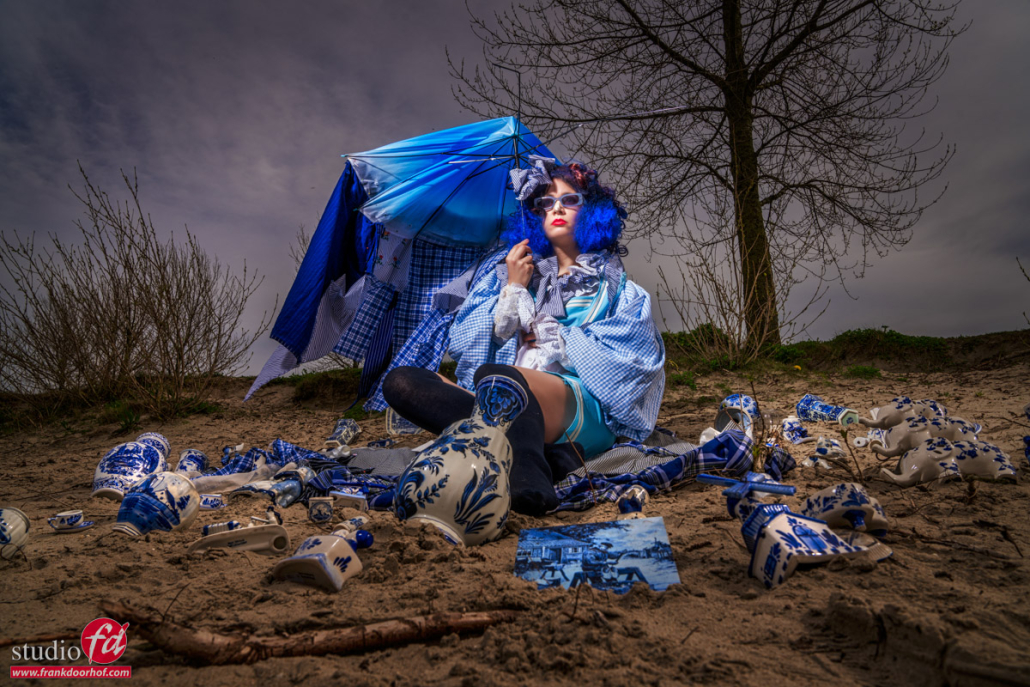
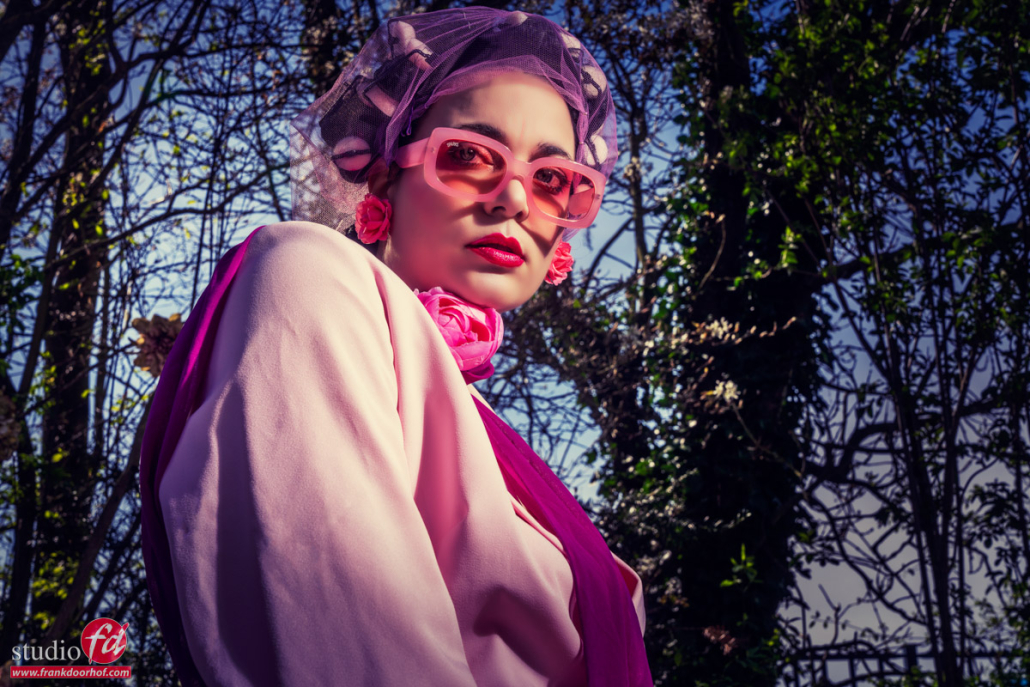
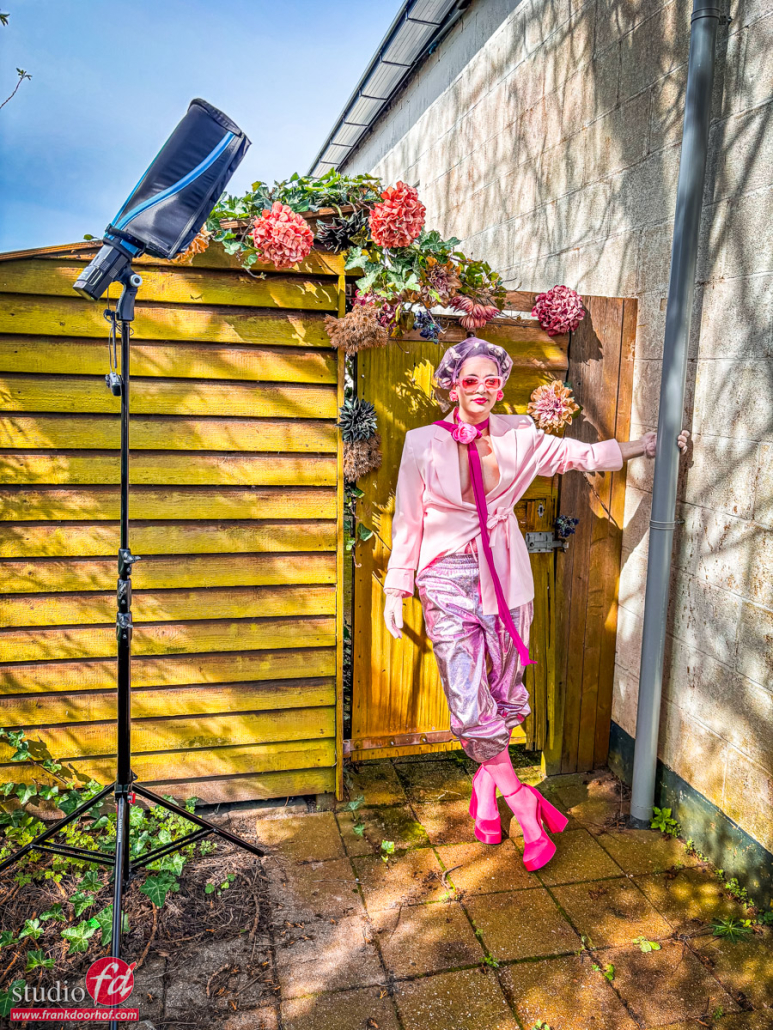
For the location, I chose the harbor of Urk. Because we only had 15 minutes I knew that from a low angle, I could get a nice sky. But with just changing my own position I can shoot Urk in the background or all the boats in the harbor. And when walking back the killer-whale and some other nice locations where you can just stand and shoot.
Annewiek was functioning as my VAL *(Voice Activated Lightstand) and held the GT200 with the S26 softbox under different angles during the shoot, again to maximize the amount of different “looks”.
In this case, I shot the whole series with ETTL and HSS. This meant I could work very fast on location. But the downside is that all photos needed slight adjustments in Lightroom. Not a big deal but personally I’m a lightmeter guy 😀
Anyway, enough talk. Although our planning for this commercial photo shoot was different, we got great results, and the client is satisfied.
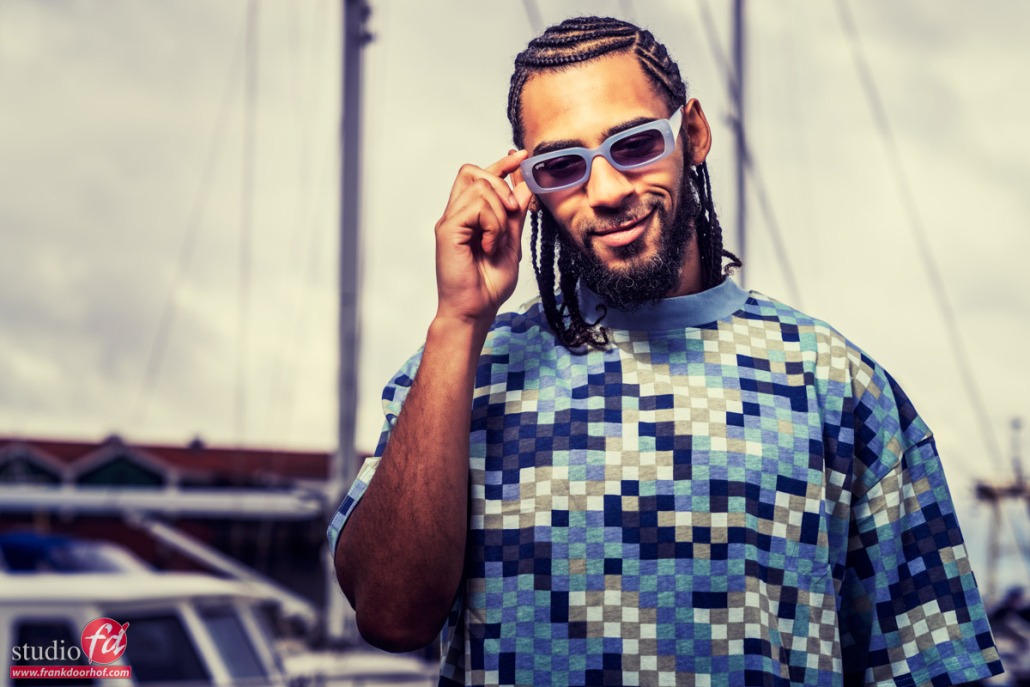
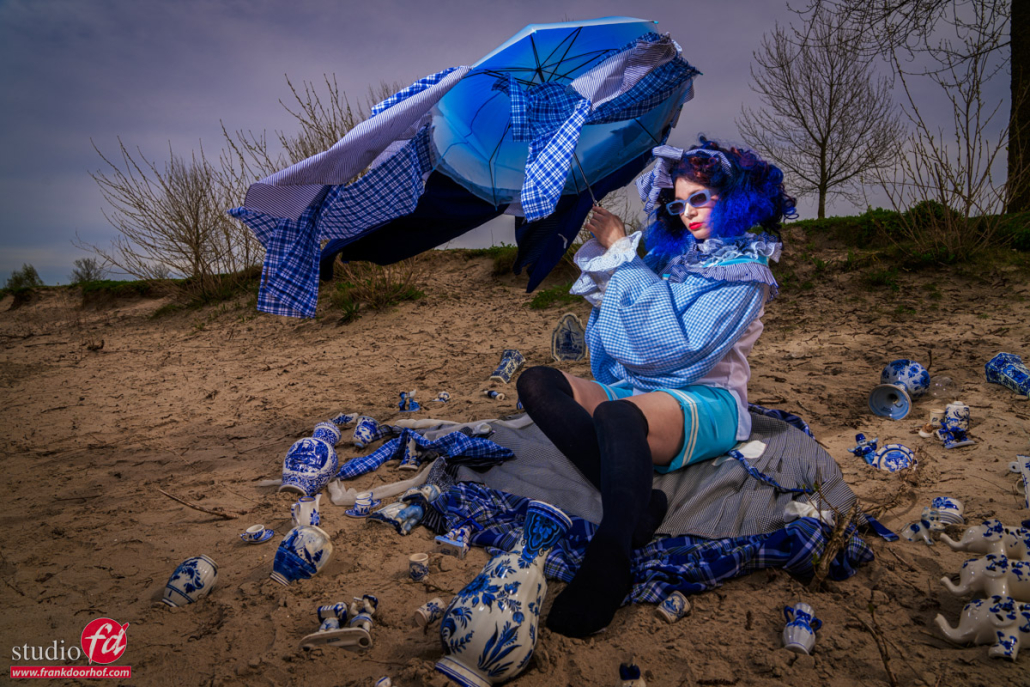
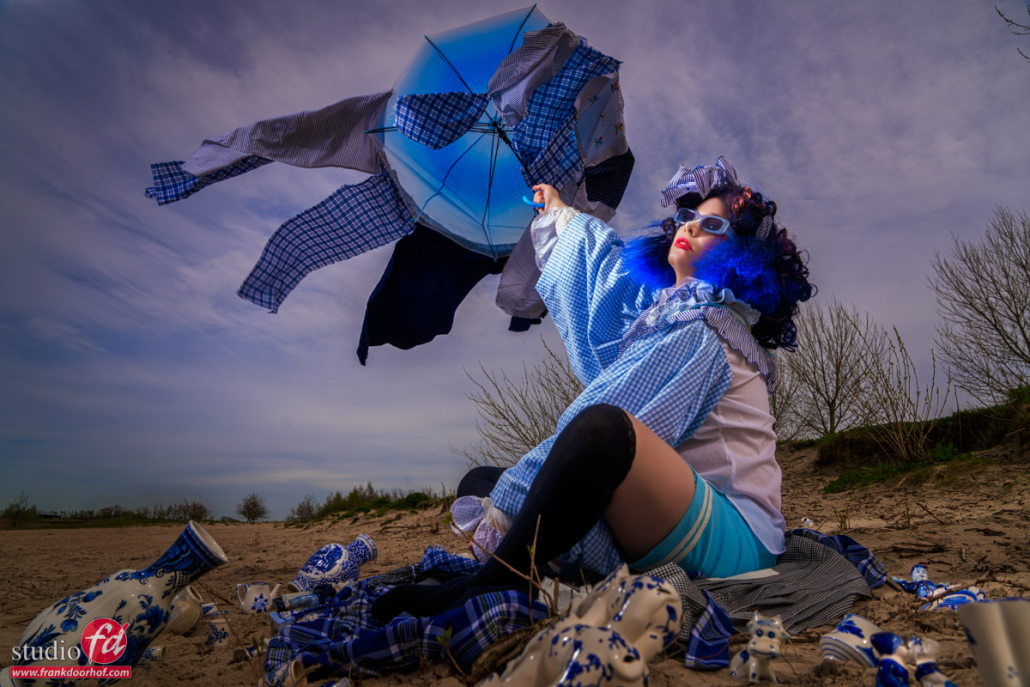
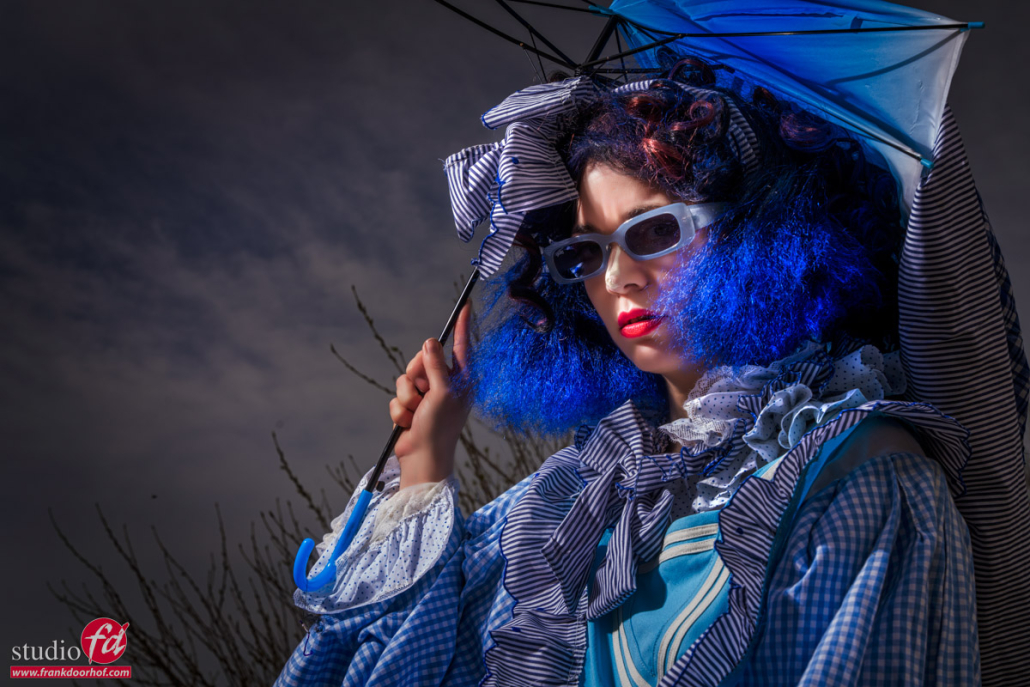
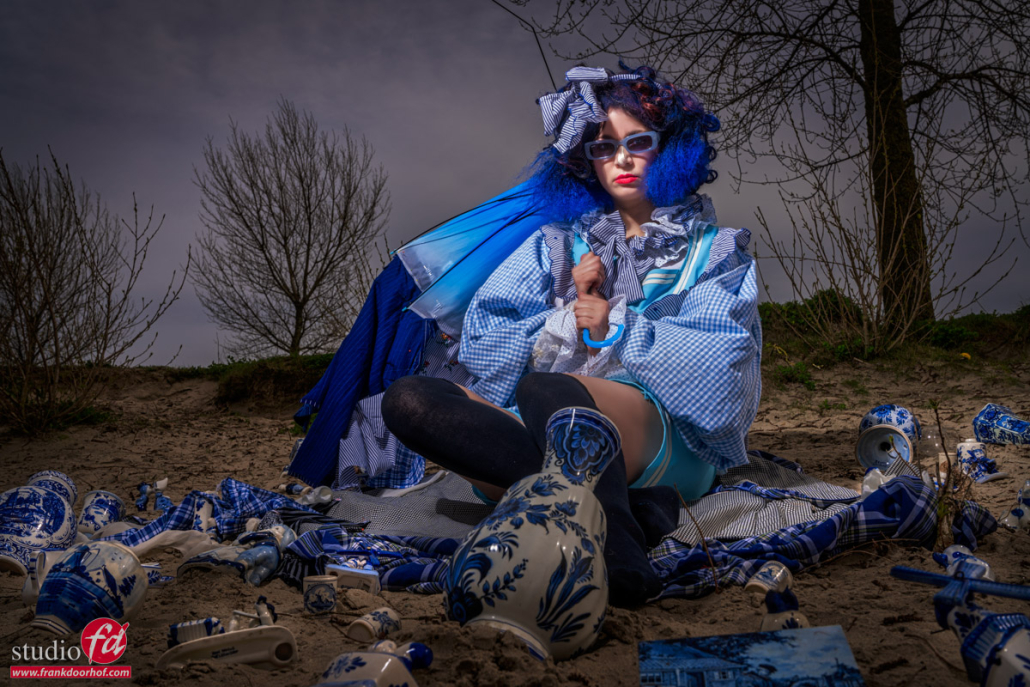
Here are some images from the session. It’s not everything I shot, but it is a nice overview.

See the video of the workshop outside, where we also used the Geekoto.
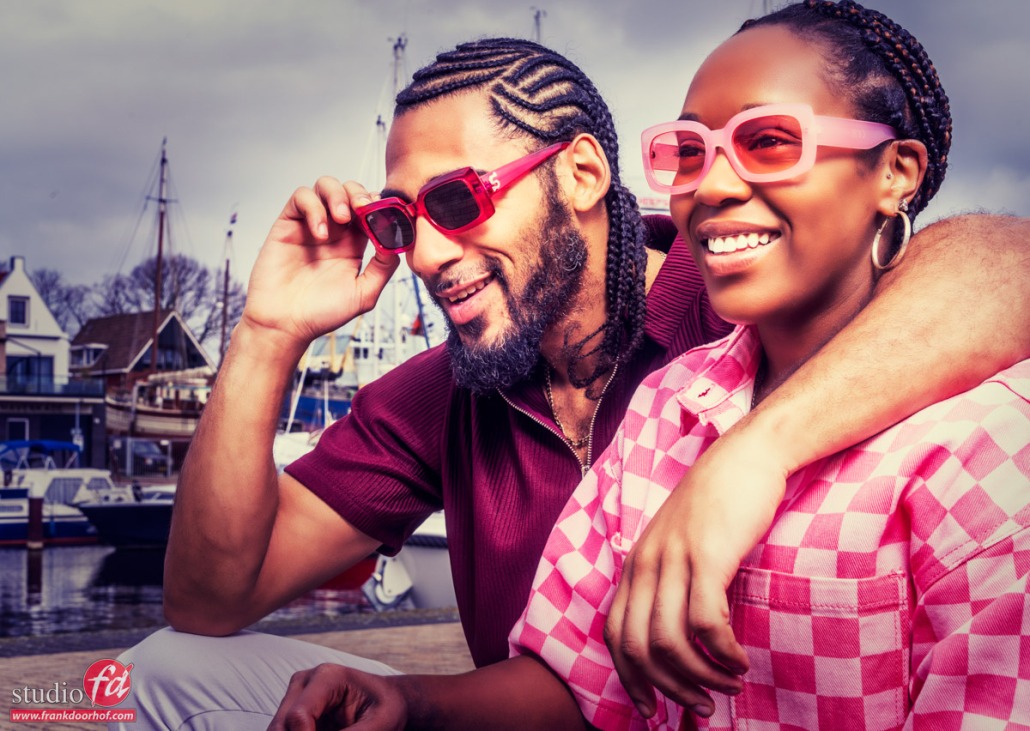
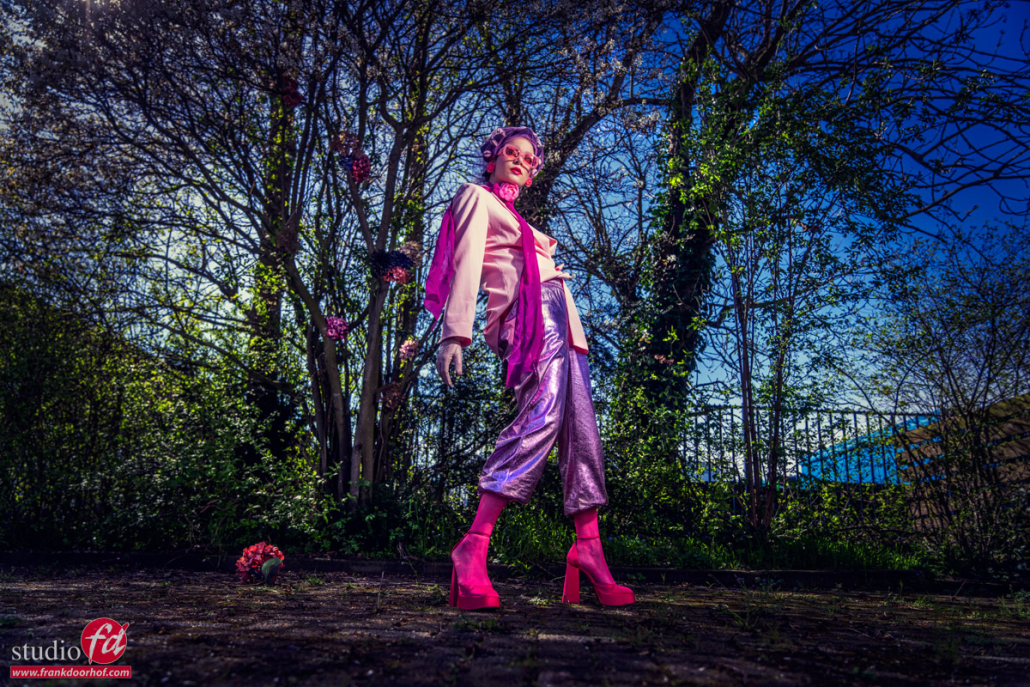
check this post of the shoot with Nadine with Sparks Sunglasses


You must be logged in to post a comment.