Tag Archive for: lightmeter

Tip on pointing the meter

Often I’m asked where to point the meter when metering.
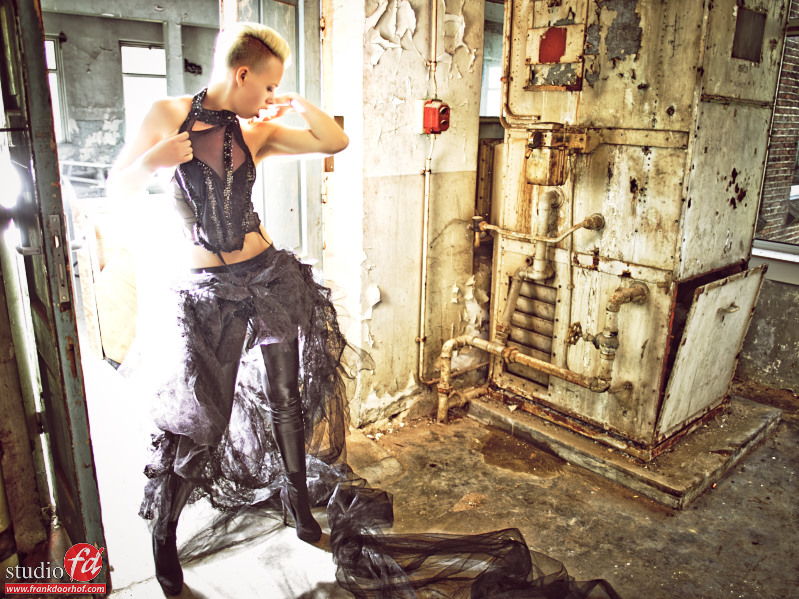
You have to realize that the light meter is an incident meter, meaning it meters the light falling on the meter…. so if you know which part of the subject you want to be lit correctly you hold the meter in front of that part. In the studio this often means you meter towards the light source, however sometimes you don’t, like in this shot that I took during the Photokina.

Frank Doorhof Leaf 0221

Read more

Using backlighting and metering tip

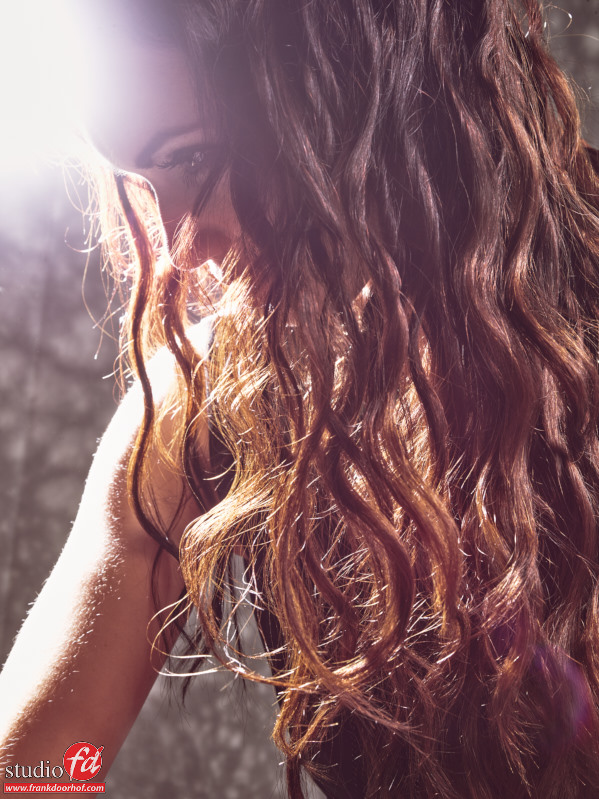
Often light is coming from the front or the side, however it can be very interesting to use light from the back.
Now how do you meter something like this?
In fact it’s very simple.
An incident light meter will meter the light falling on the subject and give you the correct reading, if you put that value in your camera you’re subject will be properly lit. Now a lot of people tell you different things about light meters, ranging from “you don’t need one” to ….. well let’s put it this way a lot of confusion is caused.


Trust me when I tell you that a light meter is just a tool, it gives you a way to very quickly get a proper exposure and it’s not hard to use. As you can see in these examples I metered the front of the face of the models and put that exposure in the camera, the only light source used is an Elinchrom Ranger behind the model, so the “scatter light” actually lights the model and is metered. In a studio environment it will often (99.9%) means you’re metering towards the light source, but as you see with this setup I now actually metered towards the camera. Just remember that you hold the meter in front of the area you want to be correct and meter “the light” that is hitting THAT area, it can be the strobe straight on, but also scatter light or ambient light.


Enka workshops Augustus 15 2014    199

Read more

A topic on the light meter

I recently put a topic on social media and got so many good responses that I thought it also needed a place on the blog. Now let me make one thing 100% clear before starting this topic.  The light-meter is a tool, it’s nothing less and nothing more. If you don’t use a light-meter you’re not a bad person, you are without any doubt not a lesser photographer than someone who is using it, I think that from all “photographers” out there now a days less than 1% is using a light meter, from the pros this percentage will be a little bit higher and as you know those people can create stunning images.

I for one however strongly believe that someone that is into photography should at least look at the light meter to see what it does and how it operates, because if you use one, one thing is for sure it WILL speed up your workflow considerably and also helps you to create the same quality of exposure over and over again.


Now in the past I’ve written a lot on the subject and I still believe that there are areas that I did not touch (so who knows what you will see more in the future), during my workshops and talks to photographers I find that the group using a meter is very very small, when I talk about the reasons I often get the same responses “You don’t need it with digital right?” and that’s ok, with digital you can indeed judge an image on the “instant polaroid” on the back of your camera or on your screen. However I also get responses like “I use the histogram”, “I always thought meters were only for the landscape guys”, “I was told that the meter was inaccurate and that with digital you could nail the exposure so much better”…..


I’m not sponsored by Sekonic (and trust me I tried :D) but somehow the whole light meter thing did got me thinking and I decided a few years ago during PSW to do a class on why I use a meter with stunning results (I believe they sold out the meters in a few hours) ever since it’s been a solid part of what I teach.

Read more

Why you should trust the meter

After my workshops a lot of students switch to the use of a light meter.
They see how quick it is to setup the lights, meter the background, make sure there is detail in whites or blacks and much much more but that’s “only” part of the story. Let me tell you two stories that are real life stories and will show you a different side of why to use a meter….


The workshop story
A while ago I taught a workshop for a group of professional photographers (always a tough crowd), most of them (to my surprise) did not use a meter. After my story about why to use a meter and telling them that it was really a great tool to make sure you get what you want it was time for my photoshoot. Now believe it or not but the first shot I took was terrible, whites were all blown, blacks were blocked up and it was just plain terrible….. Some of the people in the crowd were a bit like “yeah, sure that’s why we don’t use a meter”, and some asked “ok, so now you’re gonna tweak the lights, right ?”


I surprised I think the whole crowd when I did not change anything on the lights but asked for the remote of the projector. In a few seconds I changed the brightness and contrast settings and the image looked the way I intended, now I hear you think “yeah sure, that’s not the way to do it”, well actually they also asked me about that (of course), so to prove my point I reset the projector and showed a grayscale 10 step bar. On the non adjusted settings there were only a few bars visible. And after setting the brightness and contrast all bars were shown, and also the image was showing up correctly.


The Glyn Dewis lens story
During the first “Frank Doorhof and Friends” workshop there was a small problem with one of the light setups.
Read more