Tag Archive for: light

Feathering the light

One of the most powerful things you can do with light is actually something that is often not used by most photographers.
Every light source has a similar behavior (some more some less), the middle is pretty harsh and bright and the more you go to the edges the softer but also dimmer the light gets. With some light sources this is less obvious and with some it’s very obvious but the following trick works for all.


When we “normally” light a model we are used to aim the light source directly at the model, meaning the model is in the hotspot, however this also means that the light falls off near the model in all directions. In other words the model is in a sort of “bubble” of light. Normally this is not really a problem, but if you place your model next to a wall and you want less light on the wall this is often not so perfect. This is where feathering comes into play.


If you feather your light you actually aim your light away from the model and in essence you light the model with the sides of the light, meaning less power but also in almost all cases a nicer light quality (softer).


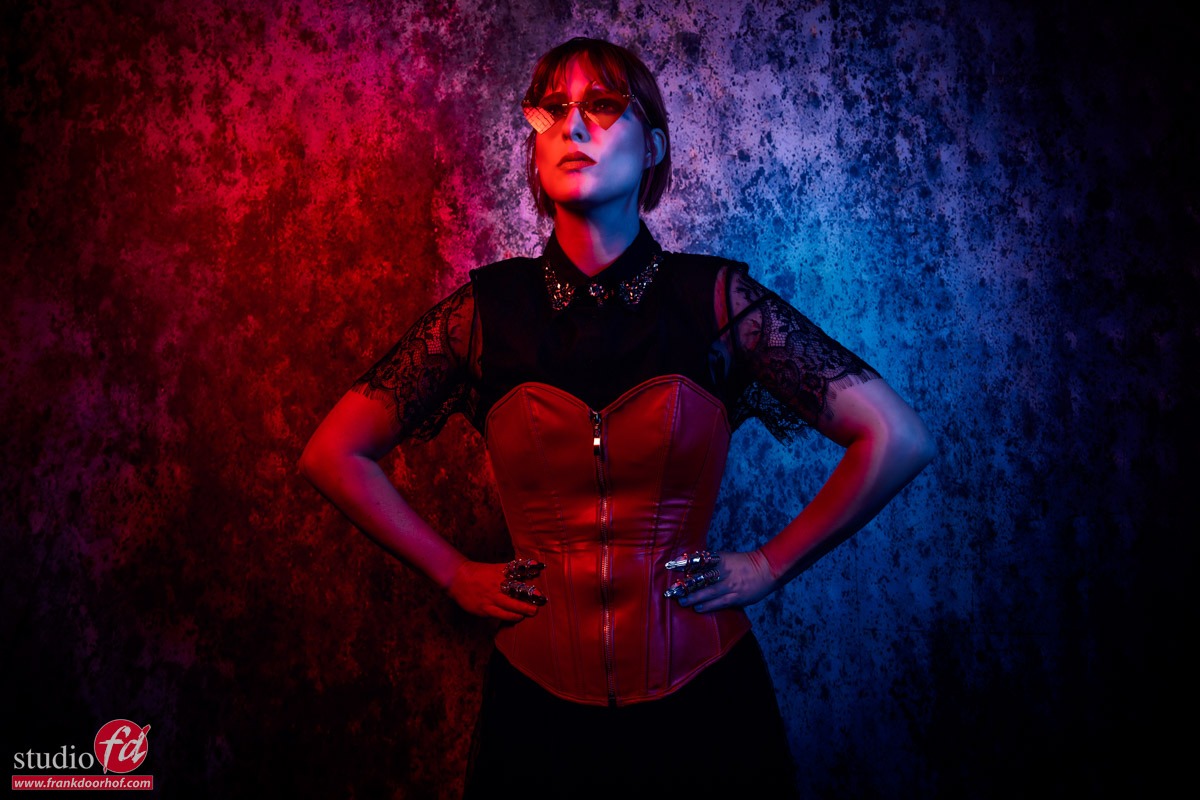
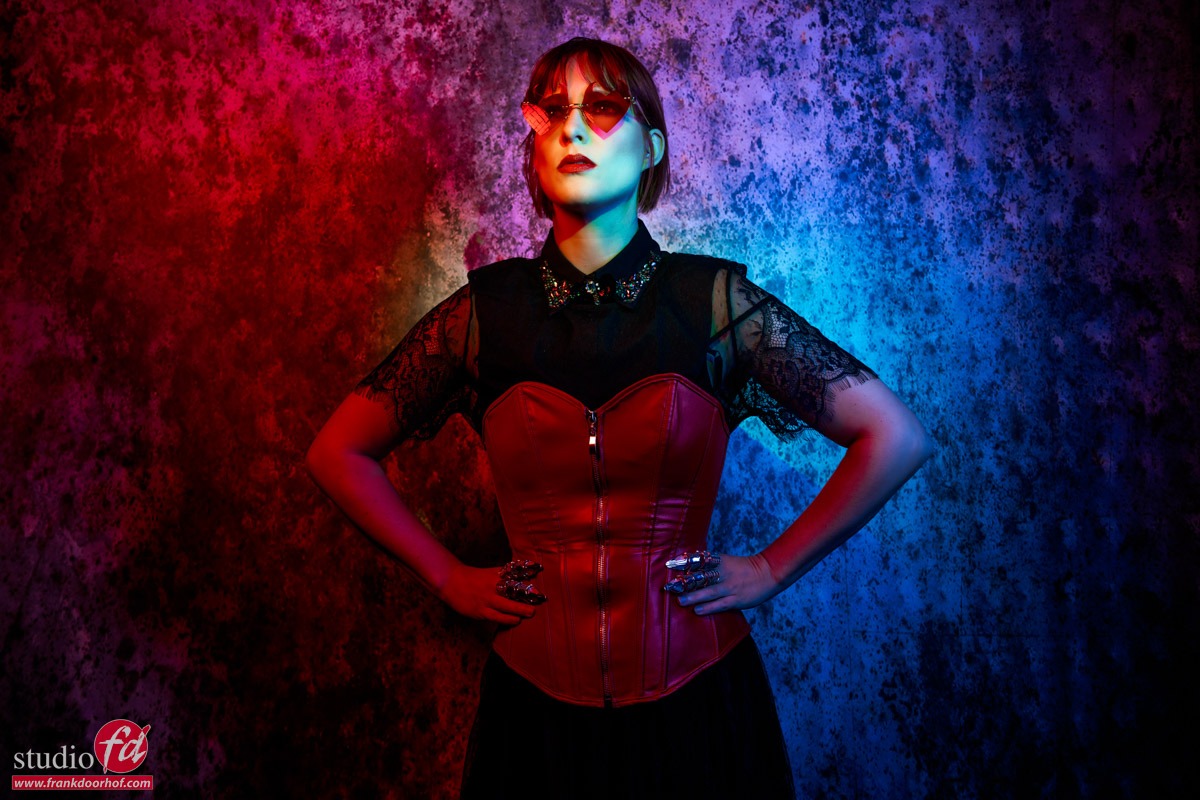
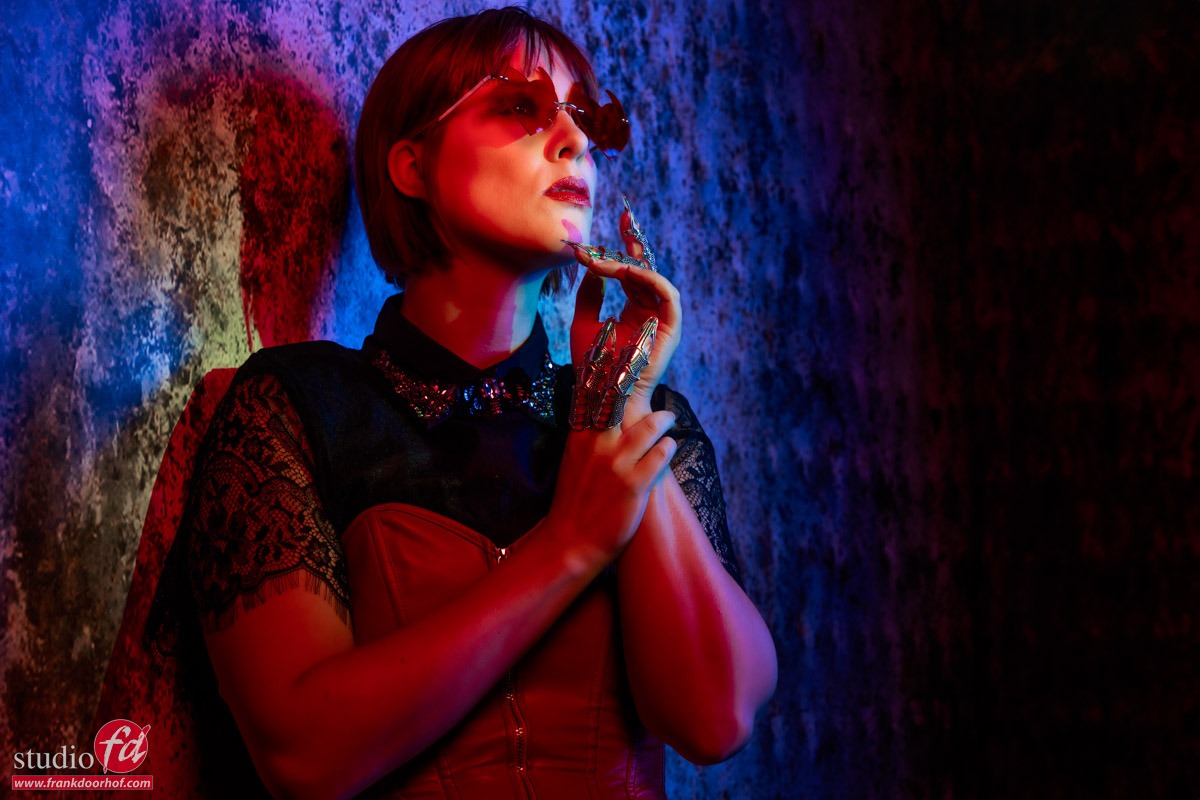
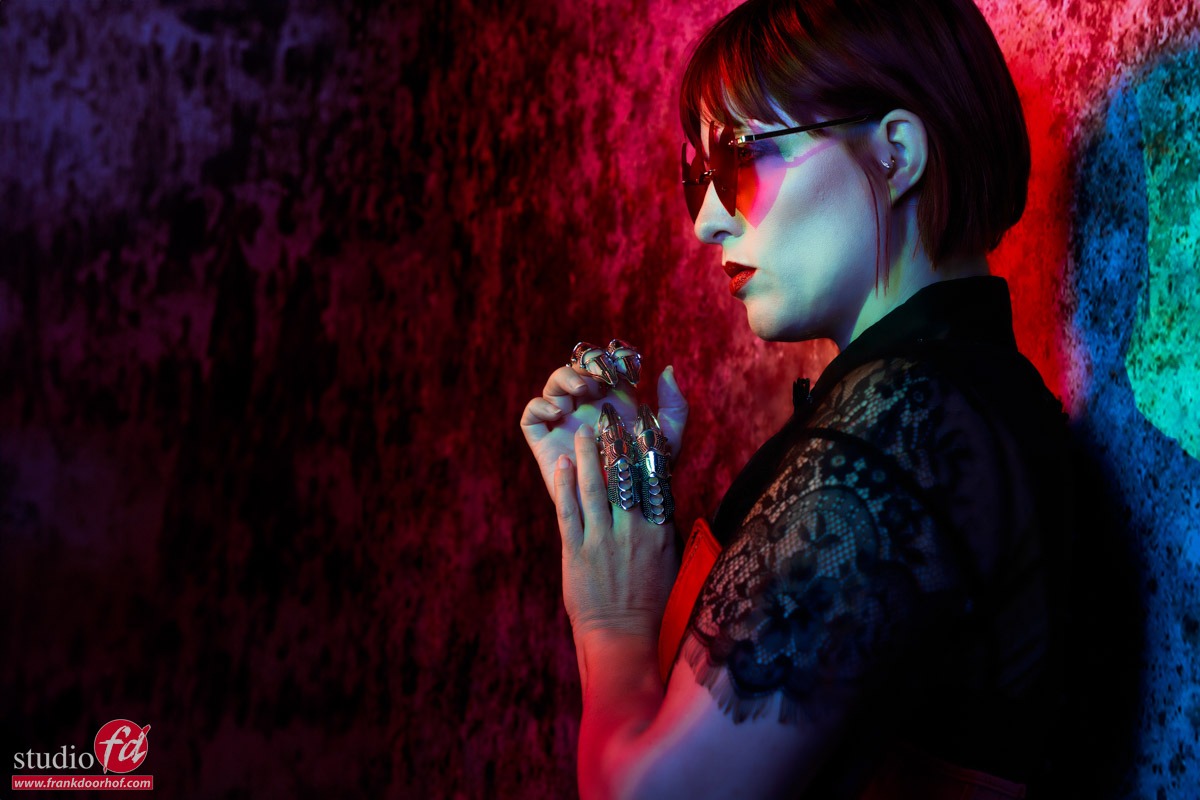
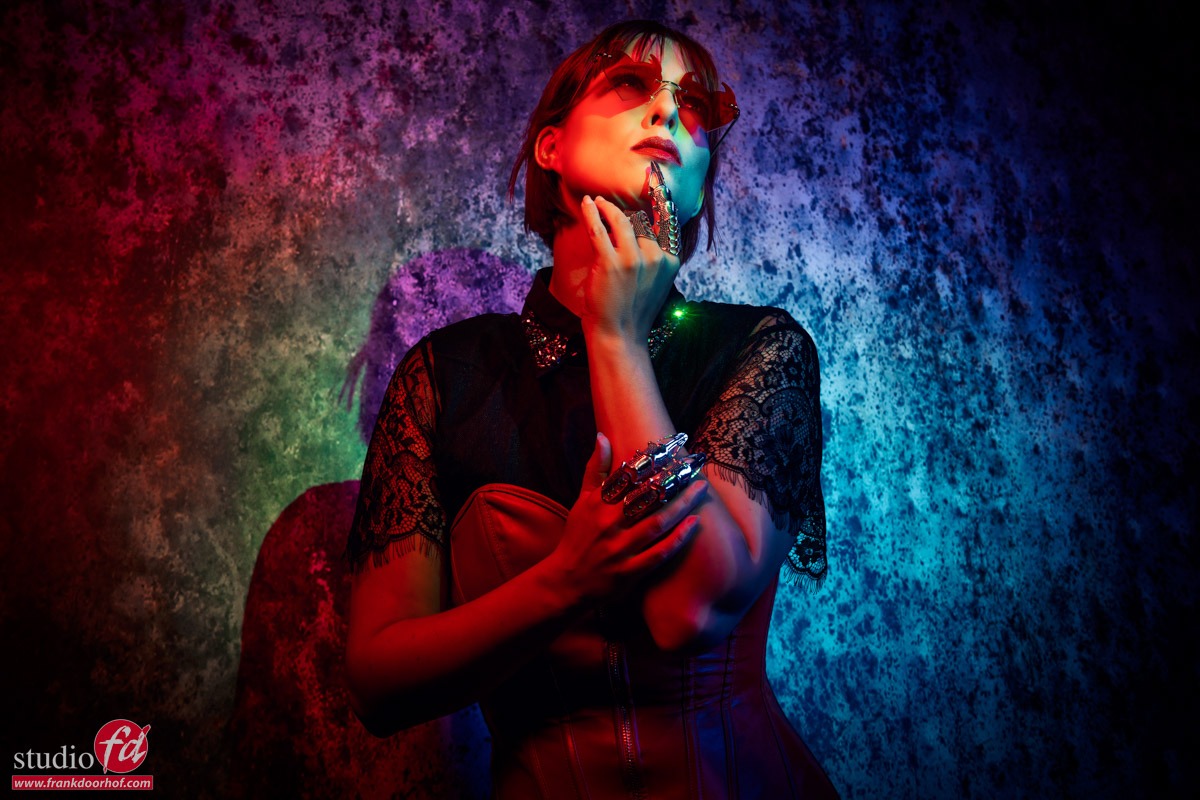
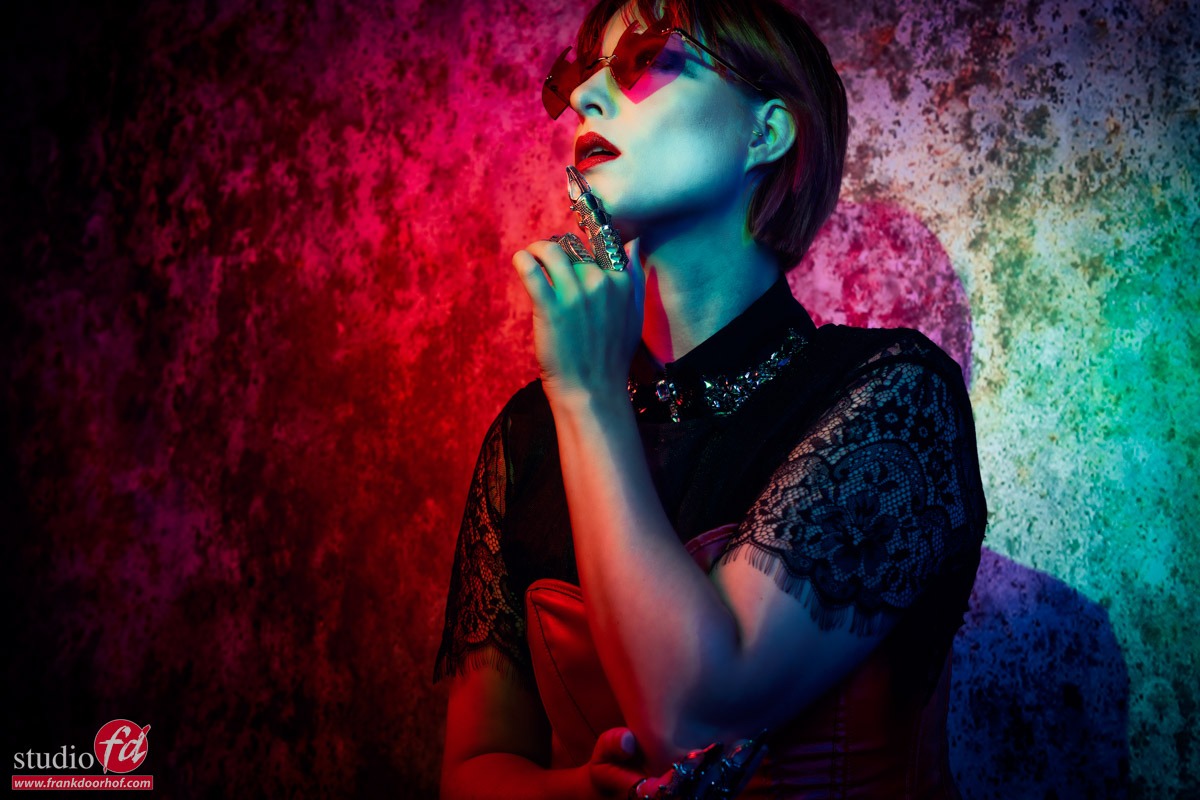
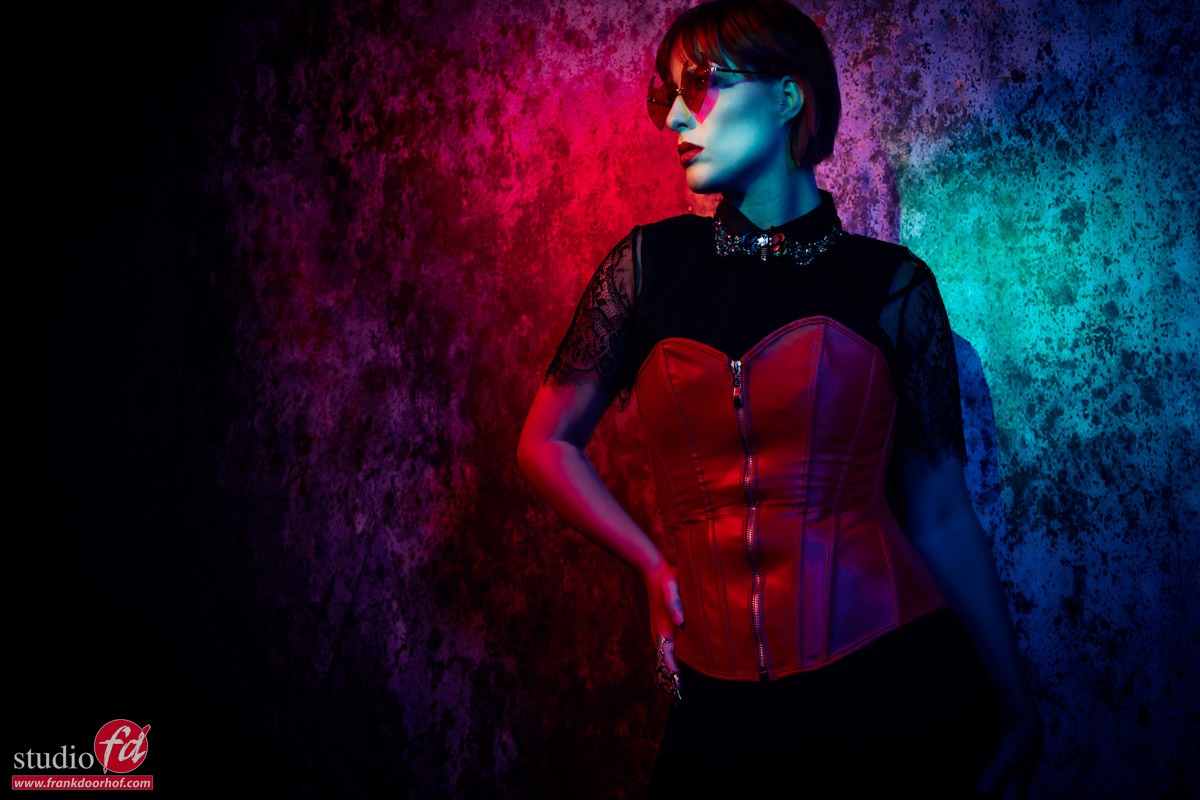
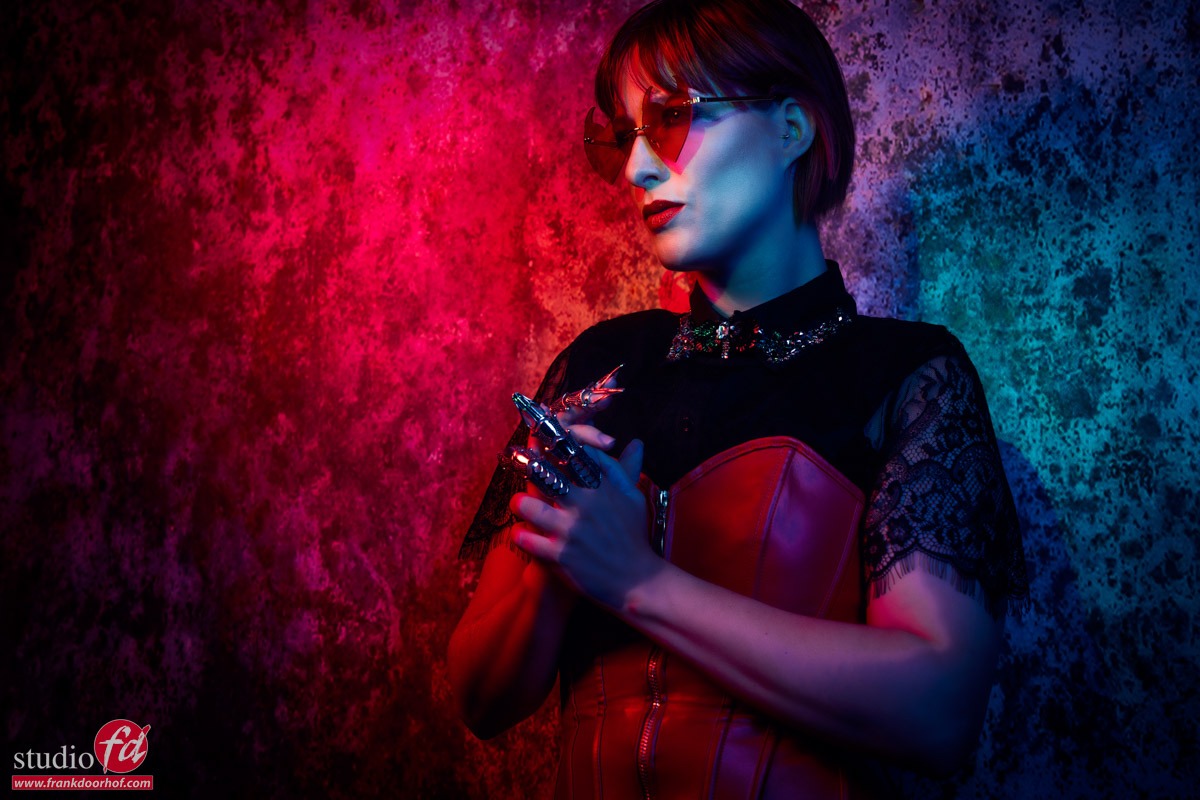
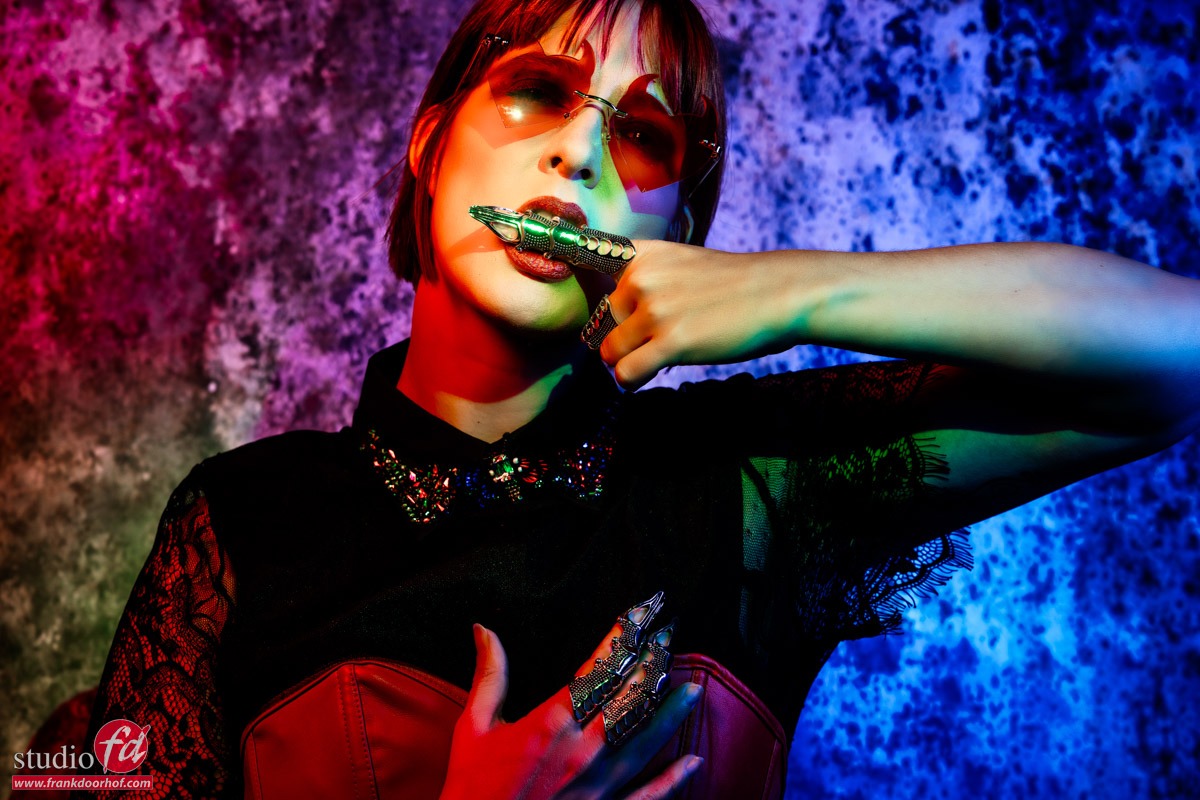
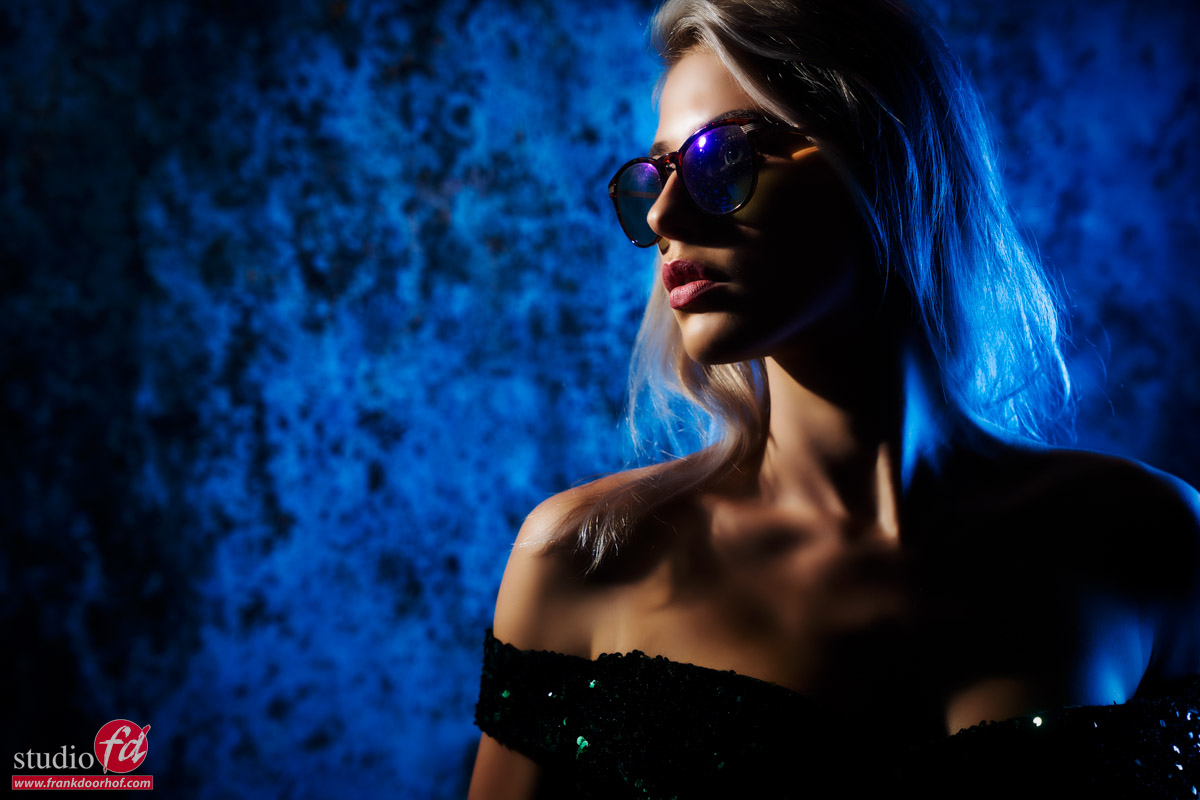
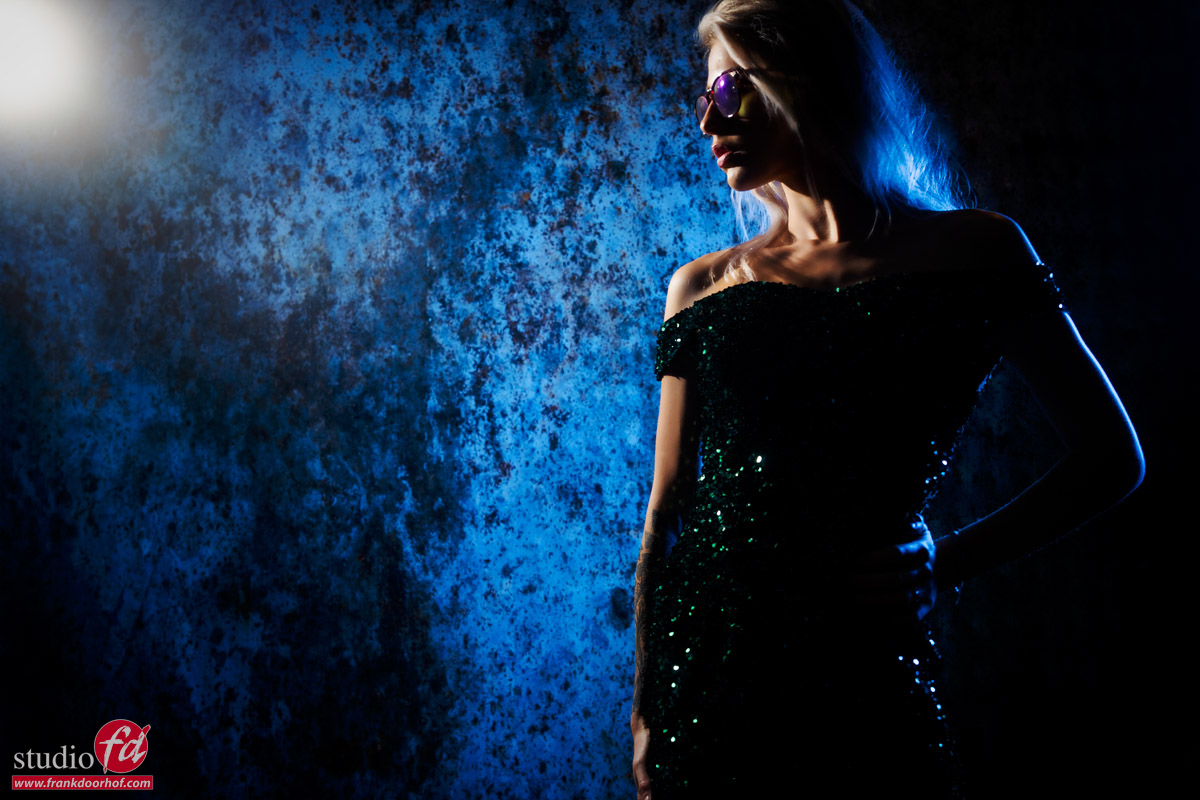
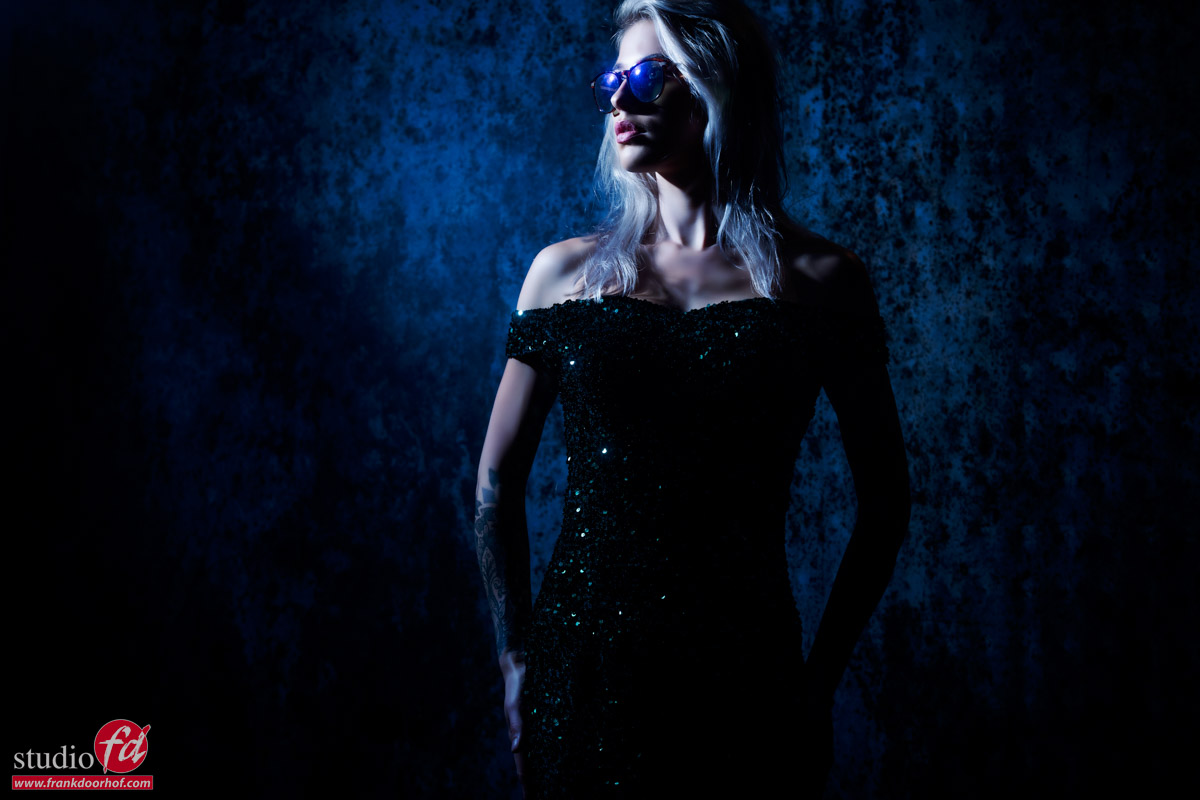
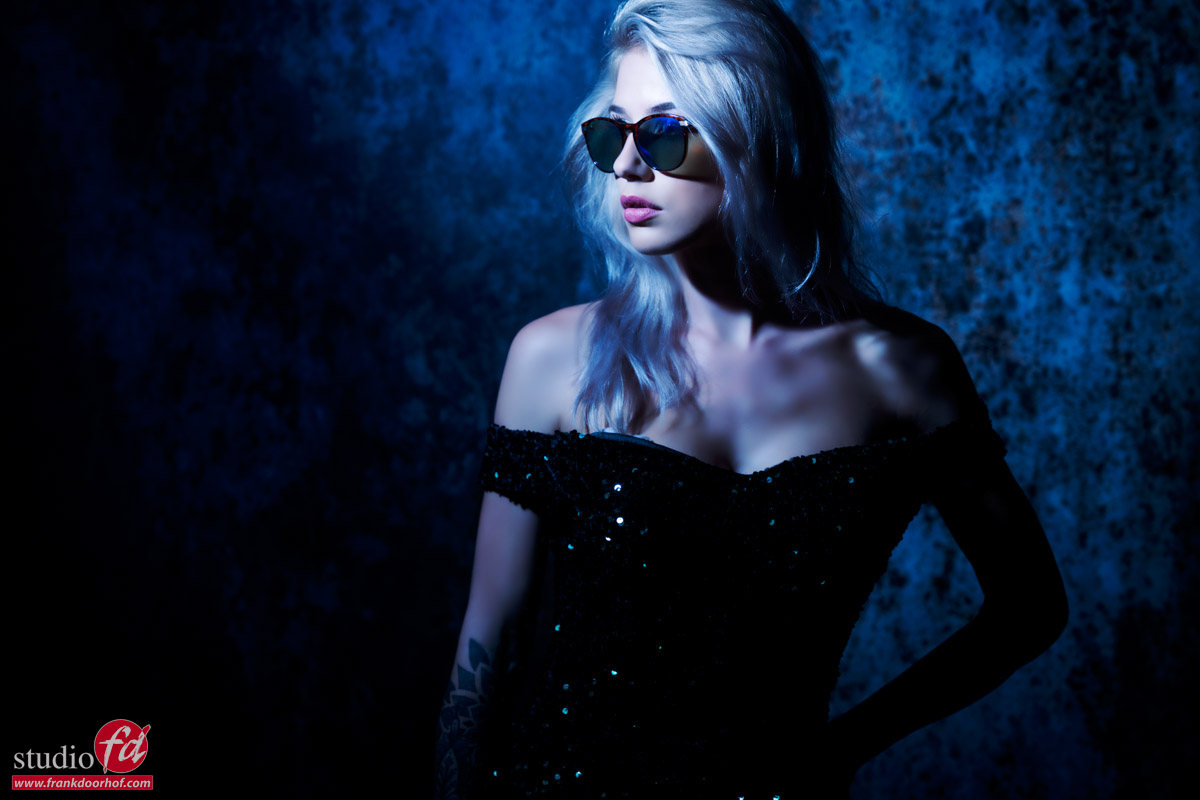
In this example you can see the effect with our model Sanne and a LedGo led panel we normally use for video.
The wall is highly reflective and when you light your model in the hotspot the image will not be pretty (to say the least), by feathering you can create some very nice vignetting on the wall, get some nice light on the model and the end result is much more pleasing. Of course you can still walk around the model for less or more contrast as you can see in the examples.


Sanne October 16 2015 0023

the setupSanne October 16 2015 0054

Sanne October 16 2015 0070

Sanne October 16 2015 0084

Sanne October 16 2015 0097


A quick tip about light and the car

You must have at one point heard the expression :
“always carry your camera because it’s so fricking difficult to make a picture when you don’t have it”
And this is 100% true.
Even when we travel I always have my camera close by and I make no joke when I tell you that some of the most interesting shots were actually taken through the windshield of our car, it’s a totally different view than you’re actually used to, and sometimes the cars windshield actually helps in the lighting by adding some “funky” stuff. Now don’t get me wrong, a lot of these images end up in the pile “I love them but nobody is allowed to see them” but sometimes I really like a shot that much that it ends up in my portfolio.


While driving back to the Mandalay in Vegas we had to stop for a traffic light and the sun just hit the hotel (which has a very distinct golden hue) and the women wanting to cross the street. Now for some this might just be a picture/snap shot but I just loved the overal look and golden glow plus the added backlighting. If you don’t like the shot, no problem but remember that there can always be something that’s fricking awesome and you better have your camera handy……because otherwise you miss the shot.


Now how do you set the camera?
When driving I often have it set on auto ISO with a minimum shutter speed of 1/500 this way I know that if the car is moving you can always get something interesting…now do remember I don’t tell you to shoot while driving (blink blink) but it could happen, of course this is stupid and dumb…. but then again if you’re careful enough you could take some cool shots…. but just to make sure that you understand, this is DANGEROUS not only for yourself but most of all for the people around you so when doing this make 100% sure you do it safe, NO picture is worth hurting yourself or others.

Nevada  (484 of 513) August 14 2015

That easy lightbulb again

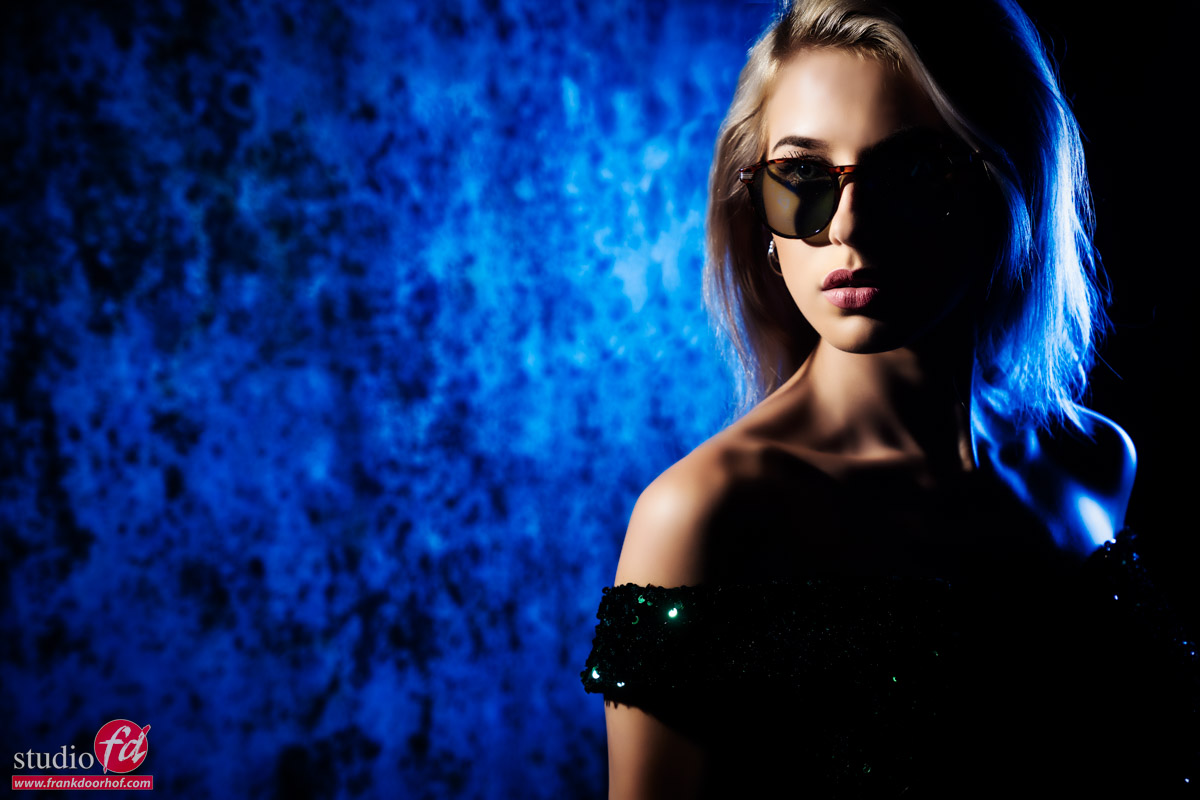
Every once in a while I will take it out of the closet… my favorite light source to play with… that simple 100W light bulb in the cheapest enclosure I could find. It’s always fun to see the reaction of the attendees of the workshops when they see the possibilities they can have while shooting with a light source most would label as “unusable for some cool shots”.


One of the things you always have to remember when shooting with light is “distance” or in other words “the inverse square law”.
In very simple terms, if you use a light source really close to your model the light will fall off very rapidly, meaning you will get a lot of contrast in your shot, if you move the light further away the light will fall off less rapidly. So if you want to light a group it’s often wiser to move the lights a but further away, and if you want a striking high contrast portrait you can move it closer (although many other factors play a role of course, but let’s keep it simple).

With the lightbulb the power, for me, lies when you use it really close to the model and the background. The outcome is always something that surprises people and often they ask me “How many strobes did you use next to the lightbulb” 😀


So if you have a lightbulb in your house, don’t be afraid to use it in your next shoot, it might surprise you.


For much more in-depth techniques, tips etc. get my book “Mastering the Model shoot” or download one of my videos from this website.

Manon Juni 13 2015 0594

Manon Juni 13 2015 0865

The best locations and the best light…. are what you do….

We all know that a good shot consists of good lighting and a great location right?
However that doesn’t mean you have to travel for that great shot, actually the best shots can be right around the corner. The main problem is that we see the locations close to us way to often to actually register as something that could be interesting for a photoshoot. If we would see them just once they might seem much more interesting than they do in every day life.


When we changed locations for our studio I clearly told everyone that the area behind the studio (out of sight) could not be changed and I wanted to let “nature” just run it’s course, if we have something old and “rustic” we don’t throw it out, we store it there and just place it somewhere where we can use it as a location to shoot, we even have a sea container there to use.


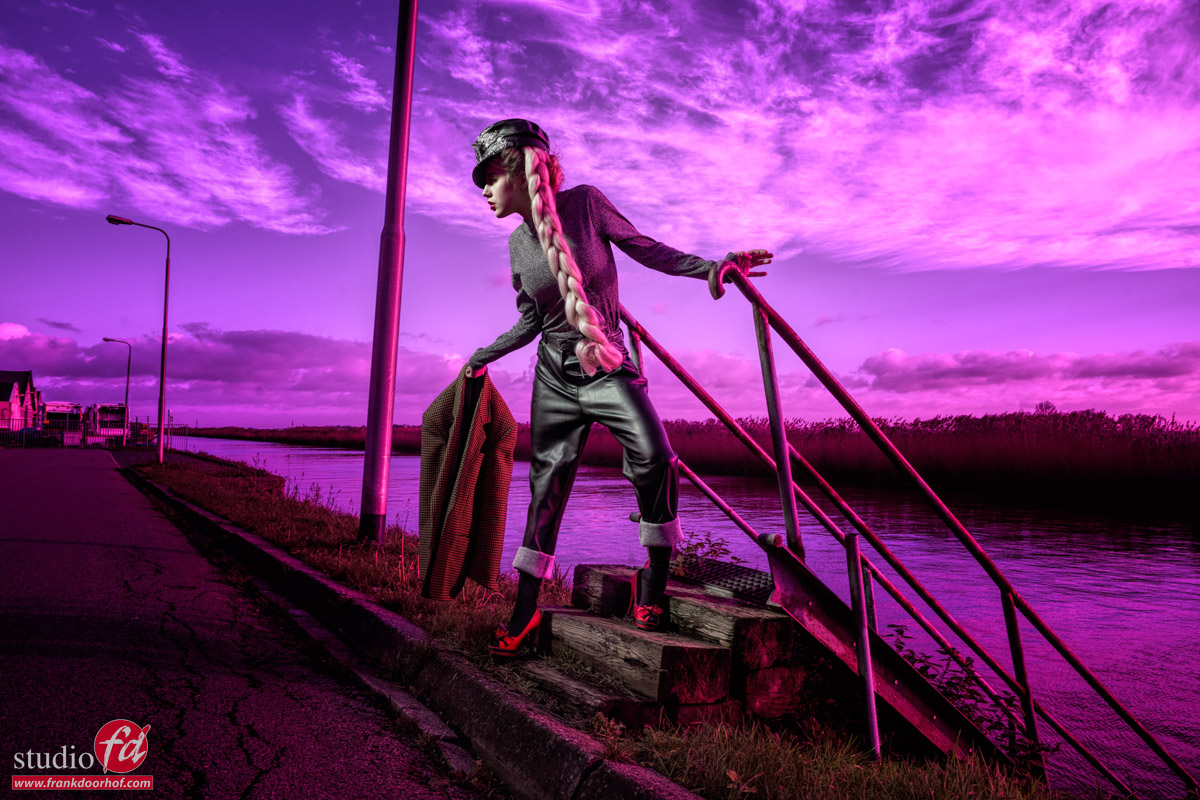
The next shots were all done in a very fast outside session with just the sun as light source.
Editing is very minimal with just some tinting and a little bit of MacPhun Intensify.


So the next time you are looking for a location… make sure to also check your local area, and house area. And when you own a studio building…. why not make a “mess” outside (as long as people don’t see it from the road). Also remember that the sun will actually be a great light source with great contrast, if it’s a bit too harsh you can always use some diffusion material between the model and the sun, but in all honestly I often just shoot it as is, I just love those hard shadows and popping colors.


Model/Styling : Nadine

Nadine Juni 12 buiten 2015   0010

Read more