Distrokid…..
As you all know this is mostly a photography blog/site, but as with most people active in creative professions music is also for a lot of us an important part of our lives, so sometimes I also throw in something a bit off topic.
For me personally I started playing guitar when I was app 17 years old and absolutely loved it, I played hours a day and for me music was the perfect distraction from everything that happened around me, it was the place I could channel happiness but it also was a great way to get anger or frustration out.
Getting to the start
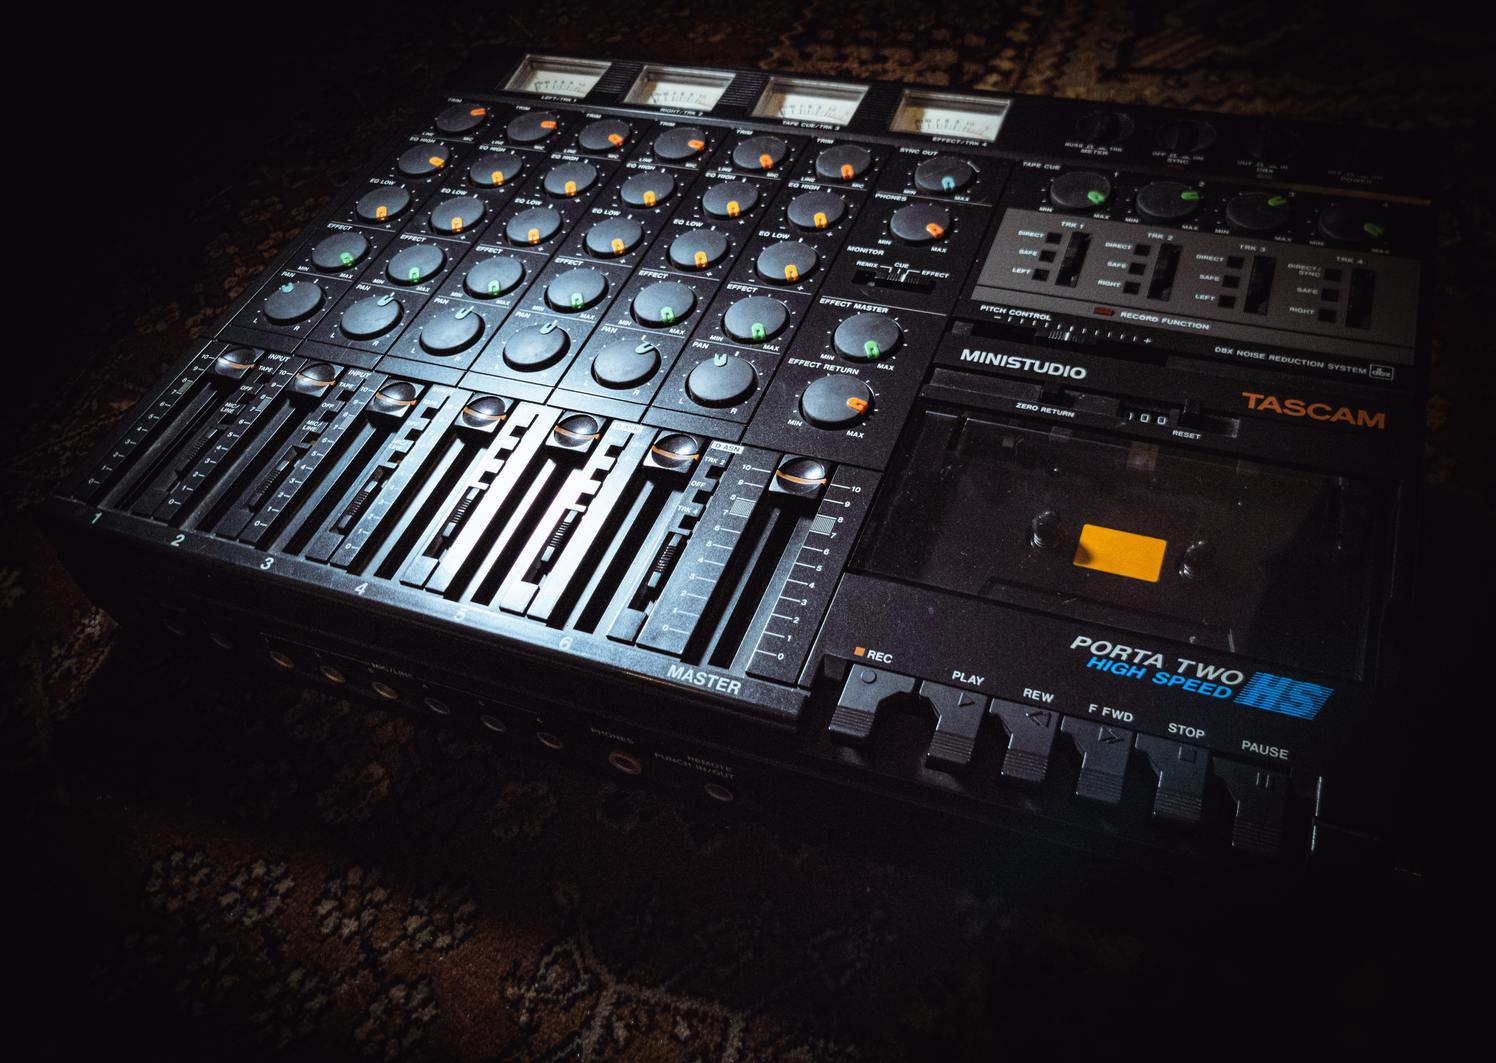
When I started there was no internet and learning guitar was done by waiting for a new magazine or buy a tabbook (song book with guitar parts transcribed in tabs). Recording music was an absolute disaster. I used a very modern (for that time) 4 track recorder which meant I had to record 2 tracks that I could listen back and 2 tracks “blind” only when mixing you could hear those back, later the Tascam recorders started to appear and I absolutely loved that one (still own it), wish it would still work but the tape deck is somehow not working anymore.
When I was done with school my first company was a recording studio which I ran with a friend of mine. It was a huge space which we build ourselves from an old barn behind his parents farm. Although the space was designed as a real studio with a separate drum cage, special acoustics and of course a nice control room with soundproofed glas looking into the recording room… in short it was awesome. But where we were professional in room space even in todays standards the gear…. well… was less impressing.
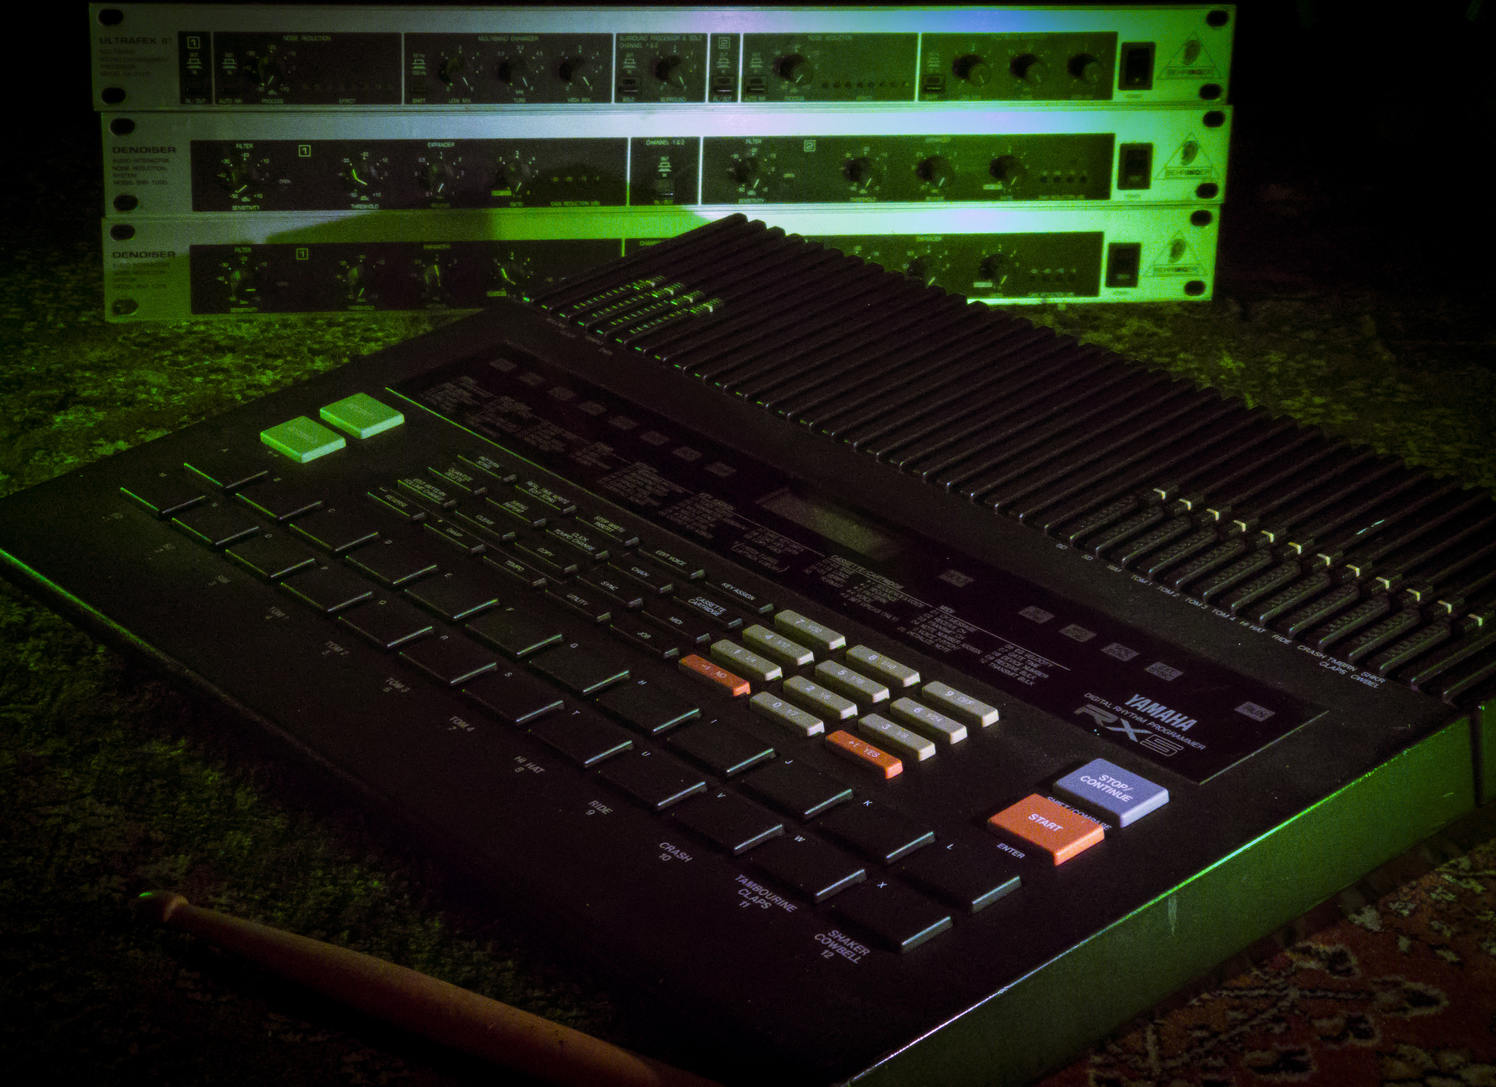
Recording was done on a large D&R console and the drums were done on a separate Yamaha console routed into the D&R and mixed down to an 8 track tape recorder, this made it also possible to record all instrument separate or all at once with their own channels for that time I felt in absolute recording heaven.
But as with most things, time catches up.
I met Annewiek and we started our life together, for a few years I continued teaching guitar to local people but when we got busier with our business I had to stop this and slowly also stopped playing myself. Luckily I didn’t sell anything but stored in on the attic.
The PhotoshopWorld experience
Many years later (end 40’s) I send one of my demo tapes to Scott Kelby and he absolutely loved it resulting in him asking me to jam with them on stage during PhotoshopWorld. To be short… it was a “disaster” and bloody (no calluses) (sorry Scott for the strings). But it did spark the fire in a huge way. So when I got home we unpacked my old guitars and amps and connected everything.
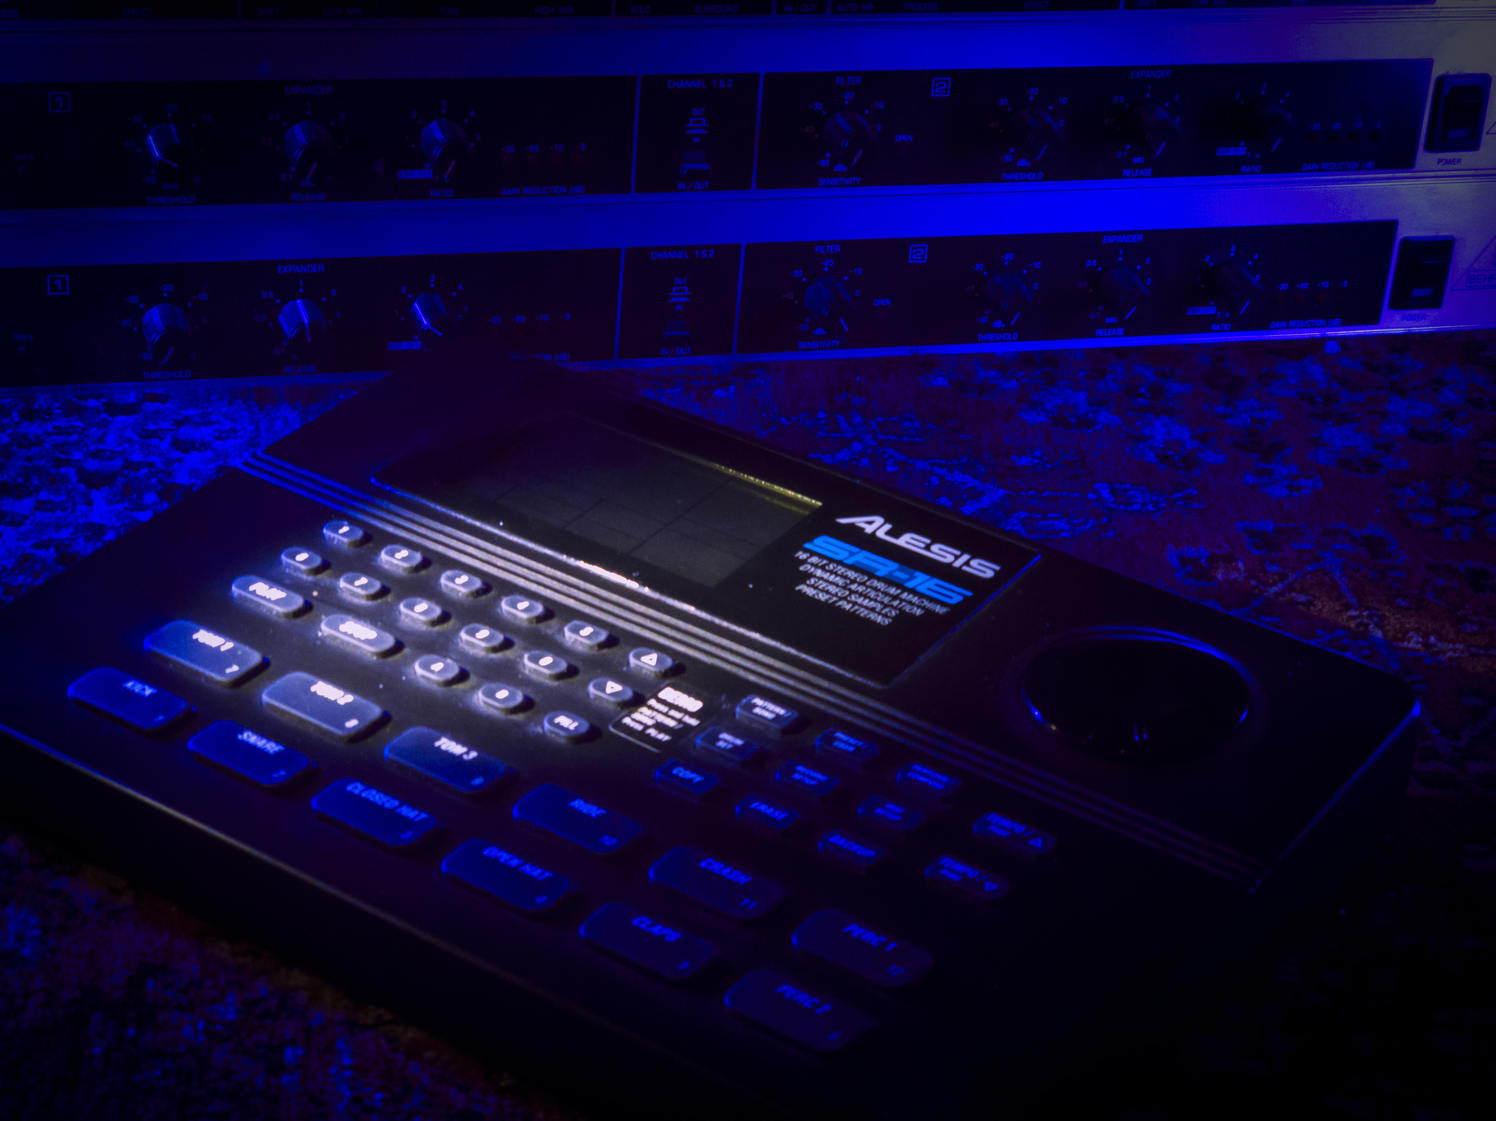
The first thing I wanted was my trusted drum machines.
I sold my SR16 so bought that one back and also added a kawai session trainer.
But….. I don’t use them anymore.
The landscape has changed A LOT.
Man I wish I had all this stuff when I was in my teens, I would have never left my room I’m afraid.
At the moment I’m recording my guitar parts on tube amps at the sound output I want without hearing any sound. To give you an idea, to get a really cool lead tone I love a 100W tube amp just over the point of breakup which often means the sound pressure of a jet-engine at a few feet distance, something you could never do in the past, but today you just disconnect the speaker cab and use something like a Torpedo Twin X and you can select your favourite speakers, add virtual microphones and move them around but without the phasing problems you normally experience. Now in all honesty I was able to do something very basic in my youth because I bought a Marshall SE100 which does something similar but wasn’t as flexible as what we have today and it was incredibly expensive at that time (still own it).
Recording music is also a totally different experience.
Logic has awesome sounds for keys (in the past you had to buy all the keyboards to get the sounds, or use samplers), an awesome drummer plugin and thanks to digital it’s now super easy to record your ideas. Where when I started it was more fighting the limitations and being able to record something in one take (punch in is pretty hard to pull off perfectly on old tapemachines) now you can just play it in a loop and select the takes you like or even glue them together without the listener hearing the cuts.
Now I have to be honest.
I still try to play my music in as little takes as possible and my solos are probably 20 takes but I choose only one and only cut where I messed up a note or slide. Somehow it still feels like cheating when you just “lego” a piece of music.
Getting it out there
My first (and only) band was called Royalty (huge Queen fan) and although we played covers the main set was own material which we recorded on that little 4 track in my parents attic and the second demo actually in the studio (Royalty street studios). To get the music “out there” we asked local record stores to showcase our cassette tapes on the desk and once a month we would collect the money, if there was any. It was a time that most people don’t even recognise, and in all honesty it makes me feel very old 😀
Also here the world has changed a lot.
When I was in a band when you wanted to reach outside of your home town you had to do it yourself or get a record deal. Well that first one we did, the second… never ever.
But how do we do it now?
The first thing you will say “internet” and indeed totally right.
Sites like Soundcloud, bandcamp are awesome to showcase your music and of course social media is a great way to build followers, build hype, share images etc. the landscape has turned completely upside down.
Now let’s make one thing clear. I have no ambitions at all in a music career (although I’m always open for offers :D)
But I love sharing my work and when I told someone to check out Soundcloud the answer was often “what?, I know Spotify or Apple” so I started to look what was needed to get my music in an easier to find streaming service.
You can of course upload directly to Spotify, but what about Apple, YT, Tidal etc. etc. there are over 250 streaming services, so where does it stop? I feel a bit like social media, we love to keep you guys updated and it’s a lot of work to reach the most amount of people on different platforms and I was not planning on doing that kind of work for my music.
![]()
Enter Distrokid
As soon as I started looking for posting on Spotify the name Distrokid came up, when I watch recording or instructional videos Distrokid is mentioned, the kid seems to be everywhere.
When I looked at the site it indeed looked awesome. For 19.00 a year you’re posted on all streaming services and keep all/most of your royalties, there are unlimited uploads without “hidden” costs and they have a very nice website with special goodies that make my life a lot easier. Remember music is my hobby it’s not work, so I love making and recording the songs but I don’t want to spend hours on getting them online. Well Distrokid is a solution for all of this.
If the song is done you just upload it to DistroKid and enter the needed information, upload the cover art and… well that’s it (ok press or click Enter), but that’s not where it stops.
Within a few hours DistroKid send me an email with a so called pre-save page. This is absolutely awesome because it not only gives the visiter the cover art and a small preview that works in every browser, but you can pre-save the track and when the track is released the same page can be used to select your favourite streaming service. Talk about taking the work out of your hands.
As soon as the track was released I got another mail.
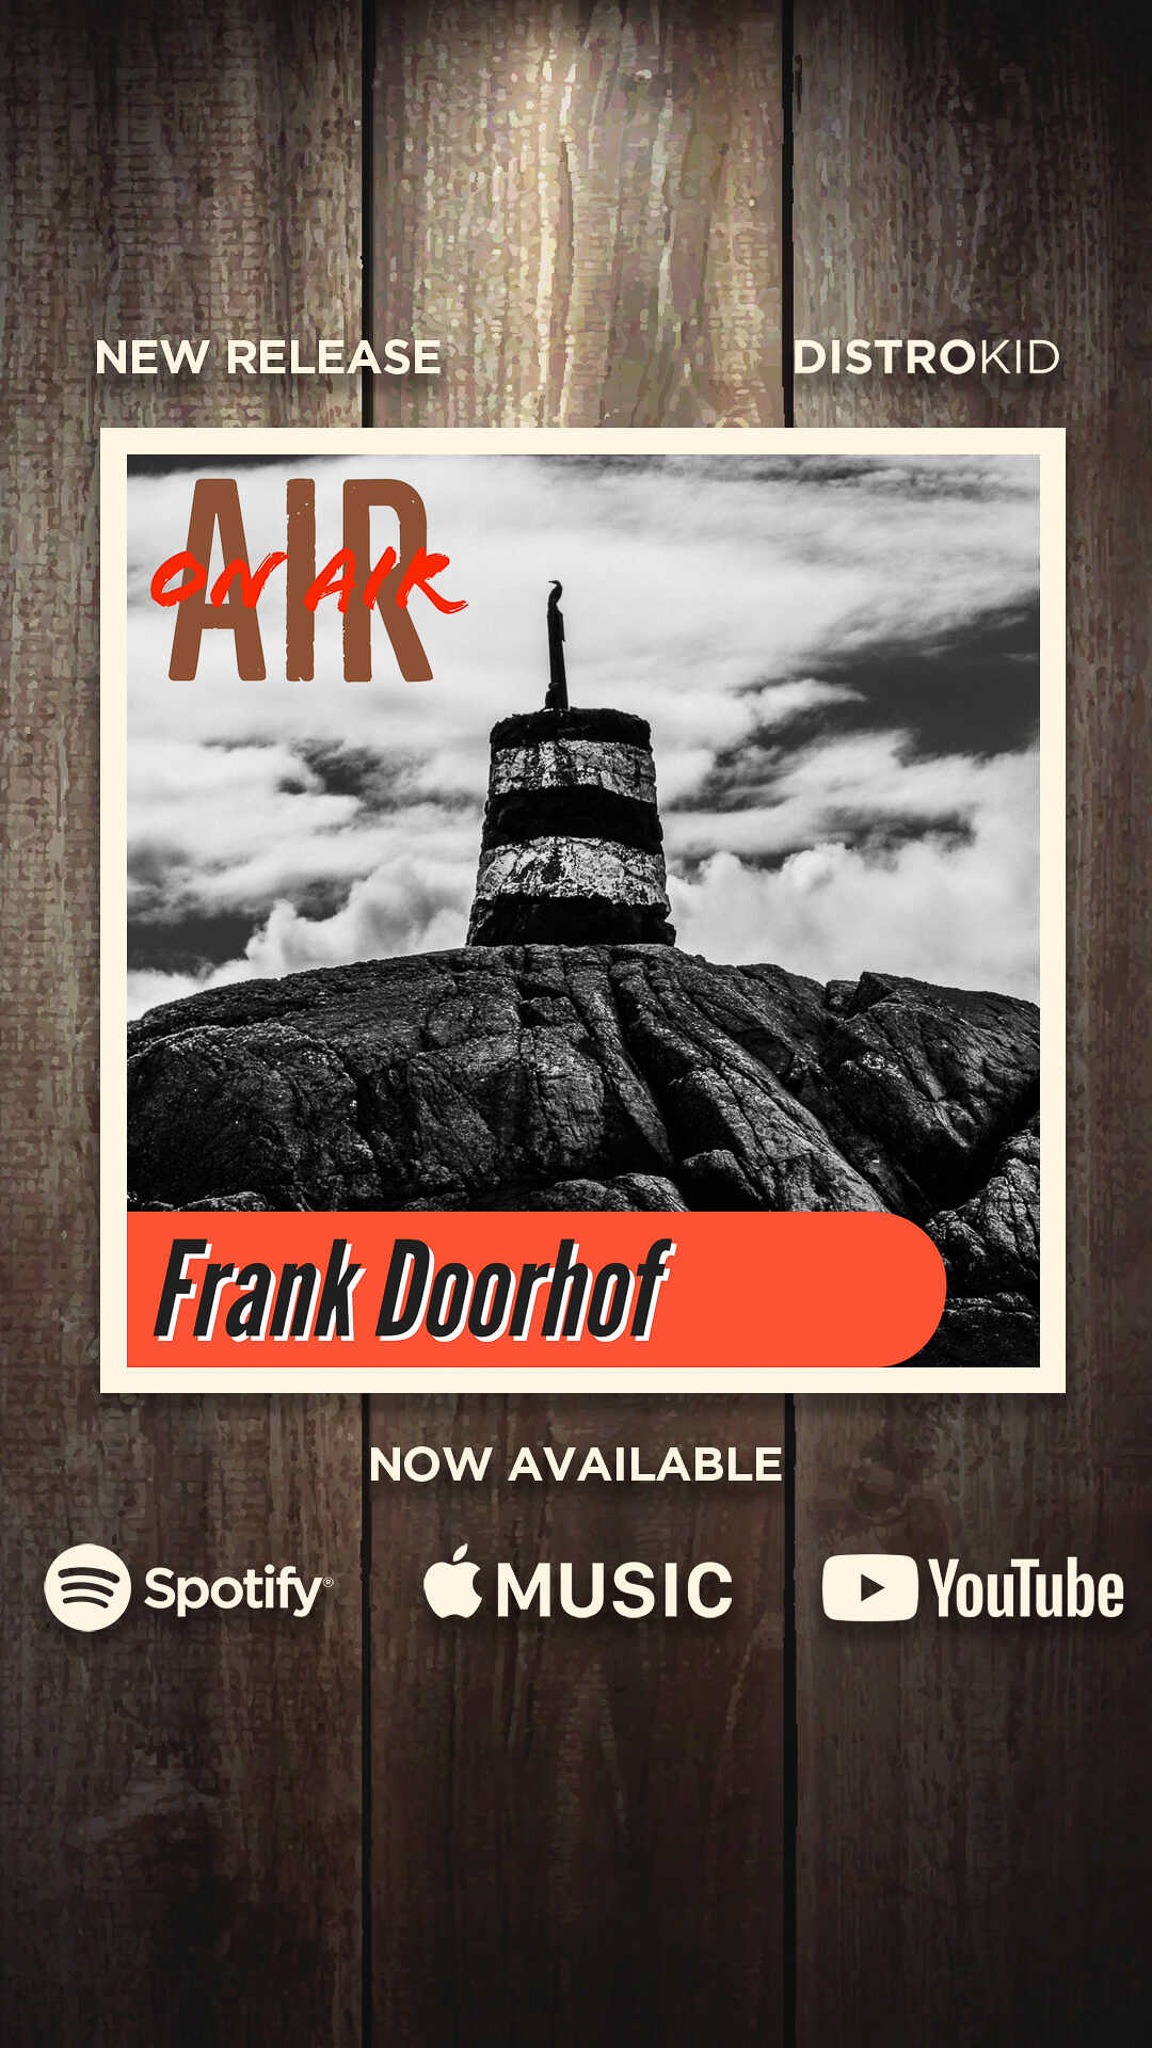
This time with loads of cover designs for social media, I settled on this one.
Now of course you can still do everything yourself, and if you pay a little bit more you can even have your own label instead of DistroKid, for me it doesn’t really bother me so I just got the cheapest option and am already deeply impressed by what it does for you, for 19,00 a year I did not expect this.
Alternatives
Did I look for alternatives?
Yes of course (I’m Dutch :))
But every time I saw one that was “self-proclaimed” better it was often not the case, yes they are free or much cheaper but you pay 5-9 euro per release, that means 3 releases and you’re already over the price of Distrokid.
Now I’m not saying Distrokid is for everyone.
But they do have a great product range from 19 to 80 euro per year ranging from one artist and the DistroKid label to 2 artists and a lot more options plus your own label and even an option for a real label with loads of artists, planned releases etc. and that for under 100 euro a year…. wow.
My plans
At the moment I have one song on DistroKid called Air on Air.
I recorded this a few days ago in our home studio and it came out pretty cool I think.
I already mentioned I have no ambitions on a music career (although :D) but I will be uploading material regularly, so I would love for you guys to follow me on your favourite streaming service.
At the moment I have 7 songs ready that will be uploaded in the coming weeks (one a week is the plan), after that I will keep uploading material and the challenge for me is to improve with every release and of course find collaborations with other musicians, and because we can record worldwide thank’s to the modern DAWs I think we can look forward to some interesting collaborations.
Feel free to contact me if you want to work on something.
Conclusion
If you want your audio out there and want a solid partner that doesn’t cost you an arm and a leg Distrokid is the right choice I think. Even if you (like me) just love to record music and love to get it “out there” Distrokid does it all for less than what you spend on coffee in a week.
If you also want to share your music or audio, check out DistroKid and use our link for a 7% discount and you also support my work, which I highly appreciate.
Oh and I would love for you guys to listen to my music, share it with friends and if you like more posts about music or recording let me know. We also recently started a Discord server which contains topics about photography but also music, so make sure to also join us there.


You must be logged in to post a comment.