Outside fashion shot for sunglasses with extreme styling and flash Part IV : let’s talk backgrounds and angles
Wow that’s a different…
This is one of the most heard comments when we use extreme differences in the background, especially when the model wears something more eye-catching, or dark/bright.
Chasing the perfect background on location is one of my favourite things. And it’s not always that the most interesting looking background is also the best. It’s great to have a cool background but we don’t always want them to compete with each other. I always try to choose a background that will help my model to pop-out, or disappear into.
This is the 4th part of this blog series and I highly recommend first reading the previous ones.
Let’s talk about the flash
Let’s talk about gear
Let’s talk about storytelling
The forest/beach
One of the things I love about the area we live is the diversity for photography.
Although you see totally different images in this series they are all shot in walking distance from each other, or right next to our studio. And trust me, I’m pretty sure you will have loads of interesting locations near your home, you just have to look with your “photographers-eyes” 🙂
In this case Nadine was wearing a non reflective black outfit (thank you very much) and some cool Sparks red sunglasses.
I didn’t tell you this yet, but during this workshop we also shot some images for our friends from Sparks sunglasses, a cool trendy brand of sunglasses for which we also did the introduction shoot for their new collection. Most of the time I also ask some sample to use during workshops and give our client some extra material which can promote their brand, my work but also the models. A win-win situation.
Anyway.
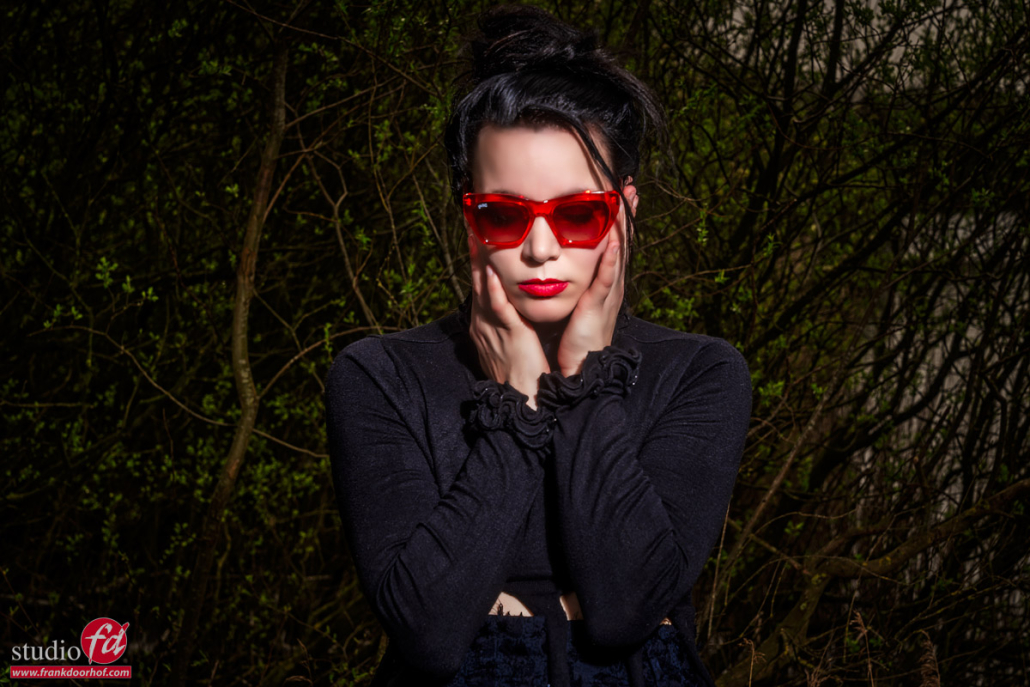
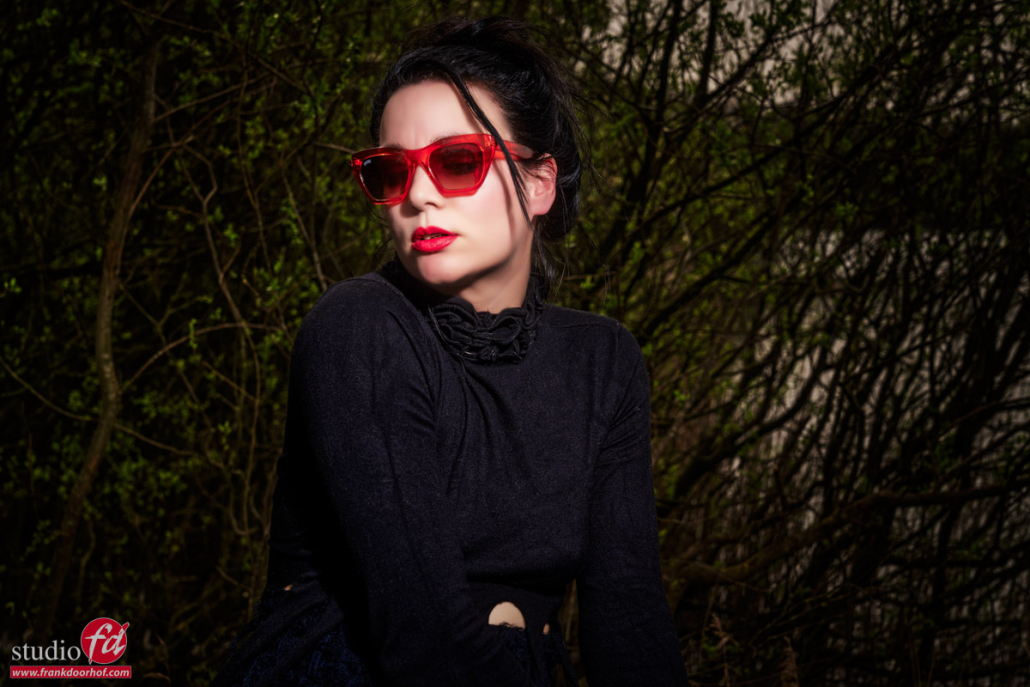
Because Nadine was wearing black it made it a challenge to shoot against the overcast sky, or against the dark forest.
One could say it’s impossible because you will blow out the sky, or block up the shadows, and with a dark forest the model will disappear.
yes, that could be one way to look at it.
OR….
You use exactly that “problem” and use it to your advantage.
The shoot
Here is the setup of the shoot.
I’m using the same Geekoto GT200 with a large reflector.
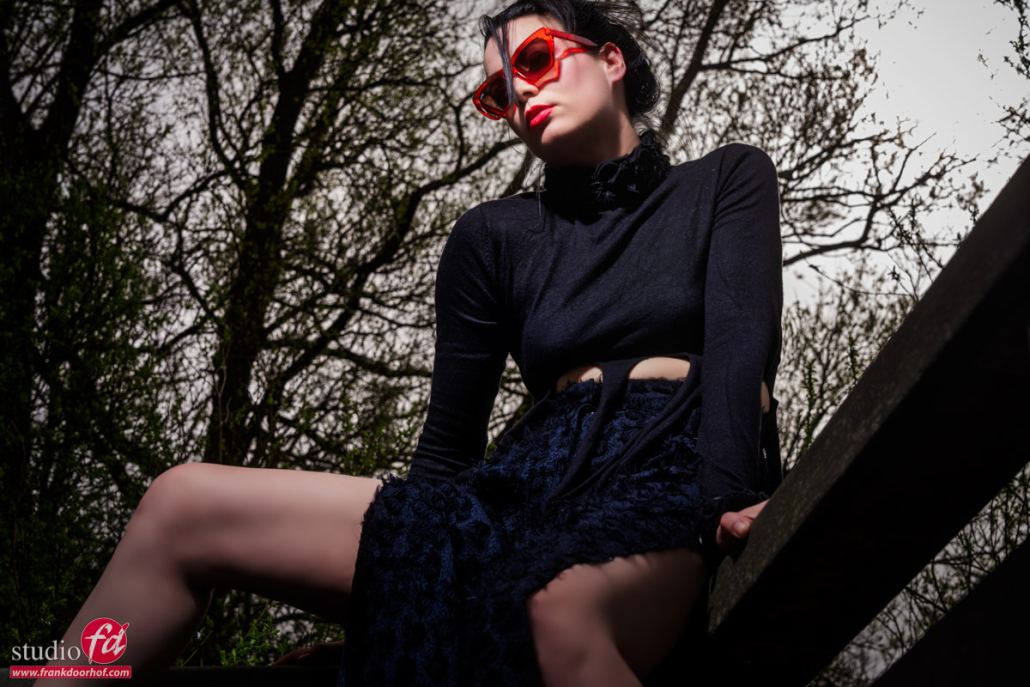
I love this location for the strong leading lines and the way the model can pose with the bridge parts. Also the two totally different backgrounds by just changing your angle makes this one of my favourite locations to use for workshops and shoots.
I love to shoot from more extreme angles on this location and using a more wider angle gives that really nice “distortion” in the image that draws the viewer towards our models face. I also use this a lot in the studio. Wide angles can be terrible for portraits or even full body shots, but if you use them carefully they can be awesome.
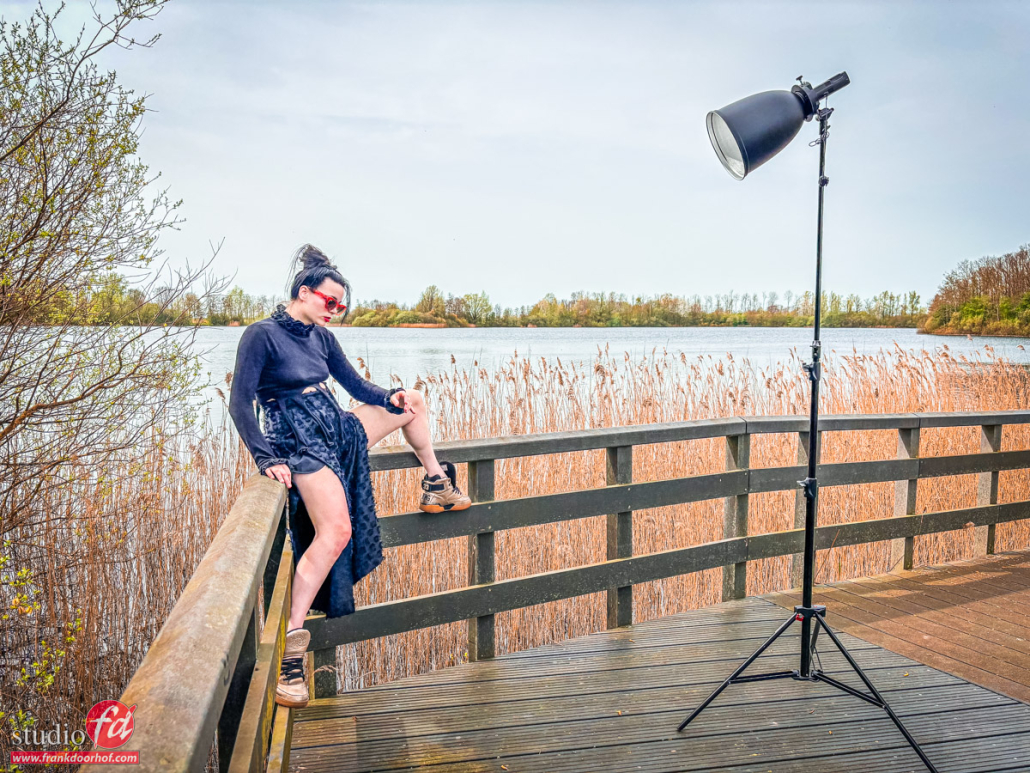
Because the clothing was so dark, Nadine’s legs were getting a lot of light/attention, so when you find yourself in a situation like this, use a grid on your strobe or make the model cover part of the legs, you do want to see some, but not too much light areas in the darker areas of the shot. hope that makes sense.
I decided to actually embrace the dark clothing and use it create some really nice edgy contrast in the shots, add the red sunglasses and some cool poses, and you have a very simple lightsetup, an ok location but some killer shots.
Model/Styling : Nadine
Sunglasses : Sparks
www.fotografie-workshops.nl for the Dutch workshops
www.frankdoorhof.com/shop for my gear
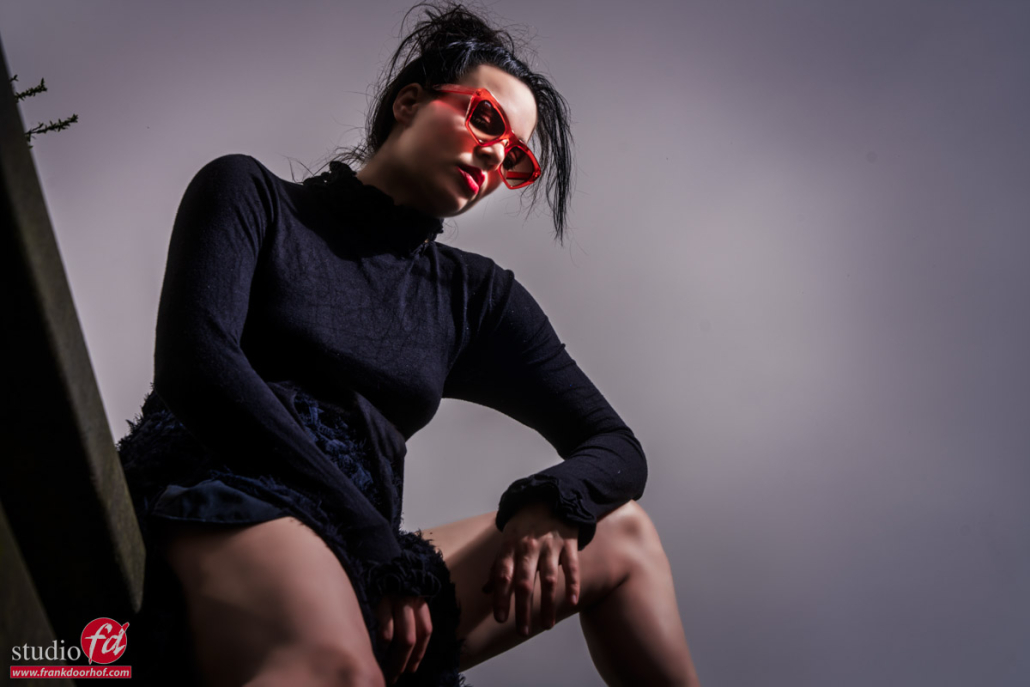
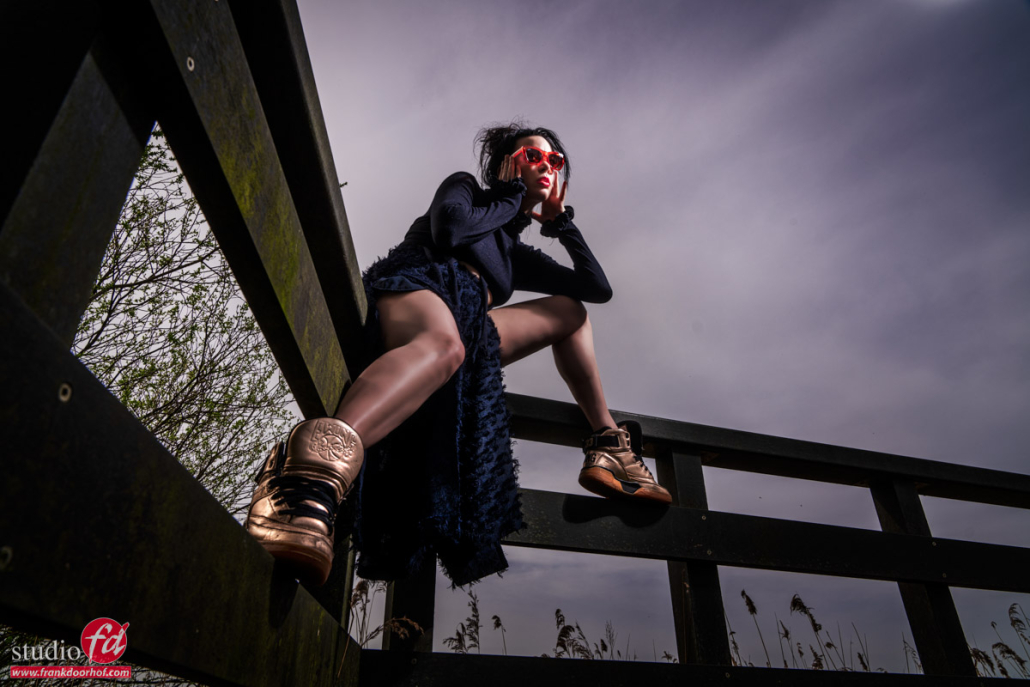
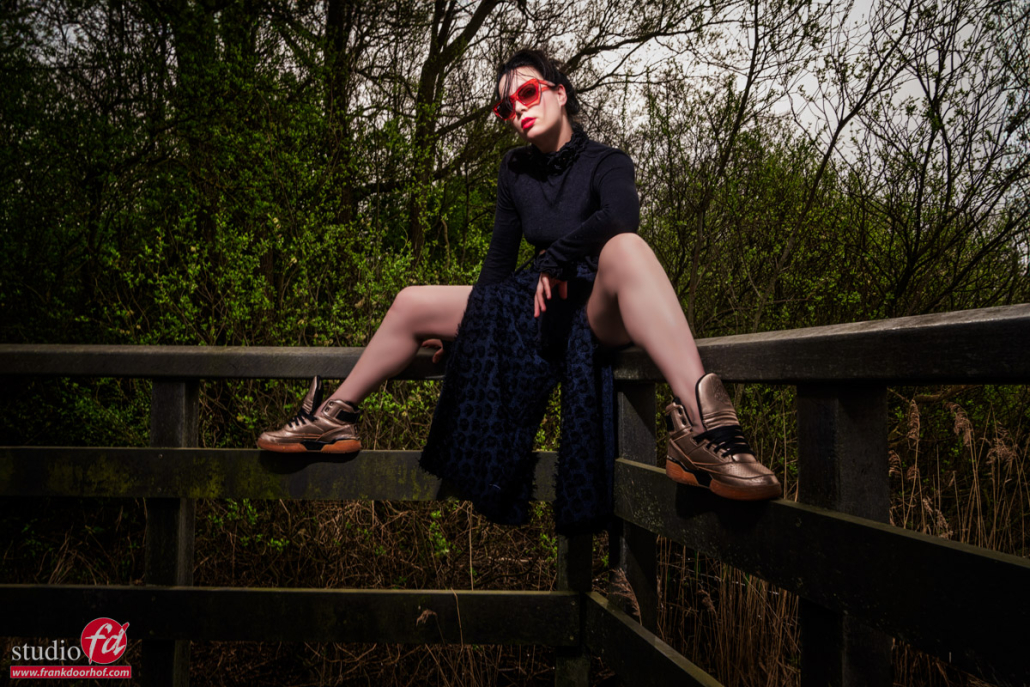
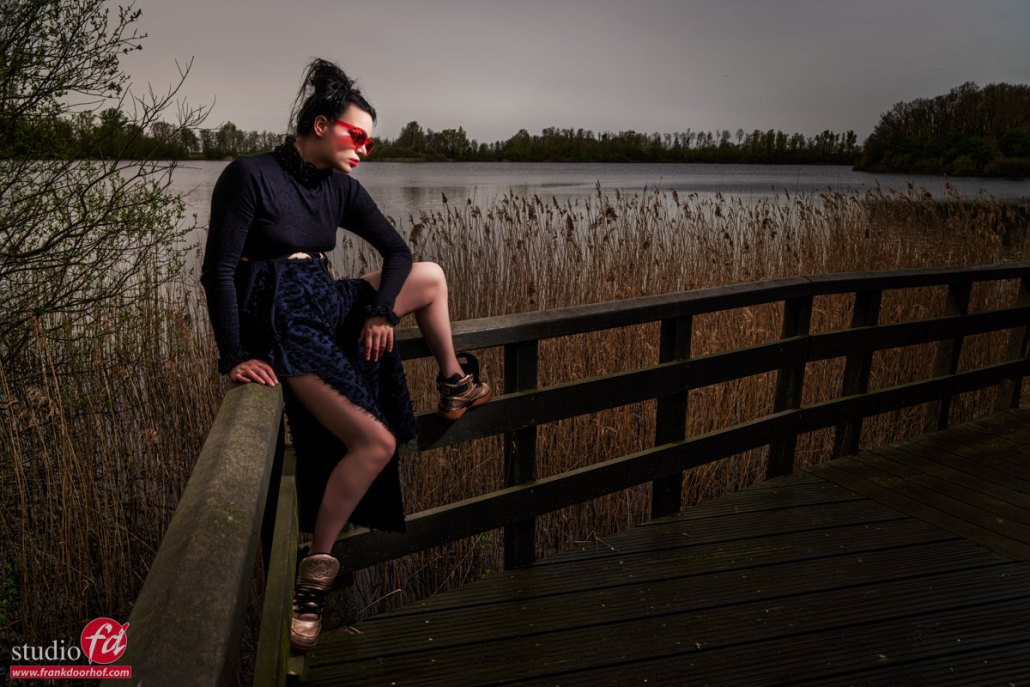


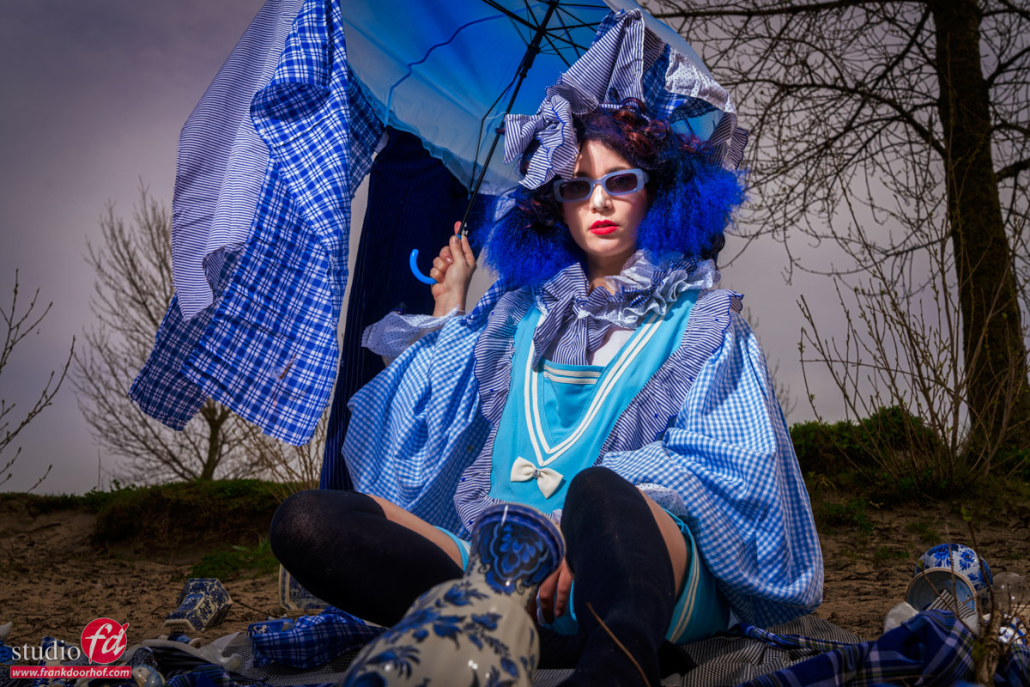

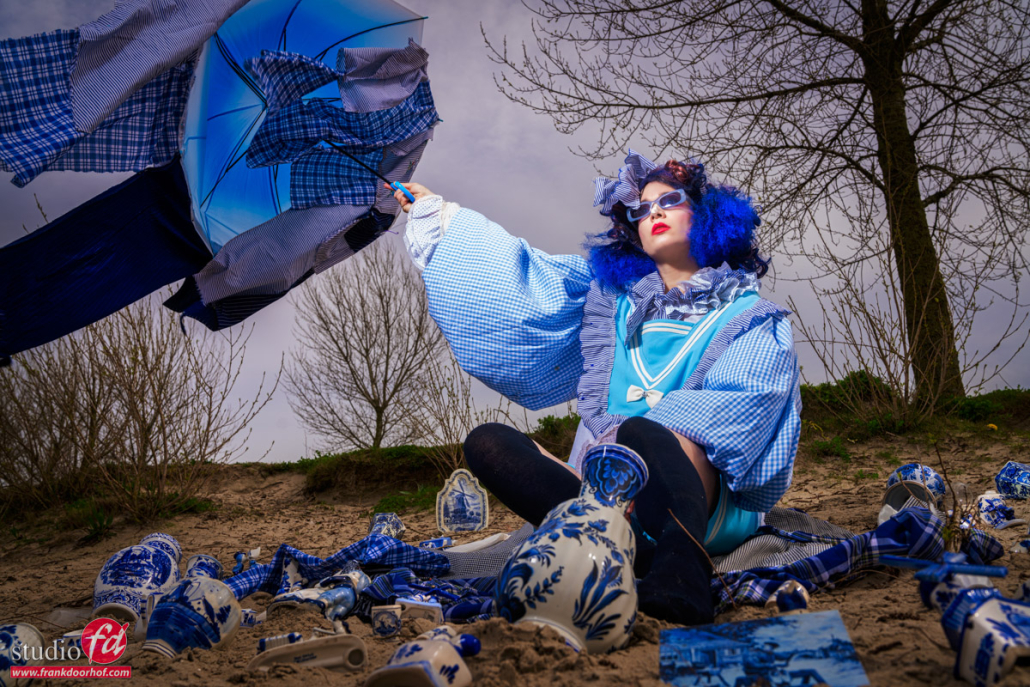
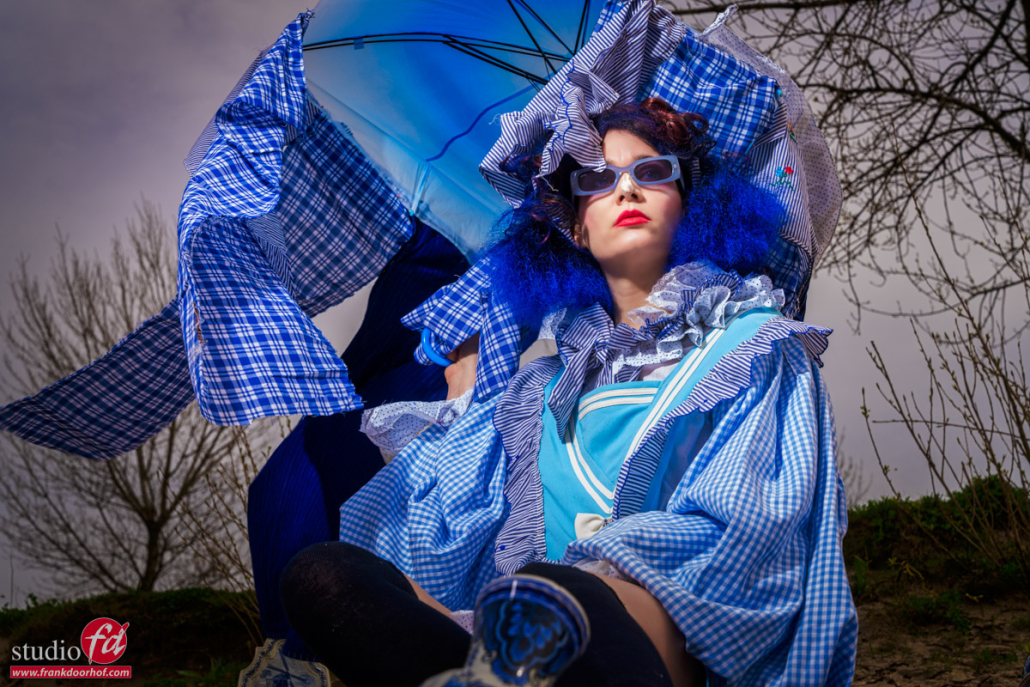
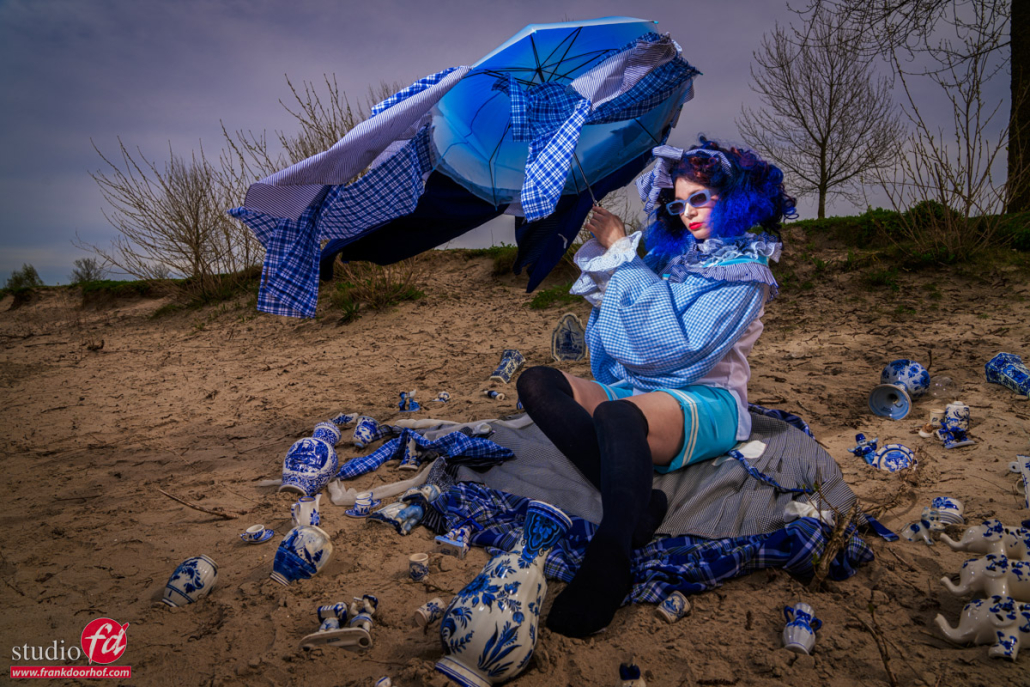
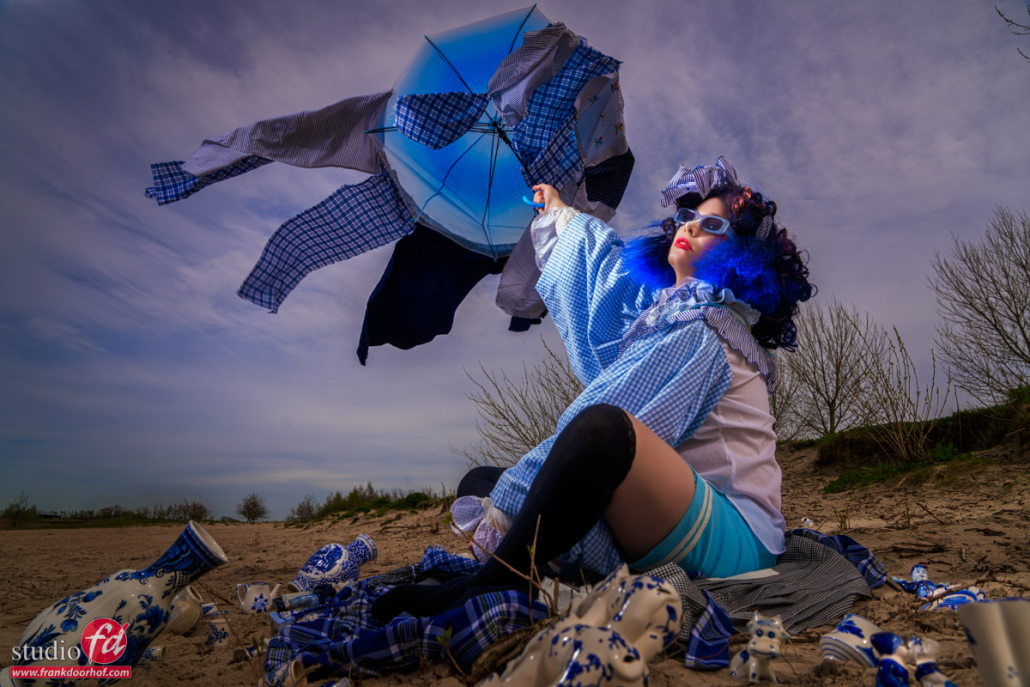
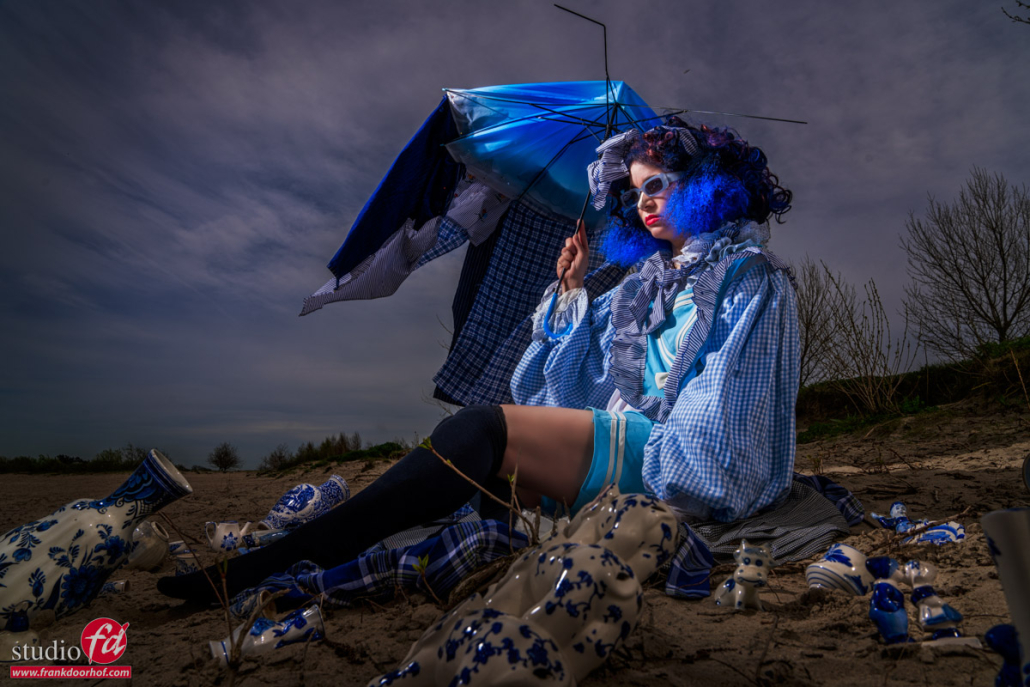
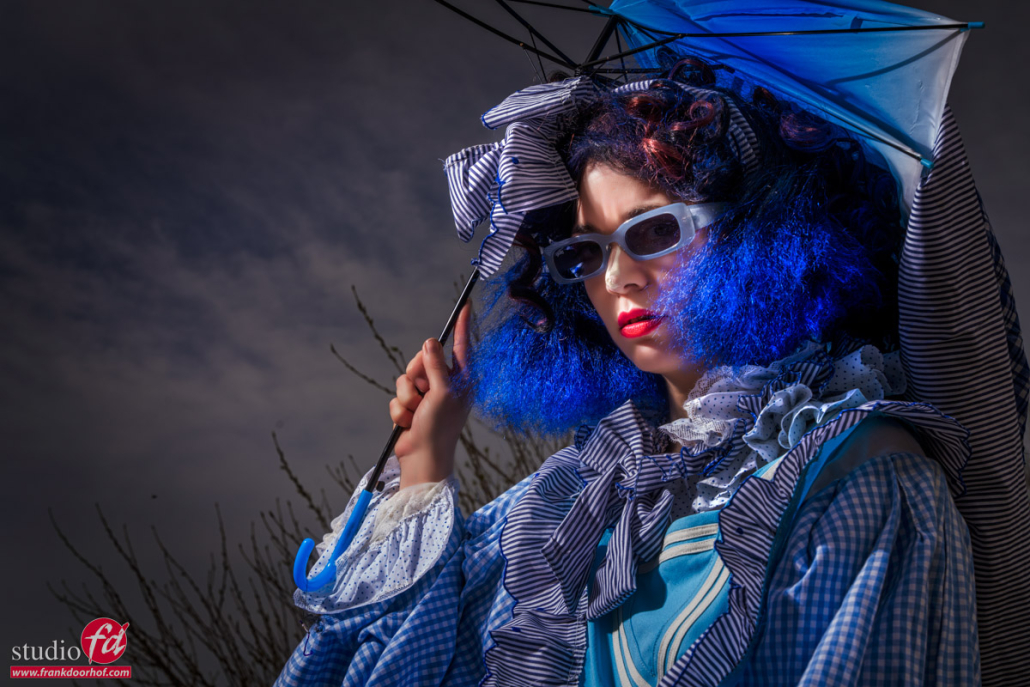
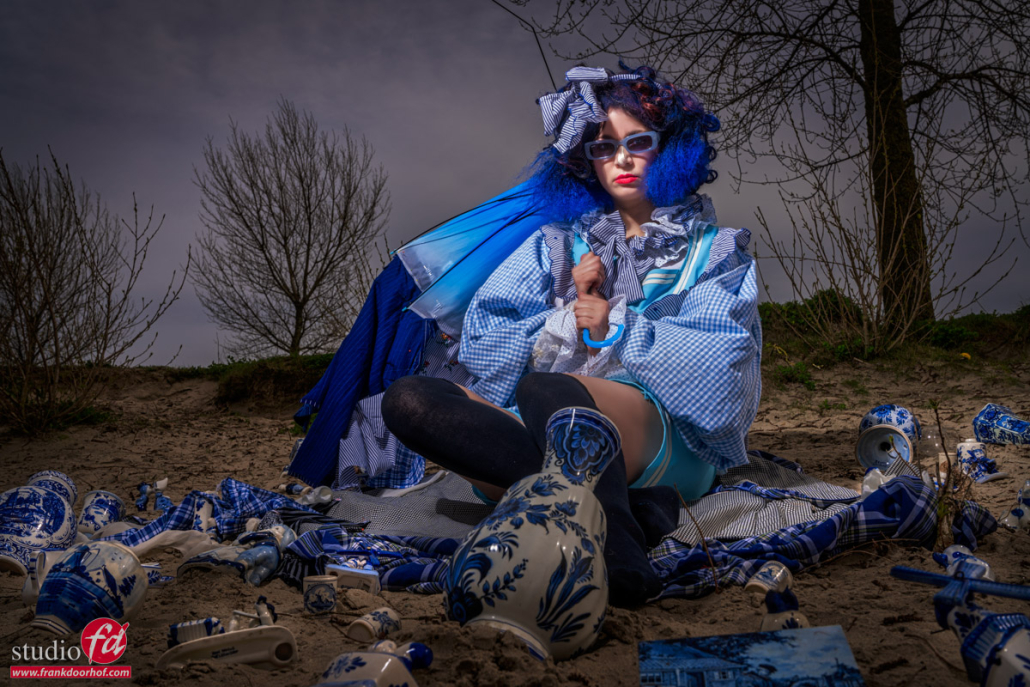
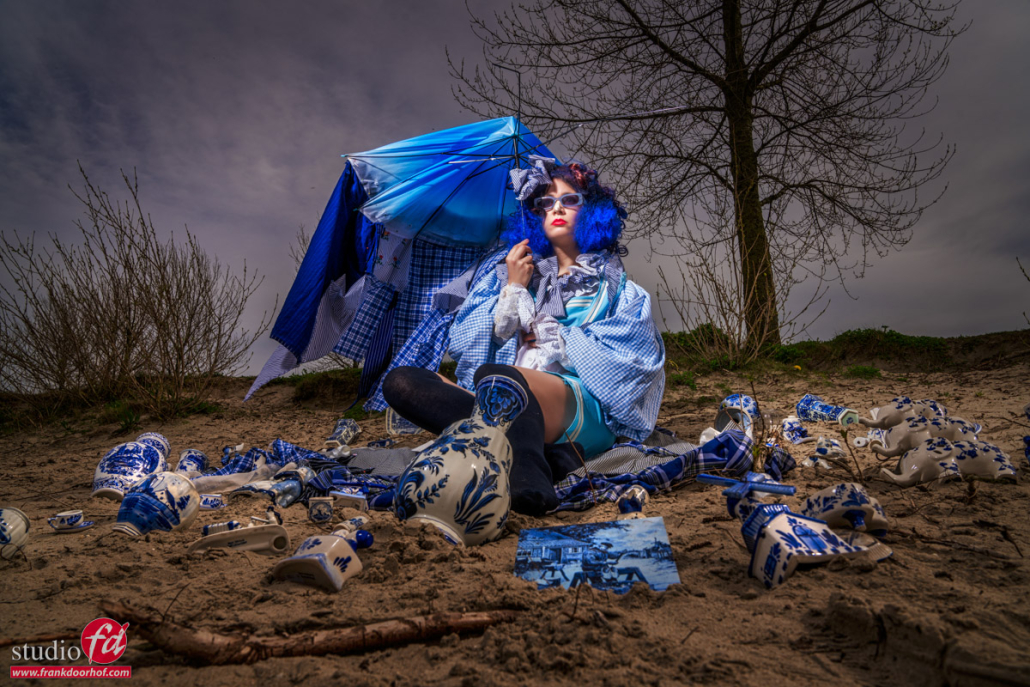
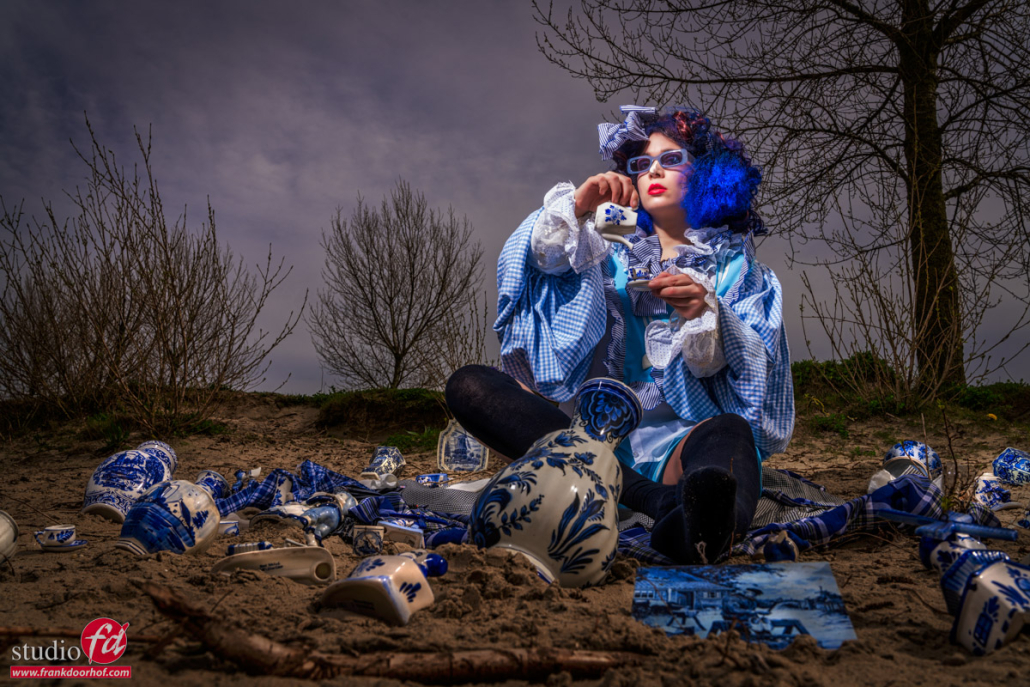
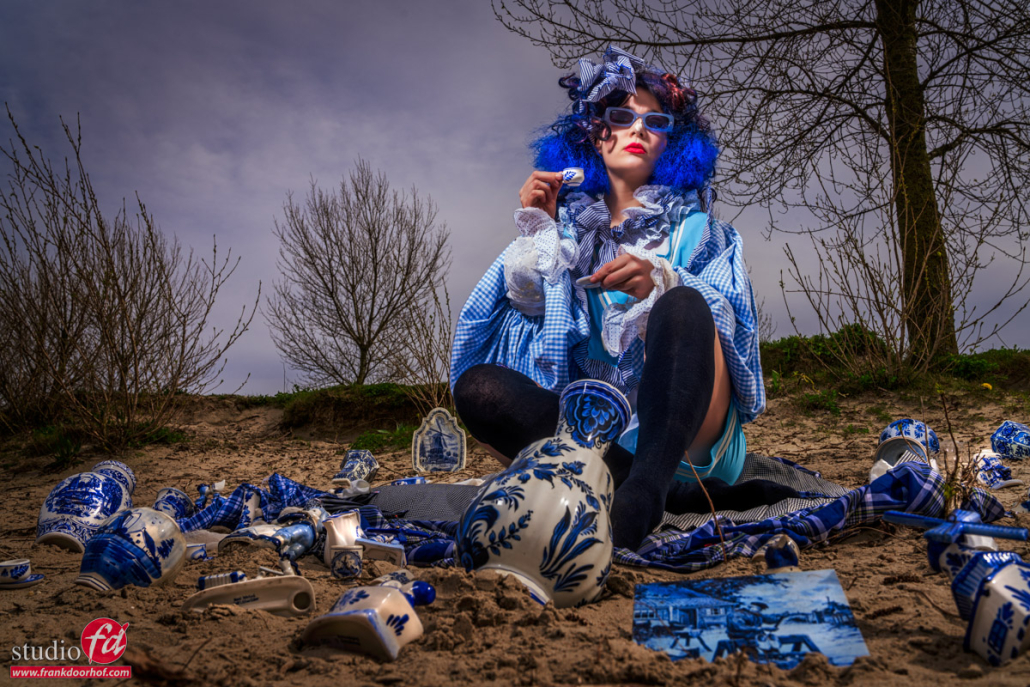
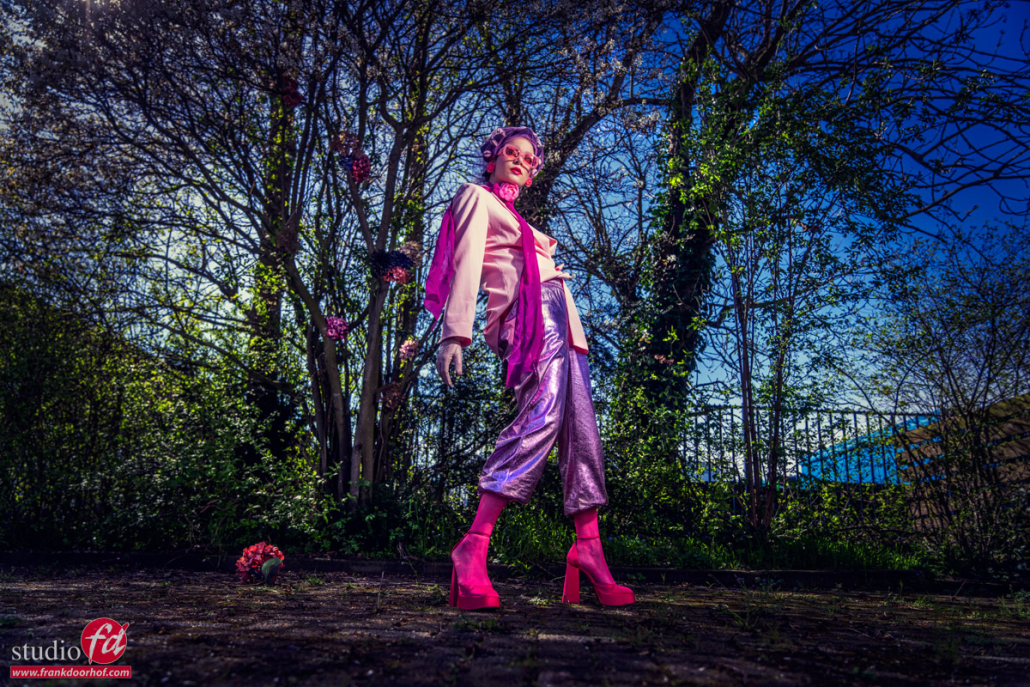
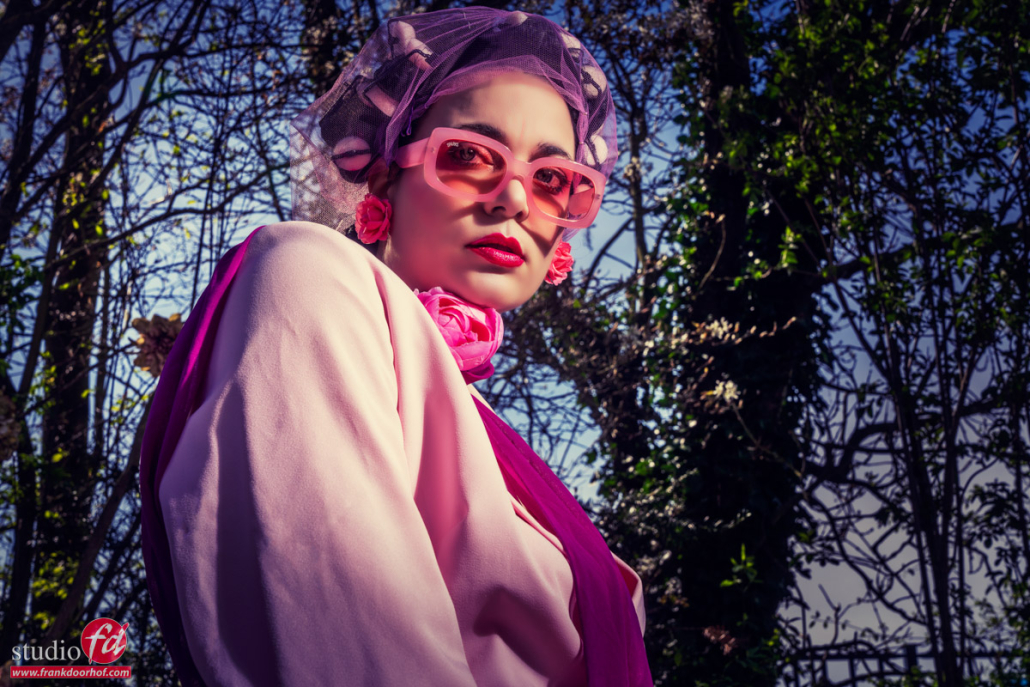

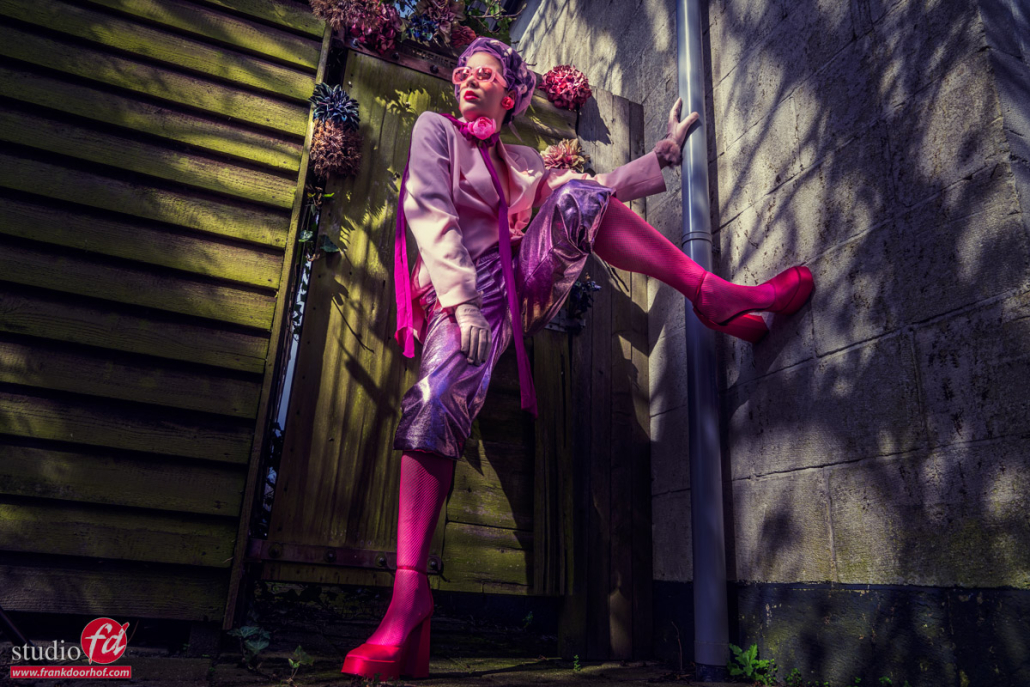
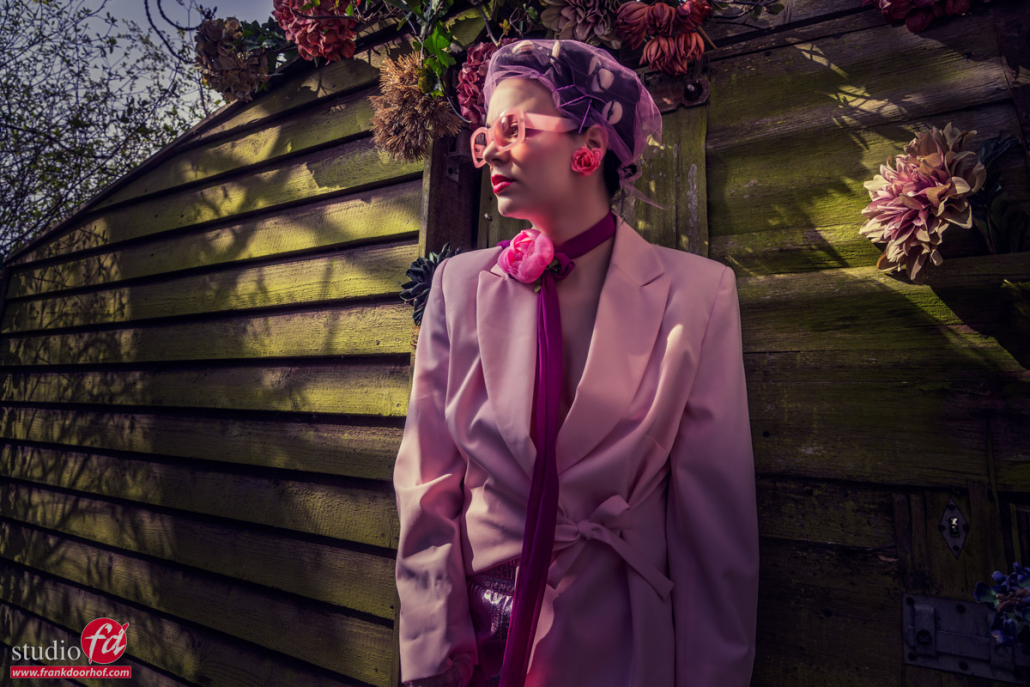
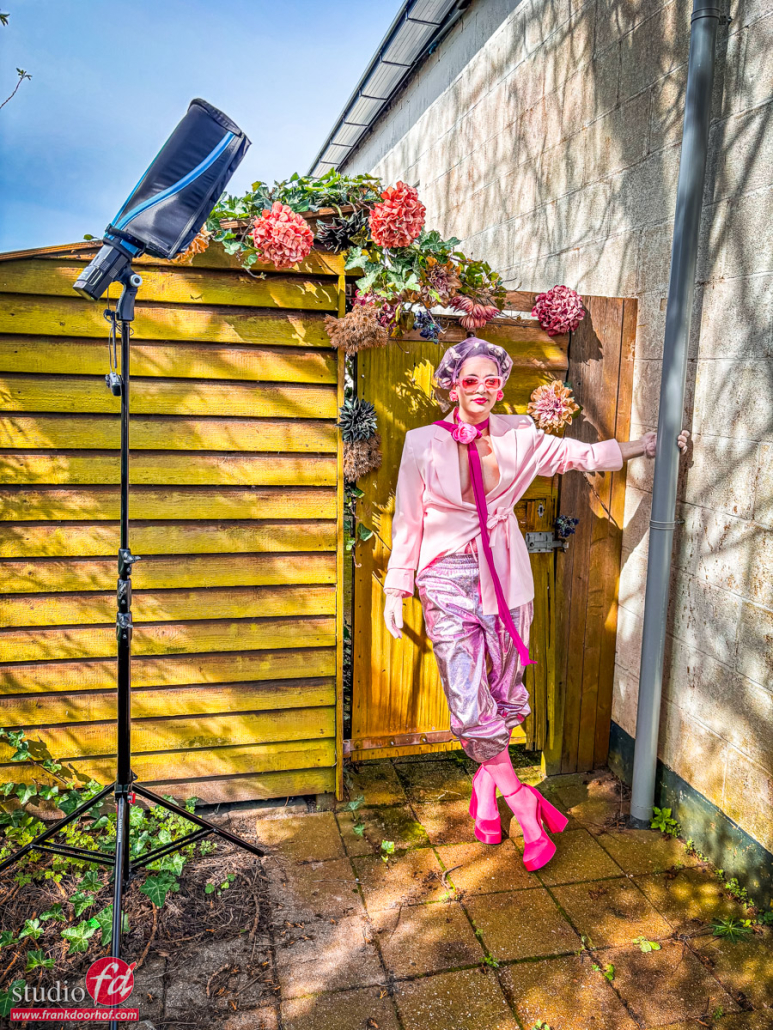
 You can already see a very slight light fall-off in the background, which can be solved by using a second umbrella on the other side of course as explained in the previous blog posts.

You must be logged in to post a comment.