Tag Archive for: how to

Exciting news from BenQ

Hardware calibration using BenQ’s Palette Master Ultimate (PMU)

We have some exciting news to share about the AQCOLOR ecosystem! The BenQ SW series can be hardware calibrated using the Palette Master Ultimate software. Now the PD series is also able to be software calibrated with PMU

The importance of calibration

When we capture our images you might expect that the camera will do everything just fine. But in reality, the camera just “guesses” and not all cameras, lenses, and sensors are the same.
Of course, we all know the Rogue ExpoDisc and the Calibrite ColorChecker series for white balance. And we must not forget the light meter.

de nieuwe ExpoDisc v3 voor de lens van een camera

Of course, it’s also important to make sure that the display you use can show you the colors as accurately as possible.
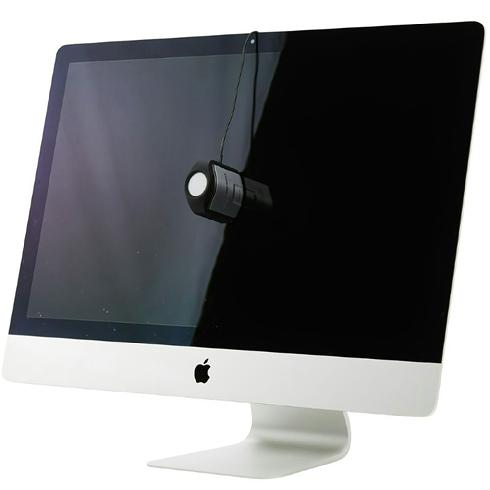
To make sure this is done as accurately as possible you have to calibrate your monitor with a so-called color analyzer.
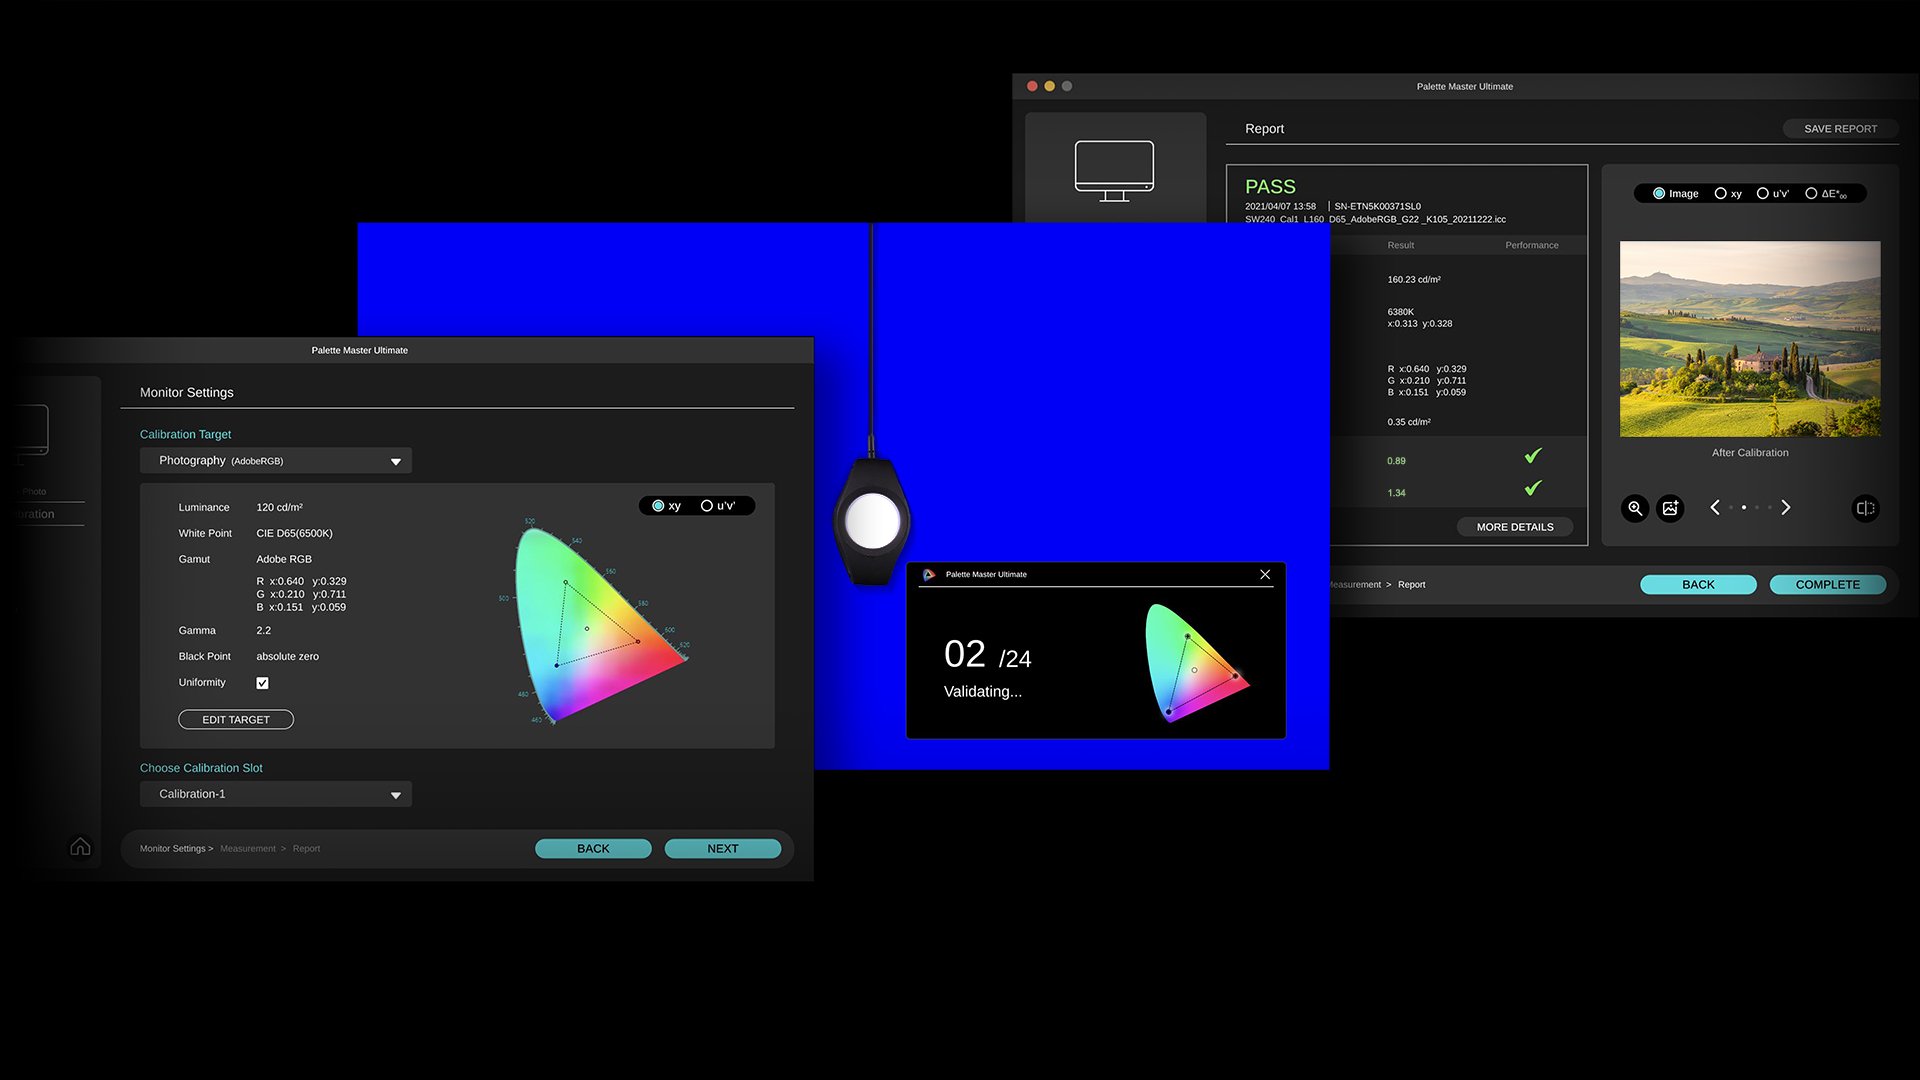
This is a small metering device you put in front of your monitor and just follow the steps the software asks.

More ways to calibrate

As with most things, there are different ways to do this.
One of the things most people will do is follow the operating system. Often you are shown different patterns and squares and you have to adjust some sliders till they look right. In essence, there is nothing wrong with this. And if it’s the only thing you are willing to do, please do this at least.

But it doesn’t really make your screen more accurate for proper color judgment, it just takes out some clipping and major problems.

For a proper calibration, we can’t trust our eyes.

To calibrate you need tools

I’ve been doing high-end calibrations since 1997. And can say that even with all that experience, and spotting problems almost immediately, I’m not able to do a perfect calibration without using tools.

But also when doing it right there are several options

When we look at the calibration of your monitor we roughly have two options:
1. The first one is calibration via software.
This is where you use the software delivered with your hardware analyzer. By the way  if you want something really simple but that works like a charm check out the new Calibrite123.
When you use the software the calibration is done via the operating system, it will create a so-called ICC profile. The profile is loaded when the OS starts. And is used when the software supports the use of color management.

There is nothing wrong with software/OS-based calibration, but there is a way to make it even better.
2. As an alternative, we also have something called Hardware calibration.

With hardware calibration, we use the software that is delivered with your monitor. In the case of the BenQ, this software is called Palette Master Ultimate and has recently been revamped to be easier and much much faster, and more accurate. The main difference is that the calibration is not done via the OS but inside the monitor.

In practice both calibration methods are great.
With the hardware calibration you are working with the monitor software aimed at that monitor and the calibration is in essence done inside the monitor. This means that the results will be slightly better in gradients and the whole process is more streamlined for that specific screen yielding faster and often better results.

The disadvantage of hardware calibration

The main disadvantage is price.
To get hardware calibration you need for high-end screens. It’s hardly ever found on the screens that are one step below the top-line. Or it’s a limited version of the high-end line. So for hardware calibration, you do need to spend a little bit extra in most cases.

BenQ Palette Master Ultimate

But now we have a great in-between option: BenQ Palette Master Ultimate

As the topic title probably already spoiled it, BenQ has now released the news that now not only does the SW series support Palette Master Ultimate but also the PD series is now able to use Palette Master Ultimate. Which is a huge update for these already very attractive monitors. This means a workflow that is fine-tuned for your monitor and is familiar if you already own a SW series monitor.

When someone asks me which monitor to buy I’m always honest in my reply, we have been working with BenQ for many years and every monitor I review is very nicely priced and has a great performance. With the PD series now also supporting Palette Master, I think my advice to check out BenQ can be changed to “don’t look further get the SW or PD” 😀

Oh and by the way, if you live in the EU region we have a cool discount for you.

BenQ has been supporting Digital Classroom almost since season 1. So,  every year we have some nice deals for you guys. And this year it’s the best yet. If you live in the EU region and drop me an email we have a 10% discount coupon for the BenQ photography/video/design monitors. And with this new update, I think BenQ will sell a lot of new screens to starting photographers because the PD series is I think one of the best ways to get into the more professional monitors.


Removing ghost Google Wifi devices from Google home

This has nothing to do with photography

But I still wanted to share this tip because it drove me nuts for months. How to remove ghost Google wifi devices from Google Home?

How to remove ghost Google wifi devices from Google Home?

Google Home is a great system if you want an easy way to automate your home and connect everything together. Also, the Google Home app is easy to use and supports a lot of automation and devices are almost added automatically. So when it all works so easily you might expect that if you have to replace a defective Wifi unit it’s super easy to remove that device…..you probably already guessed it, but it’s not.

I tried almost everything (except of course delete the home and rebuild everything). But whatever I tried there was no way to remove the old device. At one point I just gave up and accepted that the ghost of my defective Wifi device would haunt me forever.

But I would not be writing this blog post when I did not find a solution.
And it’s not logical, to be honest.

If you have a Google Home Wifi device that is not accessible anymore you can remove it by following these steps.
How to remove ghost Google wifi devices from Google Home?
Go to the device and open the settings.
Now wait (it will take a while)
When it opens up click on the factory reset

Now when you look it’s still there, but don’t give up.
Do exactly the same.
Go to settings, wait, and do the factory reset.

Now close the app and open the app and voila… you exorcized the Ghost of the Wifi device.
I hope this helped some of you that had the same problem I had.

Did this article help you? Please let us know. Find me on social media.


The most amazing deal of the year

It’s time for the 5DayDeal again

If you want to get the most amazing deal for your photography, I think the 5daydeal is exactly that.
Every year they deliver the goods and also this year the deal is jam-packed with awesome tutorials, e-books, filters, presets and software.

We made a special page for the 5 day deal.
If you use our link you also support our work.

This year you will also find 2 of my new tutorials in the deal.
Did you know… Lightroom
And
A full length lighting tutorial for portraiture and fashion.

Add those two together and you already have the value of the total package 😀
So head on over to the page and order your 5daydeal today and start learning for.. well at least another year (yep it’s that jam-packed).

The problem with a global shutter that a lot of people will miss

Yes, Sony revolutionised the photography market

Without any doubt one of the biggest steps forward has been released by Sony, and it’s called the A9III
But why is it this huge step forward?

One might think that when we talk about huge steps we talk about MegaPixels, ISO etc. But this is all just adding to something we already have. When I talk about a huge step forward I of course mean the new Global Shutter.

Global shutter?

So why is this global shutter thing such a big deal?
When you work with strobes you probably know that the term X-sync.
The X-sync is the maximum shutter speed you can can use without seeing an annoying black bar due to the second shutter curtain.
For most cameras with studio strobes if you stay at or below 1/125 you will have no problems at all, and in the studio this is actually no limit. Most studios are dark so the slower 1/125 shutterspeed is no problem.

However when we go outside things change.
When we work with strobes we now have to compete with the ambient light.
Take into account the limit of 1/125 and you quickly understand why a lot of those shots with loads of strobe power have a DOF from here to eternity 😀
In other words, outside we often have to shoot at f22 to get the balance we need due to that 1/125 limit.

Solutions

Luckily there are solutions.

  1. Make sure you don’t place your subject close to the top. This way you can shoot at 1/160 and sometimes a bit higher without noticing the black bar. It’s still there for the strobe but the ambient light will not show it and the subject is somewhere in the middle so it will still get the strobe. A quick fix but far from perfect due to the huge limitation for composition (but it’s a nice one if you have to and can for example crop later in Photoshop).
  2. A bit more serious are solutions like HSS, HS
    With HSS your strobe fires a lot of flashes during the exposure making sure the sensor is always lit by the strobe. This eats both power from the strobe but also from your batteries, it’s also a system that’s not 100% stable in output and can overheat a strobe pretty fast.
    HS is a system that uses the cut off and raise of the strobe, not to make it too difficult it uses a very slow strobe to get faster shutter speeds, same issue here is that it eats power.
  3. It doesn’t help with the shutterspeed but you can use ND filters to get a shallow DOF, although this can work great there are some disadvantages, first of all a good ND filter for use with strobes will be a pretty strong one, or a variable (I have the KF concept in my kit and really like that one) And with the stronger ND filters you will get into some problems with focussing speed. Also some ND filters will give you a light drop off in the corners.
  4. Leaf shutter lenses
    Leaf shutter lenses are awesome but expensive.
    The shutter is inside the lens and this means it breaks the limit of 1/125 with ease, there is still a limit (for example 1/1500) which in most cases however is more than enough, especially because most of these lenses are found in the Medium Format cameras.
  5. Cheap cameras
    Believe it or not but years ago I shot with a very affordable small Fuji camera which was able to shoot up to 1/1000 with strobes. This was a far cry from a professional camera, but I decided to include it to make the list complete.

So what’s the big deal with a global shutter?

In short….
There is no real limit anymore.
You would be able to shoot strobes up to 1/16000 or even 1/80000 when using Sony compatible strobes.
Sounds awesome right?
And it is, but there is one limit I have to tell you about that will prevent some nasty surprises.

The speed is important

The idea of shooting at 1/16000 will excite a lot of photographer but it could also be a huge disappointment, but that last part can be solved with a bit of technical information.

When we use our camera we all know that the shutterspeed will determine the “freezing power” of your camera.
The faster the shutterspeed the more action is frozen.
When we use strobes we often just look at the output. And in the past this is 100% understandable, most strobes are fast enough to freeze motion in the studio so we often don’t link shutter speeds to flash durations.

When we look at the specs of our strobes we do however see a value that links the two.
The t0.1 and t0.5 values. You might notice that those values are often mentioned in a range from very fast to slower,
Maybe you also found out that the way the motion is captured does vary depending on the power output of your strobes, especially with cheaper strobes it’s very possible that there are only a few power settings that will freeze the motion, where with the others there always is a slight blur.

When I look at the strobes I’ve worked with over the years there were strobes that topped out at 1/1000 and 1/60000.
As you can see this is a huge difference.
So what is the link with a global shutter?

Let’s shoot a mountain biker at 1/16000 with our strobe on full power.
Now let’s shoot the same mountain biker at 1/16000 with our strobe at 75% power.
I can almost predict that the 75% setting will be brighter.

So what’s going on?

You can shoot with the shutterspeed at 1/16000 and there will be no black bar in the frame, however the strobe has to be just as fast as the shutterspeed otherwise the shutterspeed will be cutting off the power of the strobe while it stills flashes.

This is very difficult to visualize because our eyes can’t see how fast a strobe fires, so we need a special tool for this.
To measure the flashduration of my strobes I’m using the Sekonic 858 lightmeter.
When I measure my Geekoto strobes I can clearly see that they are incredibly fast in the lower settings, as soon as I pass half power they are still fast enough to freeze any motion (1/5000+) but when I reach full power the flashduration gets a serious hit. Now this has nothing to do with the Geekoto strobes, but it’s all strobes and brands, it’s simply how it works.

So how does this fit in the global shutter story.
When you read the reviews and specs on the A9III you might expect that your strobe will behave the same as in the studio and this can lead to not getting the maximum performance out of your brand new camera.

The best way to make sure you get the maximum out of your system is to shoot a series of images on a white wall with the camera on a tripod. Don’t change anything on the camera itself but only change the output of the strobe. Do this for several shutter speeds and watch where the strobe starts to get dimmer and put a sticker on the strobe with those settings.

Why is this important?

When you use a lightmeter on location the meter has “no limits”, so it will give you the value of the full strobe, if the strobe has a flash duration of 1/800 or 1/16000 it doesn’t matter for the meter. Now that we know that the shutterspeed of the camera can cut off the strobe it’s also clear that when we are shooting above the “speed limit” of the strobe the value on the meter will not correspond with what you get in your photo.

Besides the trick with the white wall there is a solution for this, but it’s not cheap, but it will make it much easier.
When you use the Sekonic 858 there is a setting that doesn’t just meters the light but also the flashduration. This can be a very useful tool where you can not only find the setting with the fastest flashduration, but also to know how fast you can set your cameras shutterspeed.

A feature that was handy for reviews in the past has now become an essential tool to use your flash system to the max, and that’s a good thing, a really good thing. We can do amazing things with global shutters and flash, can’t wait to test it out myself.


To be clear, I have not shot with the A9III, this why there are no examples (I don’t fake examples), the technique however is universal.
Use the links on our site when ordering from Amazon and you support our work.