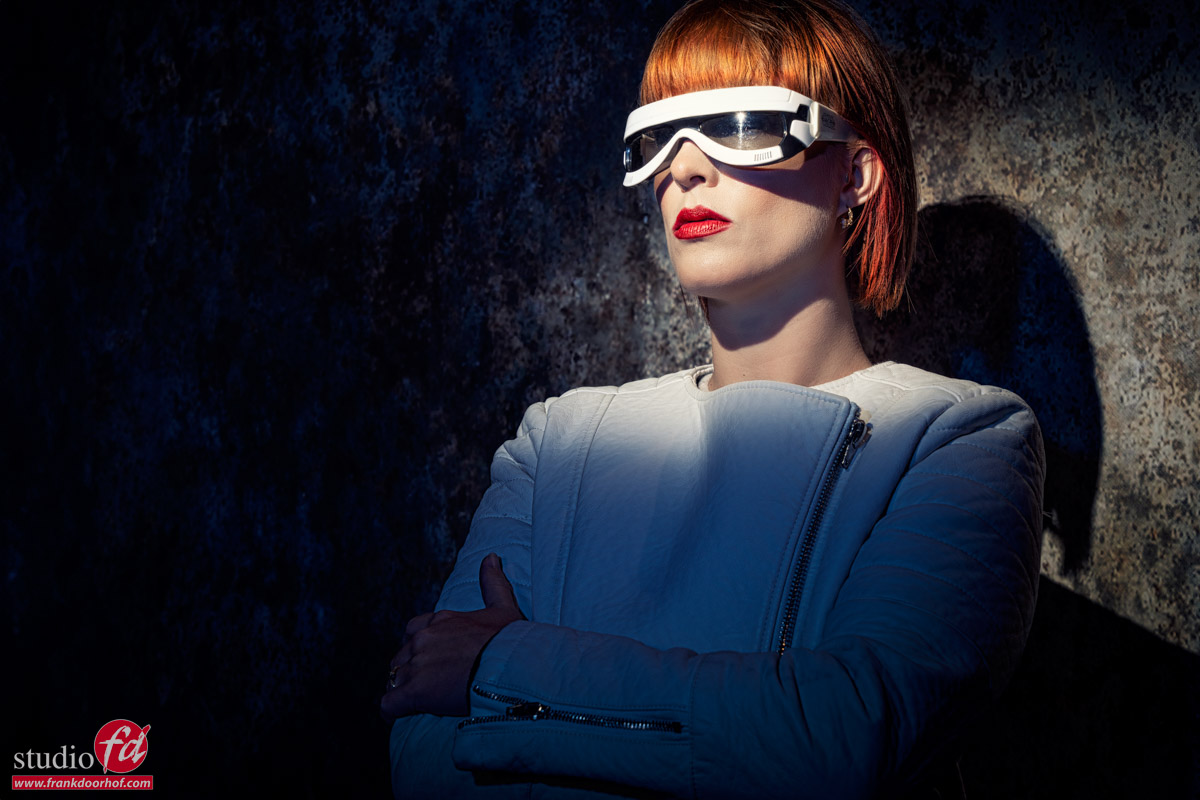
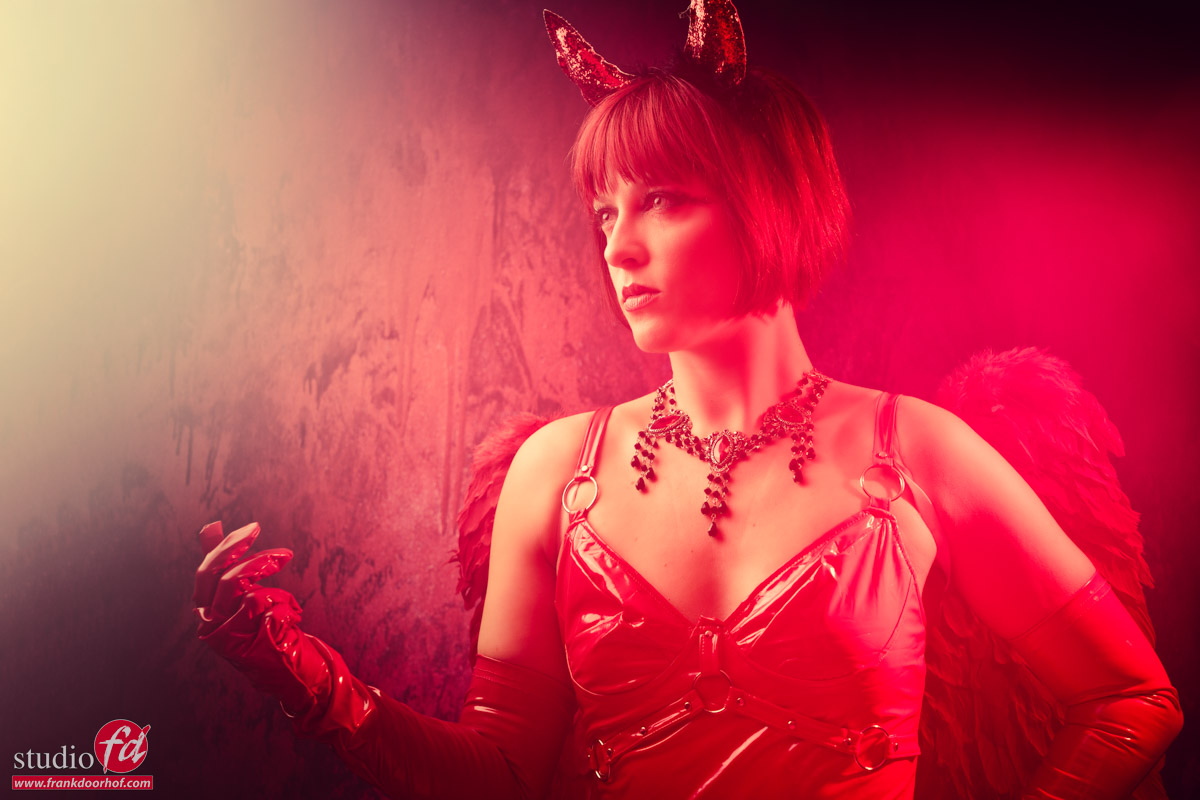
Directional light is so much cooler
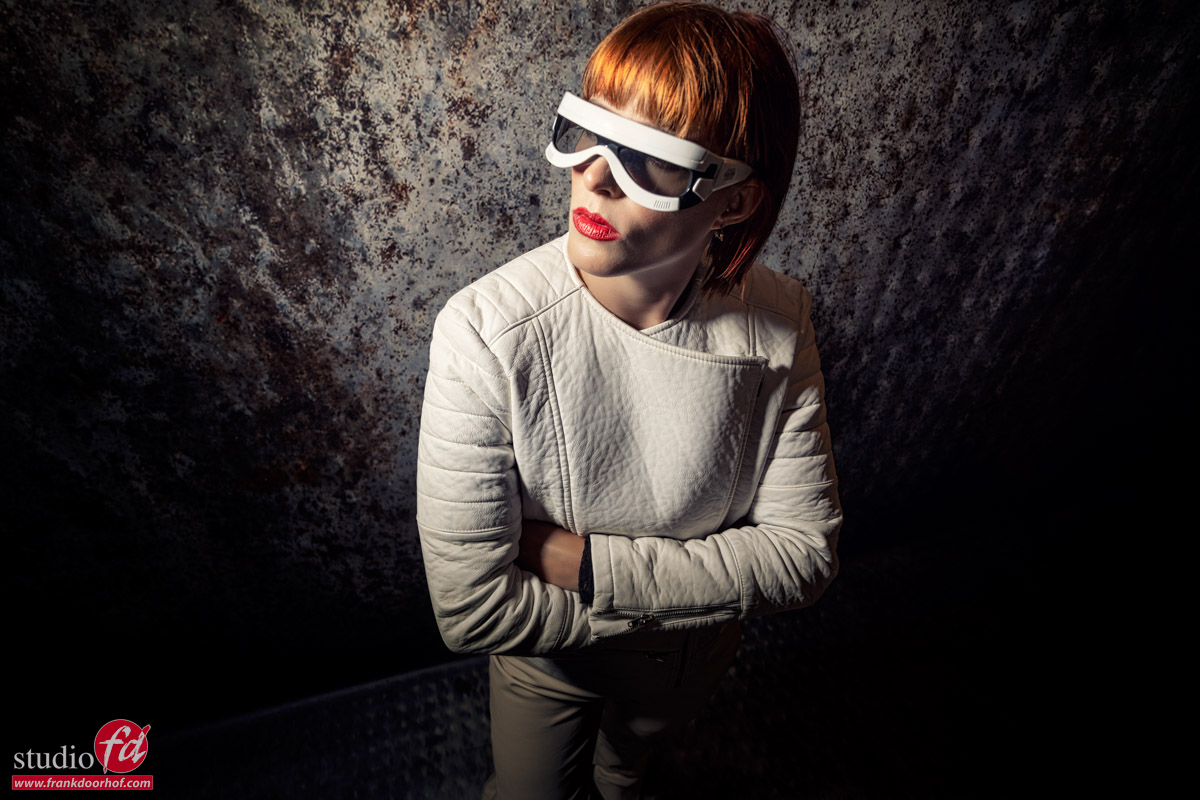
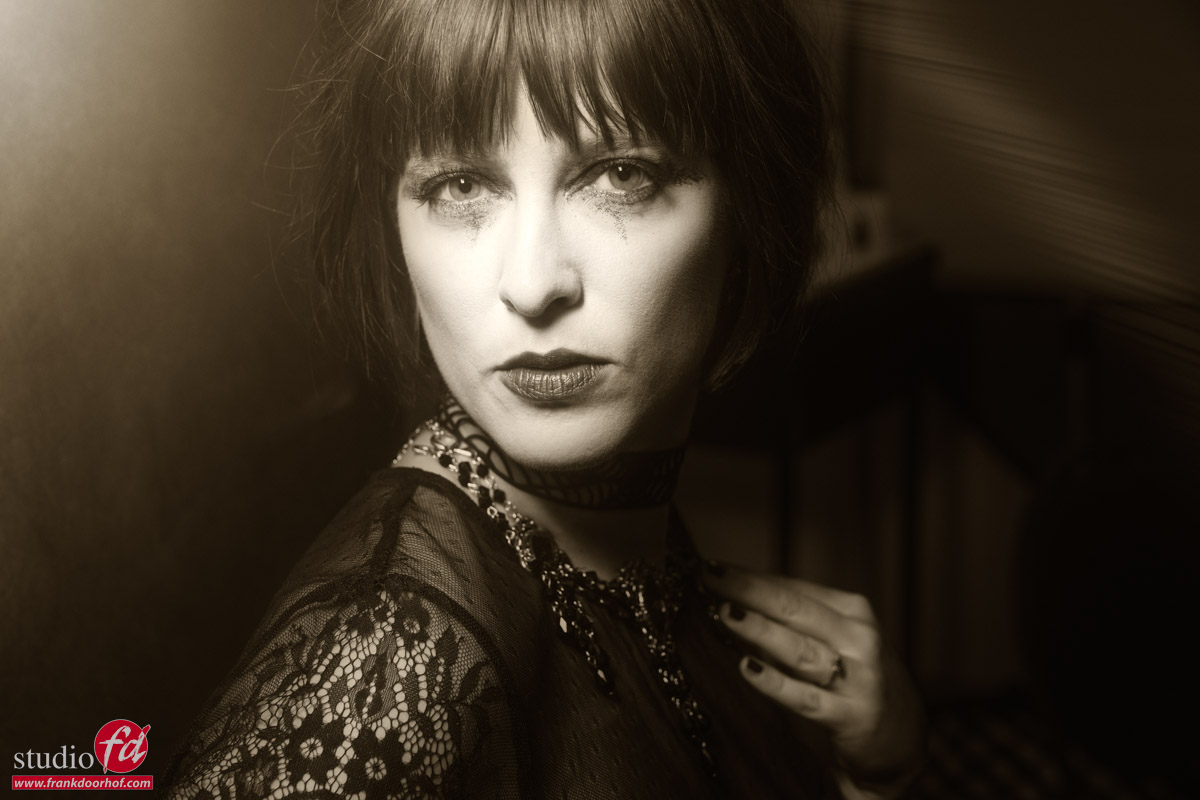
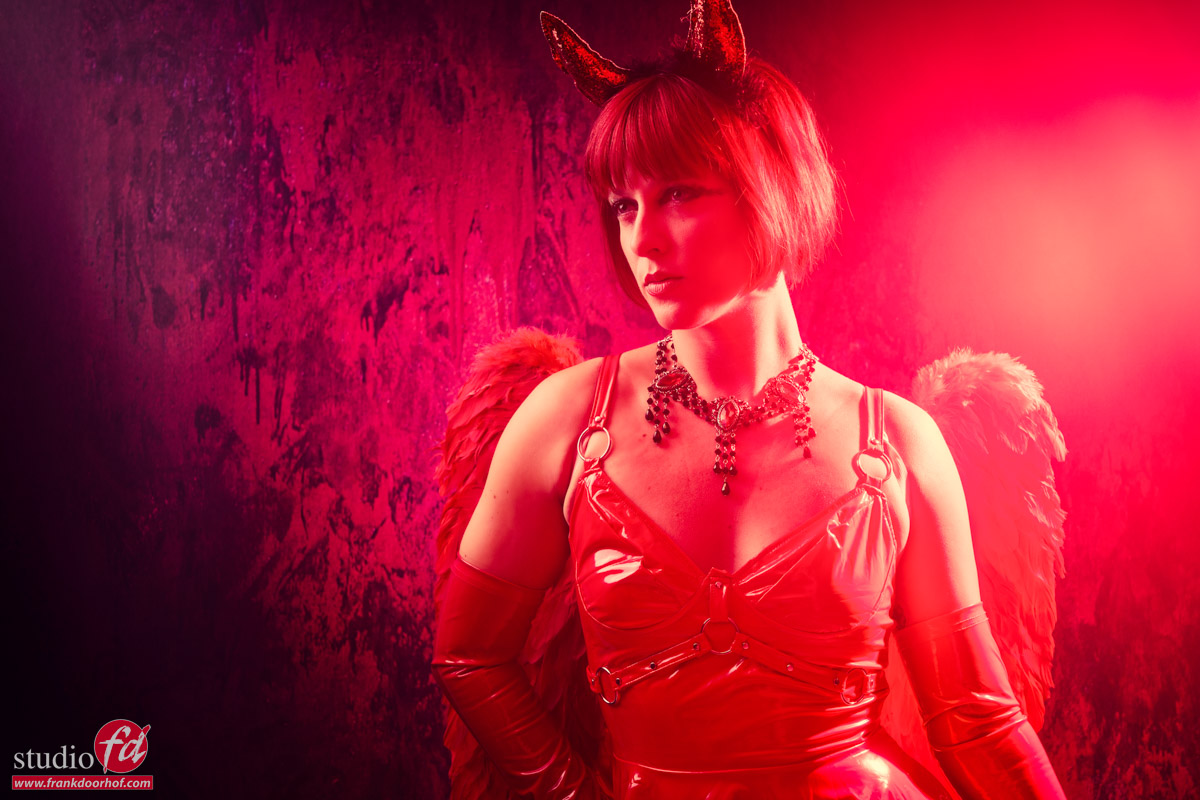
With directional light, you can really make your model jump out
We recently filmed a brand new class for KelbyOne with our model Claudia.
The video is all about using one strobe and how, by changing light shapes and angles, you can still create totally different looks like using directional light.
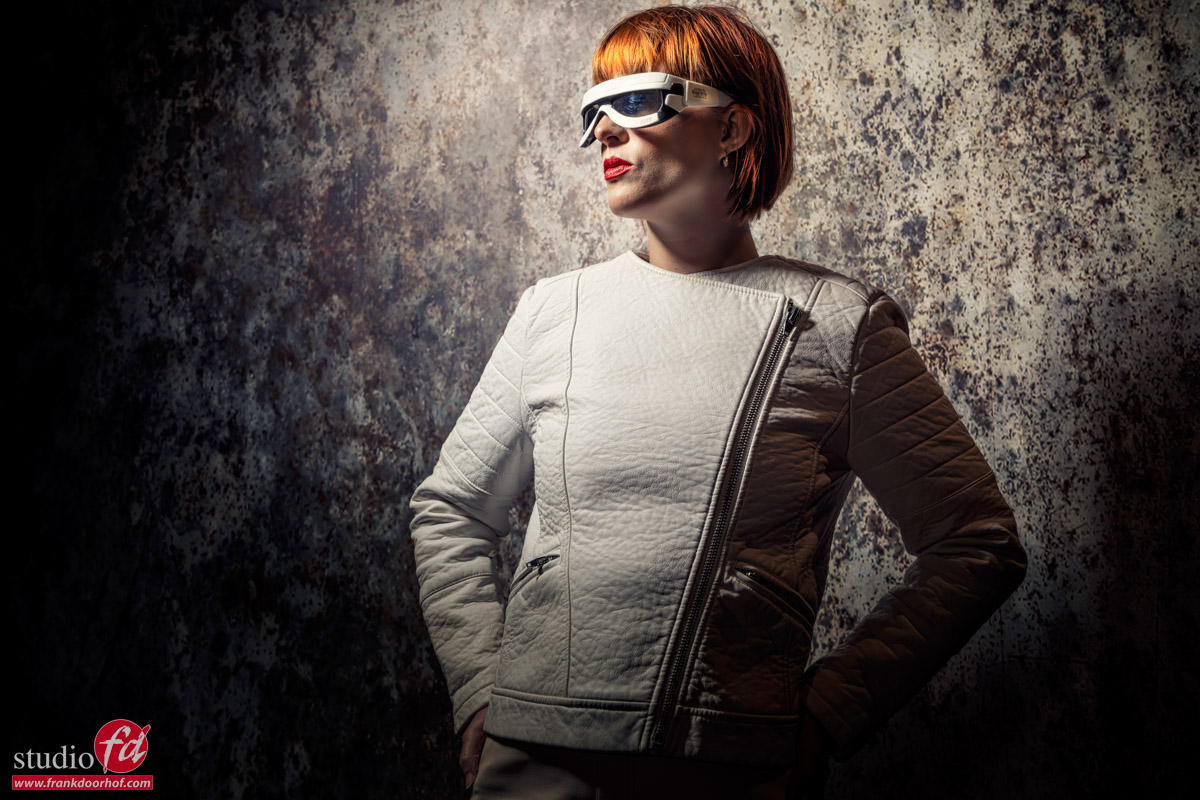
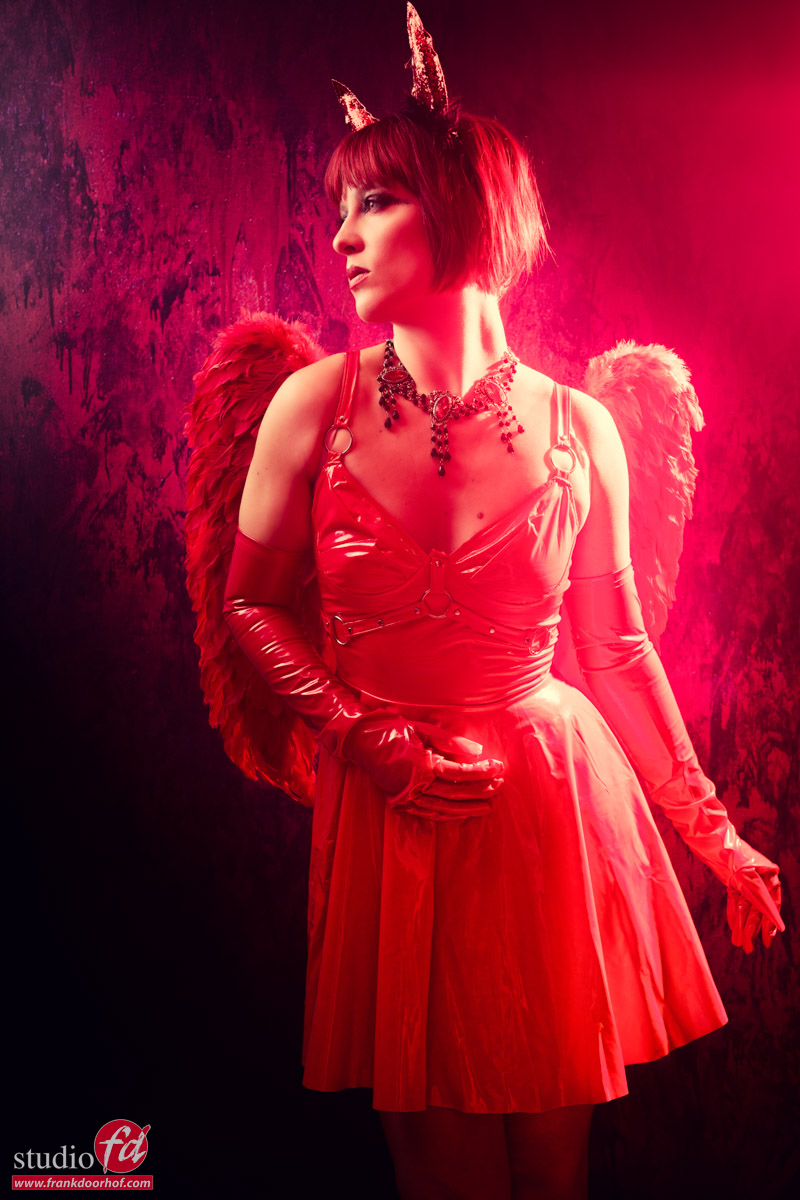
Today I wanted to show one of the sets in which I show one of my favourite setups.
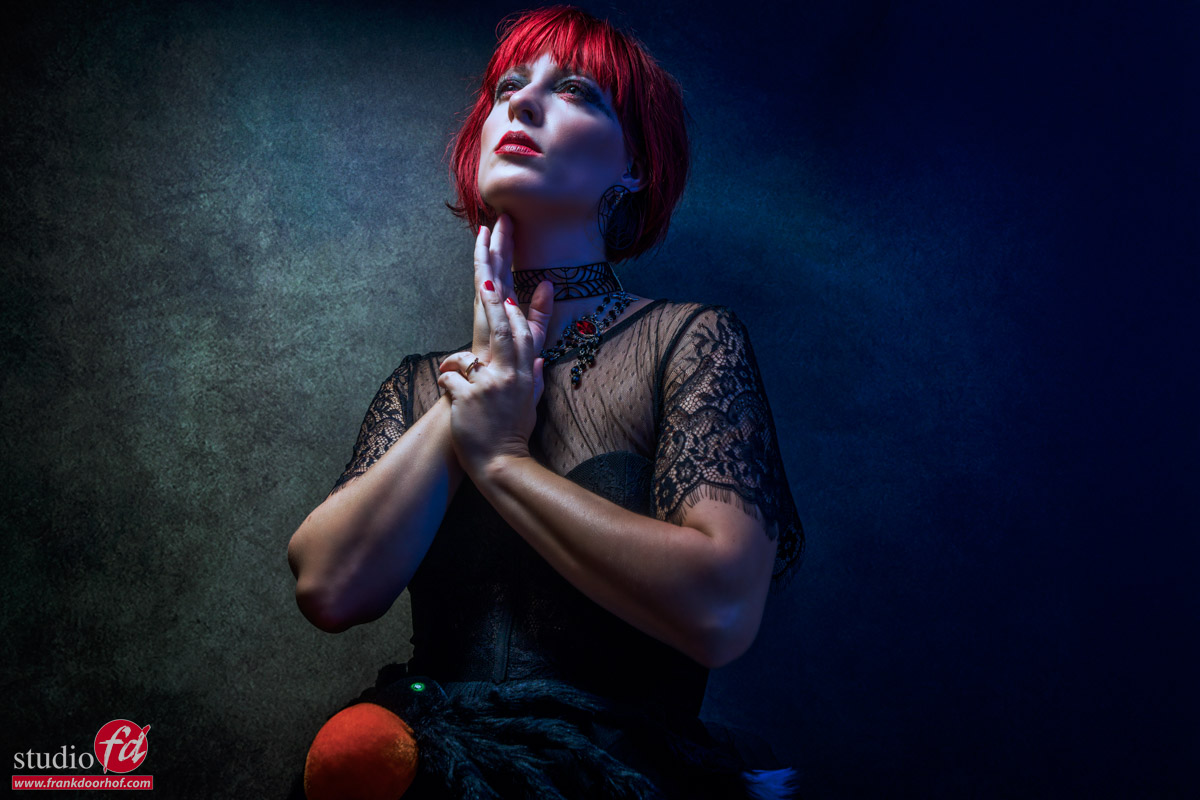
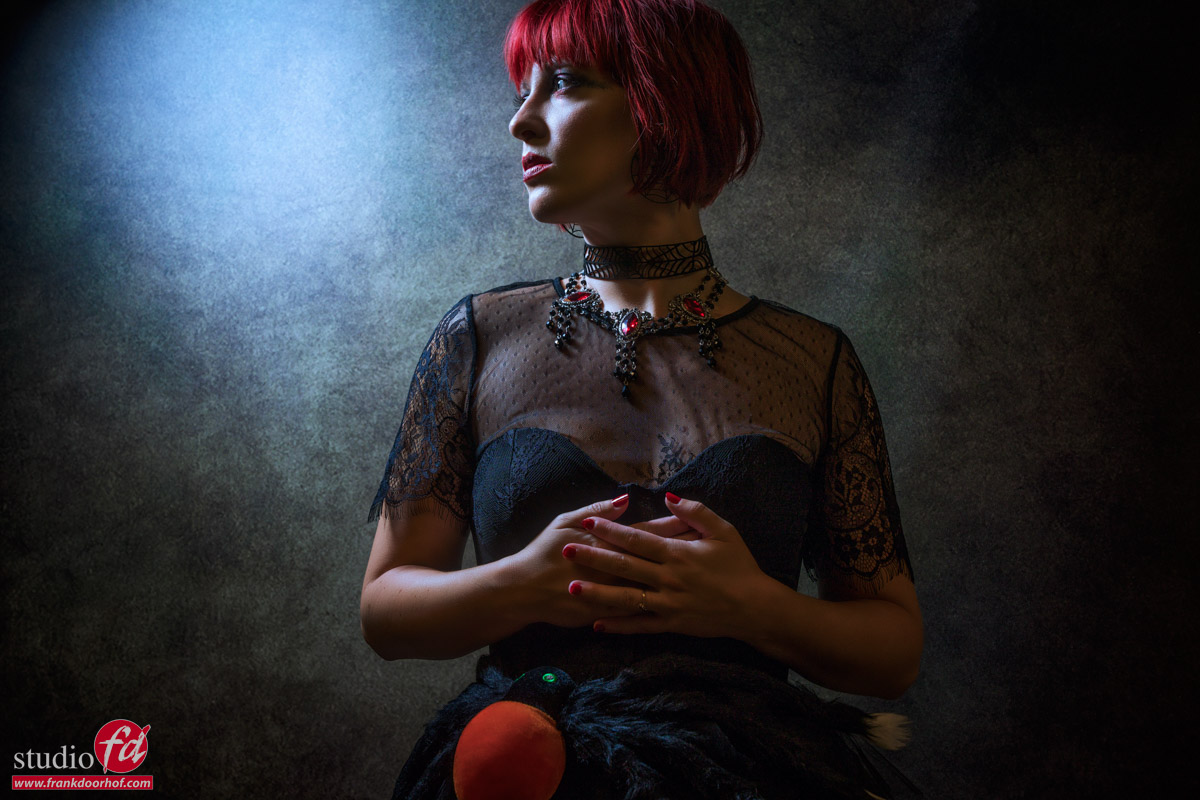
In this case, I’m using my main light under an angle from above aimed down.
Because Claudia is wearing glasses I don’t have any problems with shadows under the eyes, or the eyes not getting enough light so I can maximize the direction of light.
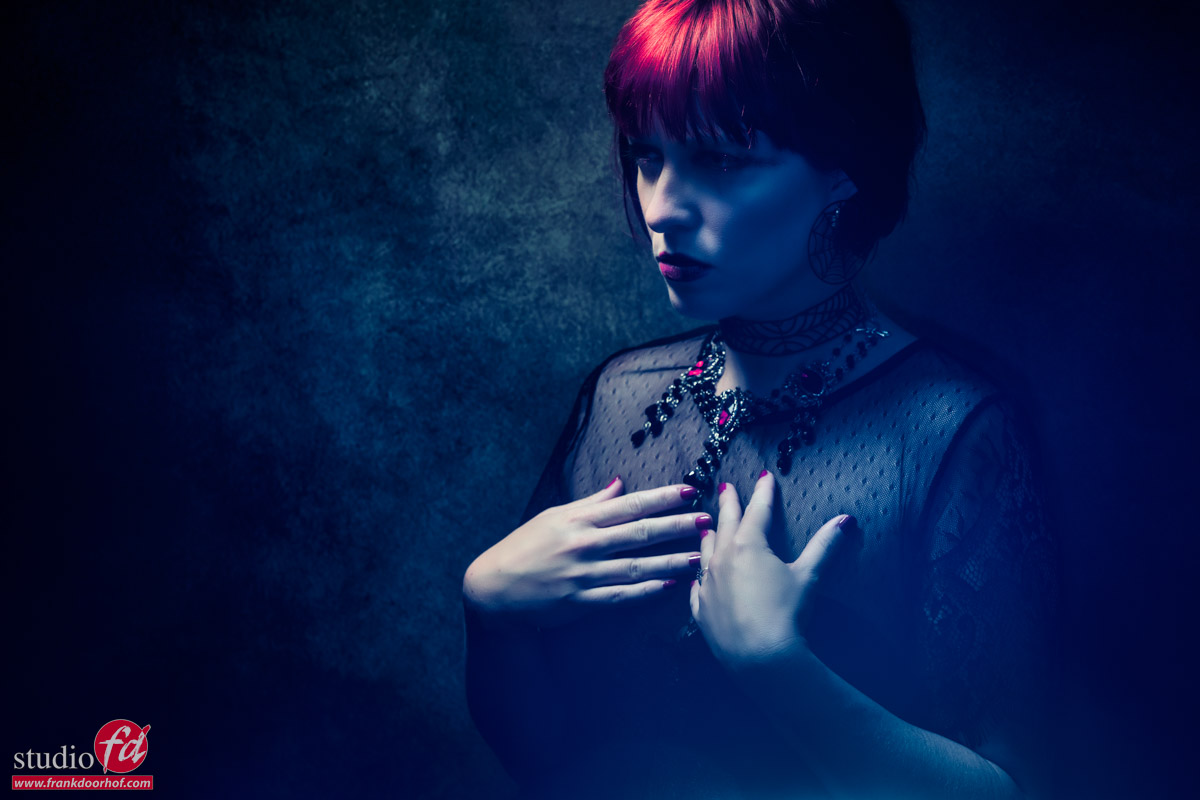
The cool thing about this kind of setup is that if you move around your subject the look changes dramatically.
For the mainlight you can use a small softbox like our Geekoto Quicky or for example the Frank Doorhof Rogue Flashbender in striplight configuration.
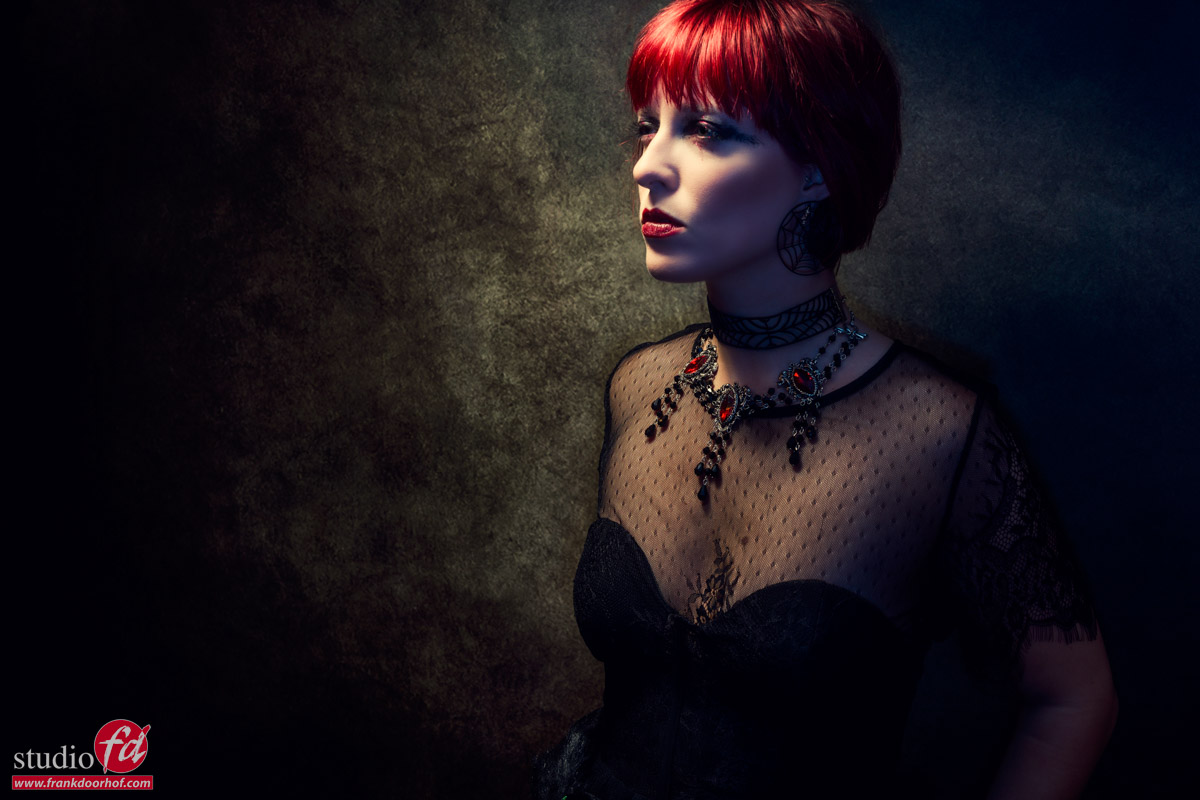
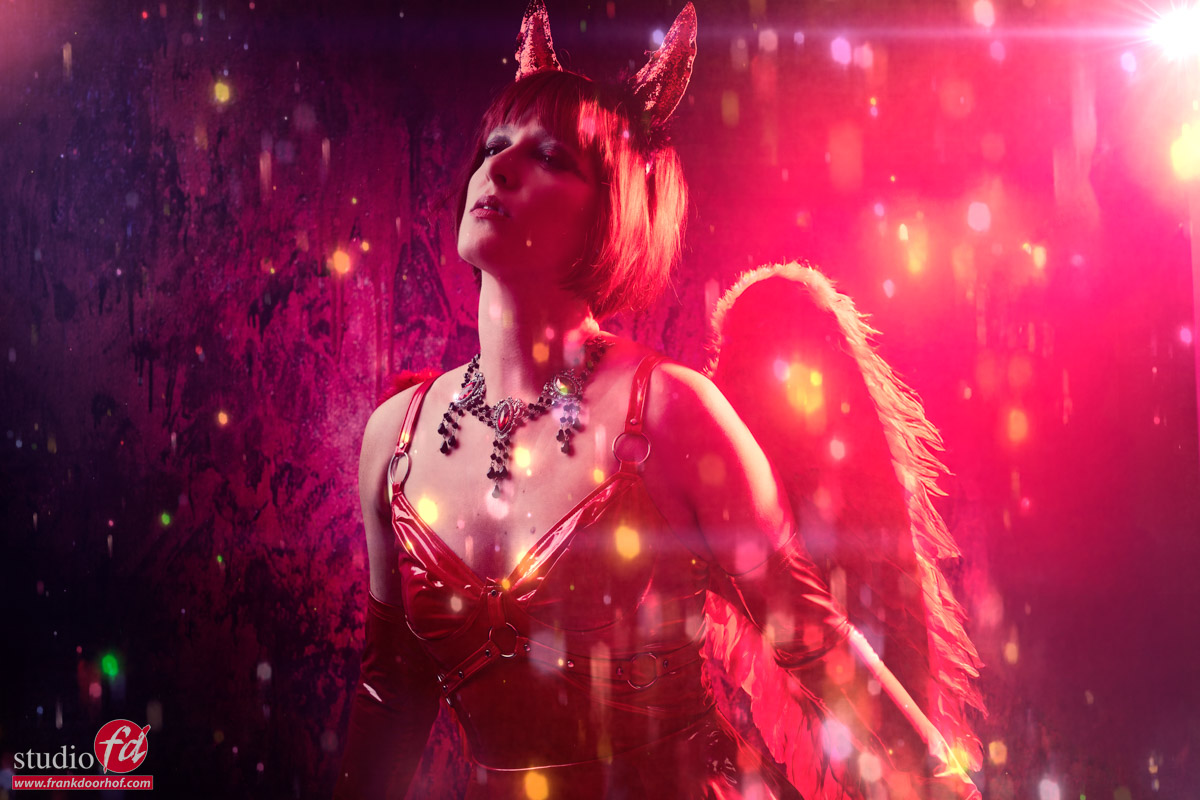
Although the whole class is about using one strobe. In this setup, I decided to break that rule and add one more strobe with a blue gel.
In this case, I’m using a blue gel from our Rogue magnetic system.
This is an awesome technique in which you first create a focused light pattern on for example the face of the model and make sure the rest is as dark as possible. Now use the second strobe with the gel on a lower setting than the main light and you can get the effect you see below.
Of course, you can experiment with the output and colors.
Want to see the whole class?
Of course you want 😀
visit www.kelbyone.com for all my classes.
Want to visit a workshop?
If you think “that’s for me, I would love to learn more”
Then visit photography-workshops.eu for the Dutch workshops.
But if you are not living in the Netherlands or don’t speak Dutch we also have other options.
If you let is know 2 weeks in advance I can teach the workshop you want to visit in English.
Or if you can’t travel to our studio we also now offer the option to get a full 1:1 experience with 5 different camera angles, lightroom/Photoshop view and a talkback channel, you also get all the raw files and retouched results from the workshop. Visit our online workshops page for more info.

You must be logged in to post a comment.