Tag Archive for: Fashion

How to create depth in a scenic backdrop set

Today it’s about depth

Don’t get me wrong, I have nothing against creatively using AI. But for me using it to replace backdrops in all your shots, or even worse creating something from text to image and calling it art. Well, it’s not my thing. Today I’ll show you how to create depth in a scenic backdrop set.

When I shoot or teach the workshops I always try to use materials and backdrops in the studio. This means my images are 99% shot on set.
I always leave some marking, because I also use generative fill to extend a backdrop. Take out some things I didn’t see on set. Or just extend a set. But the whole idea, setup, etc. was done as much as possible in camera.

So why is that so important to me?

When I look at a picture I want to see depth.
And this is the one thing often lacking in AI-replaced backdrops, yes it looks great for an SF set, or Cosplay (use it a lot in those setups) but when you try to create something real, at least for me, it mostly fails because the backdrop and the model don’t “connect” in a natural way.

But what is different from using a scenic backdrop you might ask?

With a scenic backdrop, we use a backdrop that literally has a scene printed on it.
Using this as a backdrop can give you a great sense of depth even if it’s just a flat print. The reason is that if you place your lighting on your subject correctly and match the angles on the backdrops (very important to read the shadows), your light, model, shadows, etc. will all interact with the backdrop. Thus creating a much more believable setup.

But that’s not all.
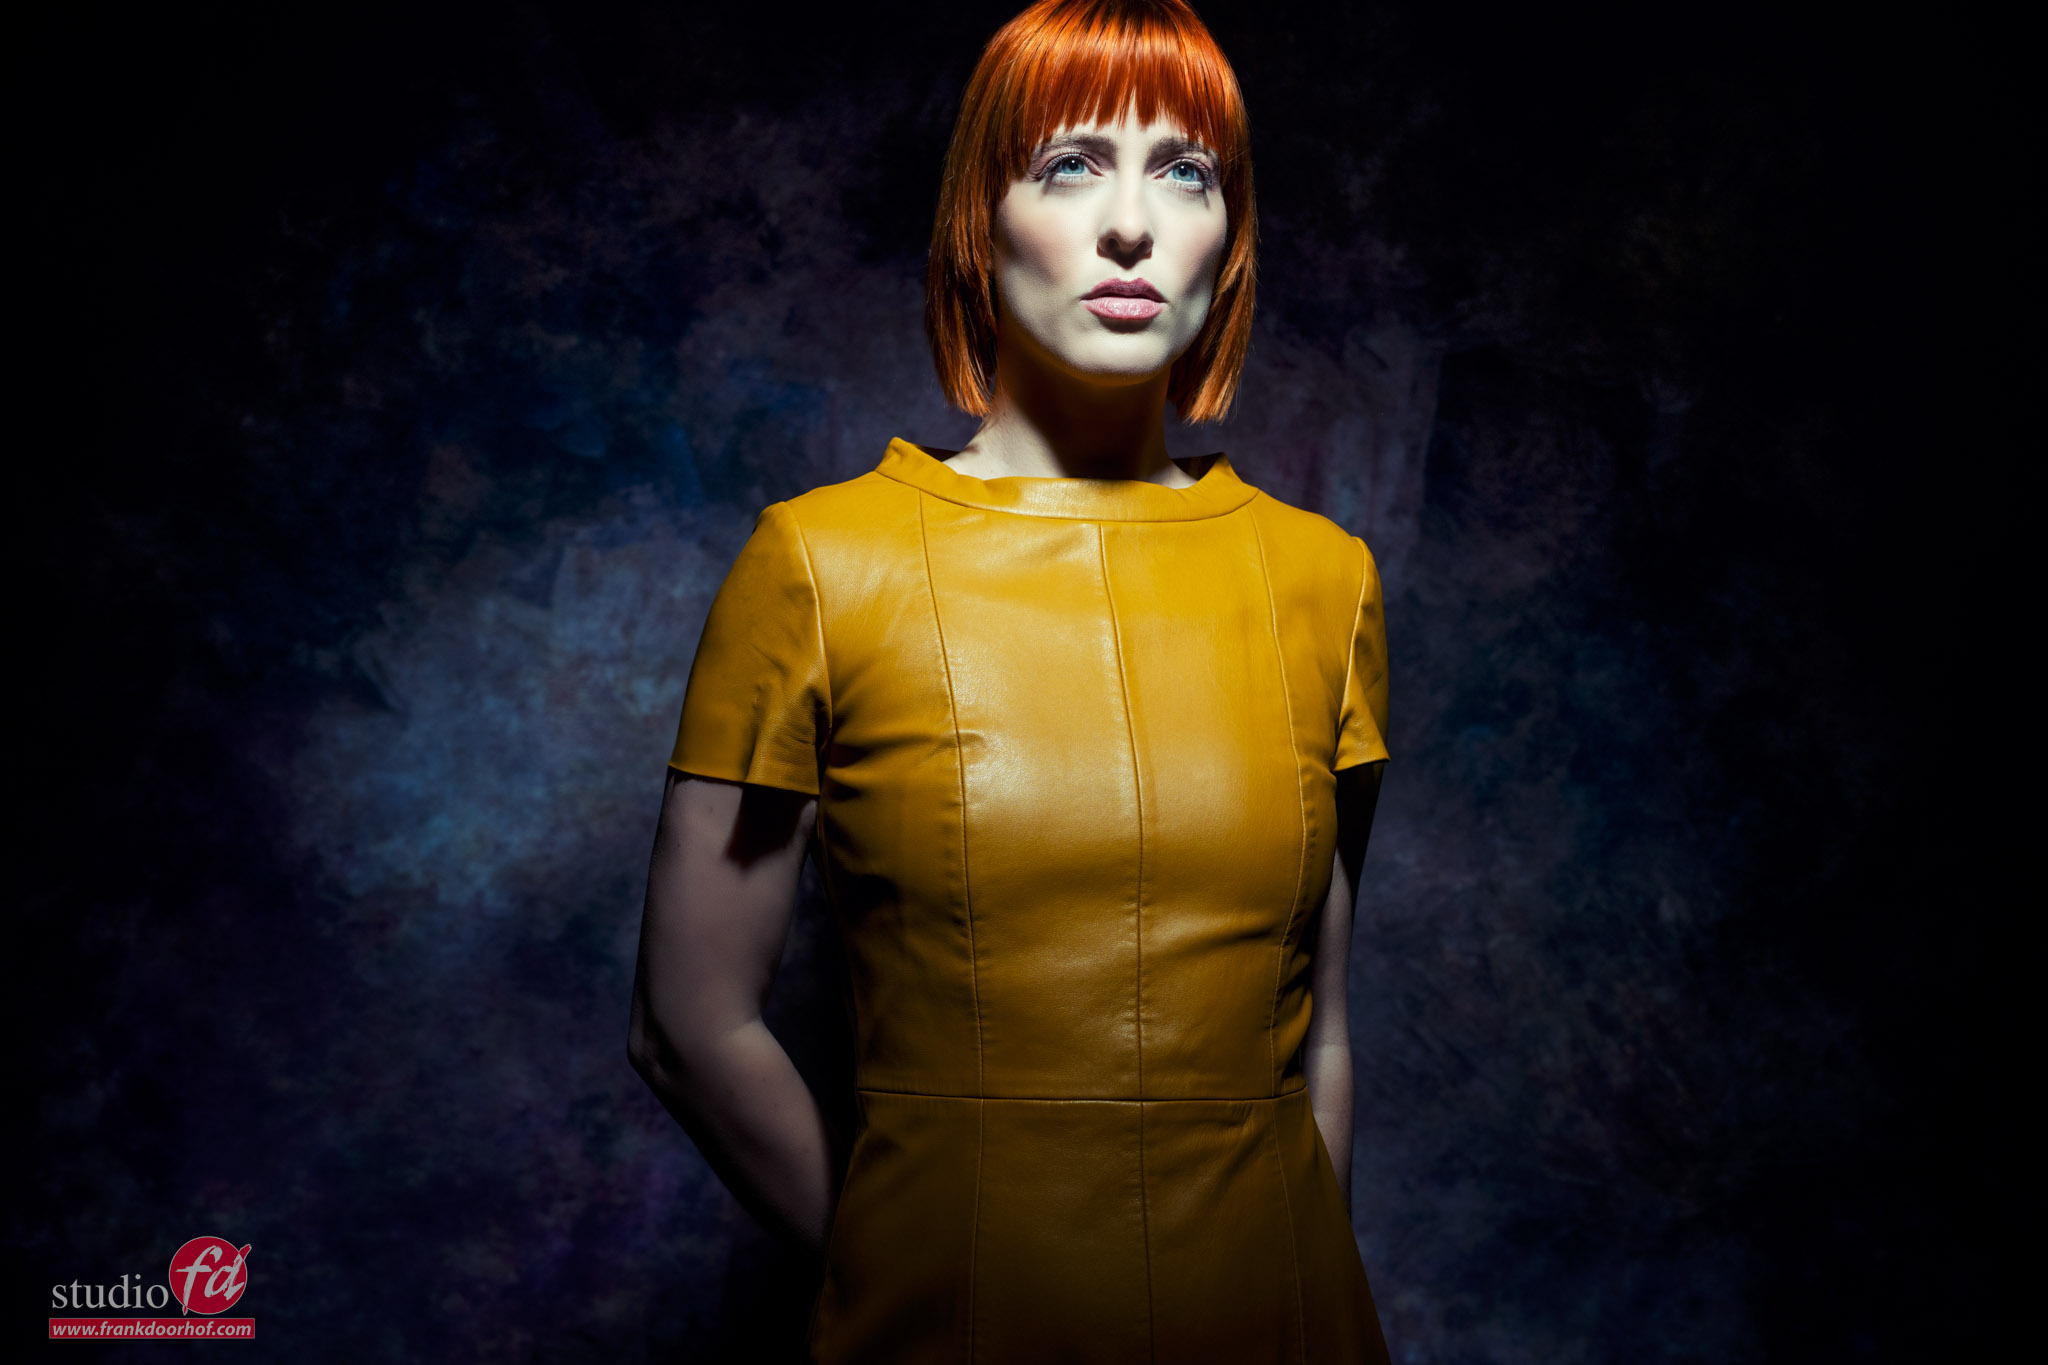
It’s still just a model in front of a backdrop. This is why the least you can do is for example use a chair that is similar to the backdrop in style/color. Or maybe just the opposite (be creative). By angling the chair and your subject, and matching the light mood/color and angles you already have something really nice looking.

How to create depth in a scenic backdrop set How to create depth in a scenic backdrop set

But of course, we want more

One part of the workshop is set building.
And the scenic backdrop is great for this. this backdrop can help enormously by creating depth.
By adding props to the set you can not only create more depth in your image but it also looks a lot more realistic. Our mind seems to have less trouble with the “flat” background if it sees a lot of things in front of it.

During the workshops, I, of course, love a challenge. So in this case I added several continuous lights in the setup.
I’m using a nice focussed beam of light on my model via a small softbox on the lowest setting. And use the shutter speed to let in the amount of light from the continuous light I like.

How to create depth in a scenic backdrop set

So far so good, I really like this shot.
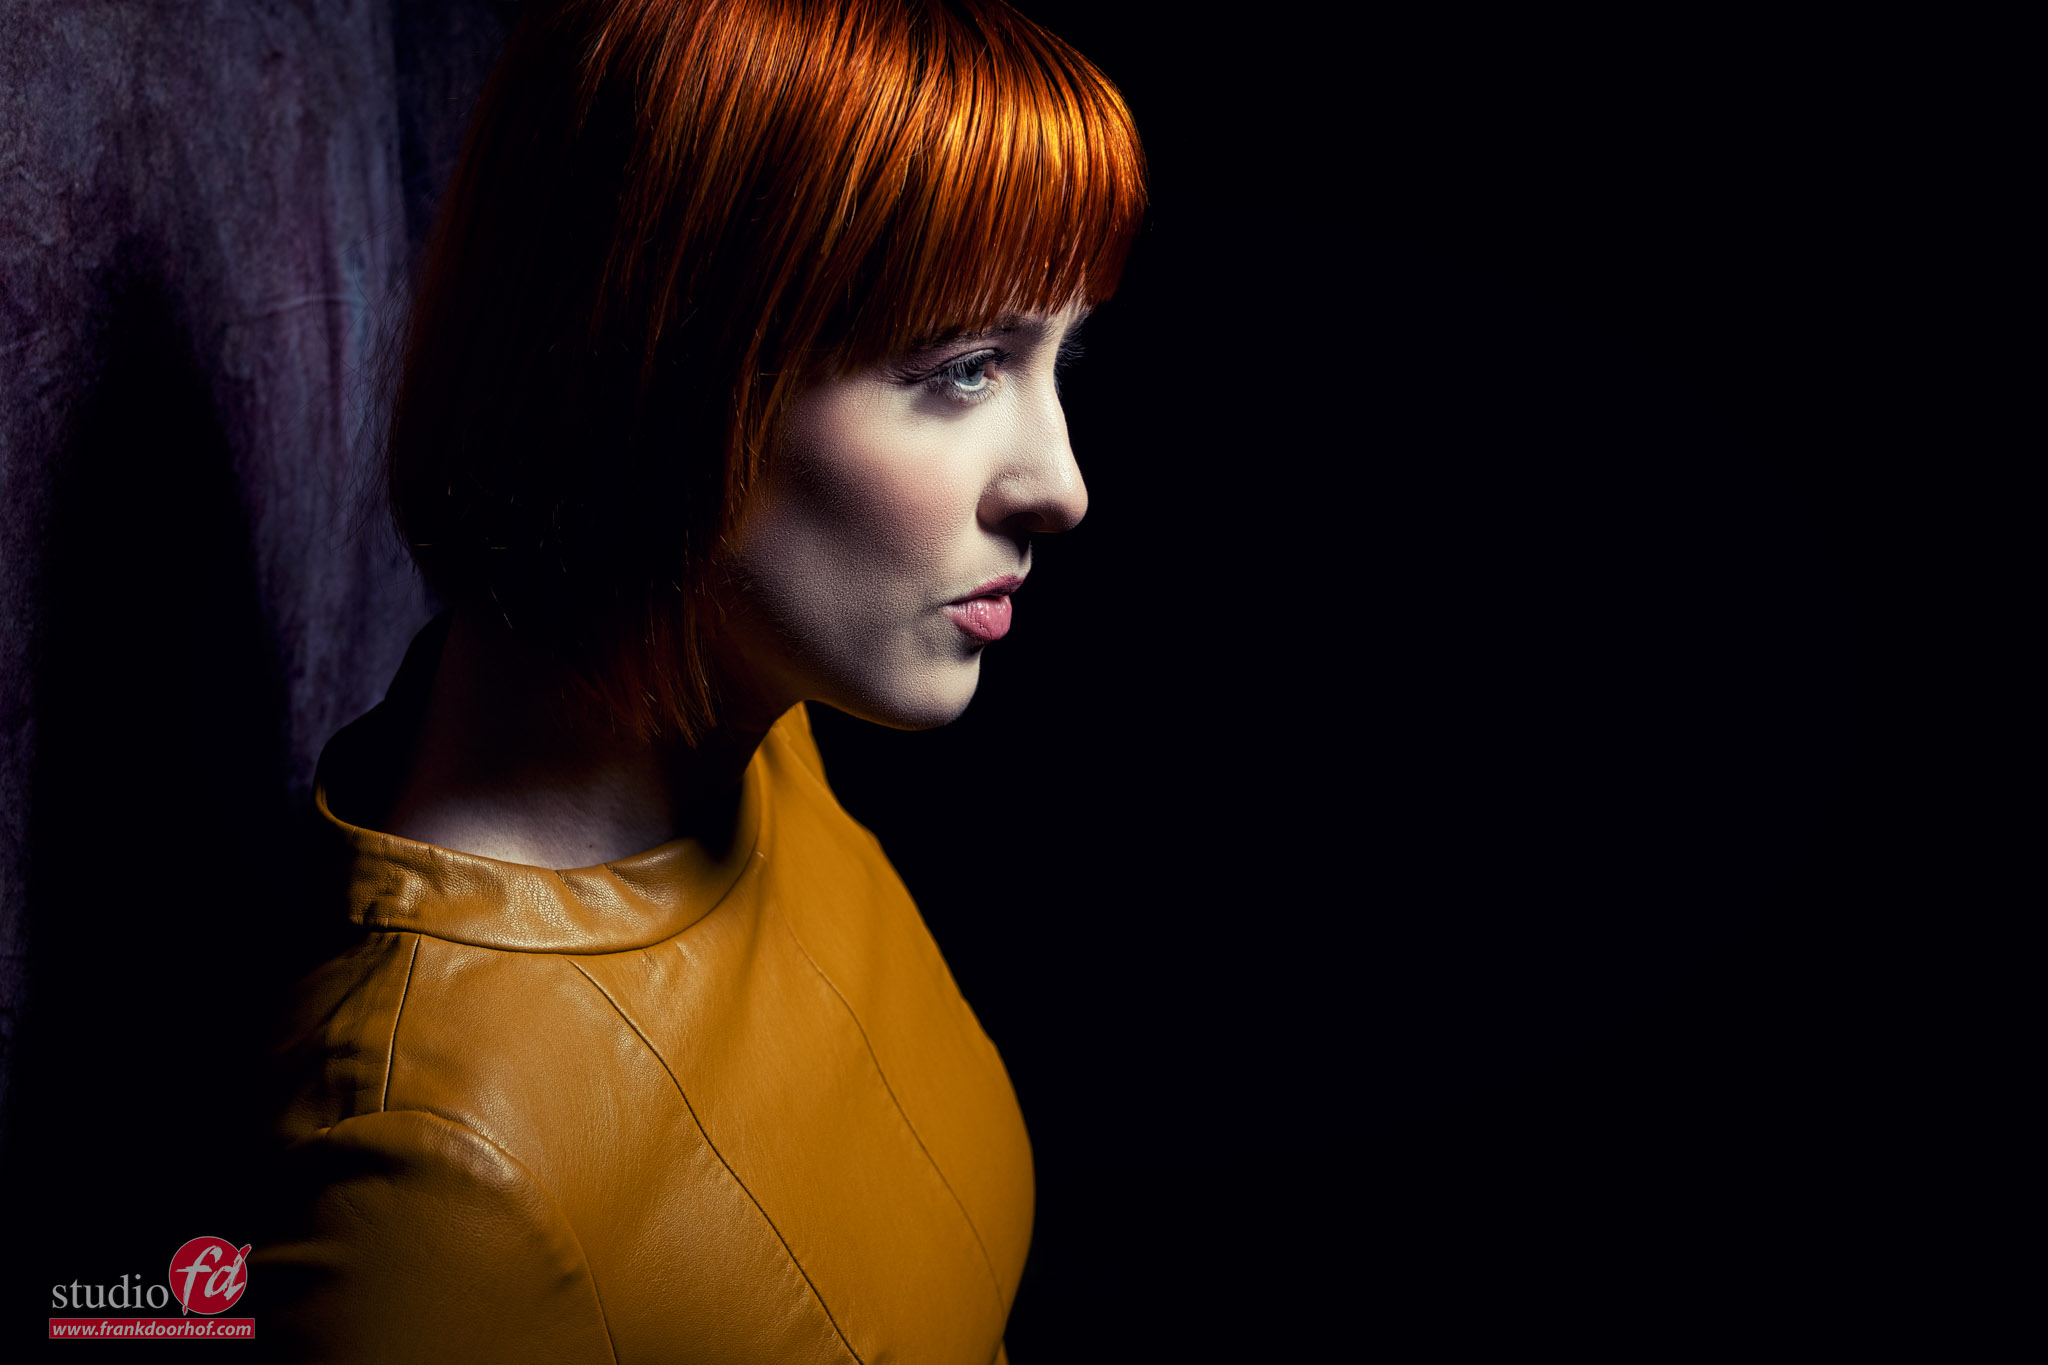
But when you want the sense of depth to be a bit more exaggerated it can be nice to also take some shots closer by with a wider angle.
This really draws the viewer more into the shot.

I also always tell the attendees of the workshops to shoot from different angles.
By changing the angle you can change the mood of a shot almost completely.

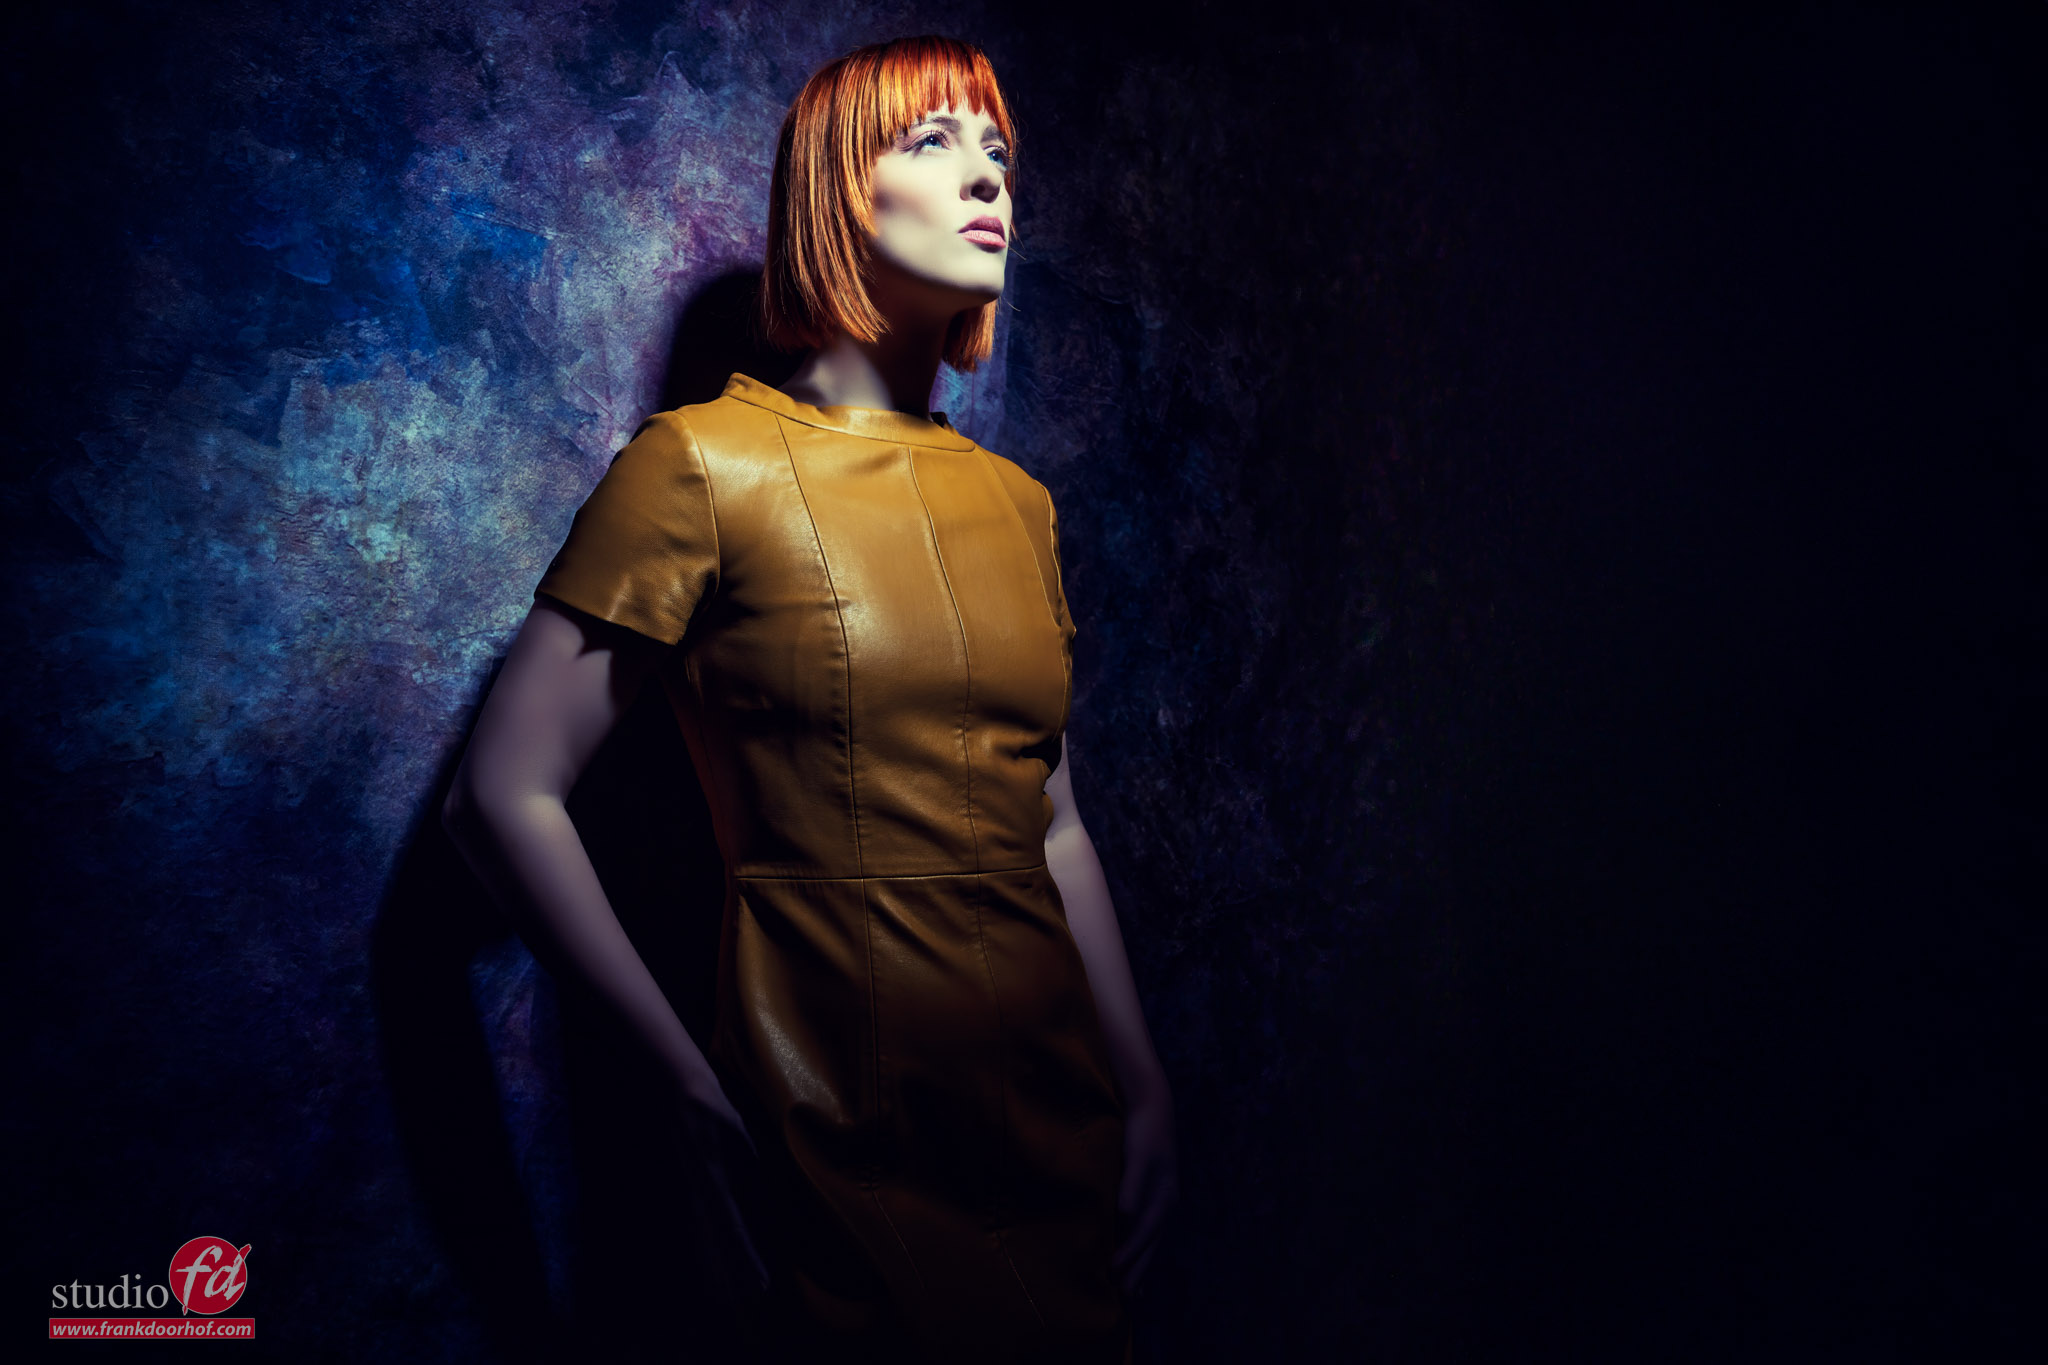
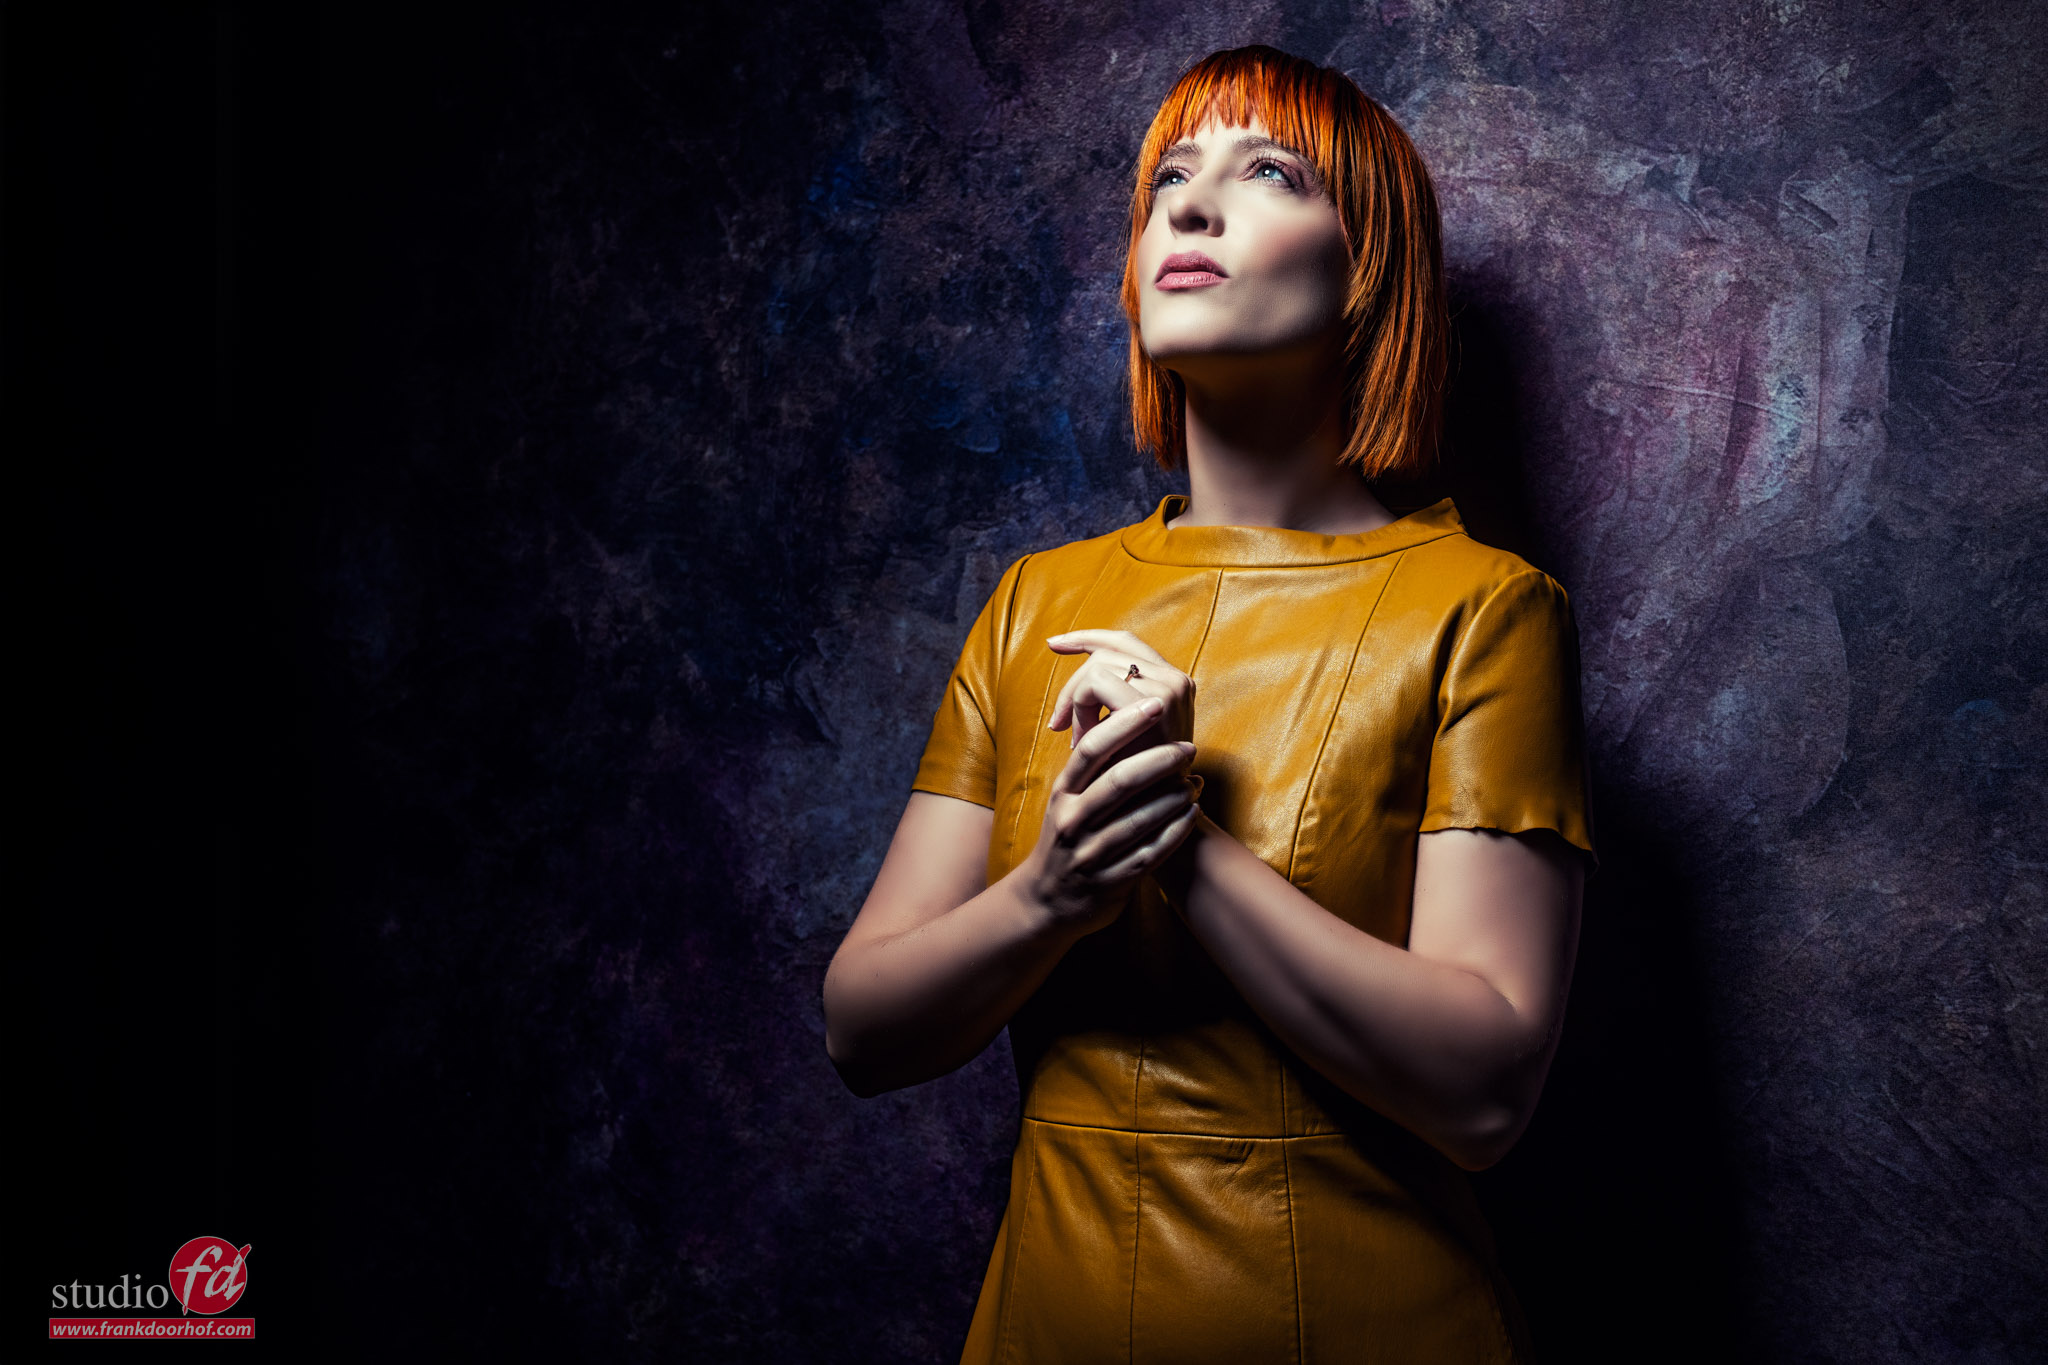
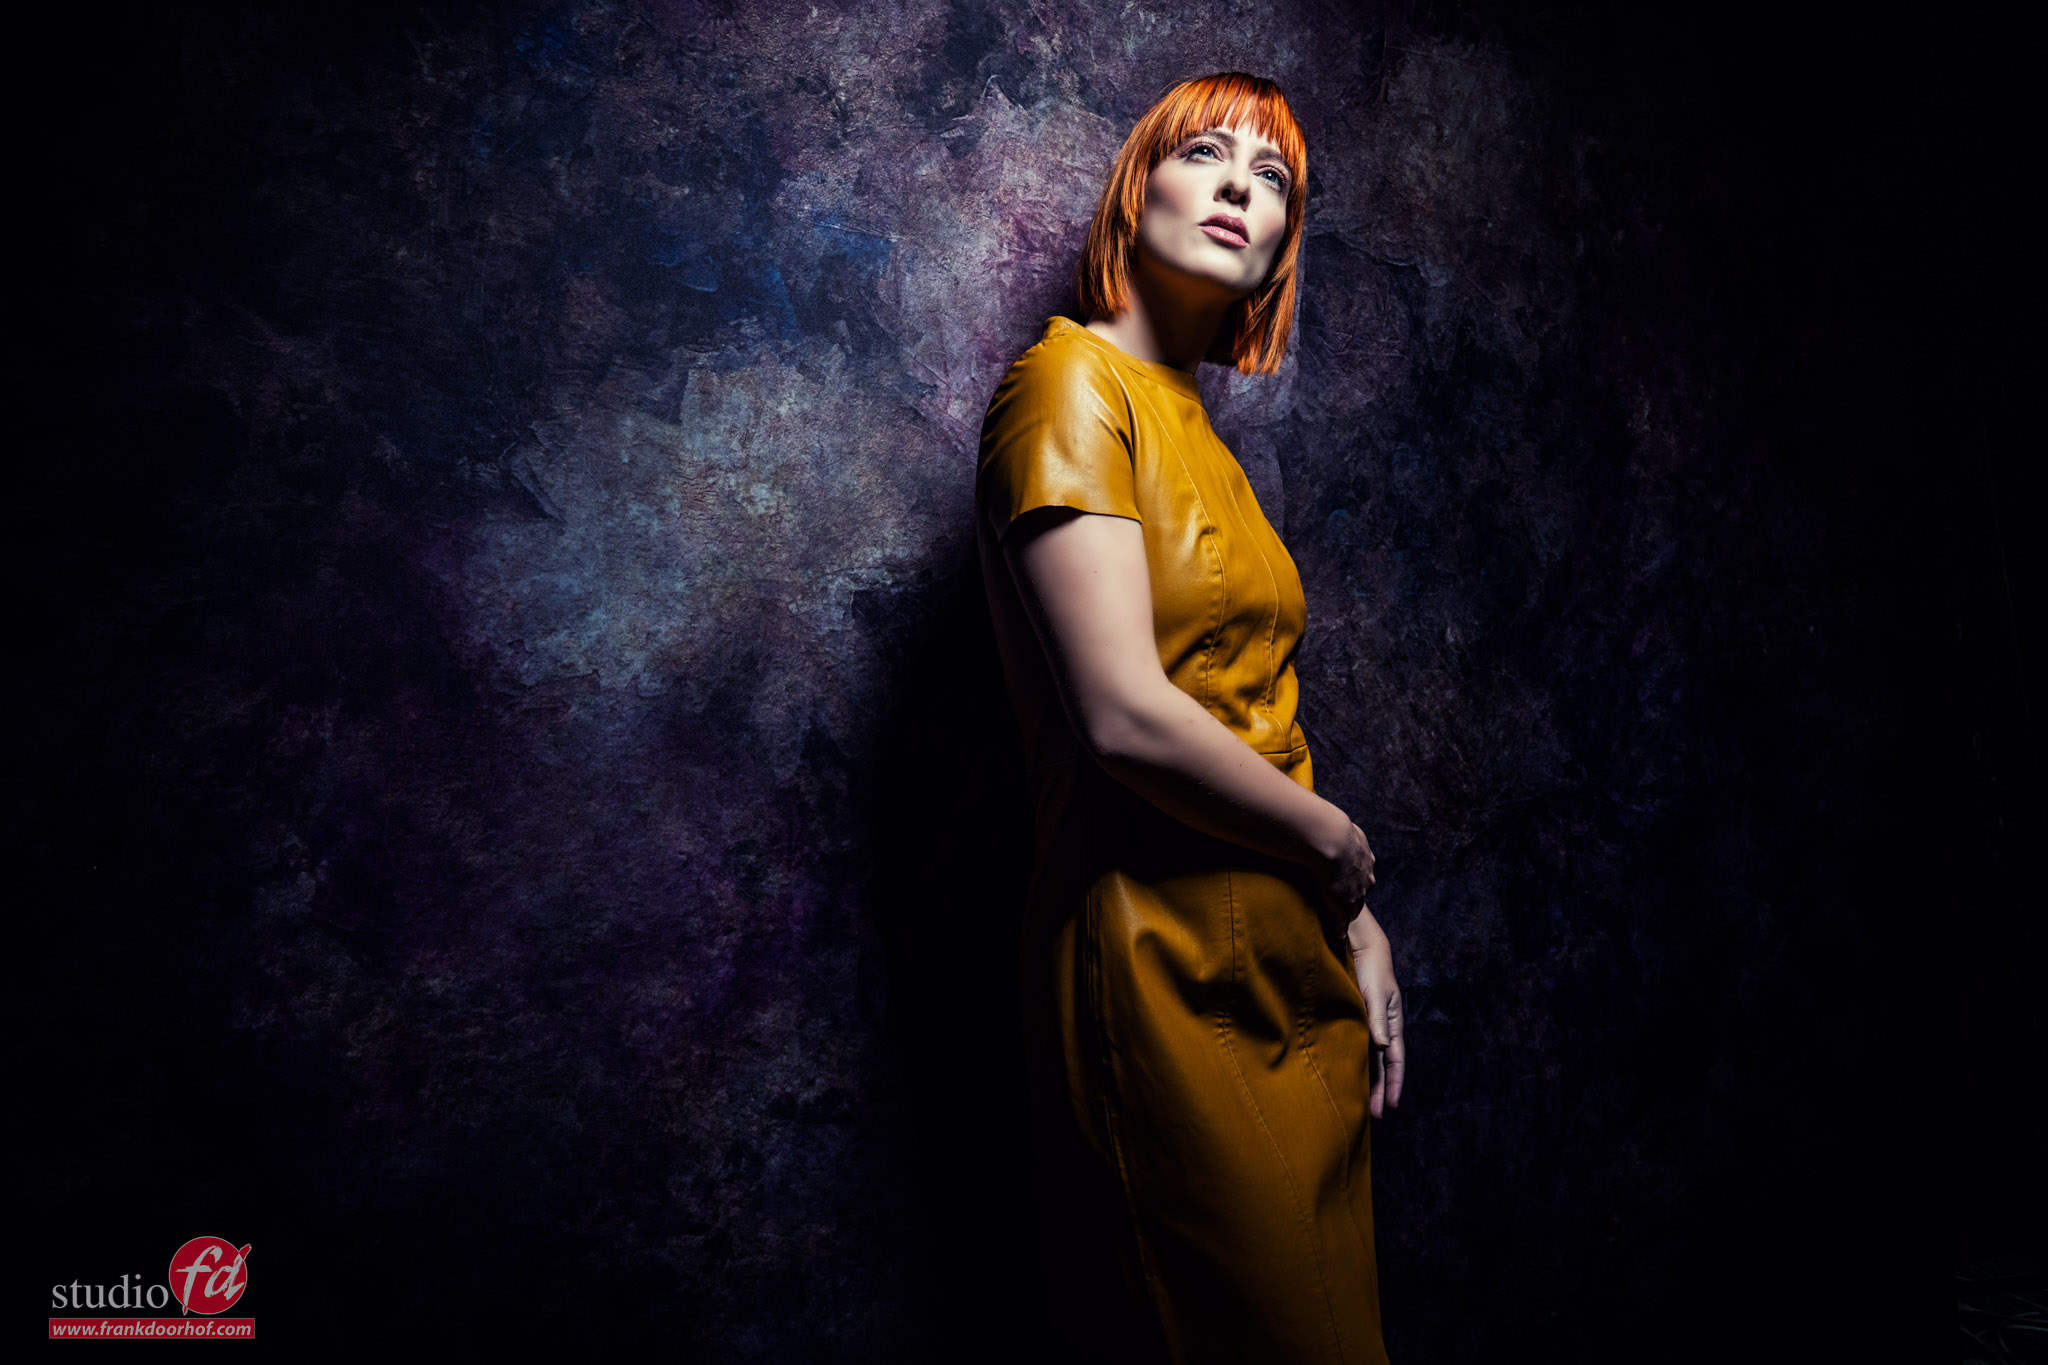
In the first image, I’m shooting from an elevated position down. It’s not my favourite shot to be honest but it does give you a different view.

When I shoot from a lower angle the whole look changes. Of course, I also asked our model Felisa to take a different pose, for the simple reason it gave the shot much more depth by the leading lines. But also much more power which was more fitting for the whole angle. But of course, opinions differ and that’s why it’s always smart to shoot from all angles 😀

The workshops

How to create depth in a (scenic backdrop) set is one of the questions I get a lot in the workshop

When I teach a workshop I always start with a Q&A
During the Q&A the attendees can ask whatever they want and during that period I actually “build” the workshop. This means all the questions are incorporated into the sets we shoot that day. This way I can always challenge myself, but also have different kinds of images for the attendees and myself. Every single workshop is unique.

If you also want to visit a workshop, check out photography-workshops.eu
All workshops are in Dutch, but if you let us know in advance we can change them to English.

If you can’t travel to our studio, we now also offer full-day 1:1 online workshops.
In our studio, with a model, 4-5 cameras, and a direct line for questions, plus you get all the RAW files to play with.
For more info: see here


A quick test shoot

Sometimes it just happens

For the workshops we are always looking for new models, and sometimes you find someone via the net/social media, in a restaurant or in your own studio 😀
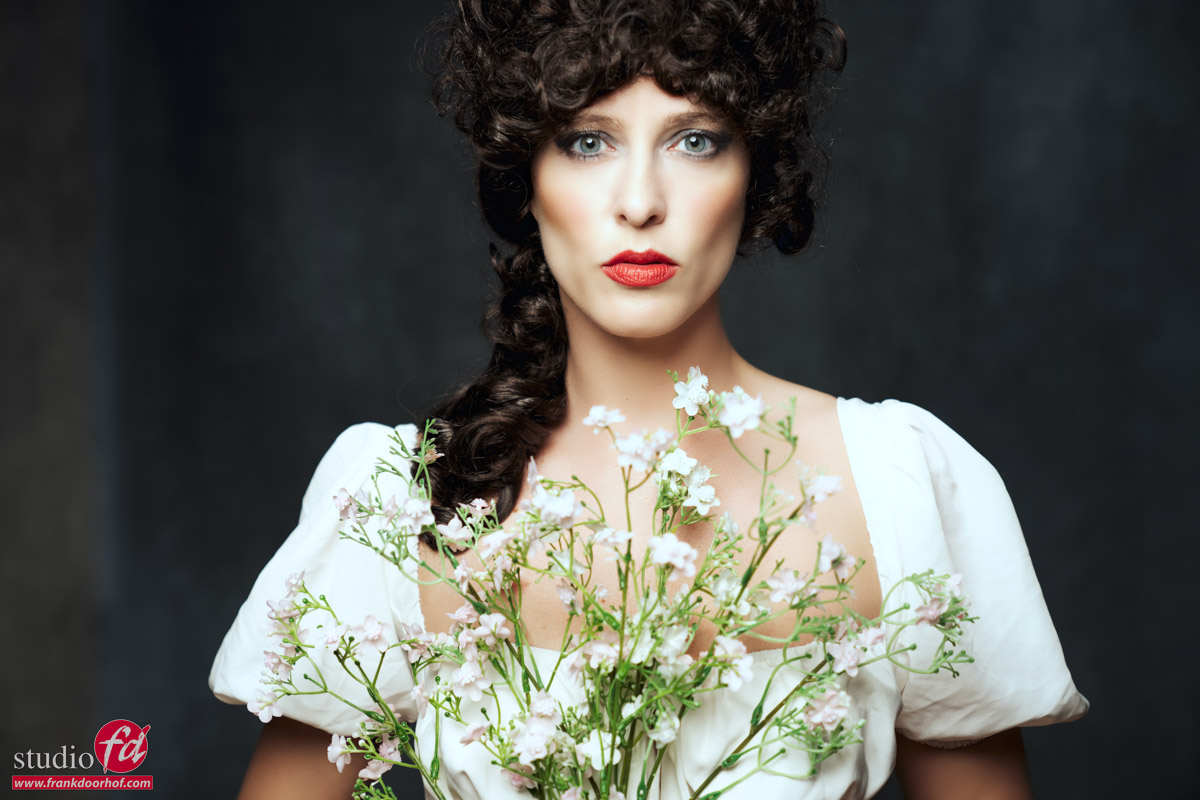
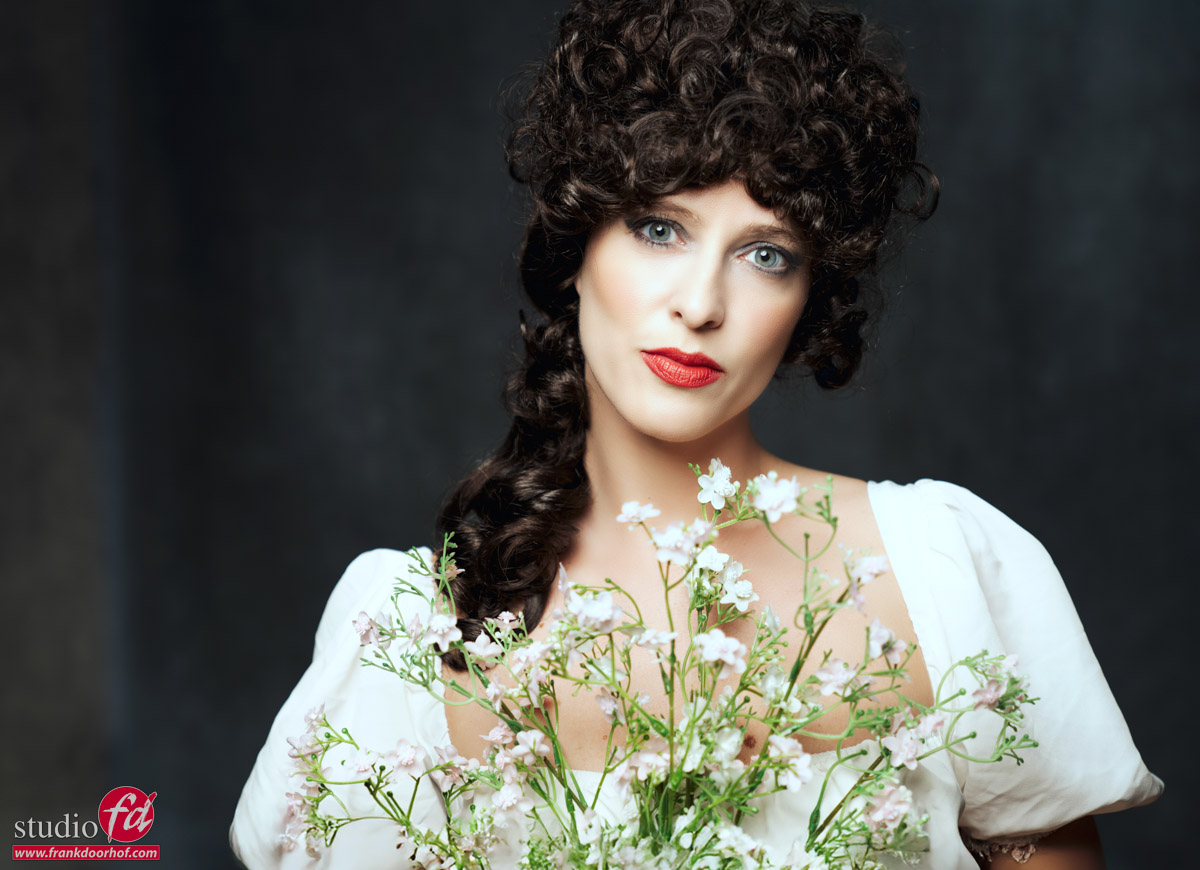
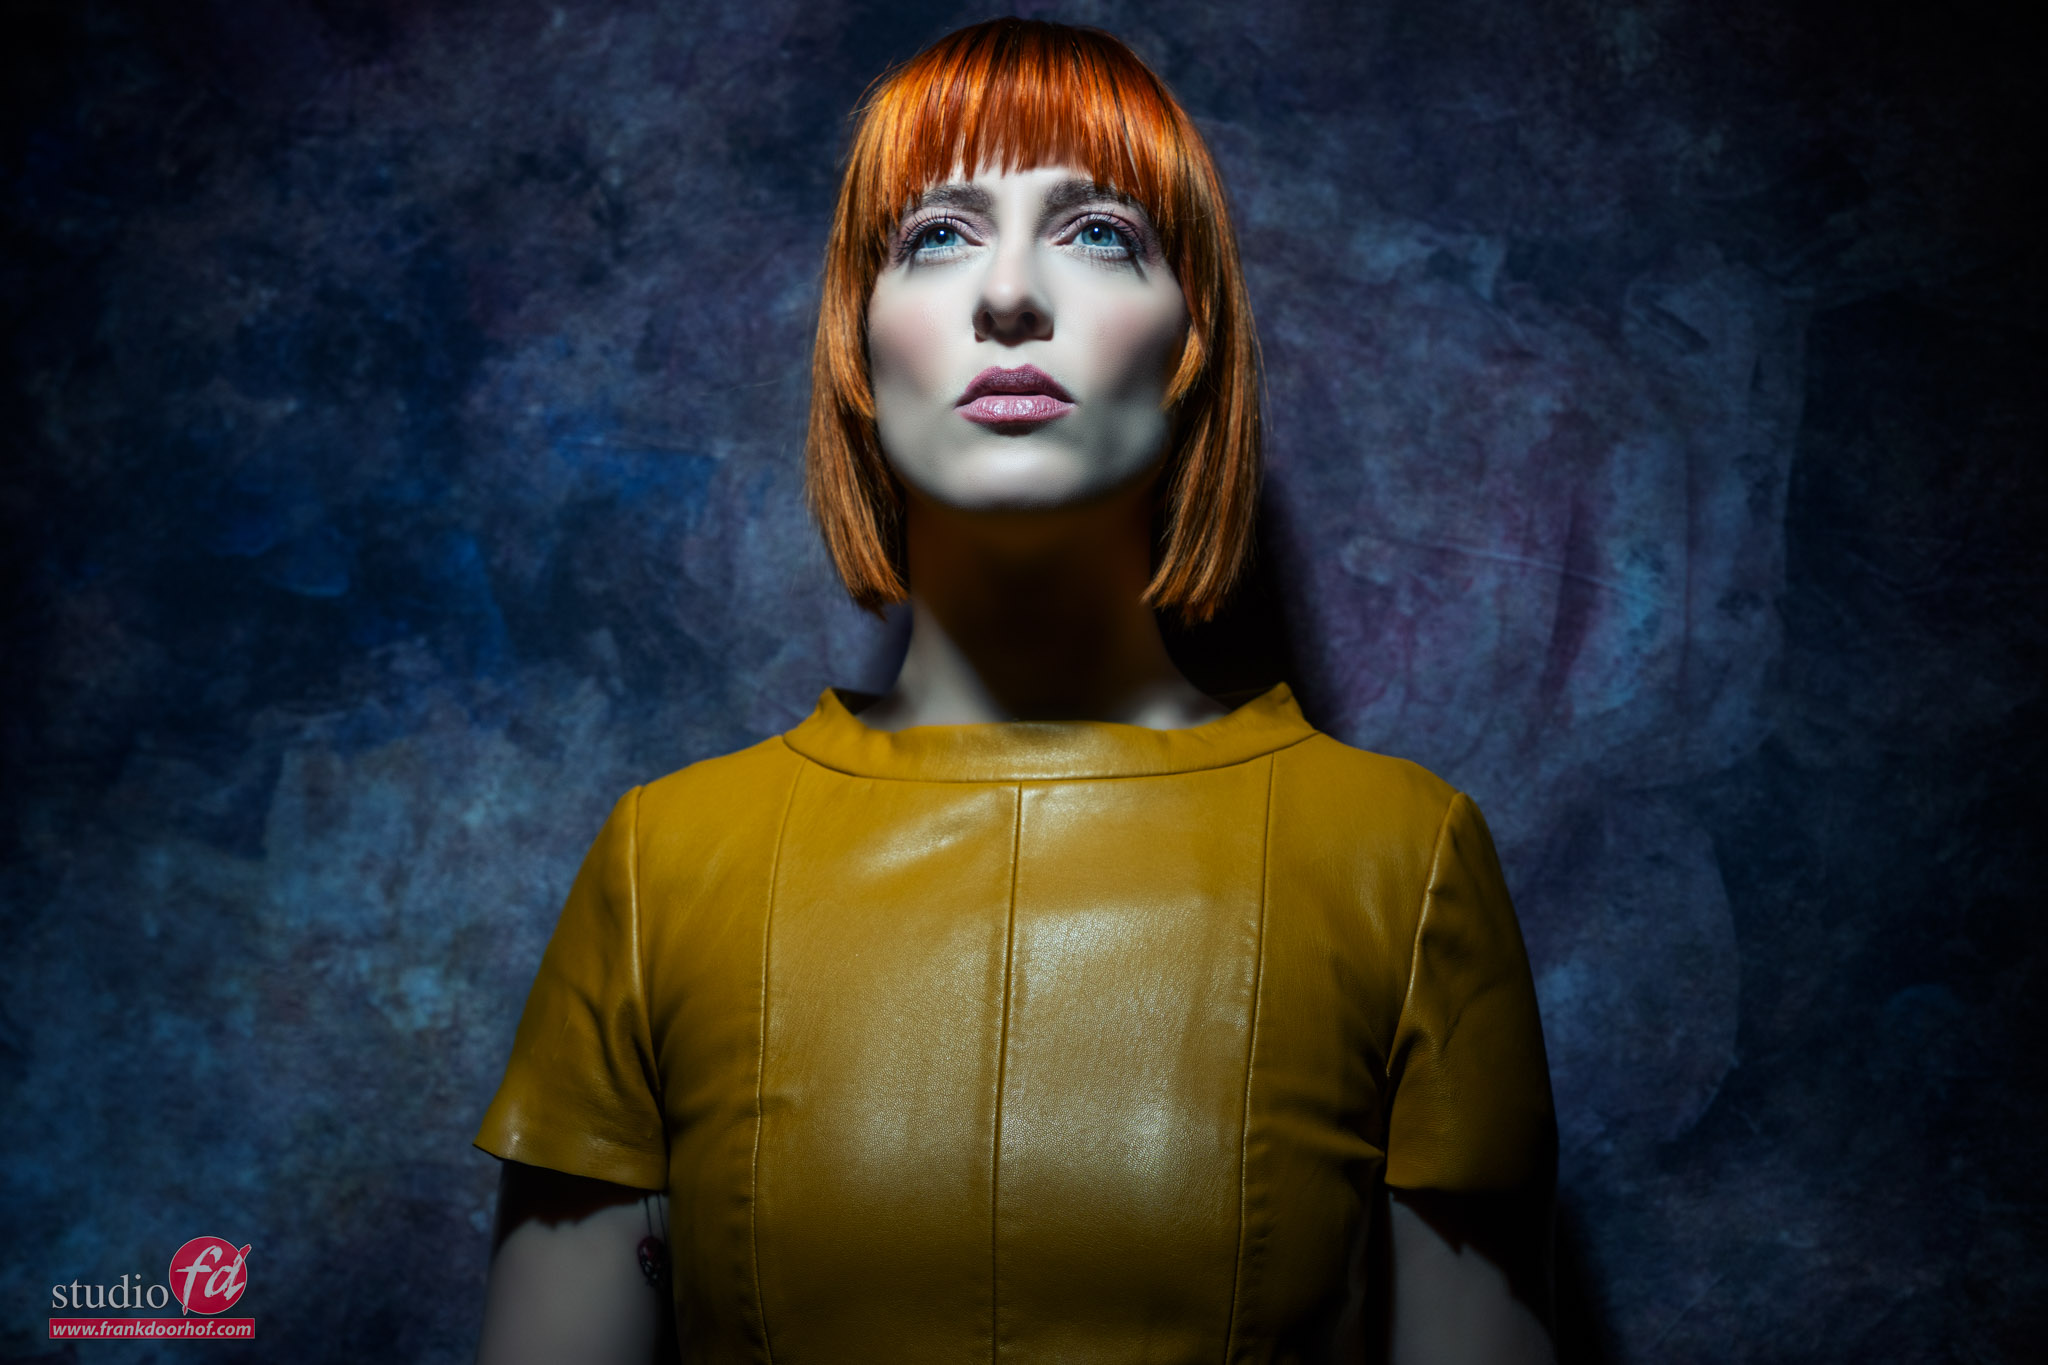
Janice as modelling for friends of us and I could not resist to also shoot some images. And guess what… she lives close by so she will probably pop up more regularly during the workshops in 2025.

Workshops are mostly in Dutch but…

We do get a lot of questions about the workshops from people abroad, and we have some great options for you.
First of all if you’re visiting the Netherlands and let us know a few weeks in advance we can switch the regular workshops to English, or you can of course book a special 1:1 workshop with your favourite model. But even when you’re not traveling we have a brand new option for online education.

During the online workshop you are able to see all the setups via 4 mobile cameras in our studio and can interact directly with both me and the model. It’s just like a normal workshop except you can’t shoot yourself. To compensate for this you will receive the RAW files from the images I shoot during the workshop including the retouched versions to compare.

If you are interested in a workshop let us know via [email protected]
For the dutch workshops visit : www.fotografie-workshops.nl

But for now let’s take a look at the images I shot during their session.
Lightsetup is the Geekoto Lantern softbox
Using two ClickBackdrops backgrounds in an angle to create a small set.

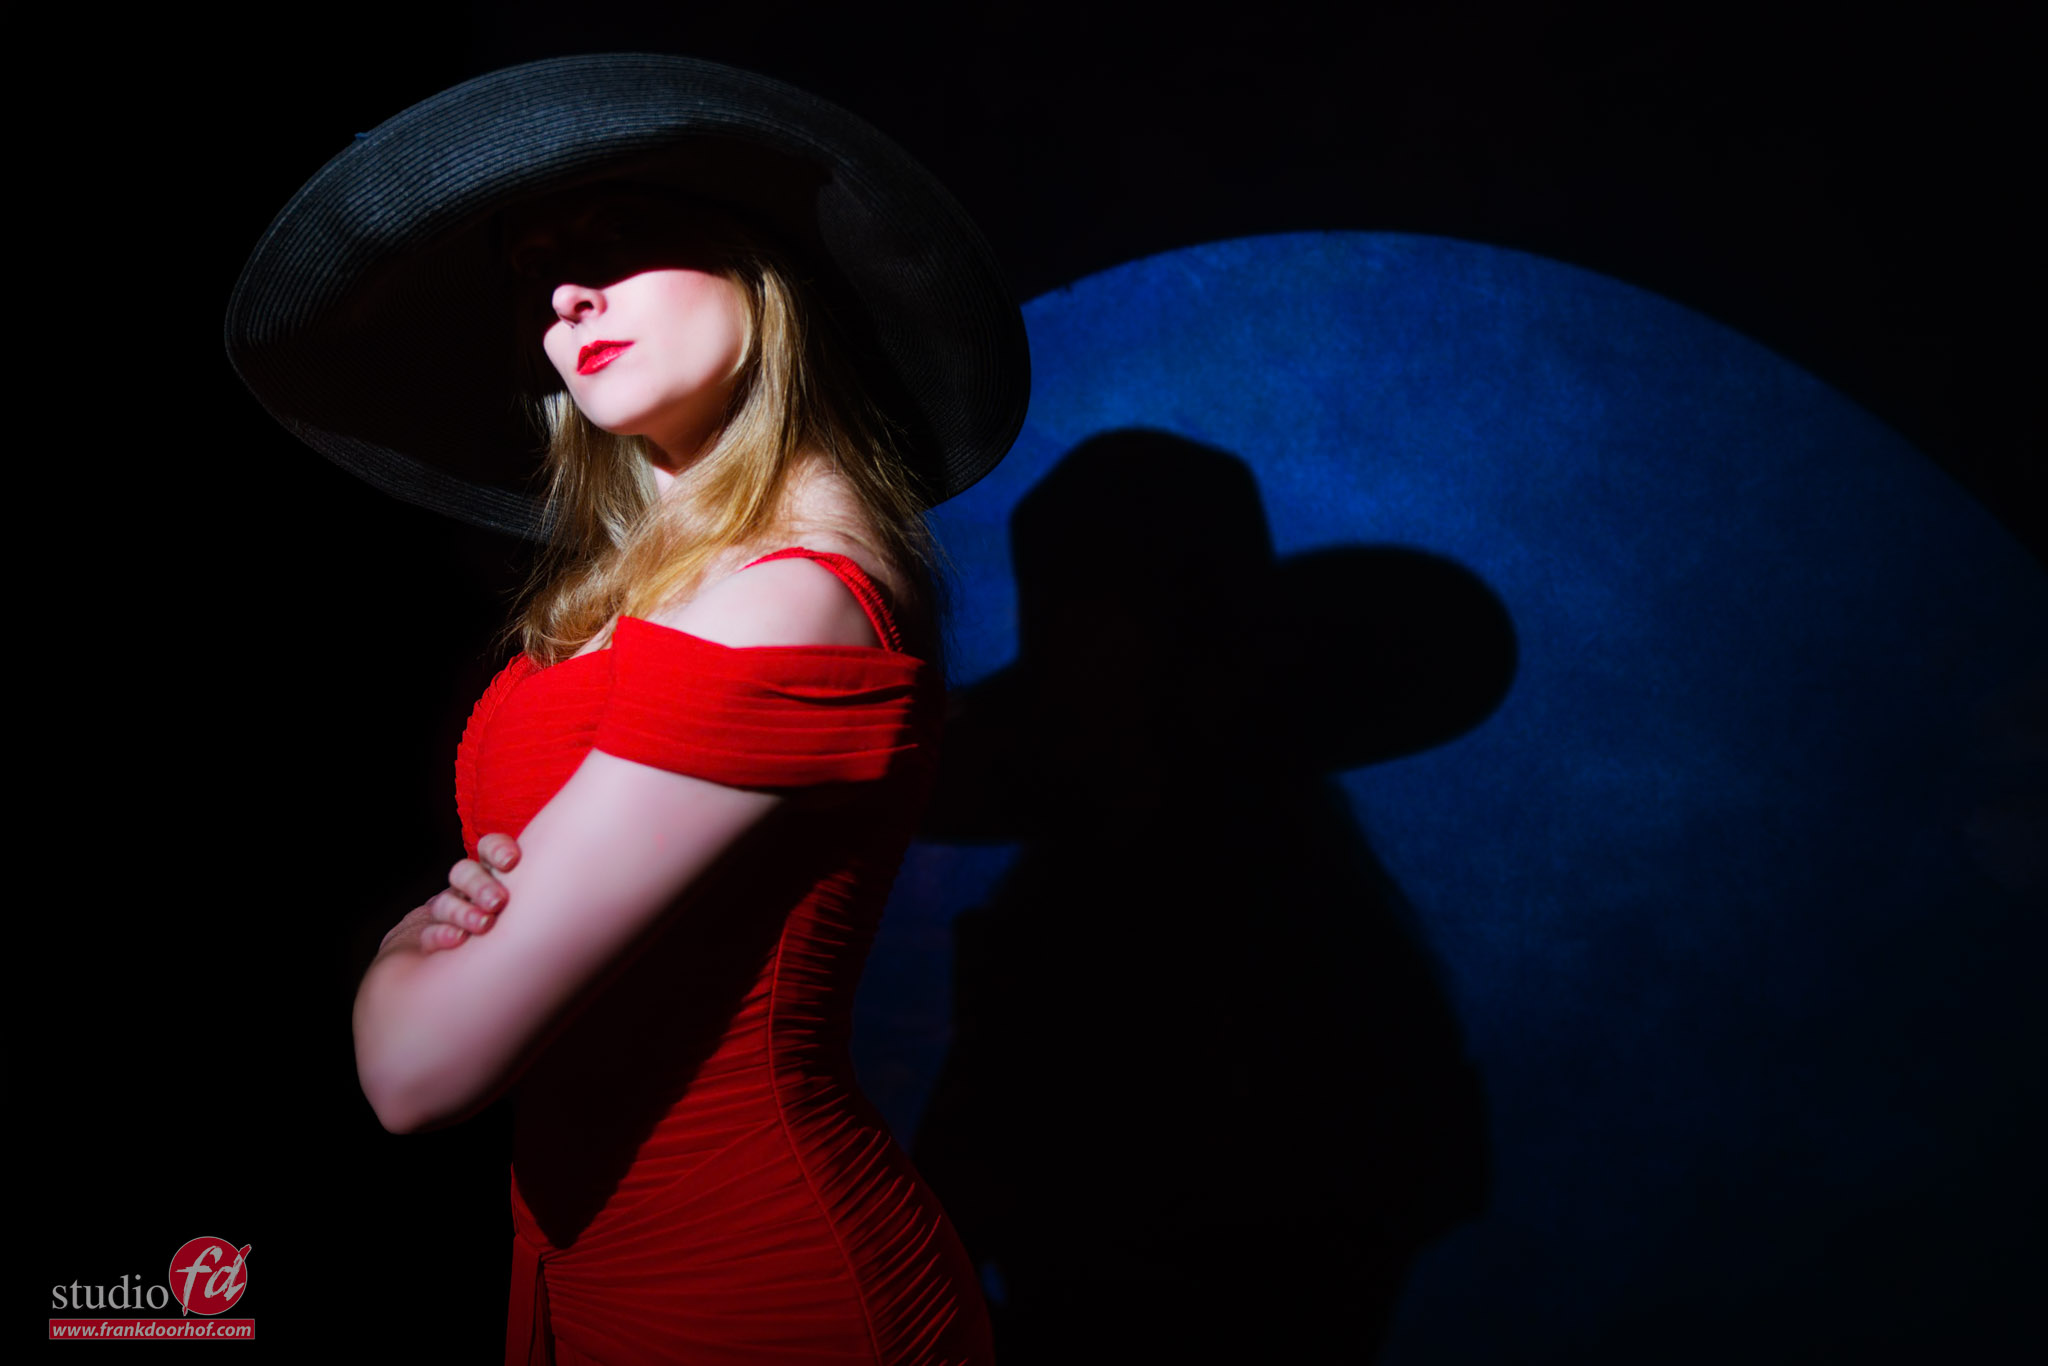
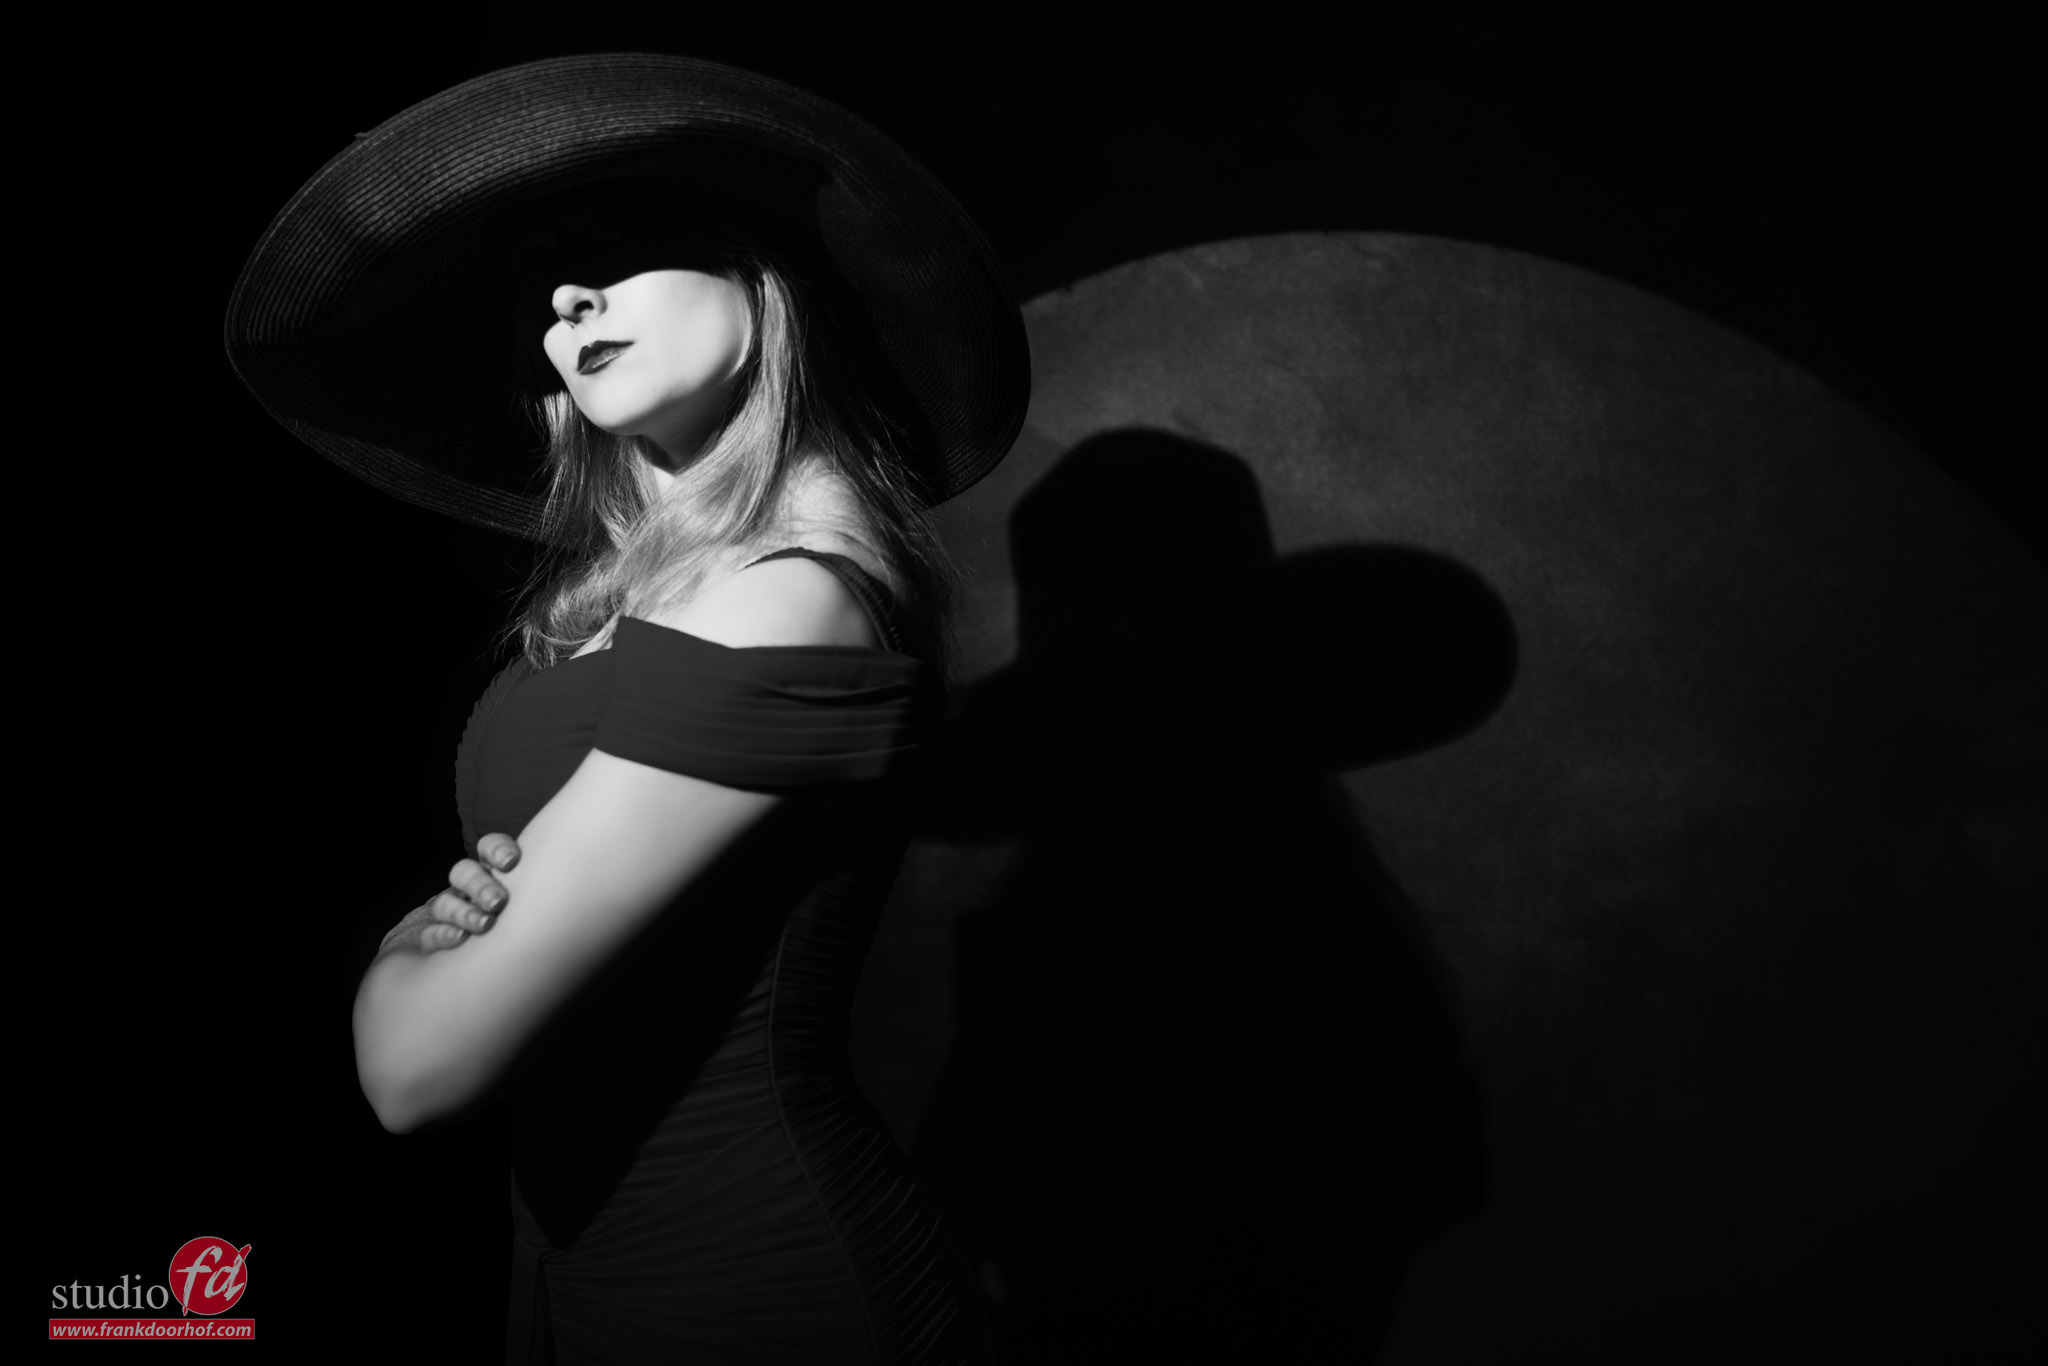
In another set they used the Lindsay Adler projector as main light and a Geekoto GT200 with a blue gel on our Rogue magnetic system to create a nice glow on the background. I didn’t want to take a lot of their time so I just took a few quick shots, and somehow really liked these two.


Focus your light

Don’t you just love playing with shadows

“Shadows are the soul of the shot” is one of those sayings I’ve been using ever since I started teaching lighting.
I never understood why people would use large softboxes and white backgrounds to eliminate every spot of shadow. For me it’s flat and not really something I love to look at.

Shadows can be tricky when you start out but in the end it’s the glue that sticks everything together and makes an image look more realistic and also creates depth. Of course we need light to create shadows, and the smaller the light source the faster the edge transfer (difference between shadow and light). In other words smaller light means sharper shadow edges.

But you can also work different with smaller light sources.
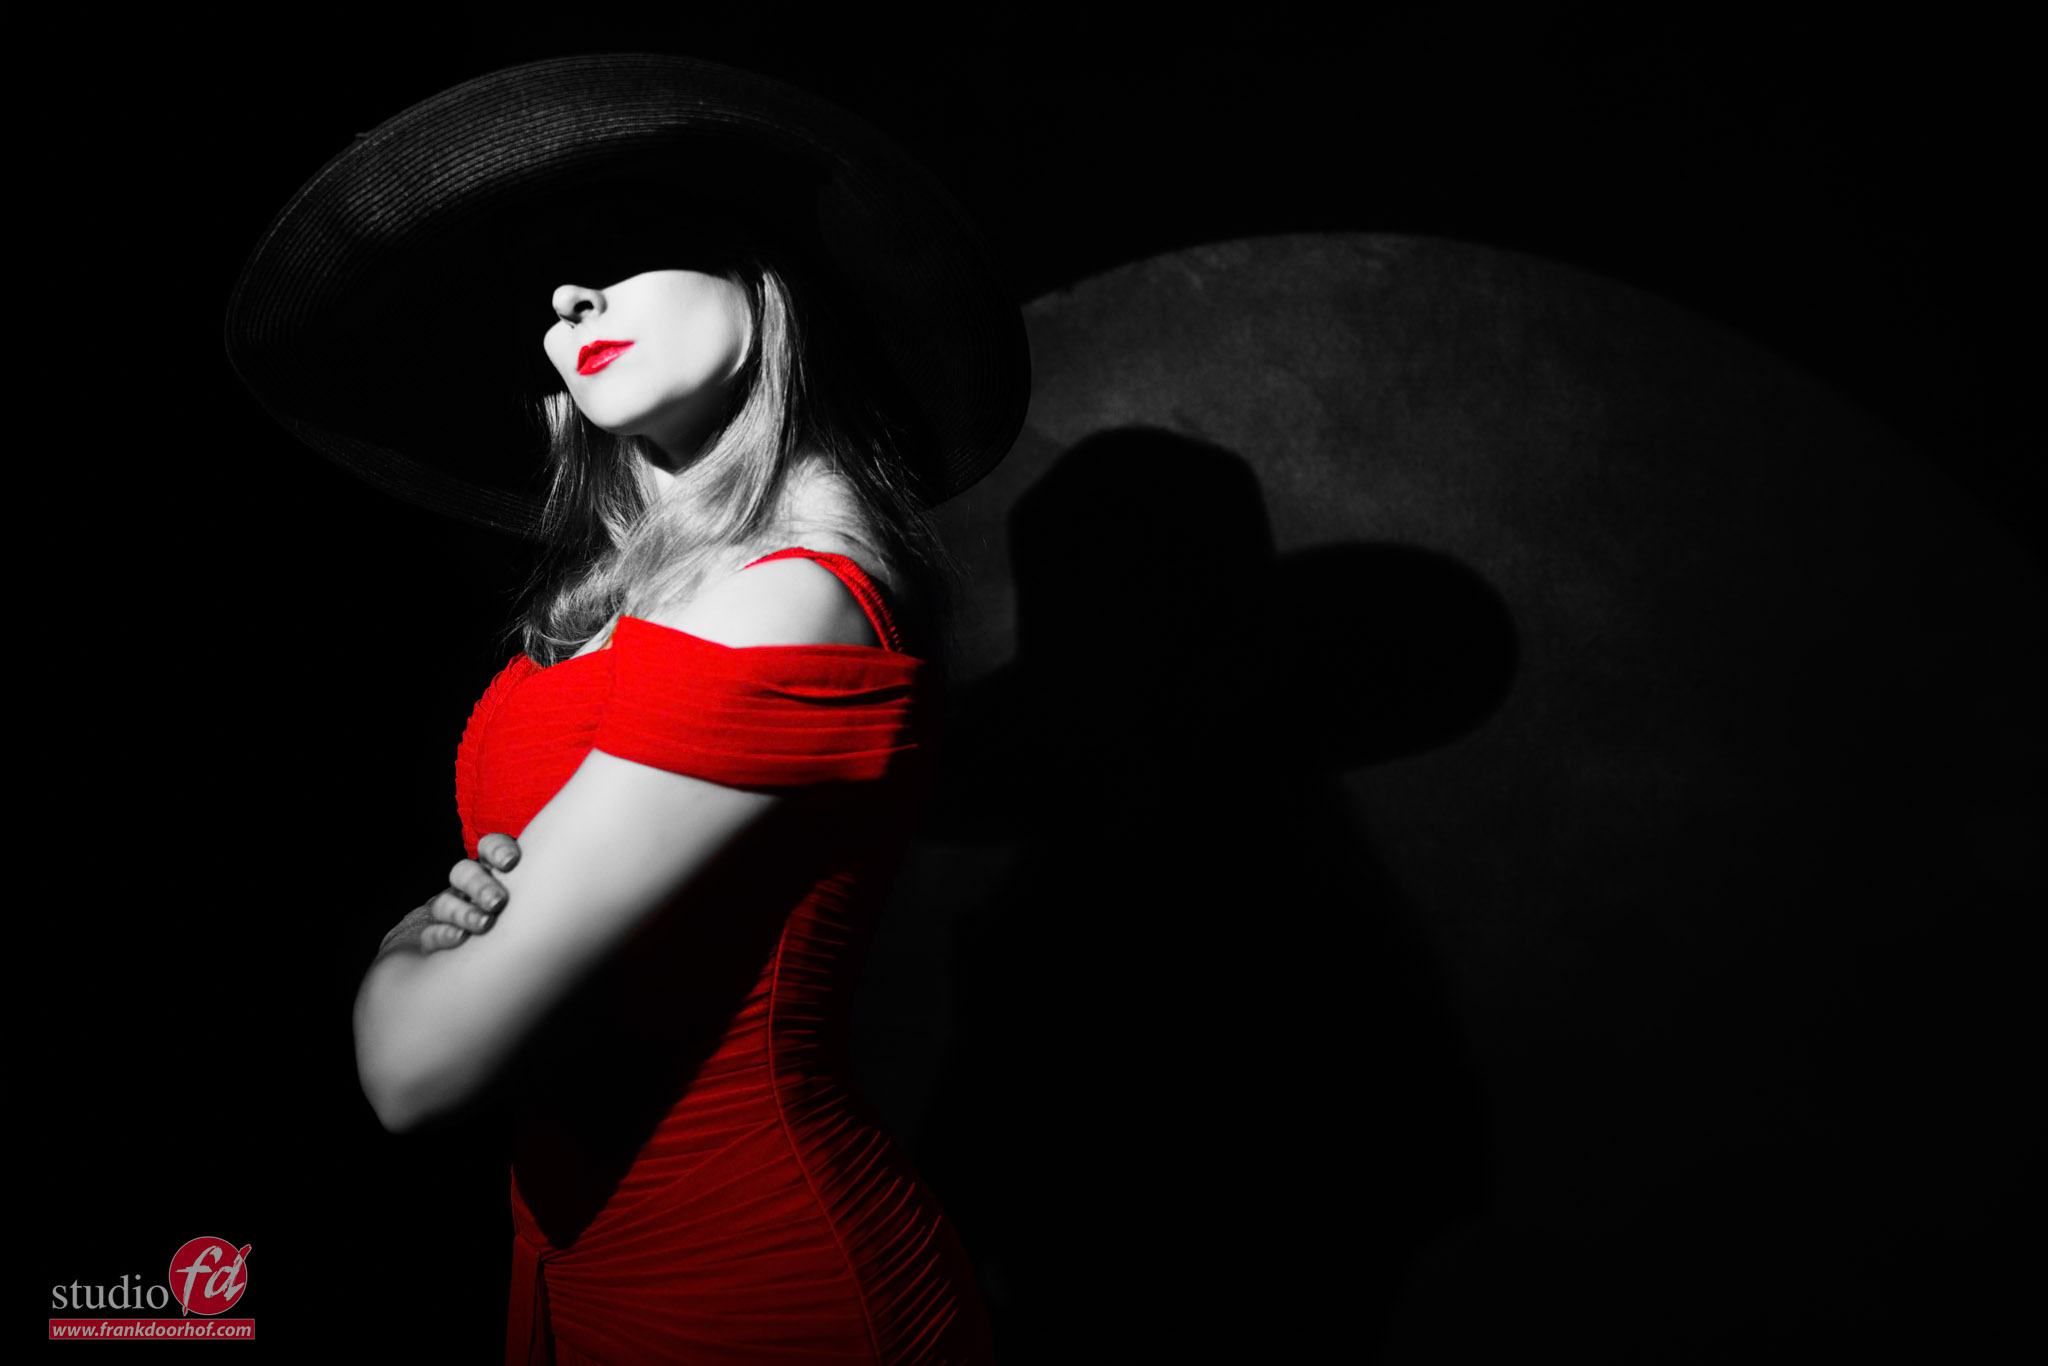
One of my favourite things to do during the workshops is using our Rogue magnetic snoot or the Lindsay Adler Gobo projector as my main lightsource.

The Gobo projector I will post some more about soon, but in essence it creates awesome projections on your subject that via a lens you can focus. There are also gobos with just a circle which you can use for shots like in this blog.

The Rogue magnetic snoot is a much cheaper solution. And the cool thing is that you can use it in 4 different settings, but also can take out the diffusion panel for another 4 looks. I love gear that is versatile 😀

Now when you start using these kind of very focused light sources straight on your model you can get some very striking an awesome results. Do be careful about the position of the model, this is a setup where movement is very limiting due to the shadow of the head. Wearing sunglasses can really help here. They don’t only look cool but also take the attention away from the eyes so you don’t miss the catchlights or don’t see the raccoon eyes 😀

These were shot during a session with our model Claudia.
Our workshops are mostly in Dutch, but if you visit the Netherlands and also want to visit a workshop, let us know a few weeks in advance and we can switch them to English, or contact us for a full day 1:1 online workshop, including model and full lighting in the studio walk through via 4 cameras.

Now you probably noticed something in the images?
If you only use the snoot/gobo projector or even a reflector with grid with a focussed lightsource the model will be lit but everything else will probably pitch black so for the viewer it’s not a nice image to look at.

This is why with these kind of images I often use one extra strobe with a Rogue Omnidirectional dome (also from our magnetic system) and in this case a blue gel. I place this under the same angle as my main light and a few stops below the main light (depending on the background and the mood I want). Now the blue gel will open up the shadows and when you point the strobe up you will have very soft (hardly noticeable) shadows and you can even include some cool lensflares by shooting over the strobe. And of course as you can see in these images I also experiment with placing the fill in strobe on the sides.

I call this technique light in light and it’s one of those things you can use in a lot of situations.


How to very easily find out your flash duration

Flash duration and freezing motion

Freezing motion is fun

One of the things I always love to do during photoshoots is add some motion to the shots.
If you have ever tried this, you will probably know it’s all about timing. But even then, you probably noticed that sometimes the images are razor sharp and sometimes a bit blurred. How is this possible when you use the same strobes? Read more about flash duration and freezing motion.

The first thing you think is of course, that you probably timed it slightly differently.
But the reason is probably somewhere else.

Flash duration

You may have already noticed the flash duration in the specs of your strobes.
But how do you read this?
Well, that’s the problem when you see 1/1.000-10.000 T.1 or T.5. It probably doesn’t really ring a bell.
I will not make it too technical but see the flash duration as your shutter speed.

When you take a picture in your studio without strobes the images should be black. Because we have to take into account the X-sync in the studio (otherwise you see those nasty black bars) we shoot at 1/125 in the studio. Normally this would make it impossible to freeze motion. But because the flash is just a pulse MUCH faster than 1/125 it’s not a problem.

So that T.1 and T.5 values can be seen as your shutter speed (as a reference, it’s slightly more complicated).
For me, a T.5 value higher than 1/2000 is enough to freeze most motion. Anything higher than 1/5000 is awesome for really razor-sharp motion with models.

I already told you that the values don’t really tell the story. This is because they will vary over the output of your strobe.
Some strobes are super fast on the lowest setting, and some are the fastest on 75%
At first sight, you might think that it doesn’t really matter. But imagine shooting a jumping model on the lowest setting, that would not give you a lot of playroom with your depth of field. So, being able to shoot it with more power is very much needed. This is why most professional strobes have the fastest flash duration at 50-80%.

There are two ways to see the flash duration really fast.

Flash duration and freezing motion

Important gear for freezing motion

Sekonic 858

Although the Sekonic is a lightmeter it also has a great feature that makes it possible to measure the flash duration and even show the graph. But this is an expensive solution.

The fan

A much cheaper, but less accurate, and more fun way is to use a fan.
Put the fan on full power.
Place your camera on a tripod, adjust the strobe from lowest to full power, and take an image every stop (of course adjust the aperture).
In Lightroom you can now easily see in which images the blades are frozen most.

In this video, I tell you a bit more about freezing motion.

And some of the images from the video.

During the workshops, we talk a lot about technique, lighting, coaching the models, retouching, and in essence every topic the attendees want to learn about.
Do you also want to visit a workshop?
Most workshops at fotografie-workshops.nl are in Dutch, but if you let us know a few weeks in advance and we can switch them to English.

flash duration and freezing motion

How to shoot fire works or Christmas lights 

More about the light meter