Mixing ambient/available with strobes
A situation most photographers encounter many times is mixing ambient/available light with strobes.
There is however a pretty simple rule you can always use to remember how to influence the look of a scene.
Shutter speed controls the available light
Aperture is the flash
ISO stays the same
If you change the ISO you have to change the aperture (because this is fixed pulse from the strobe).
By changing the shutter speed you can let in more or less ambient/available light.
This way you can make a background outside darker (faster shutter speed) or lighter (slower shutter speed) while the exposure on your model (the flash) stays the same. Do remember this is of course with manual flash with ETTL this works slightly differently.
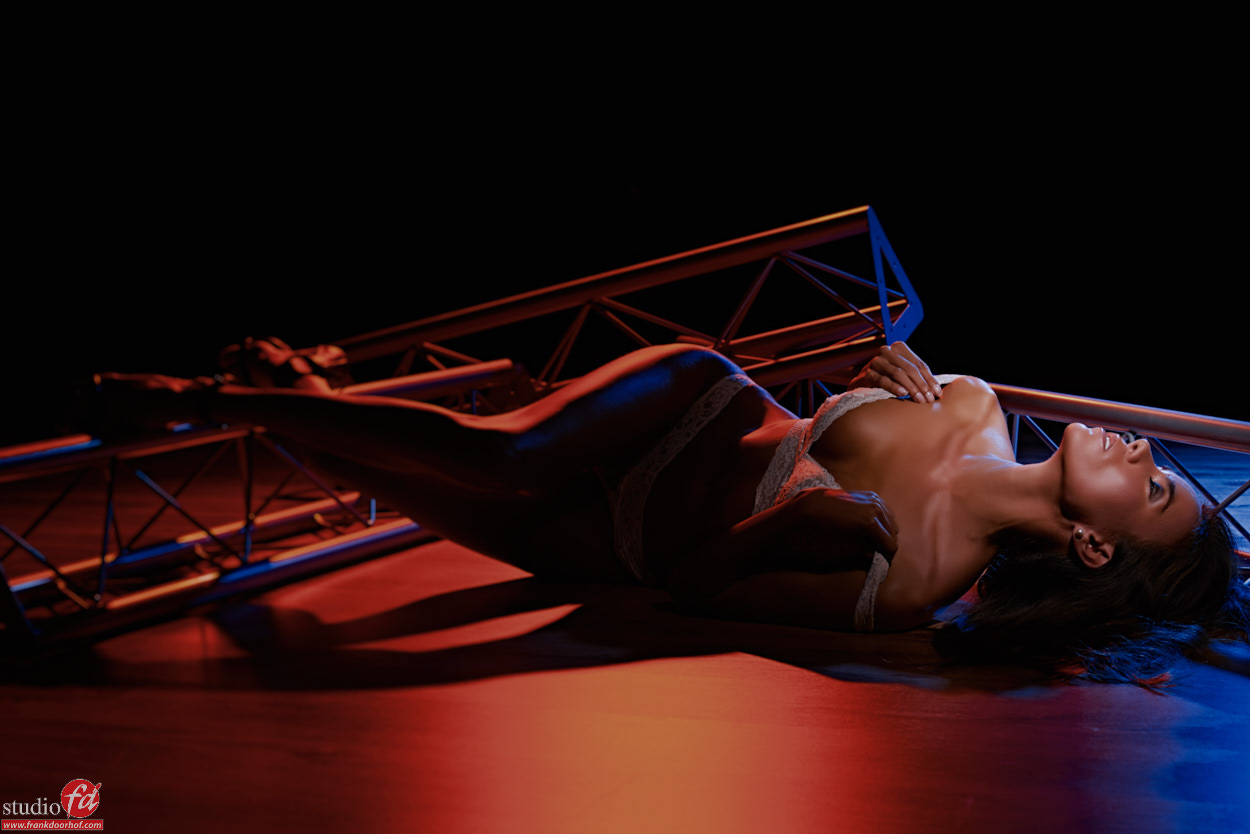
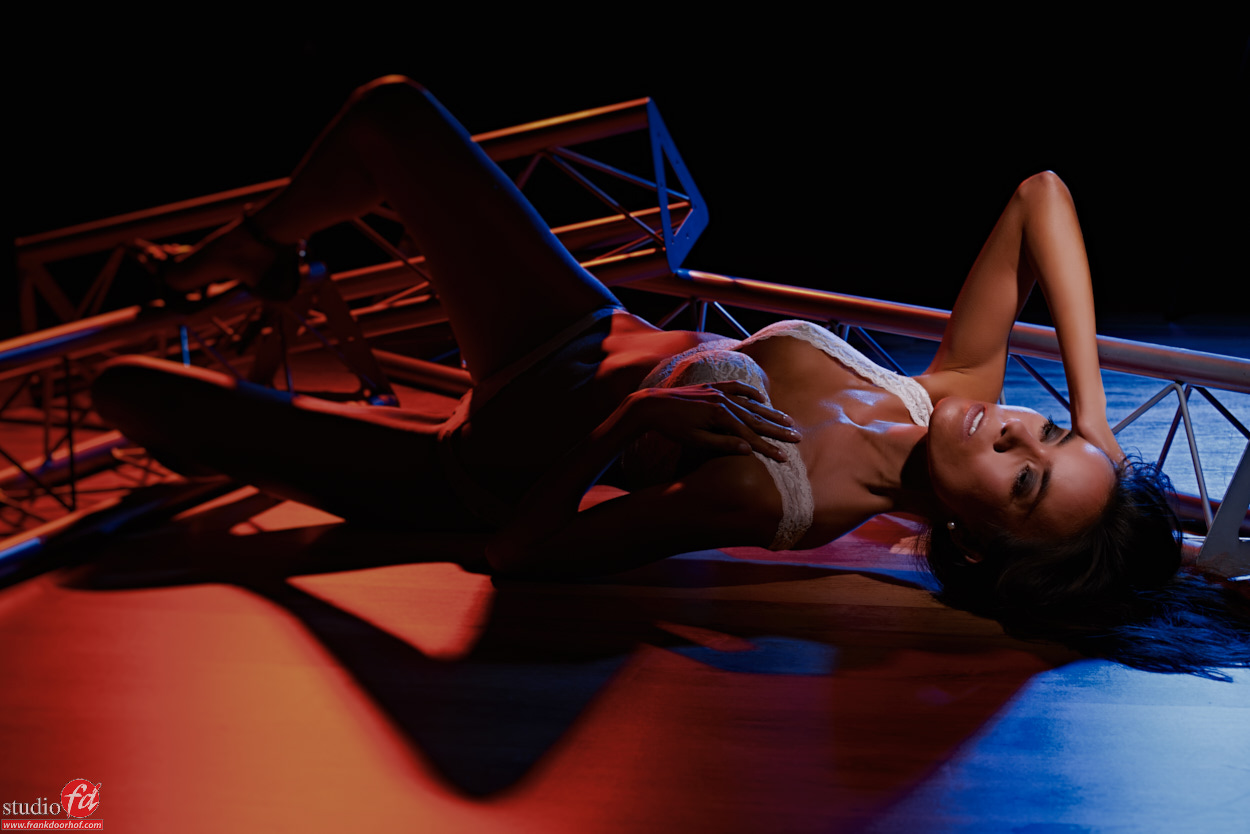
Also remember that there is a point where the ambient/available light can actually over power the strobe, especially outside when working with fill-in flash this can happen quite easily, that’s why I always advise to setup your strobes on full power first and lower the output by counting (if your system has 1/10th or 1/3rd digital settings and is reliable). If you change the shutter speed you have to remember that if you double or halve the shutter speed this is ONE full f-stop so if you know your aperture and the combination of ambient and flash you actually can very quickly calculate when the ambient is higher that the flash. If for example the setup is f11 on the model on 1/125 and you overpower the ambient with 2 stops, you know that when you shoot on f11 1/60 you are now overpowering the ambient with just 1 stop.
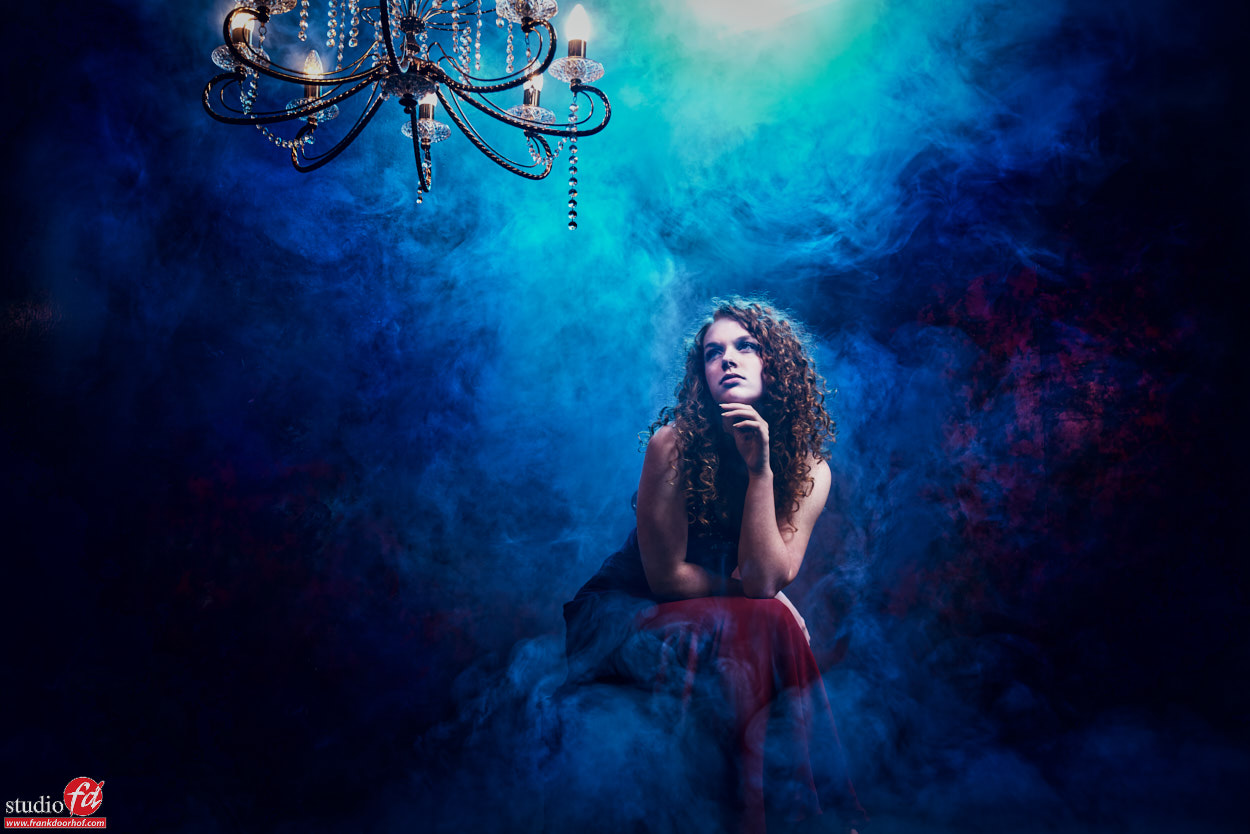
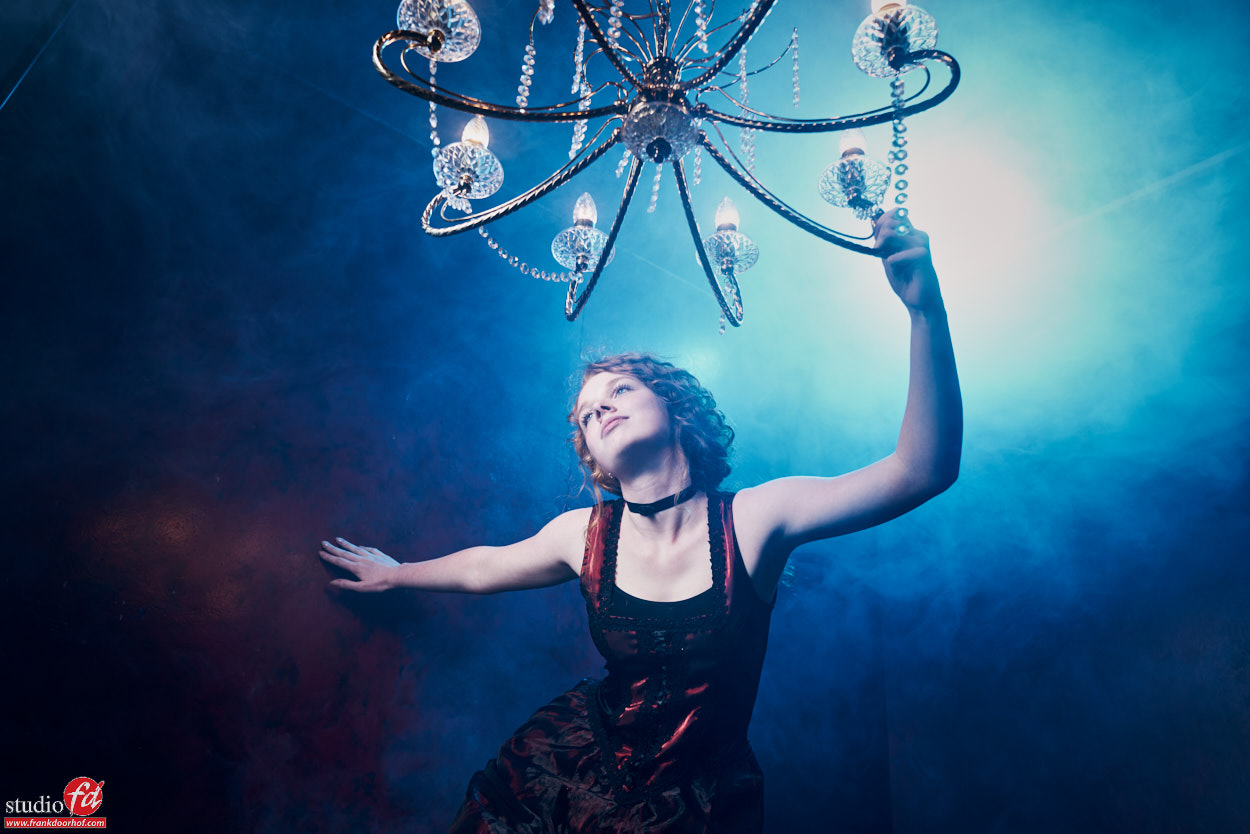
This comes in very handy when you start adding constant lighting to your scene like in these examples.
You can actually (to a certain level) control how much the lightbulbs emit, or how far they blow out.
I love using the Elinchrom ELCs for this because they can go down REALLY low in power, and that’s awesome for mixing them with this kind of light.
For this setup we used one strobe on the model and one blue gelled strobe on the back for the smoke effect. The chandelier was powered by 230V 😀
Mixing light sources can be incredibly fun but also a bit difficult at first. Also take into account that some light sources have a different color temperature (to be exact EVERY light source has a different color temperature, that’s why we use the X-Rite color checkers), you can solve this by gelling the strobes, or…. just leave it and play with it like I did in these shots, I love the cool hues you can get this way.
As a rule of thumb:
Outside light : no correction
Tungsten : Amber colored gels
Fluorescent : Green colored gels
Or find the proper CTO gels, you can of course also stack gels, I always advise to by them not to heavy and get two, this way you can stack them together if necessary.
Model : Danique
Dresses (black) by Sinister