Working with strobes on location and how to kill the ambient light part II
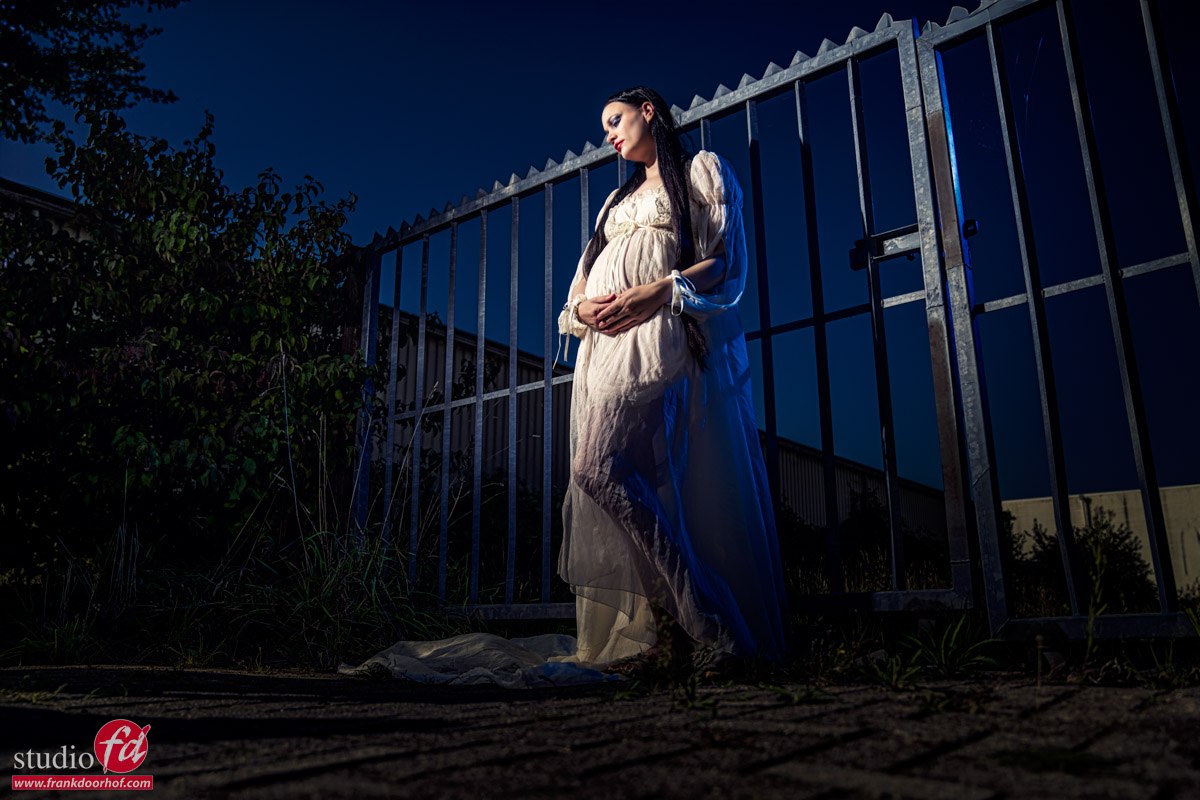
Day2Night photography can give you great results
One of the techniques I love to use on location is Day2Night.
With Day2Night we mimic a night or evening scene during day time.
As you can imagine you need some powerful lights to achieve this, or some cool tricks.
In the previous blogpost you saw me using HSS, and I got some questions about HSS and other techniques that I will try to answer in this blogpost.
X-Sync
When we look at a how a camera works the X-sync is easy to understand.
Let’s take a look at the older cameras and for the newer cameras just forget the mirror part.
When we take the photo, the mirror locks up and the first shuttercurtain opens, at one point followed by the second curtain closing the film/sensor again for light.
The faster you set the shutter the faster the second shuttercurtain will follow the first.
Now you have to understand that when you use a strobe/flash all its power is emitted at once, so it’s just a pulse. And that pulse is REALLY fast, they can for example easily be between 1/2000-1/50.000. As a rule of thumb, the more advanced the strobes the faster the flashduration.
Now that we know that the strobe is just a pulse it’s also easy to understand that the X-sync is the maximum shutterspeed in which the whole sensor is open for the light hitting it. Anything faster and the second shuttercurtain will follow. And we probably all saw that problem at least a few times, the black bar on top of your image where you probably wondered where it came from, but it disappeared when you lowered your shutterspeed. That’s the X-sync.
The X-sync will vary a bit per camera, but as a rule of thumb we can say that with normal strobes you can shoot up to 1/125 on 99% of the systems, sometimes with speed lights you can get up to 1/250 but that’s about it. This means that we often end up with smaller apertures and a less shallow depth of field than you might want, so what to use when you want that nice shallow depth of field?
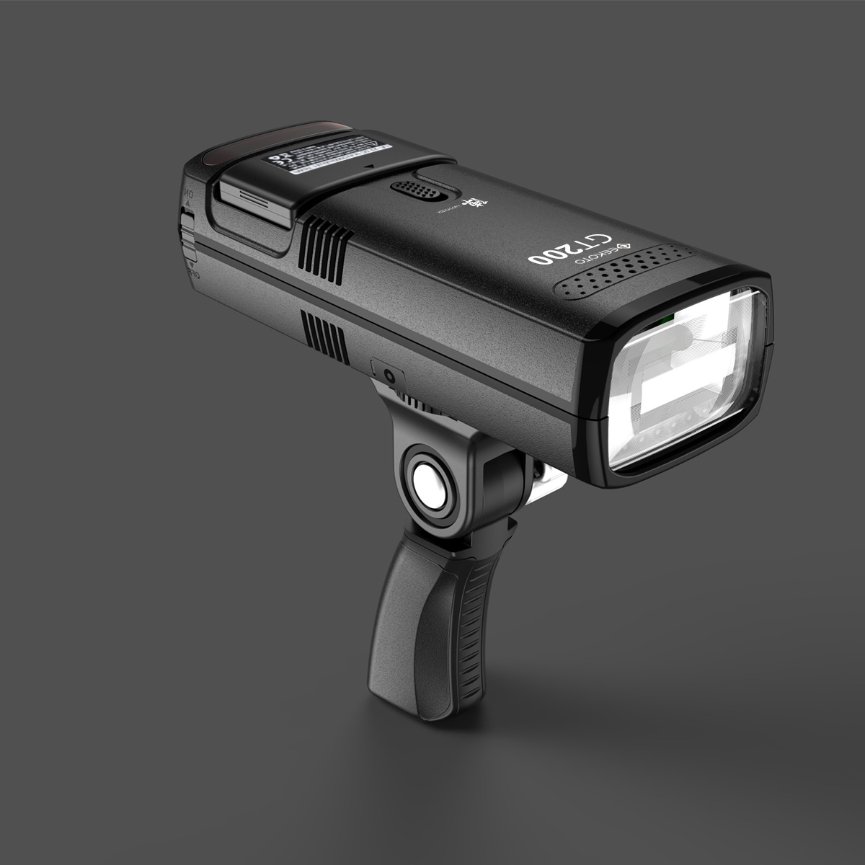
Geekoto GT200 Portable Off-Camera Flash
HSS
With High Speed Sync we can overcome the X-sync problem by using the strobe not as one pulse but by using the stroboscopic effect and this way the strobe acts almost like a super powerful continuous lightsource. The disadvantages are of course that you will burn through your batteries faster and the strobes are more prone to overheating, so my advise when using HSS is to take it a little bit easier and let the strobes cool down between series and shoot slightly slower.
Also when shooting HSS remember that the power-output is a lot lower than on manual.
But thanks to HSS it is possible to shoot on a very high shutterspeed and wide open aperture to create great images with a shallow depth of field, something that was not possible without HSS.
For outside sessions I’m mostly using the Geekoto GT200 and GT250. Both support HSS and have more than enough power to use even during bright sunlight.
There are also some other options at the moment like the Sony Global shutter sensors which makes it possible to shoot up to insane shutterspeeds with strobes. There are some limitations you need to know, but this is one of the biggest steps forward for flash photography in decades.
Manual mode
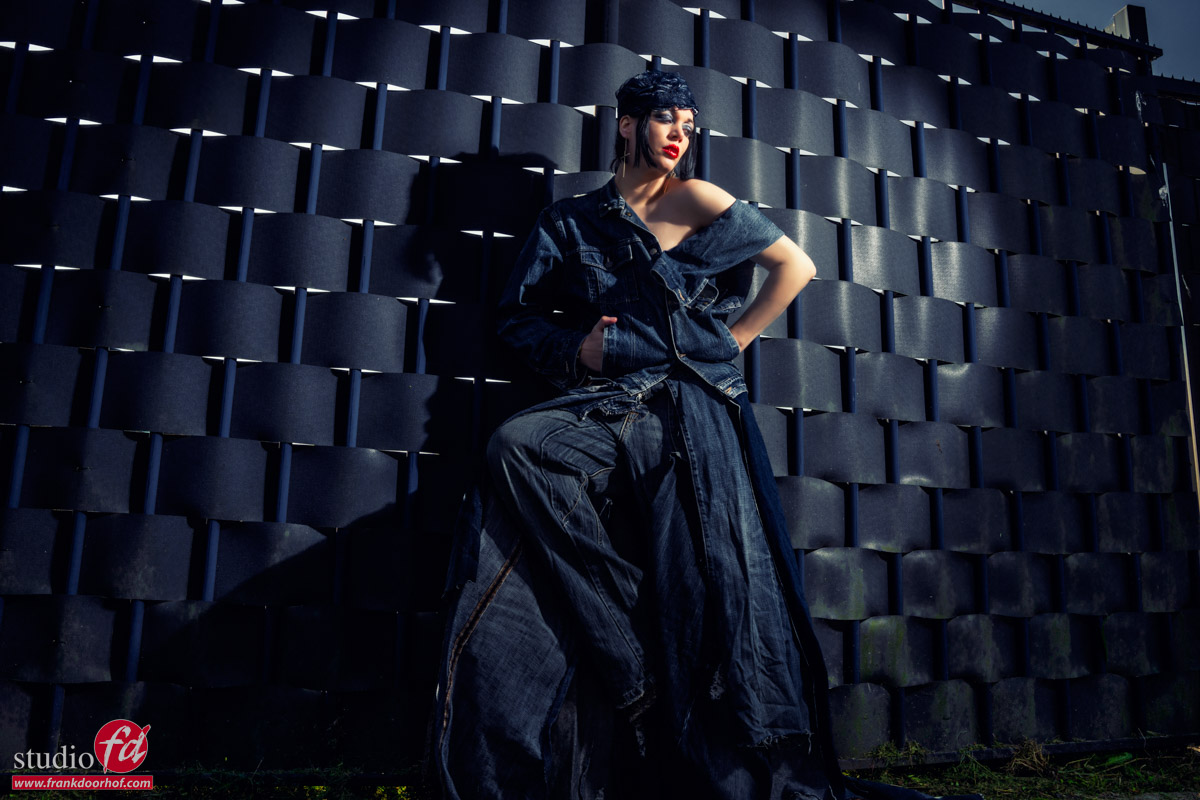
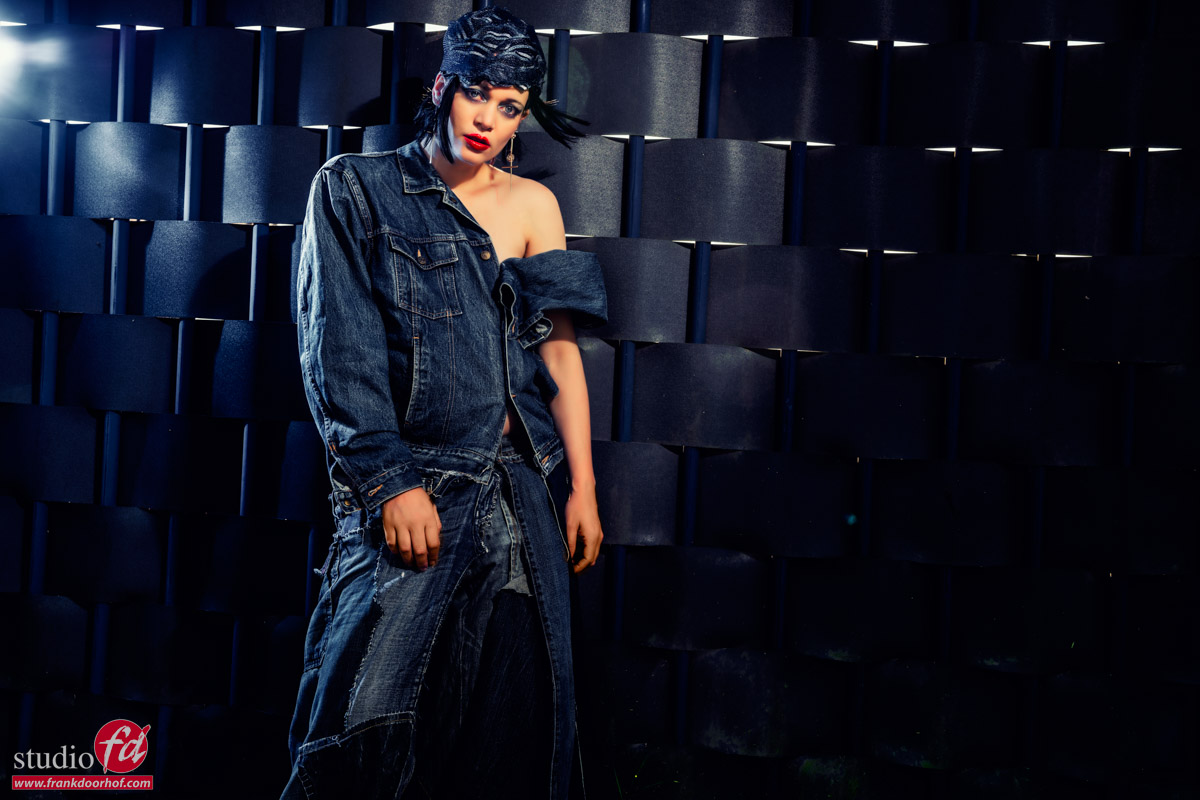
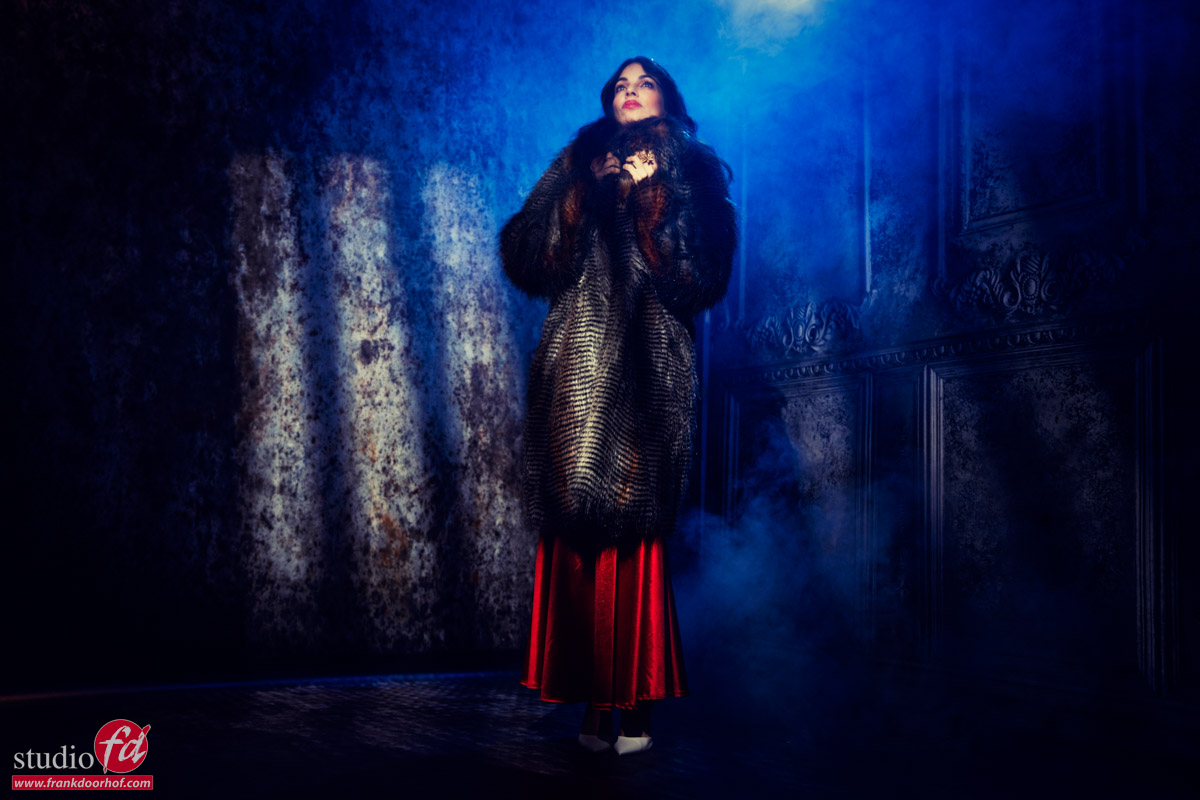
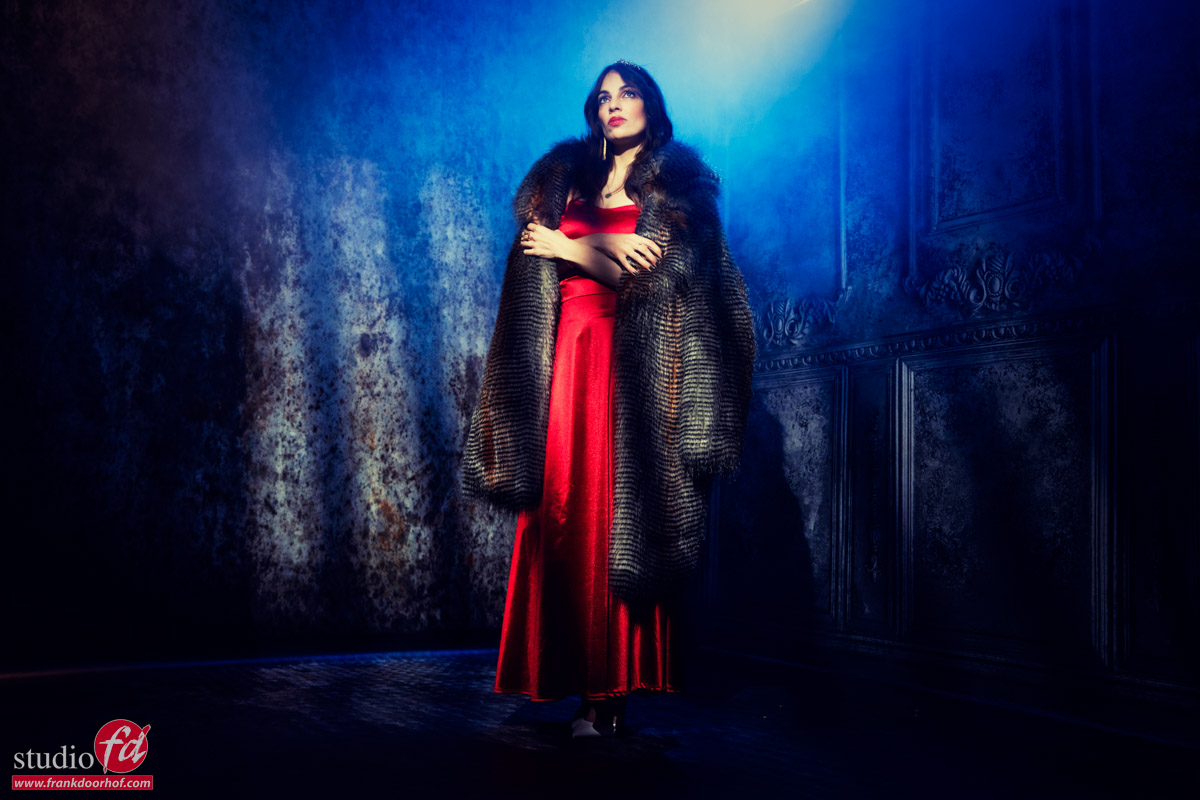
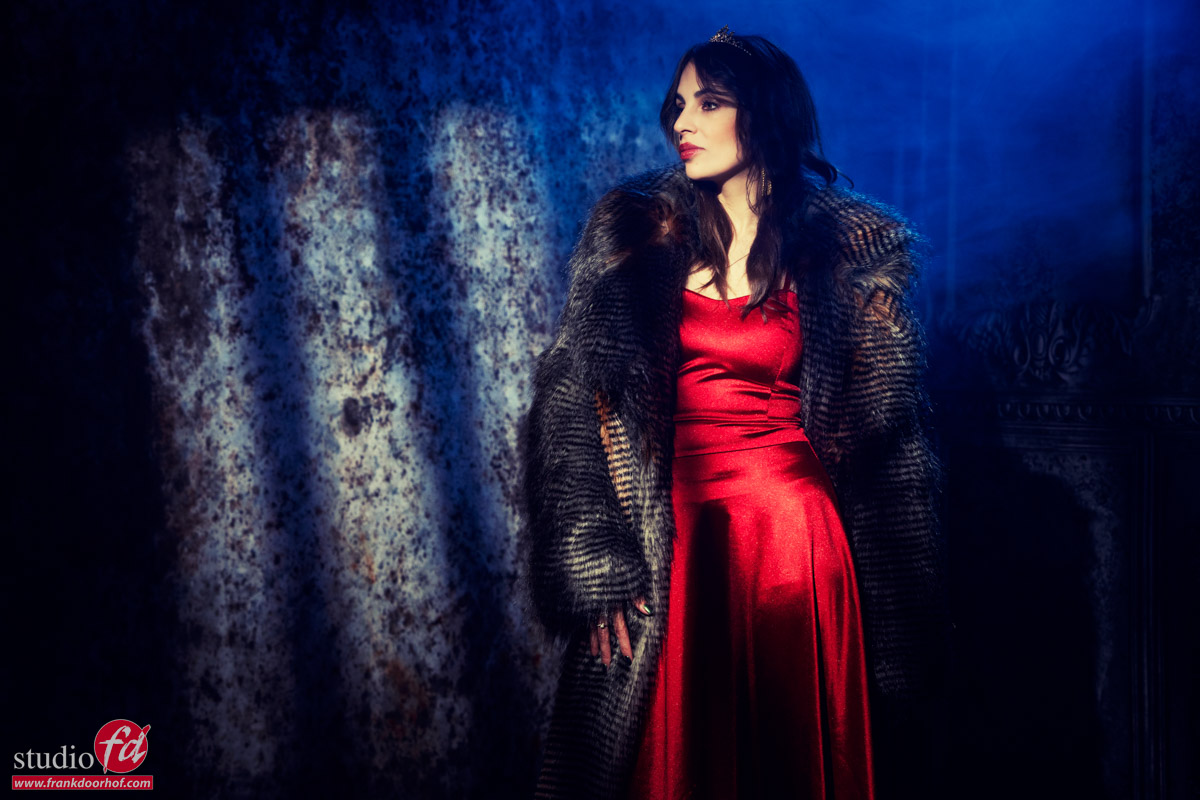
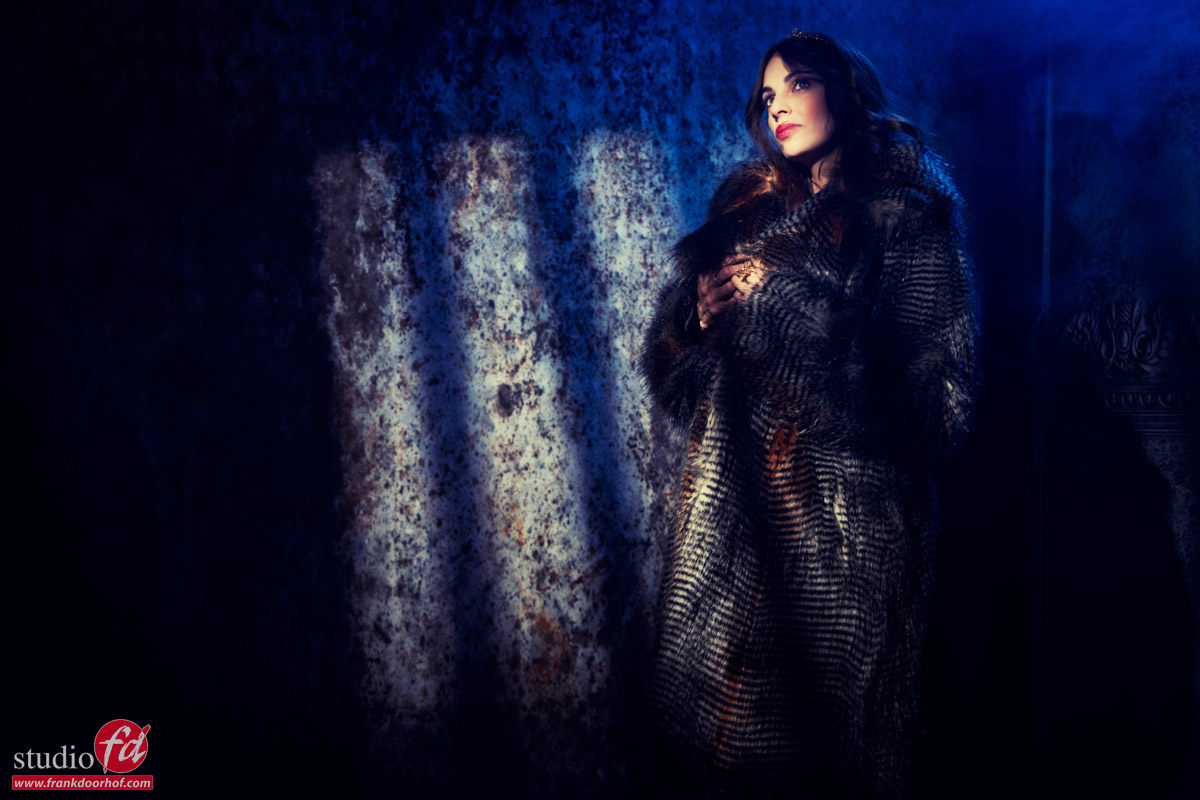
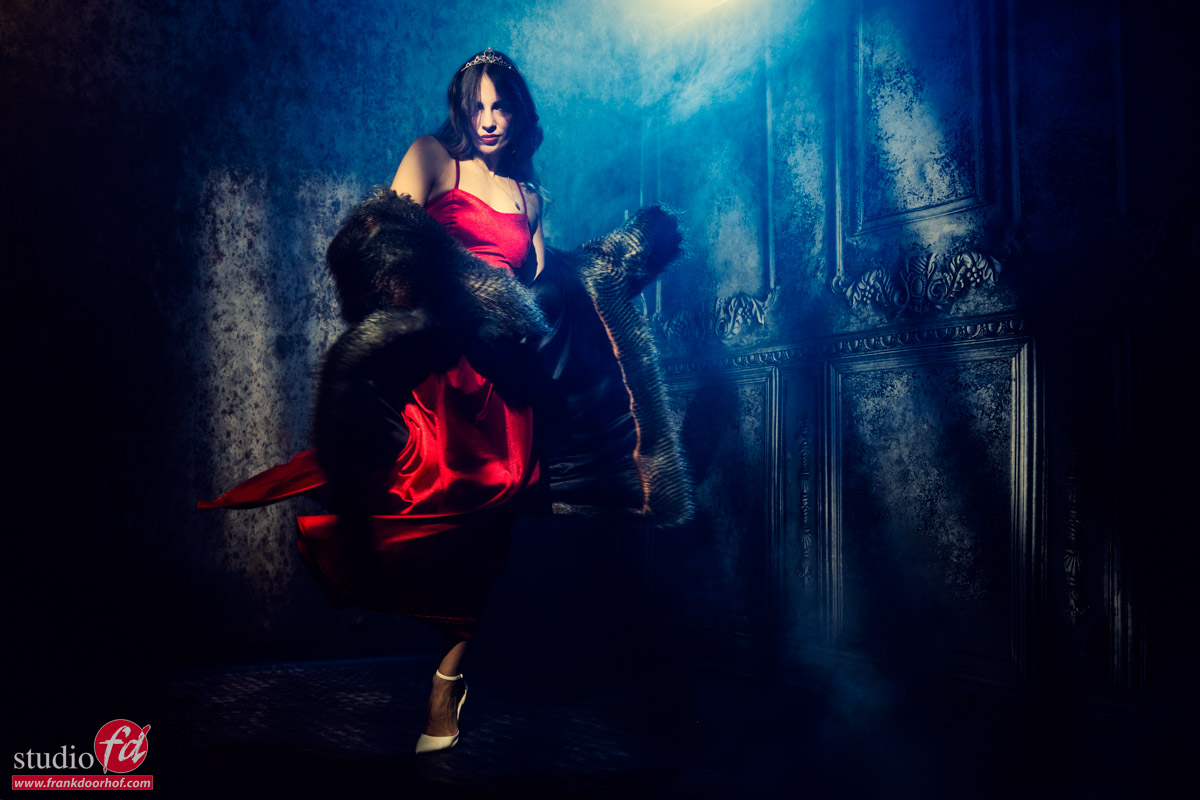
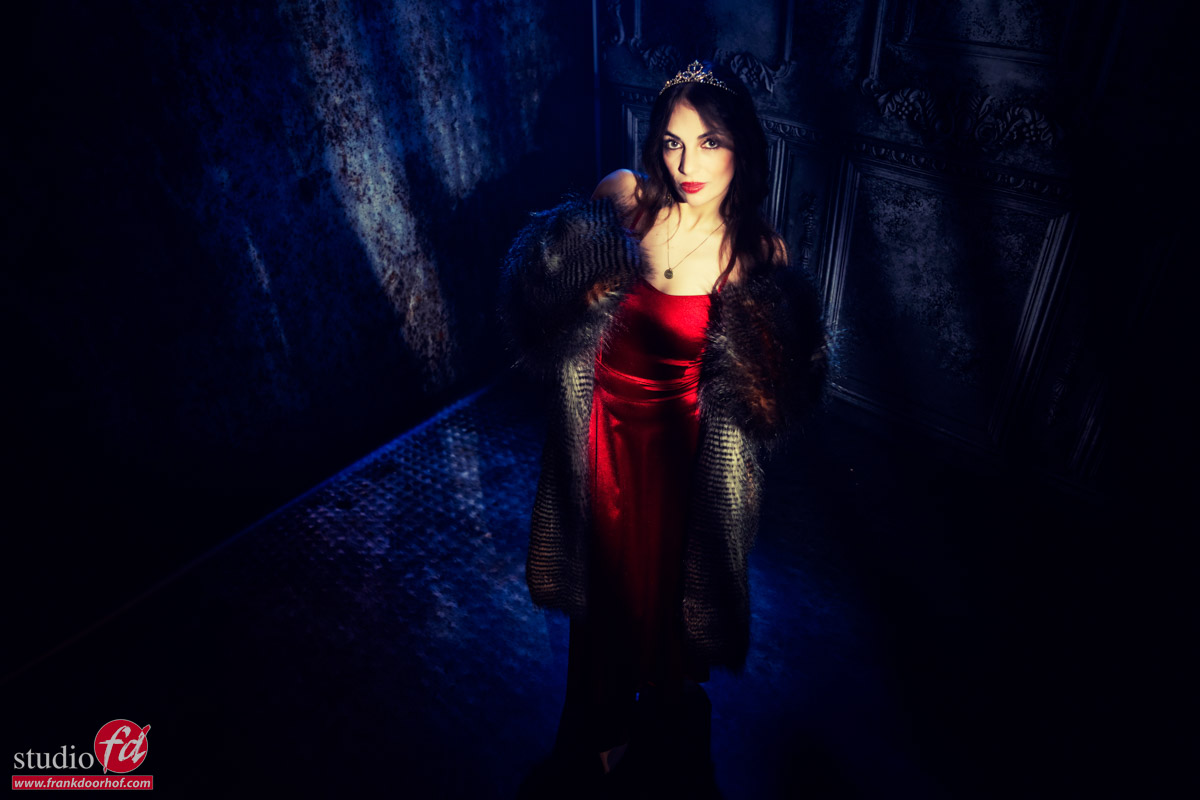
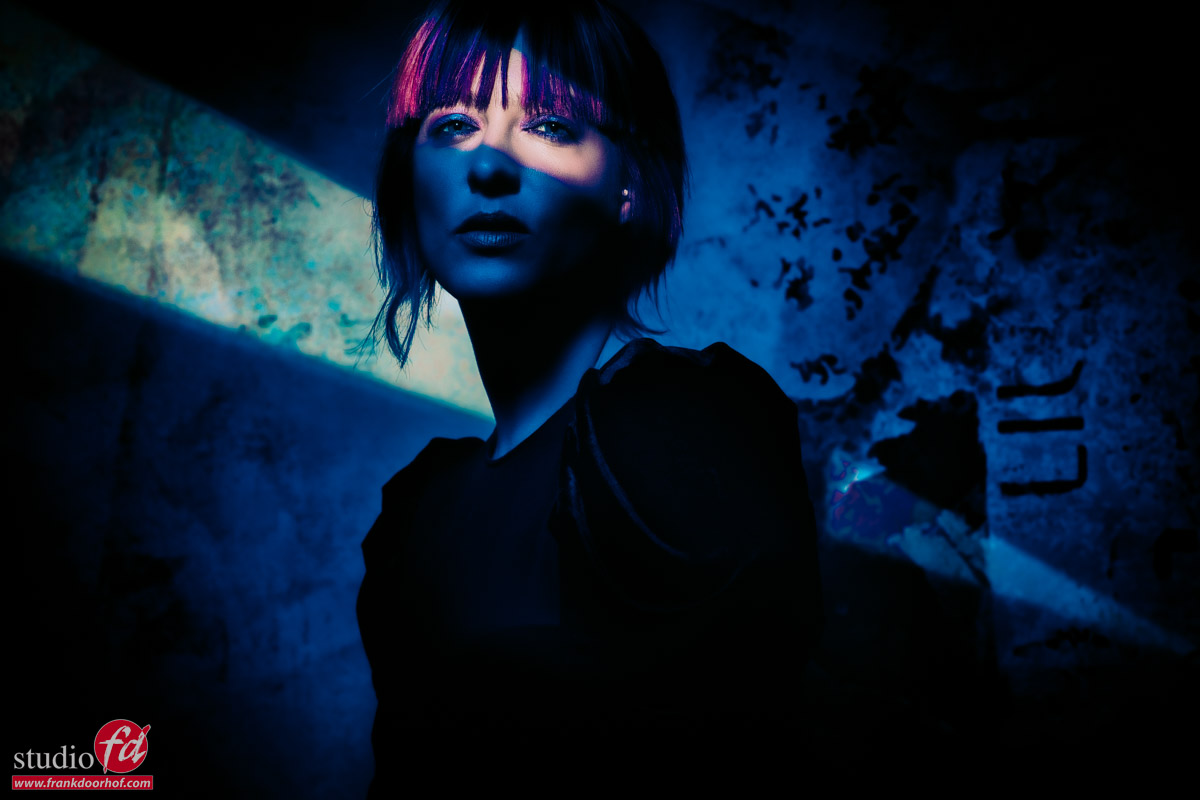
Todays images are part of the workshop “on location in Emmeloord” we did with our Model Nadine.
In this workshop we look for uninteresting locations and the challenge is to make it interesting with the use of strobes.
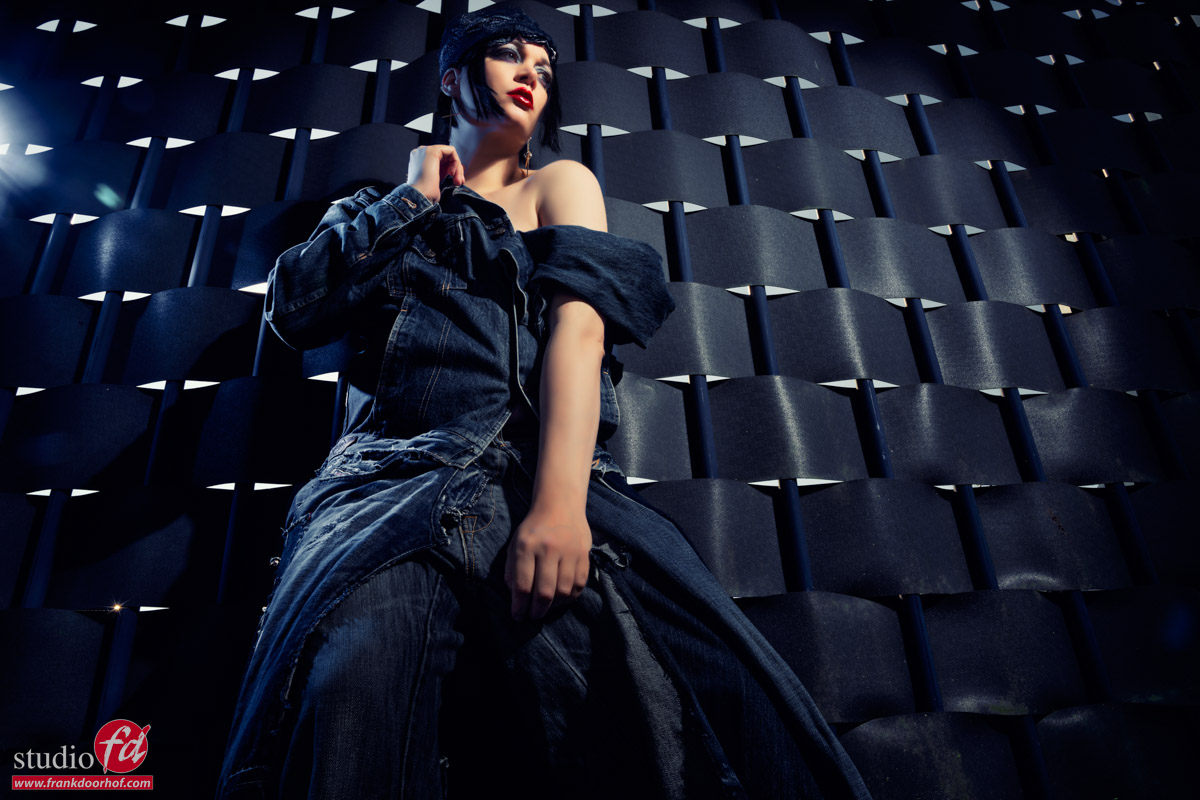
This wall is next to our studio and we loved the combination of Nadine’s outfit and the color of the Fence.
In the video I explain the lighting setups and how to incorporate a gel and the sun in the final shots.
And of course here are the images from the video.
As explained in the video these were shot on manual mode.
The reason we use manual mode during the workshops is because HSS is camera dependent, if you use your strobes yourself that’s no problem but during workshops we have attendees with different camera brands, so we have opted for a so called universal system that will just trigger the strobes on manual mode. Because I use my strobes on Manual mode in 99% of the cases this is not a real problem, the only limitation is of course the X-Sync. But as you can see we have plenty of power in the Geekoto’s 😀
Also want to visit a workshop?
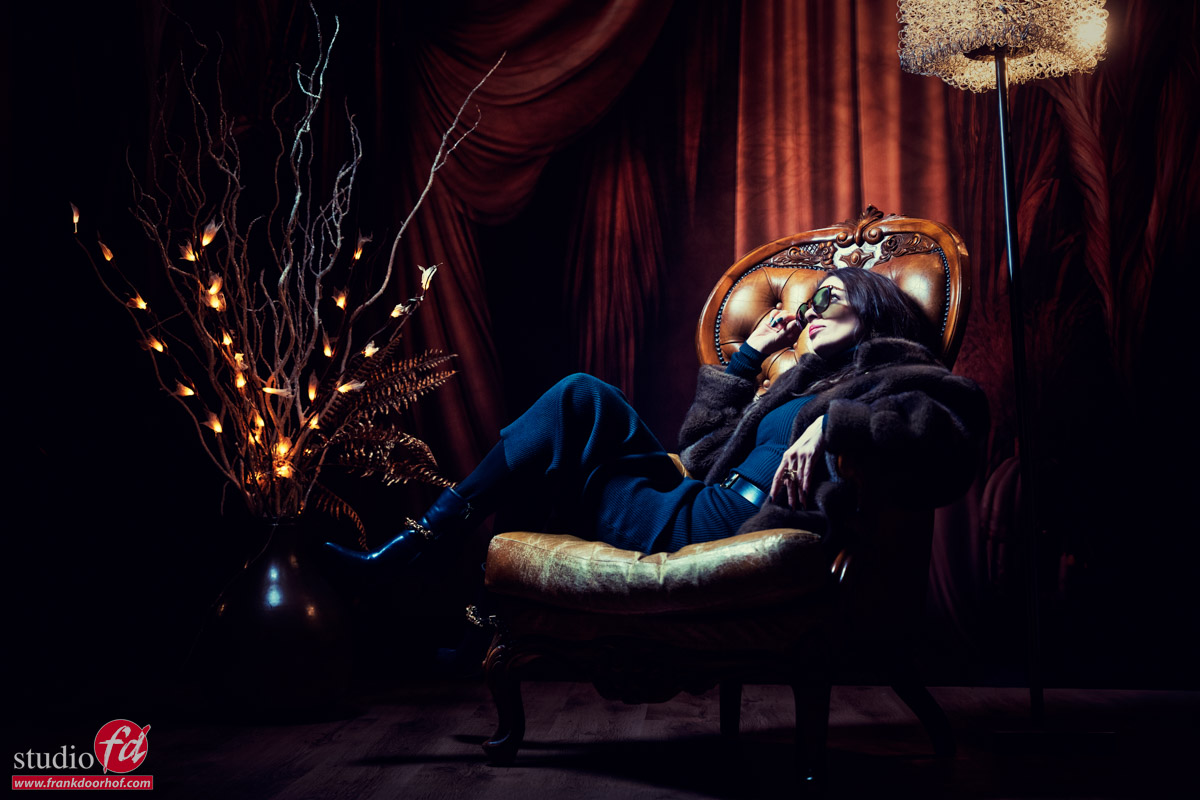
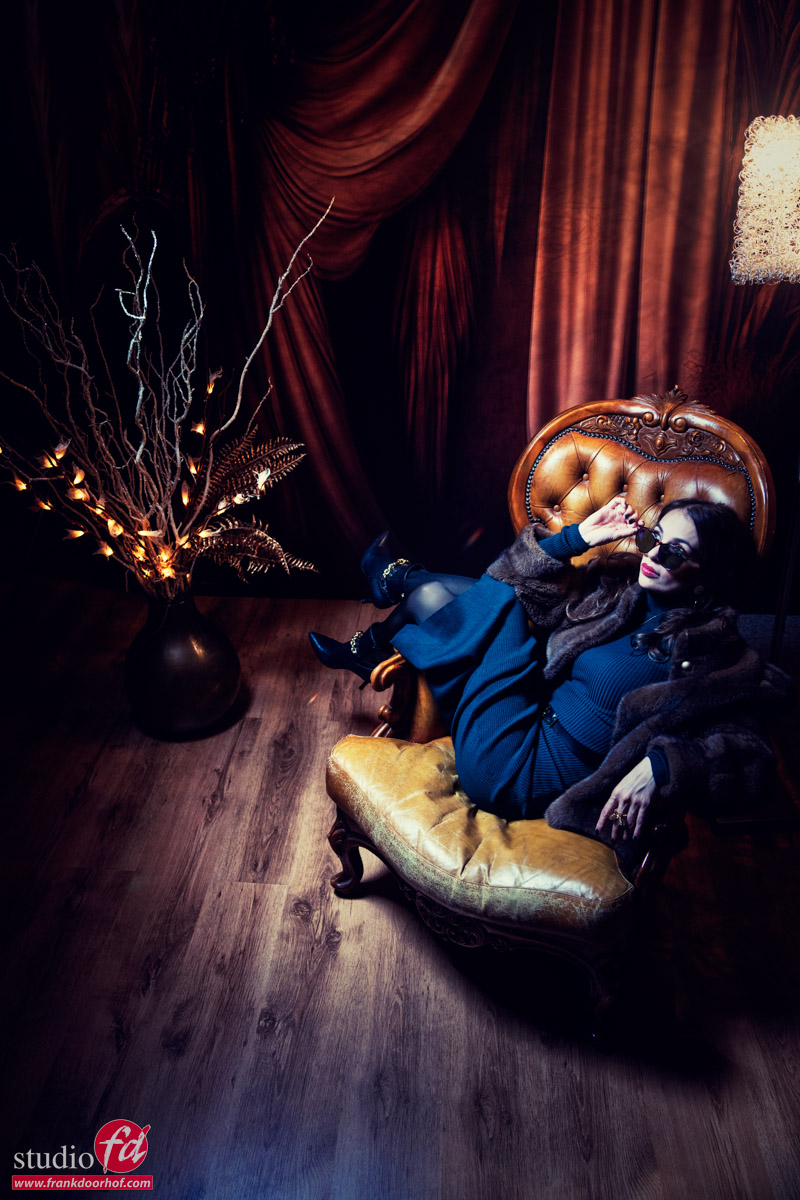
Today I showed you the results and of the sets we did during the workshop outside with Geekoto strobes “on location in Emmeloord” with Nadine.
During the workshops I always try to use 3-4 different setups explaining different techniques and of course it’s a great way to get a good addition to your portfolio.
If you think “that’s for me”
Than visit photography-workshops.eu for the Dutch workshops.
But if you are not living in the Netherlands or don’t speak Dutch we also have other options.
If you let is know 2 weeks in advance I can teach the workshop you want to visit in English.
Or if you can’t travel to our studio we also now offer the option to get a full 1:1 experience with 5 different camera angles, lightroom/Photoshop view and a talkback channel, you also get all the raw files and retouched results from the workshop. Visit our online workshops page for more info.


You must be logged in to post a comment.