Loads of jeans
A workshop with Nadine is like a box of chocolates….
You never know what you’re going to get.
And this time Nadine decided it was time for jeans, loads of jeans!
And of course that doesn’t mean normal jeans….. nope, it needs to be extreme.
For me, the challenge is always to find something that will fit the clothing and, of course, get some cool portfolio shots.
In the new workshops, we work a lot more with special effects like smoke and gels.
Of course, you can do funky stuff with AI. But being able to do it in camera/on set is so much cooler and also much more educational. Plus, when you understand how/why it works, you can actually create it much better in AI….. mmm sounds a bit double.
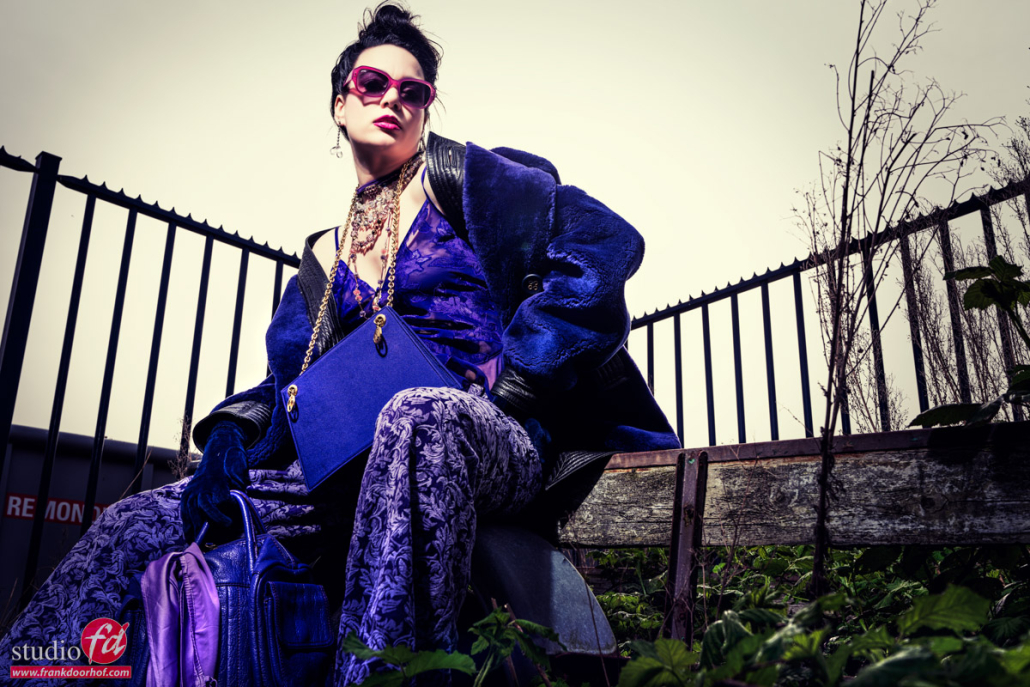
Anyway, let’s take a look at the first shot.
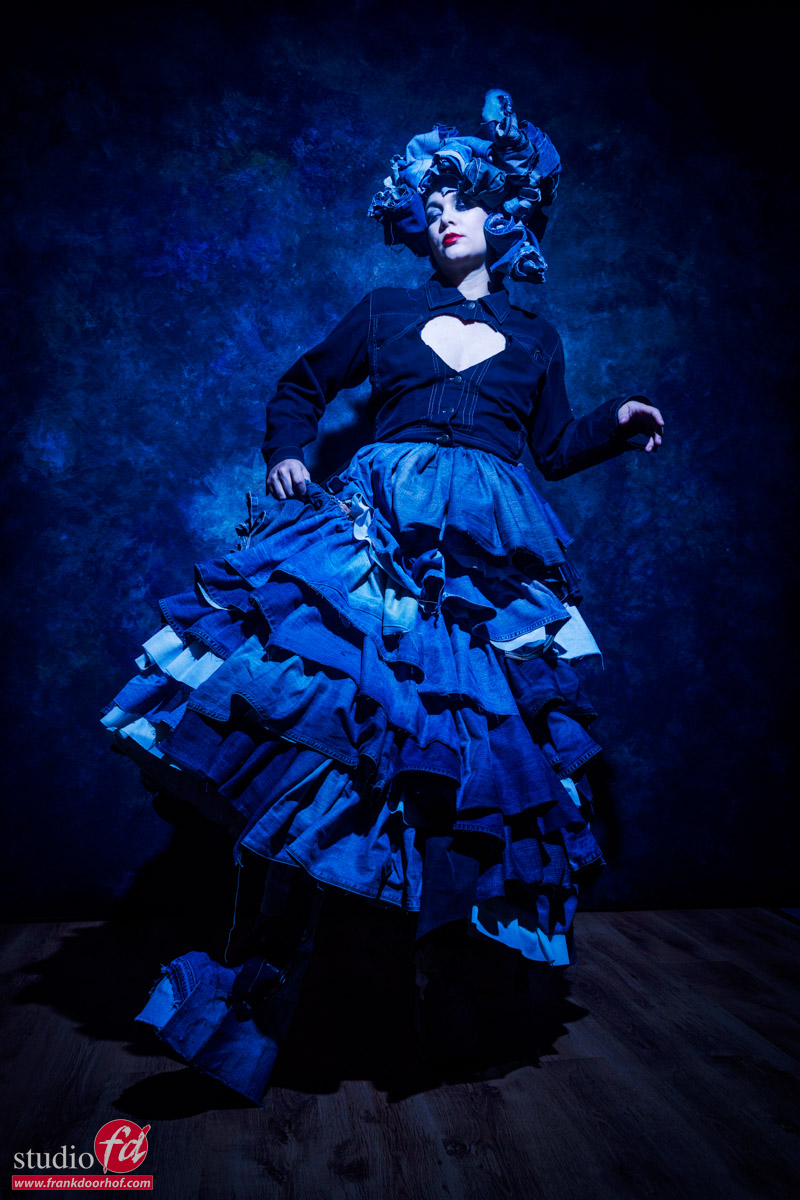
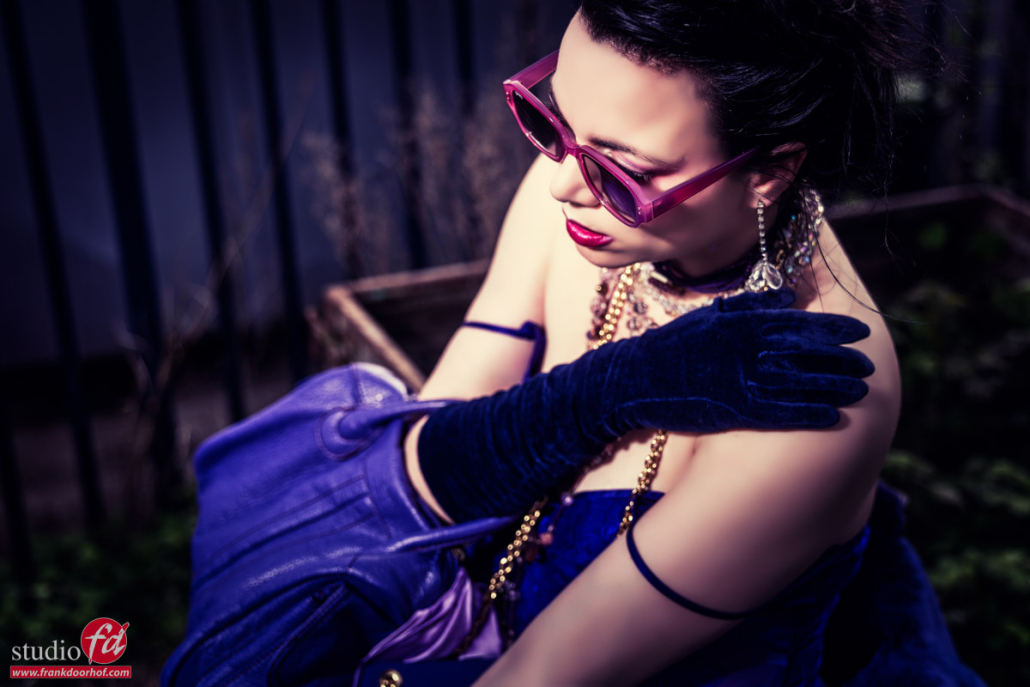
A skirt made of jeans, and a headpiece made of jeans. Look carefully, and you’ll see the boots are also made from (glued on) jeans
Because this workshop was themed (loads of) jeans, we decided to use blue light on our model.
You can add a second strobe without a gel and balance this with the blue light. I would personally use a very focused light source, like a snoot, or for example, the Quicky that will really make sure you only light your model and don’t destroy the color saturation. (Remember, Luminance is a part of your color, and when you lower the luminance, the colors look more intense, so focused light keeps spill light away from the colors, keeping them nicely saturated)
But when we start with just blue, you probably already know more is coming.
So let’s add some smoke and, a red, and green gel.
Due to the darker blue, the contrast between the green and red really works well in this set.
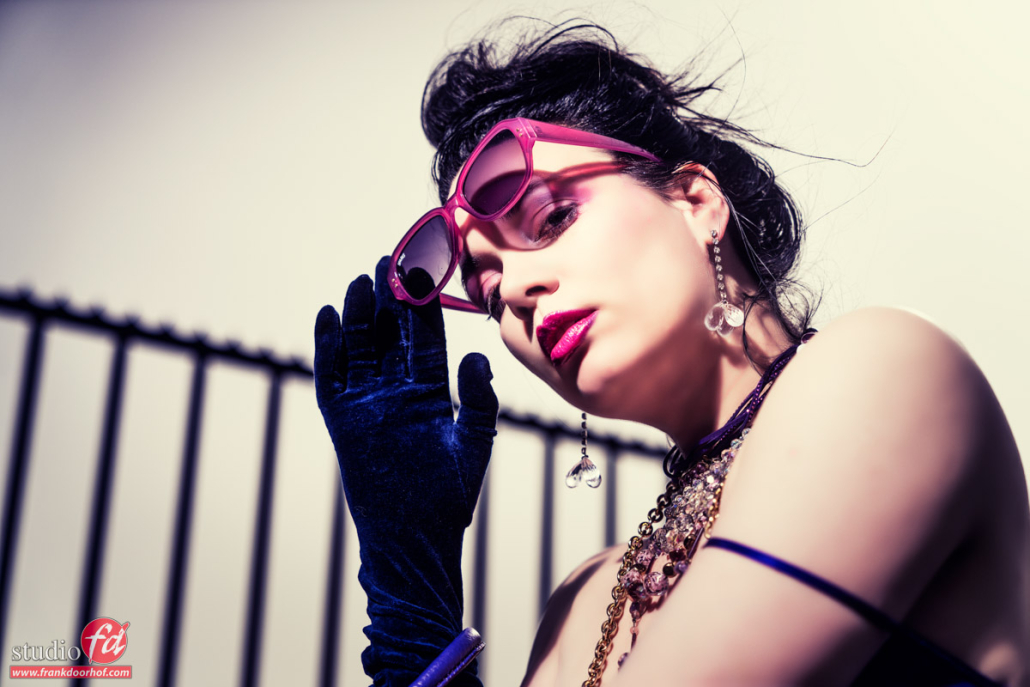
I did change the light on Nadine’s face to pure white.
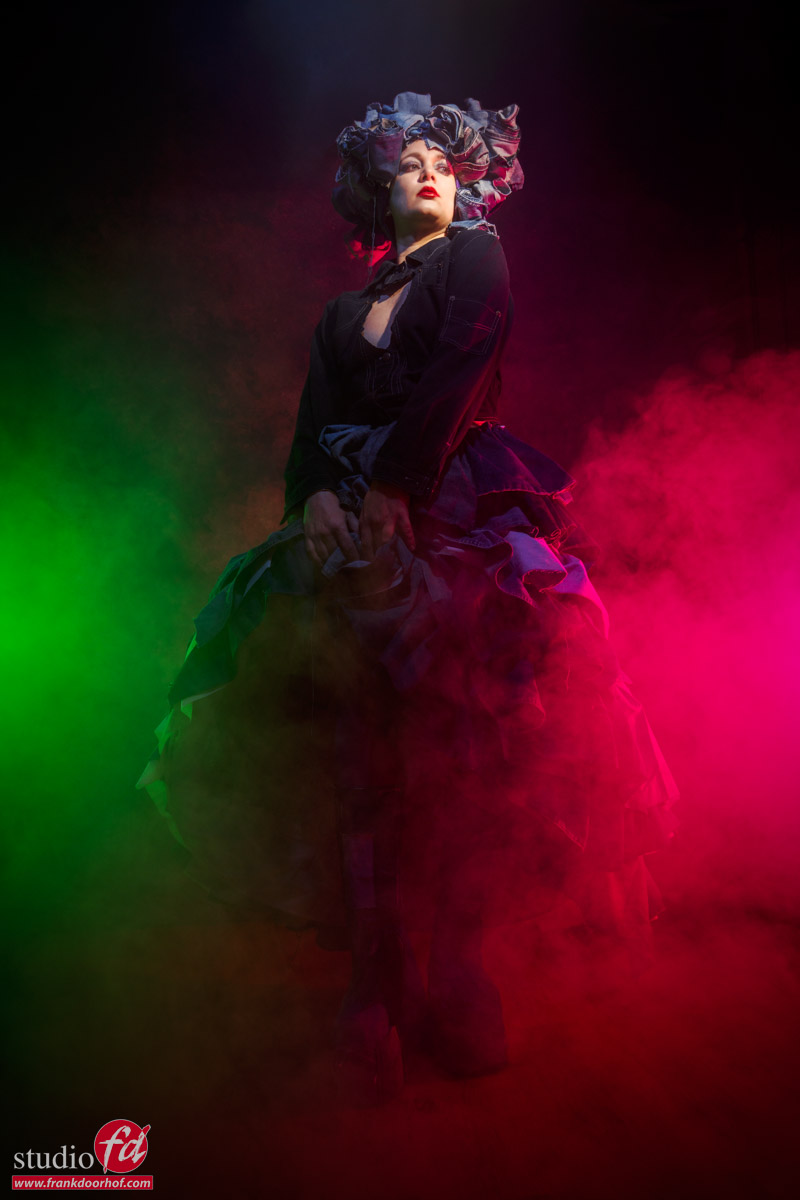
The smoke really glues everything together. But for me personally, shooting these kinds of images in the portrait mode always feels a bit constrained.
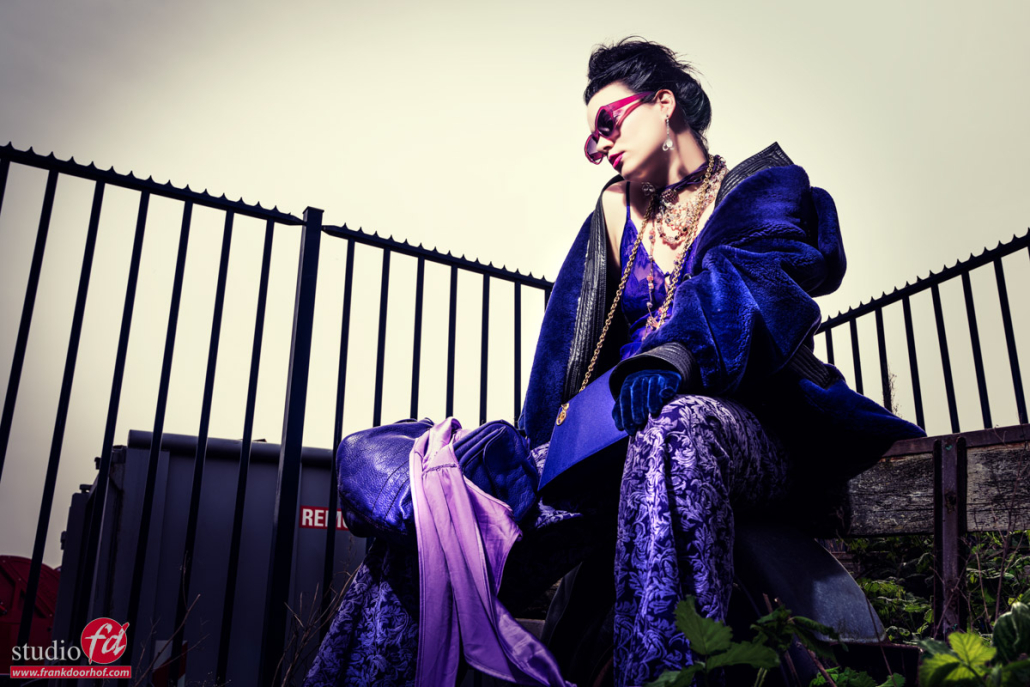
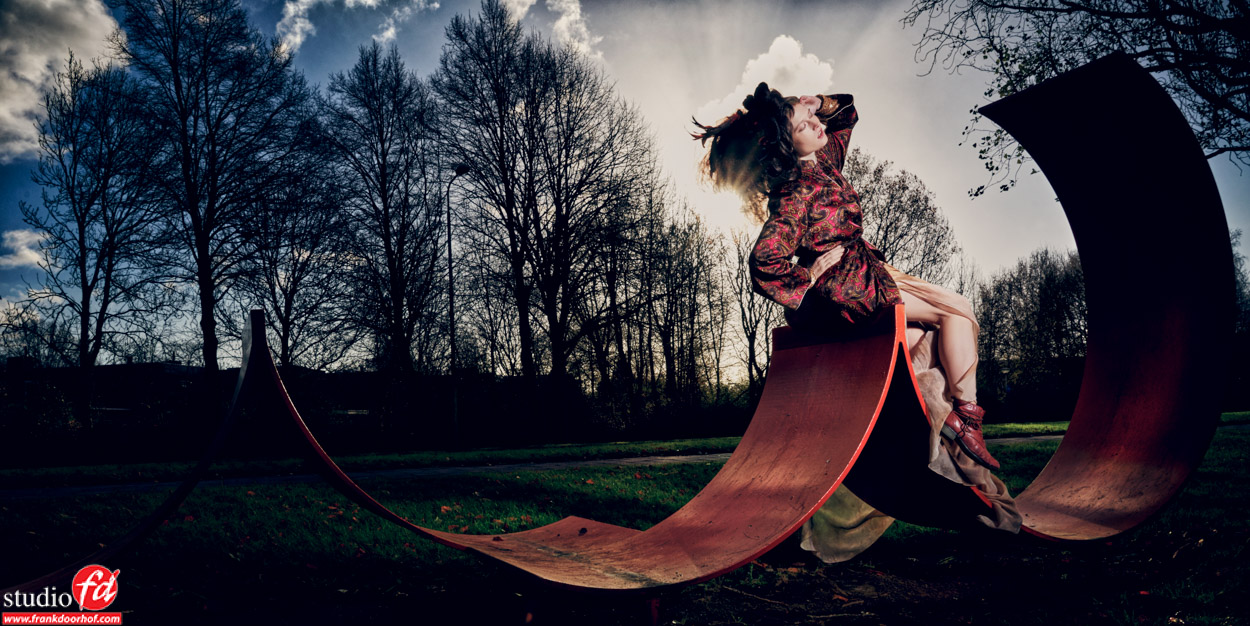
So let’s try the same in landscape mode.

For me, this works a lot better and gives me also more room to work with the smoke and composition.
Of course, this is always a very personal opinion. So, when you’re shooting for yourself, always experiment with what you like. And remember that sometimes on the set you can be convinced that portrait mode worked. But when sitting down after dinner, it might be that you prefer the landscape versions.
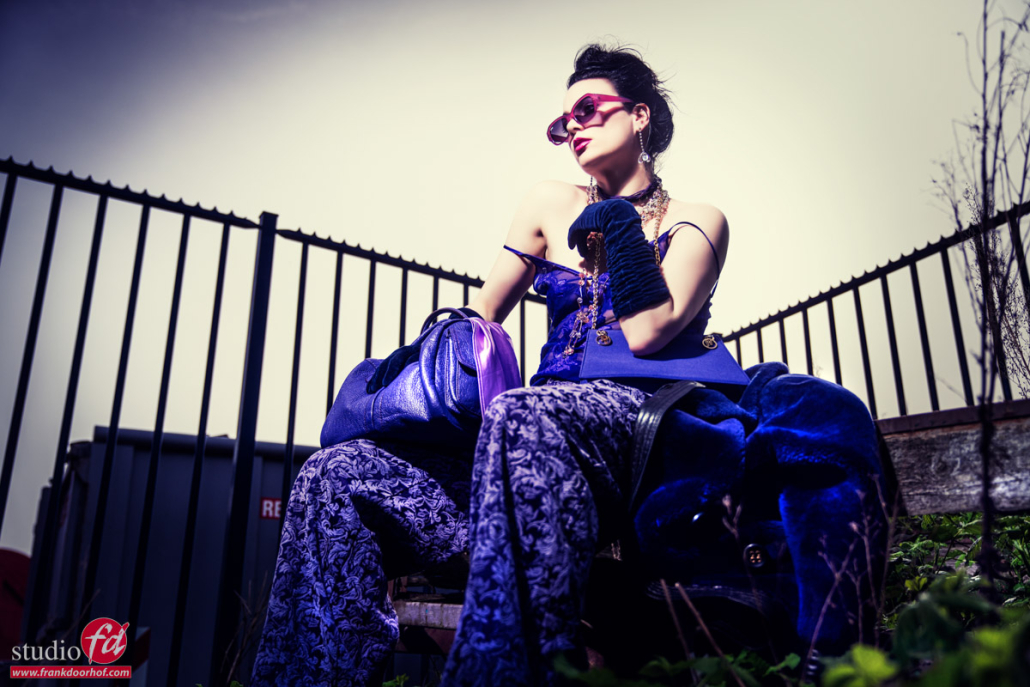
When working for a client, my experience is that if my client demands portrait mode, I will shoot 70% in portrait mode and 30% in landscape. Sometimes I will get a remark they don’t need that, but…. in more than one case, I get a call a few weeks later if “by accident” I still have some of those images because they want to change the advert or use it for something else. You might think “I just crop,” but in most cases, you won’t have that option composition-wise or you simply need more resolution.
So always experiment with both orientations.
And of course add smoke and gels 😀
Read my other blog about Prince, a look-alike photoshoot
Check out the video of this setup
Workshops
Want to learn everything about light control?
Want to visit a workshop where it’s not just shooting a model with a fixed lighting setup, but see how the setup is build and adjusted to the taste of the group?
And of course learn how to work with poses, backgrounds, small sets, styling, retouching and a lot more…..
If this all sounds awesome, visit fotografie-workshops.nl and book your workshop.
If you don’t speak Dutch, no problem, let us know a few weeks in advance and we can switch the workshop to English.
Not possible to travel to The Netherlands?
We got you covered with our 1:1 online workshop.
We have a full streaming setup in our studio. 4 detail cameras and of course the retouching software so you can see every detail and of course ask questions during the day. Plus you get all the RAW files after the workshop.