Tag Archive for: cheap

So much fun with cheap materials and lights

It doesn’t have to be expensive

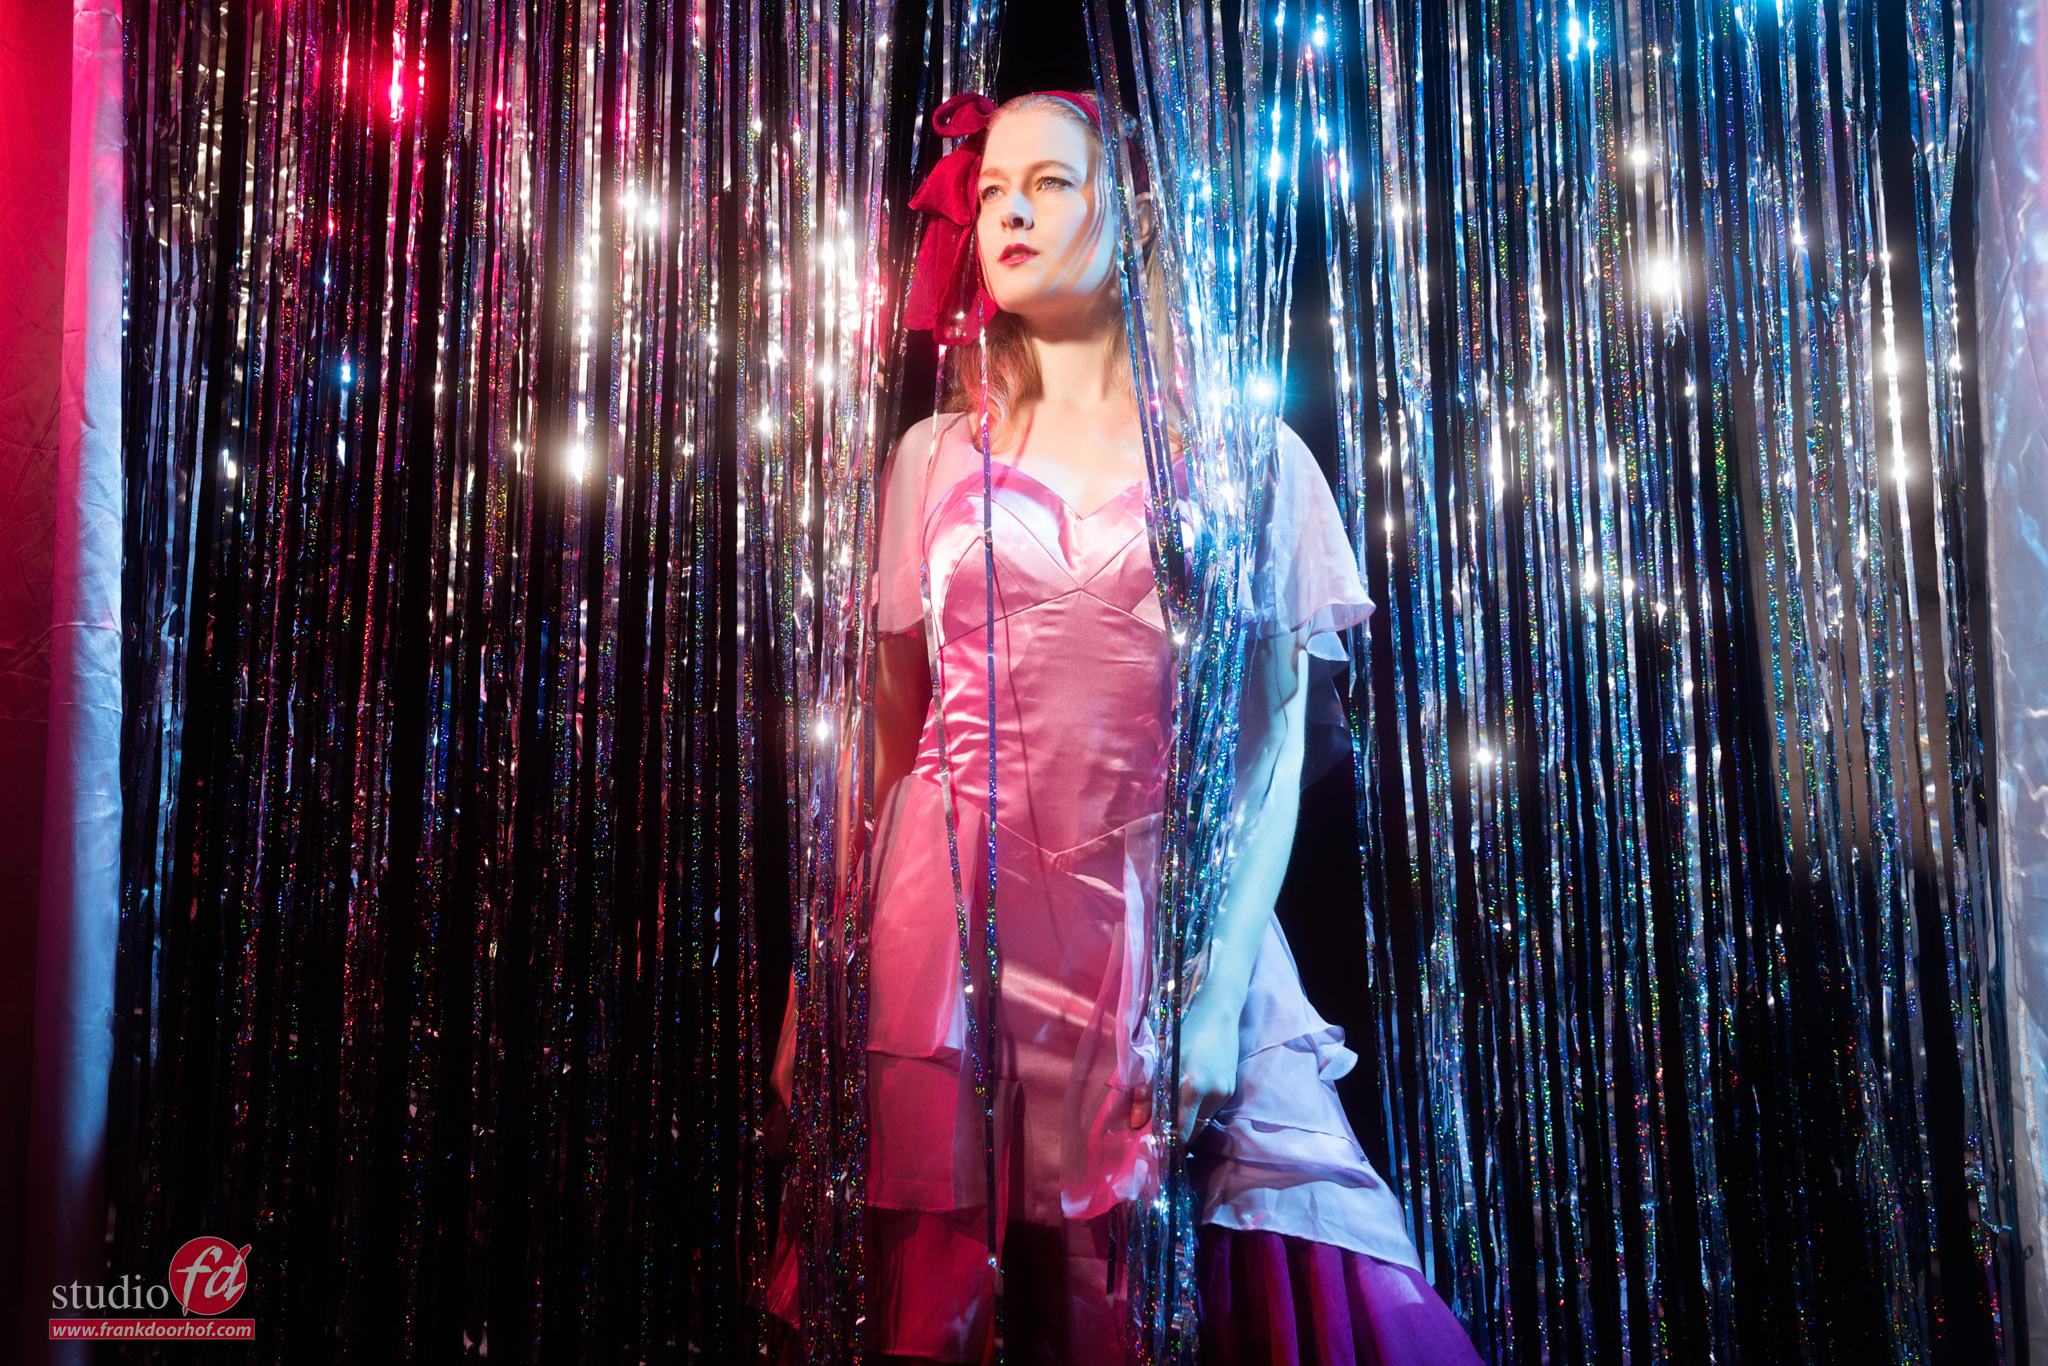
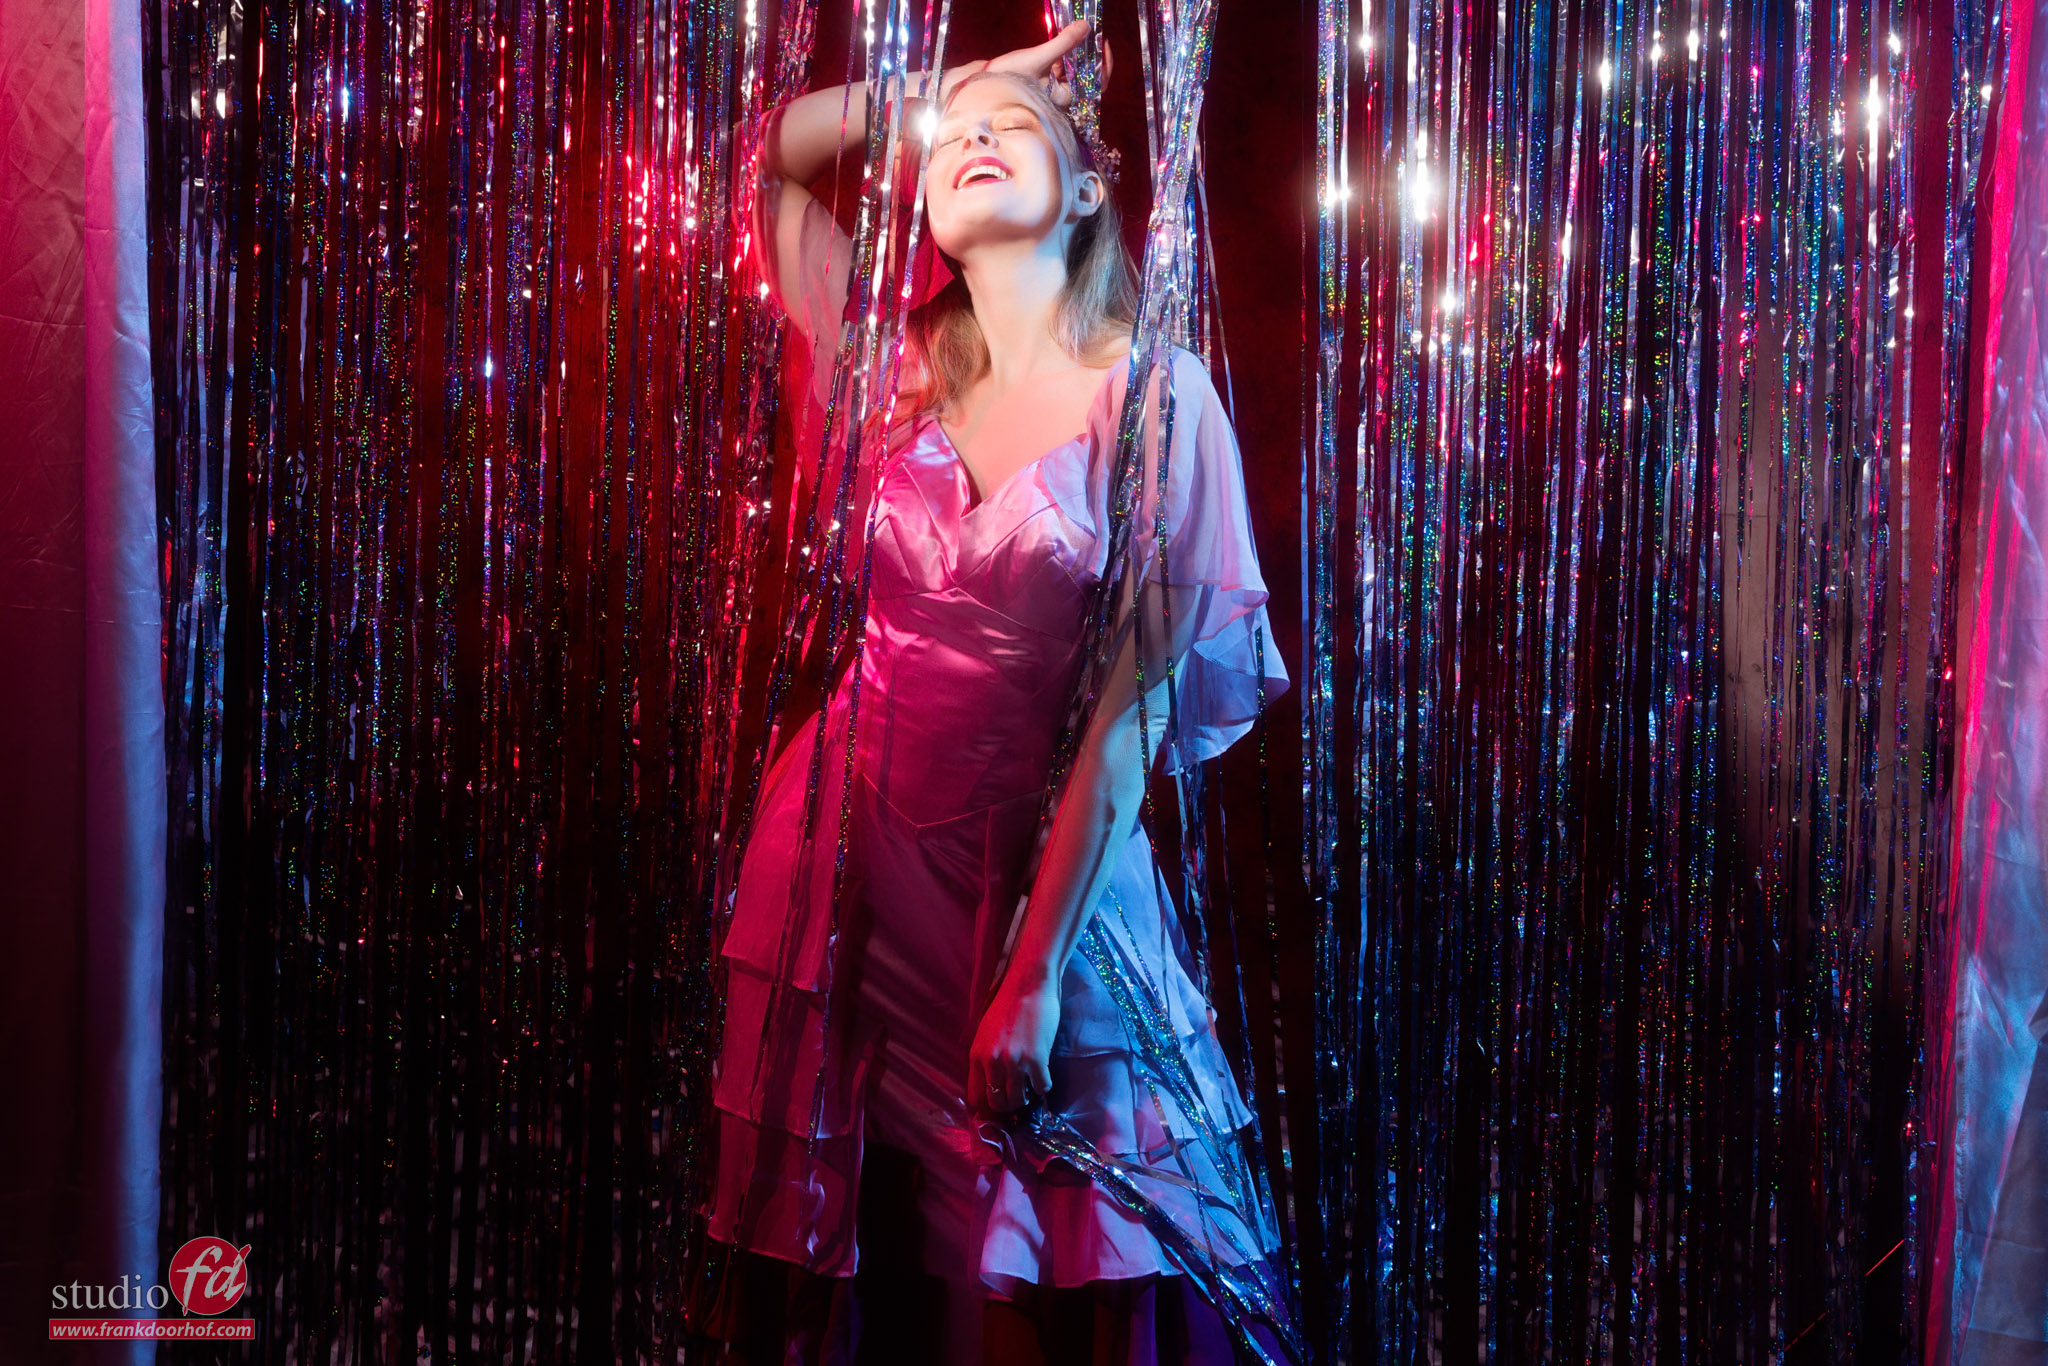
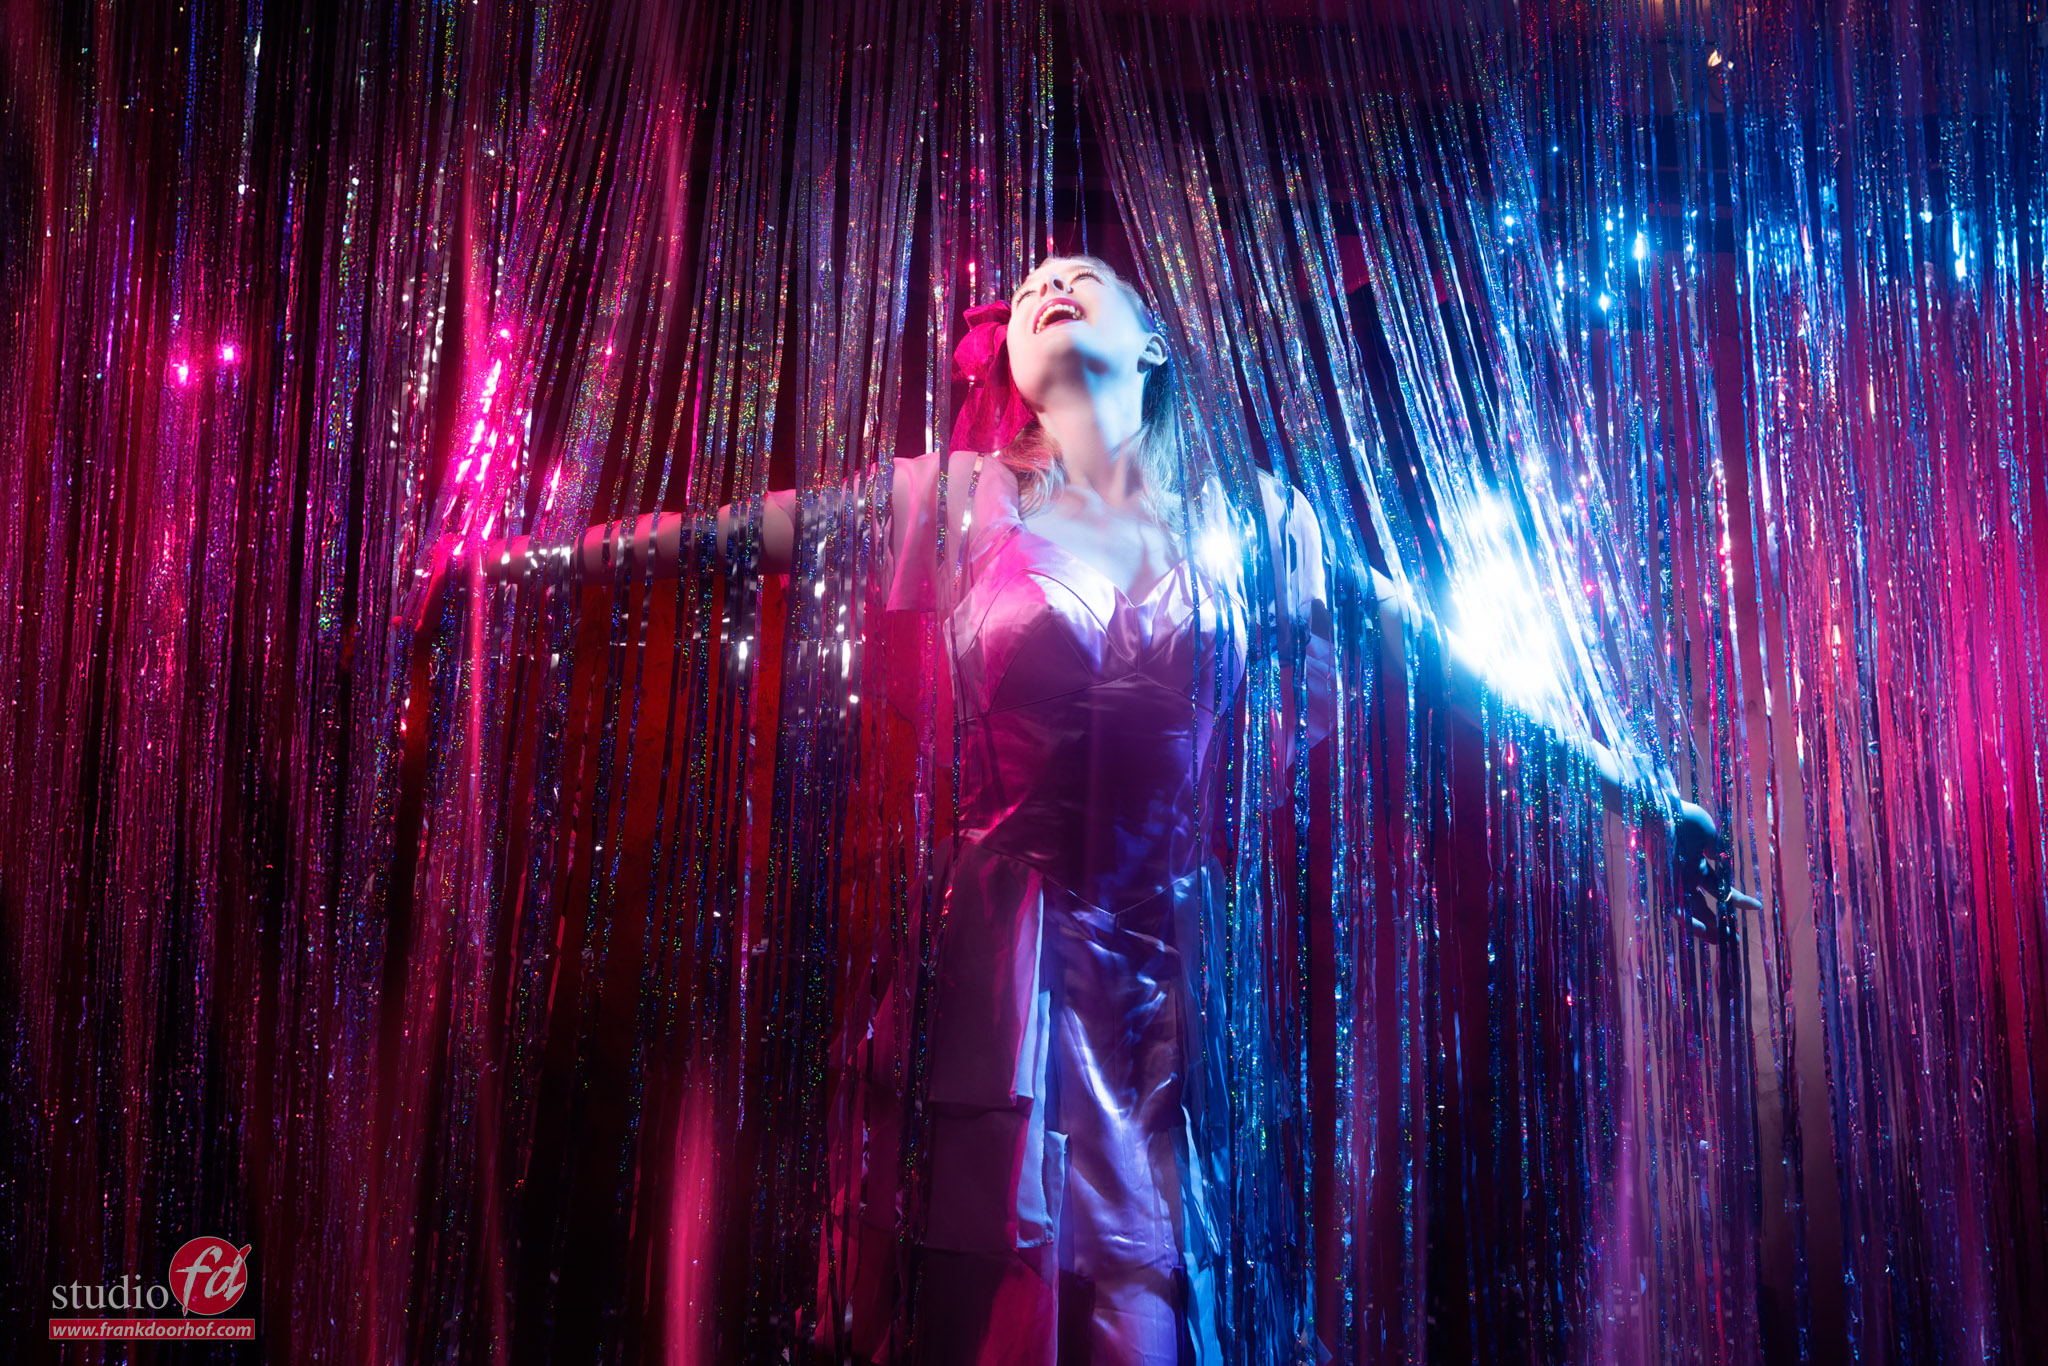
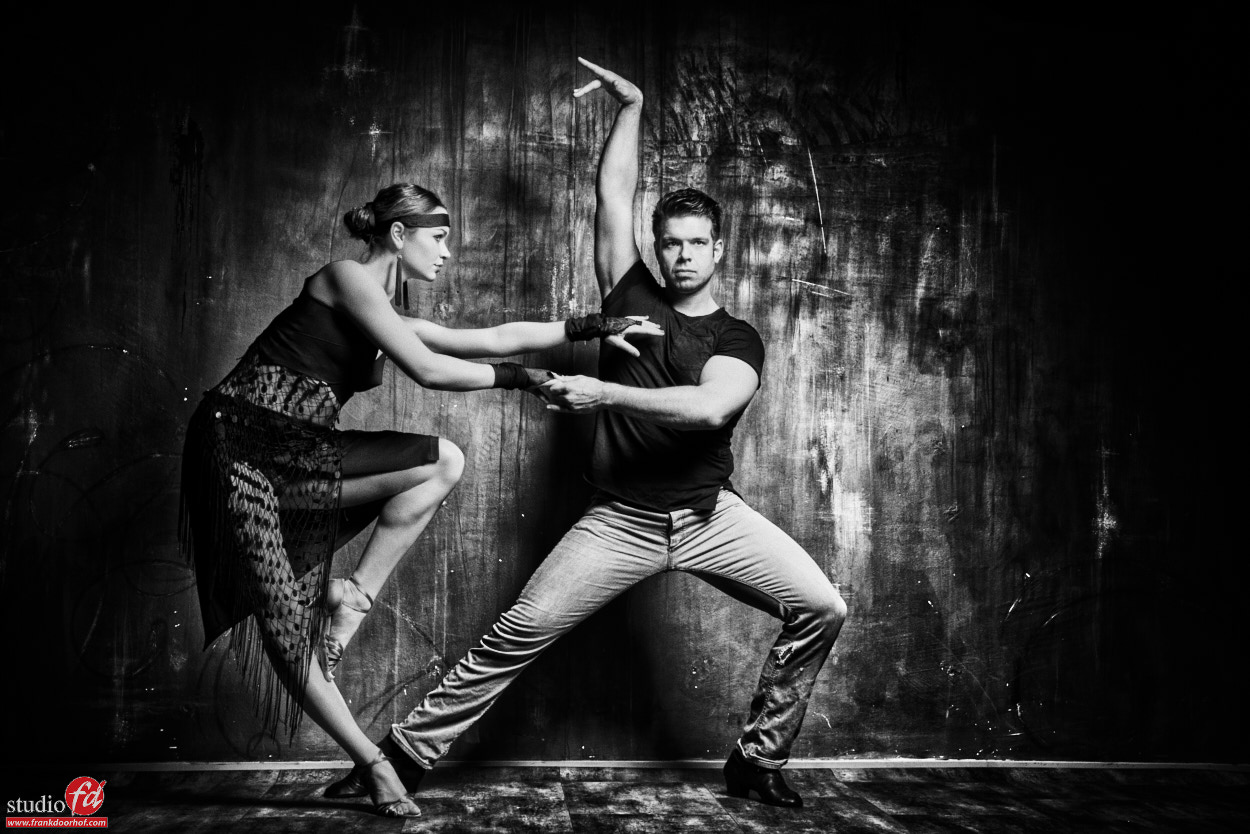
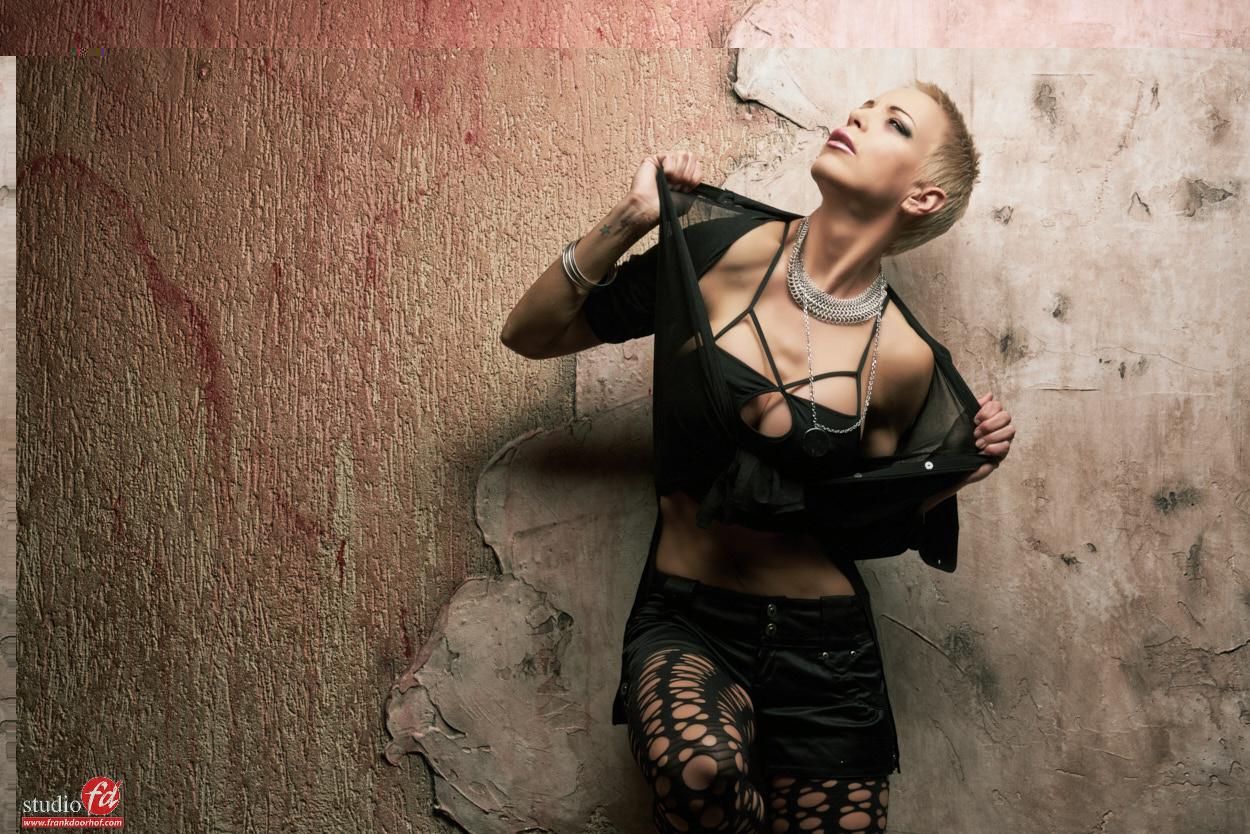
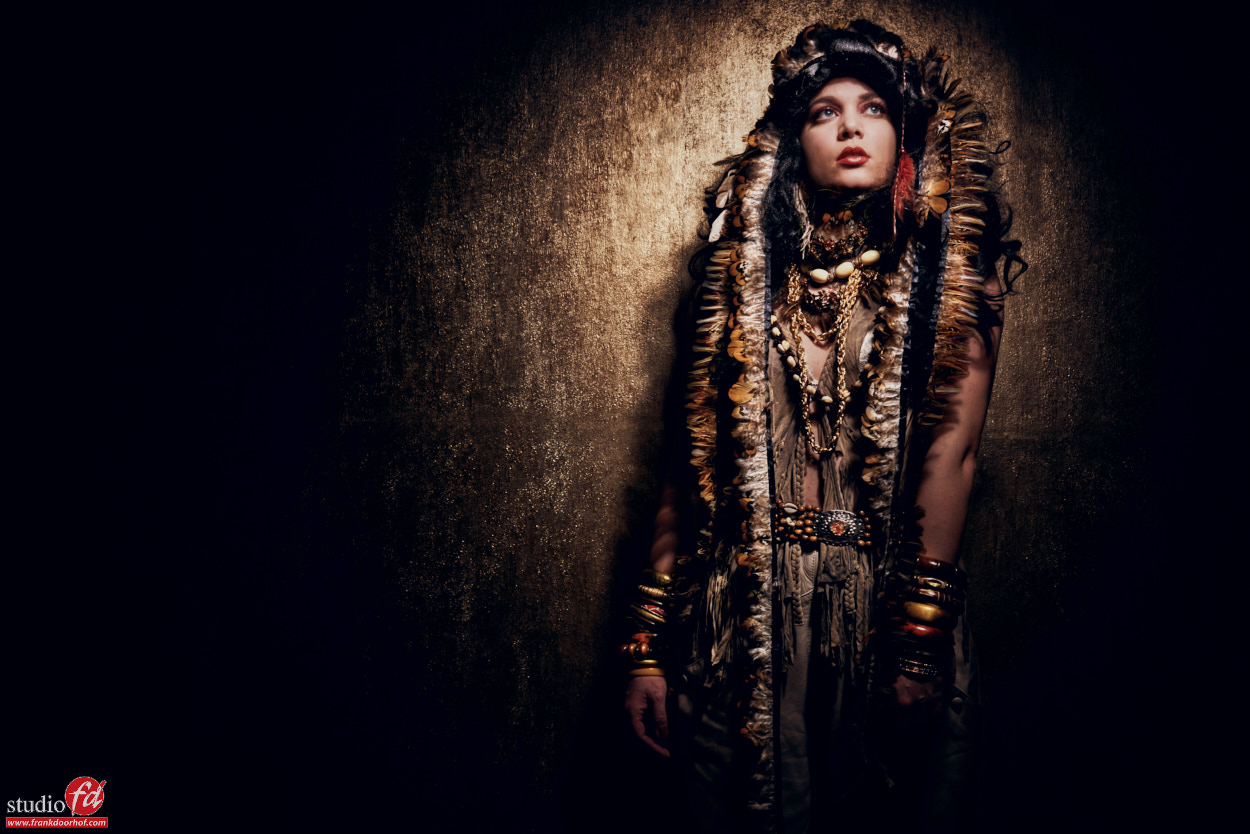
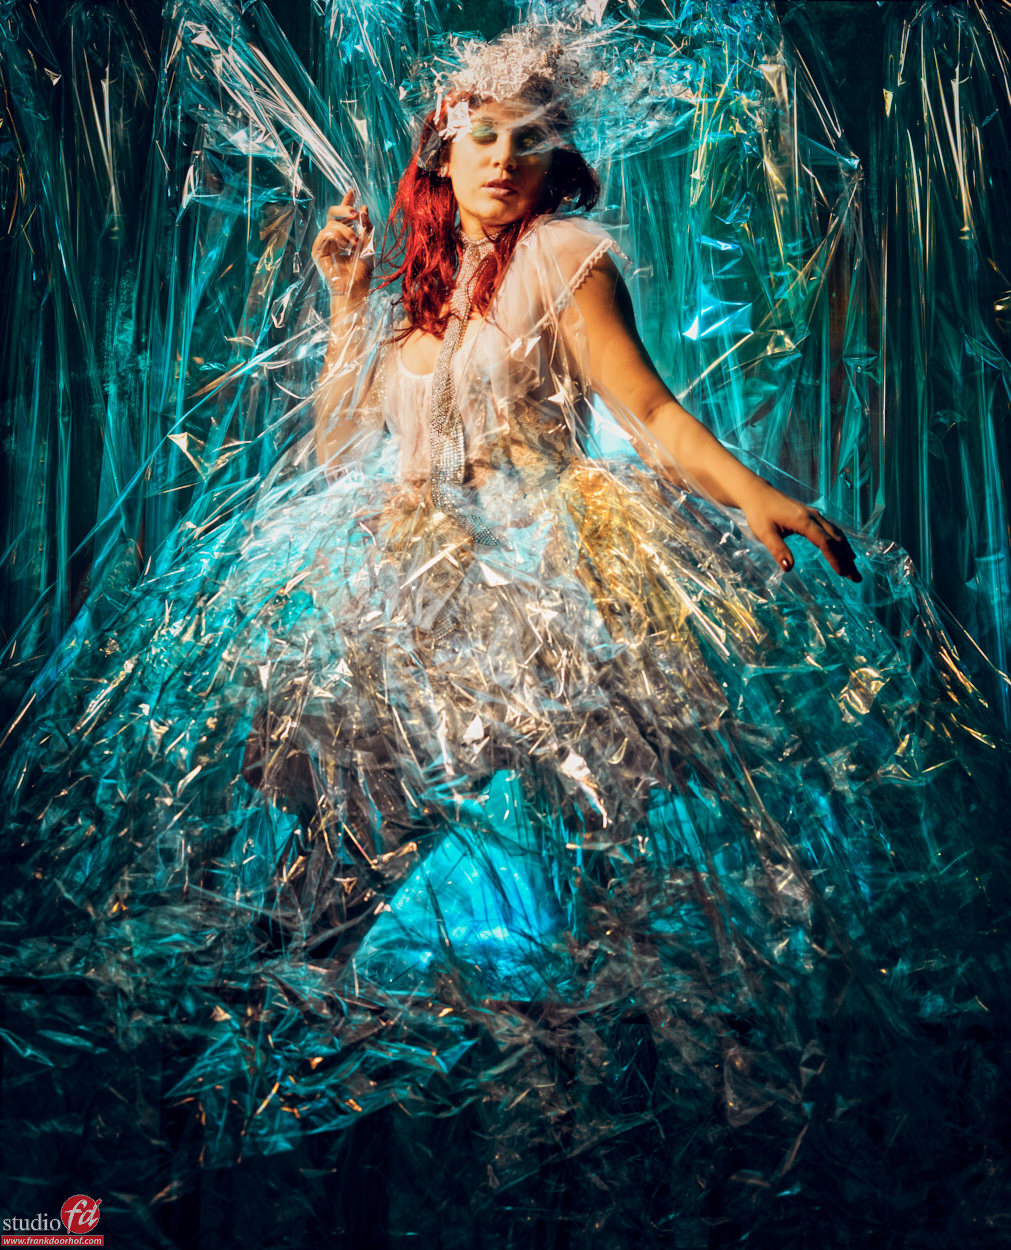
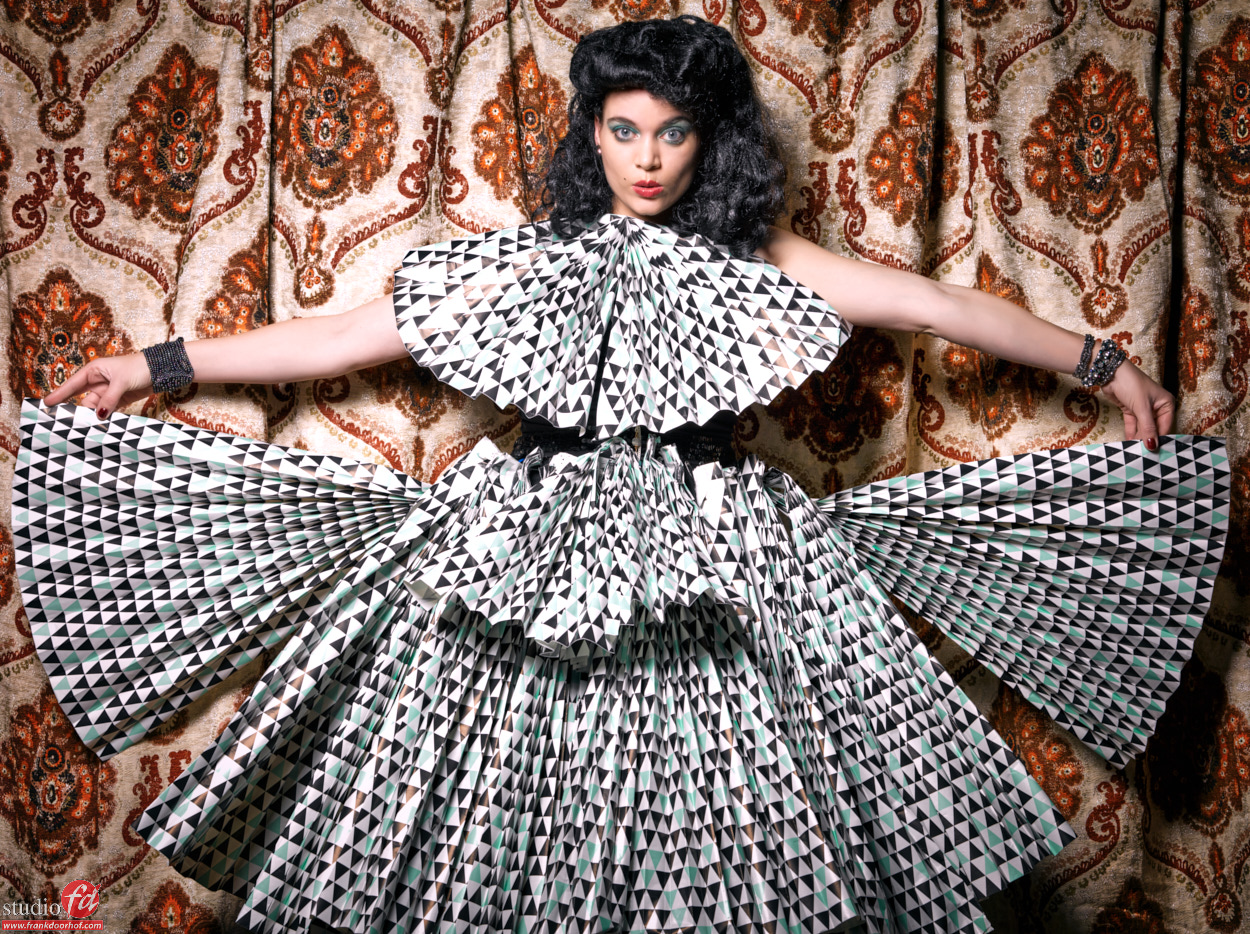
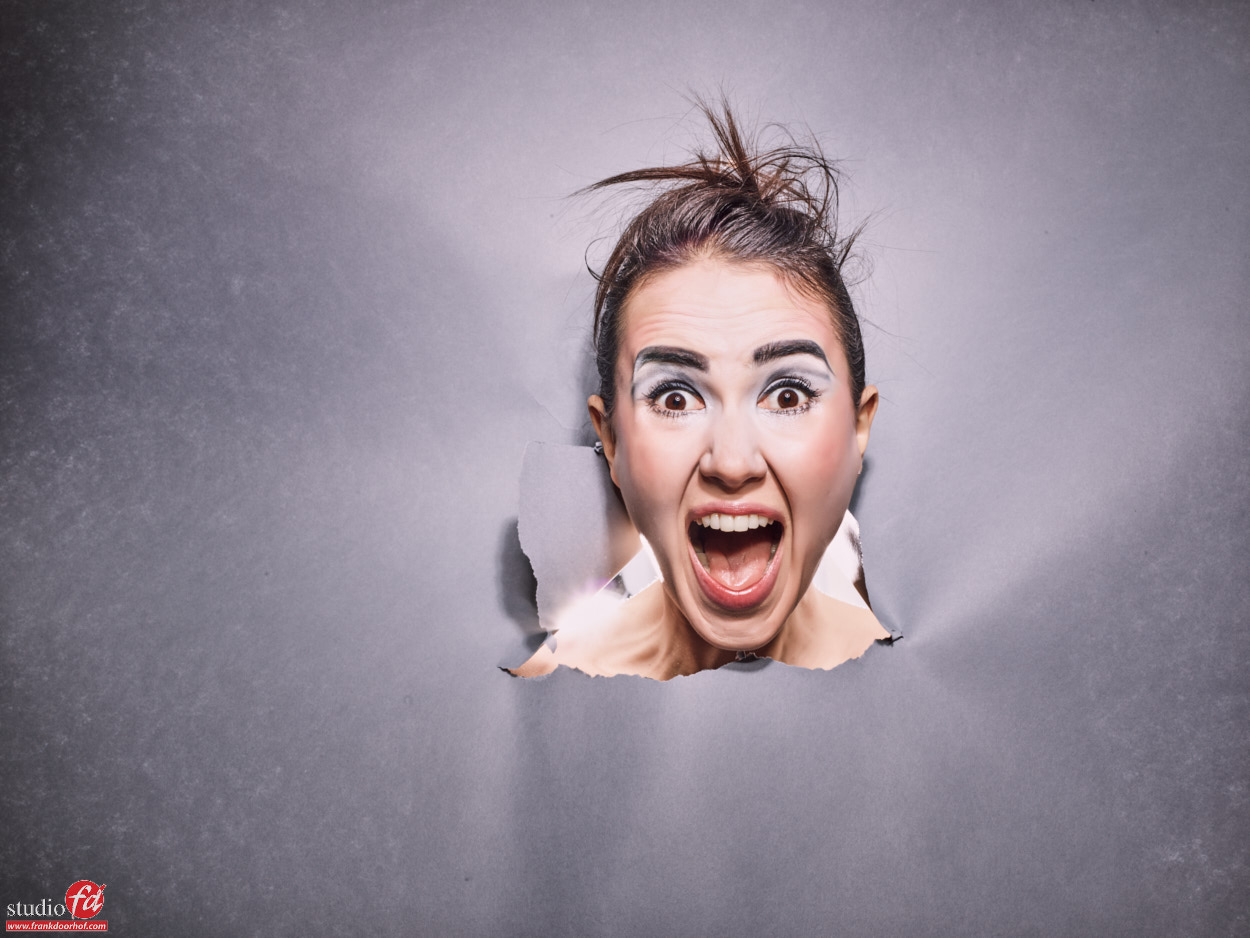
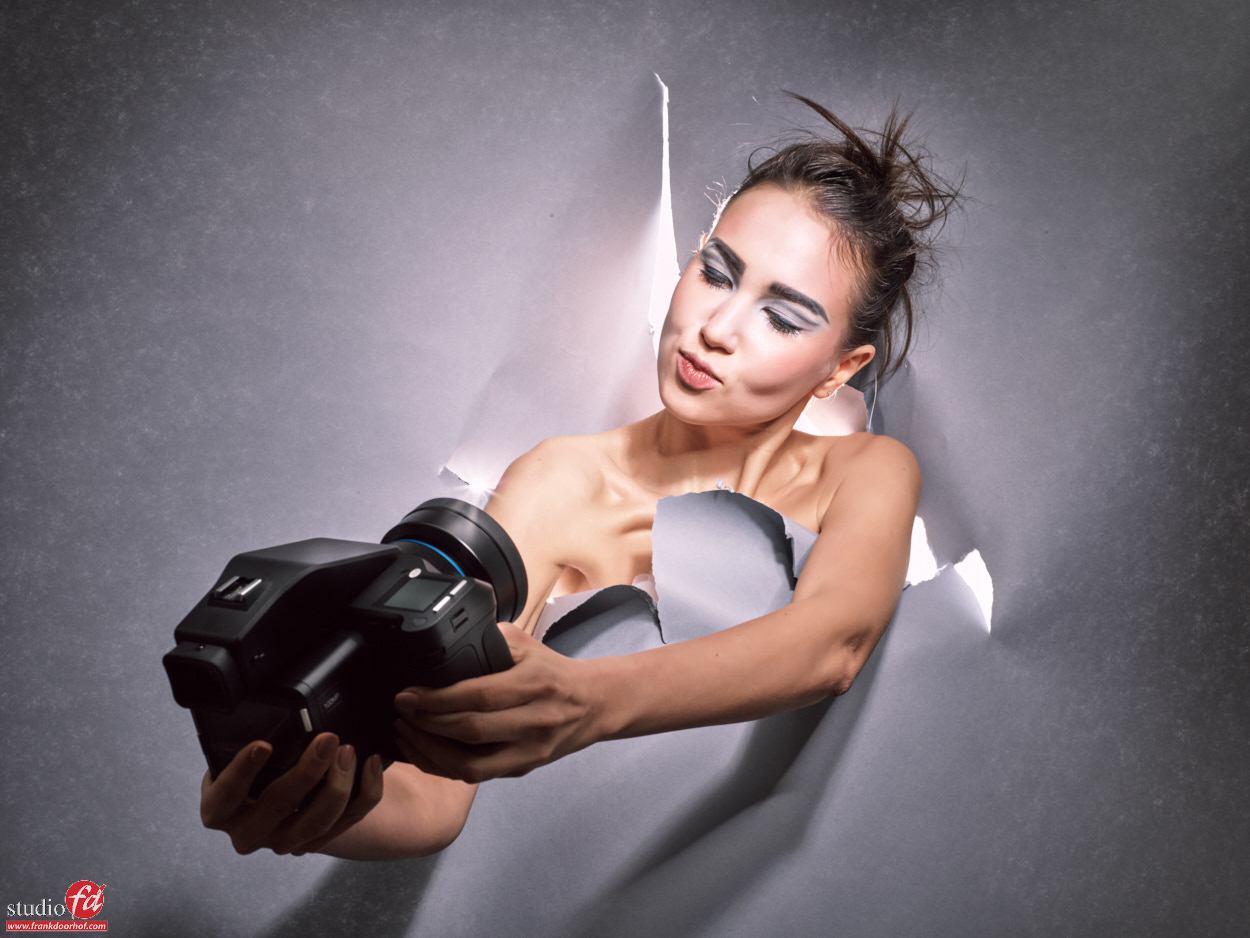
There is often a discussion about what you need to get a great image. And often it boils down to “I can’t do it because I don’t have any budget”. Well, it might surprise you but 99% of the images I post are shot during workshops, events, and trade shows. So not really situations where I have time or even a budget to really use large sets. Today a blog post about model photography with cheap materials and lights. In our studio, we do use the ClickBackdrops backgrounds of course 😀

Experiment with cheap materials and lights

One of the things I love to experiment with ar cheap lighting solutions.
This can be a string of fairy lights, Christmas lighting, or a magic lantern.
With modern cameras and great noise reduction in Lightroom or Topaz, you can really push the creative limits.

One of the biggest advantages of the strobes (Geekoto) I’m using now is that they can be adjusted to output a very slight amount of light.
Because most of these light sources are very faint it’s great that I’m now able to mix strobes and continuous lighting much easier.


Setup

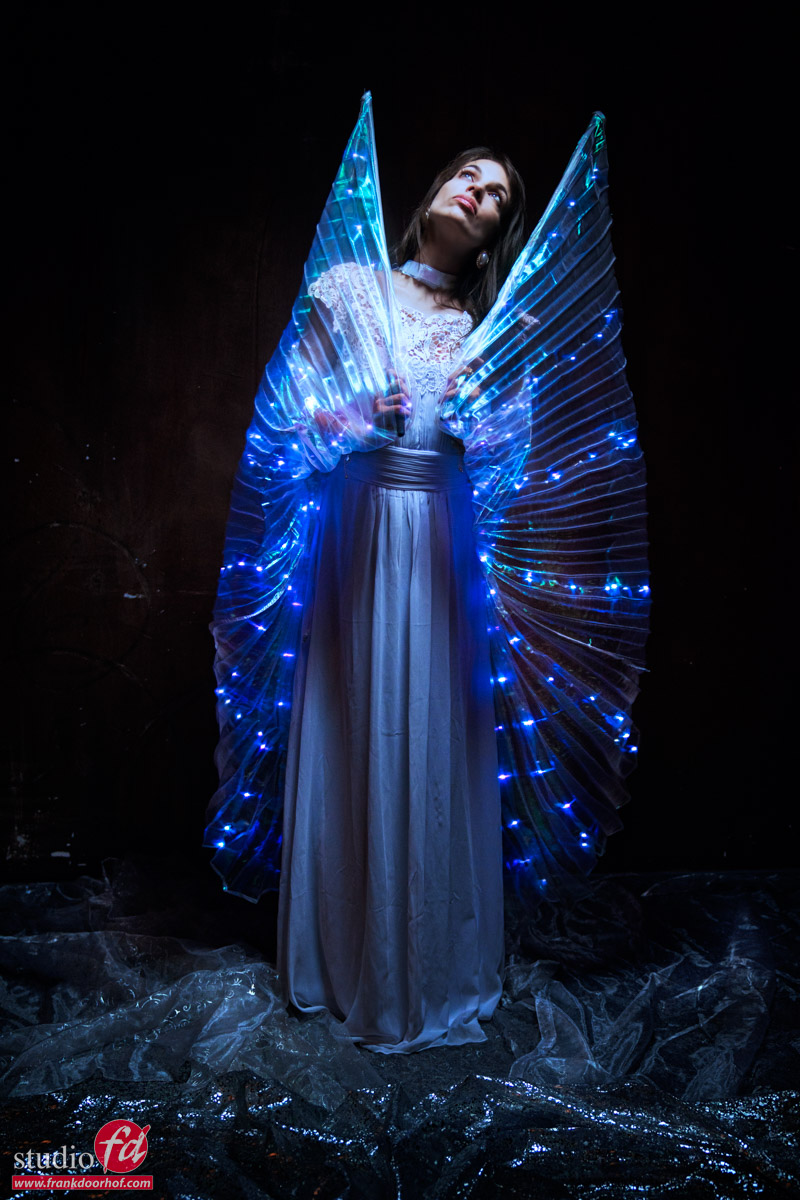
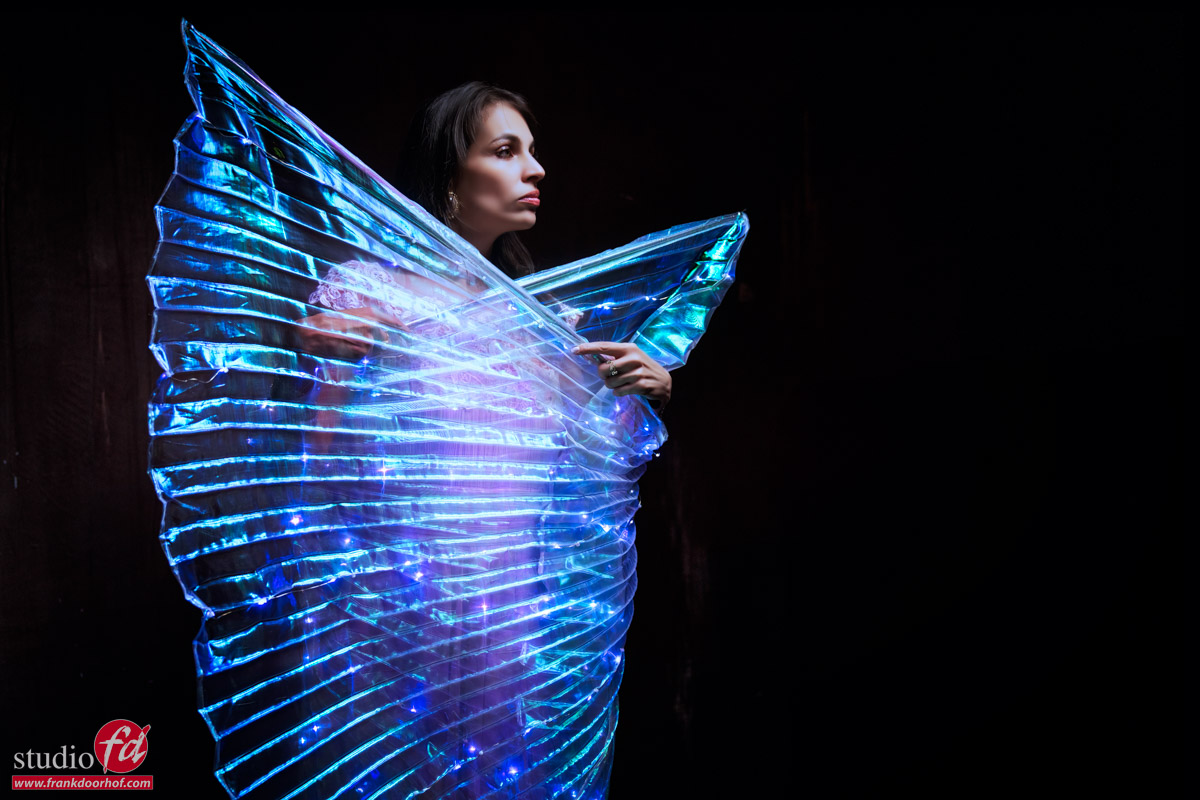
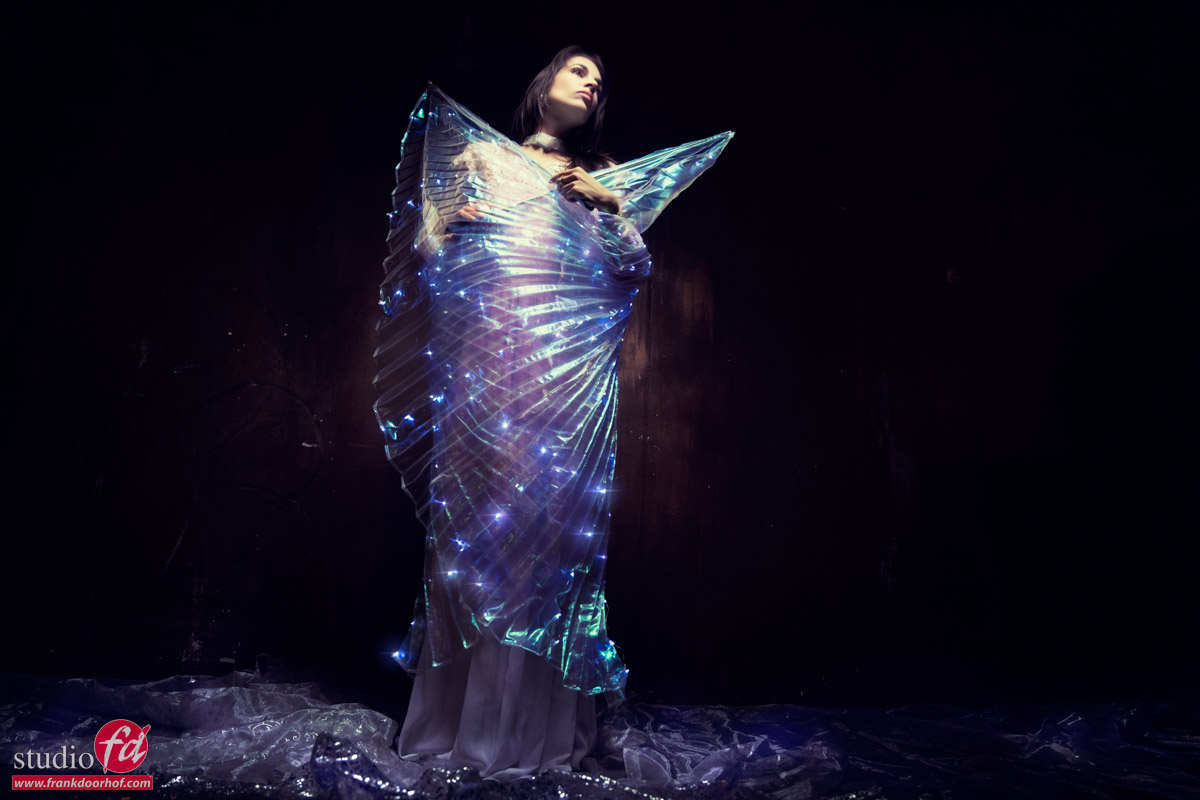
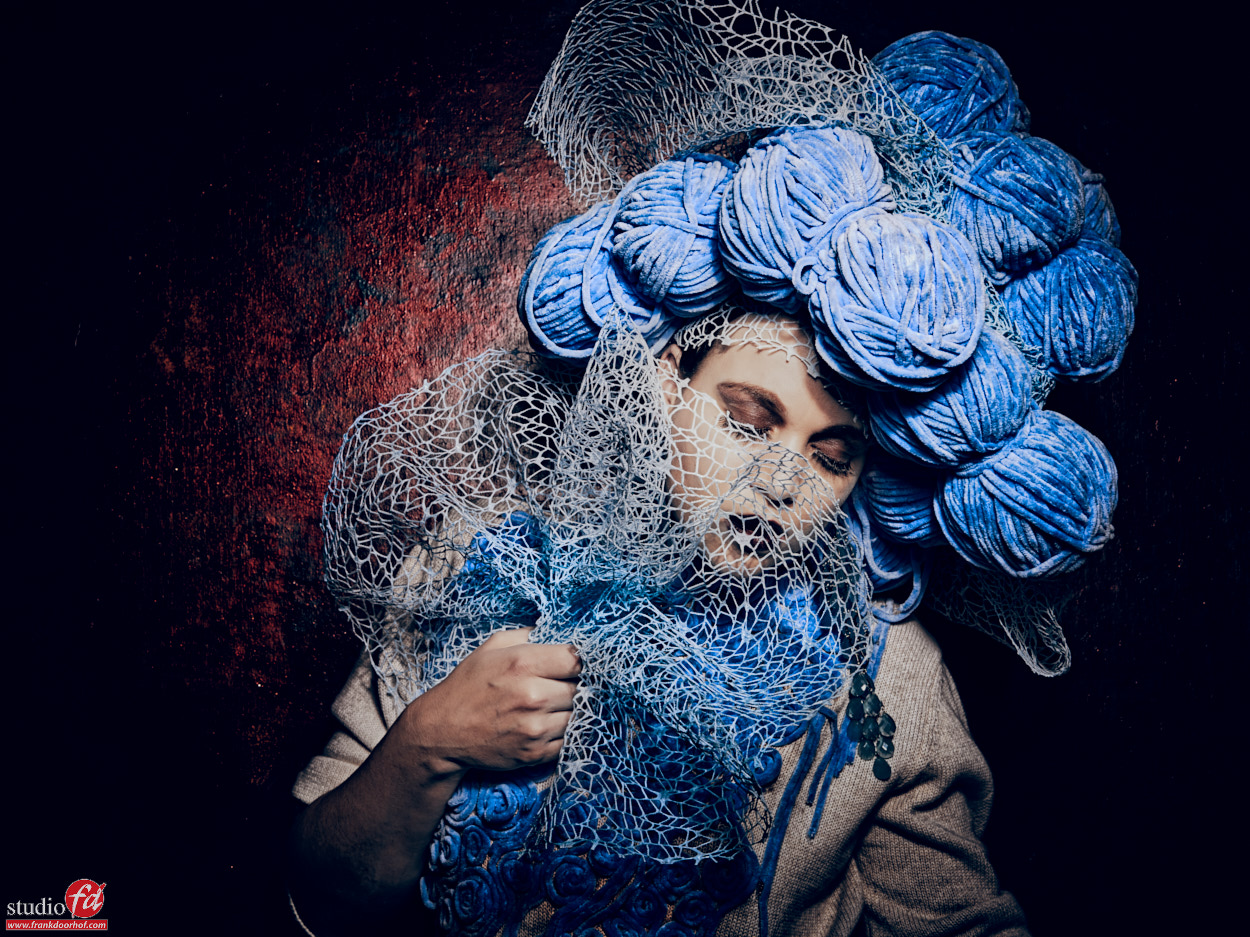
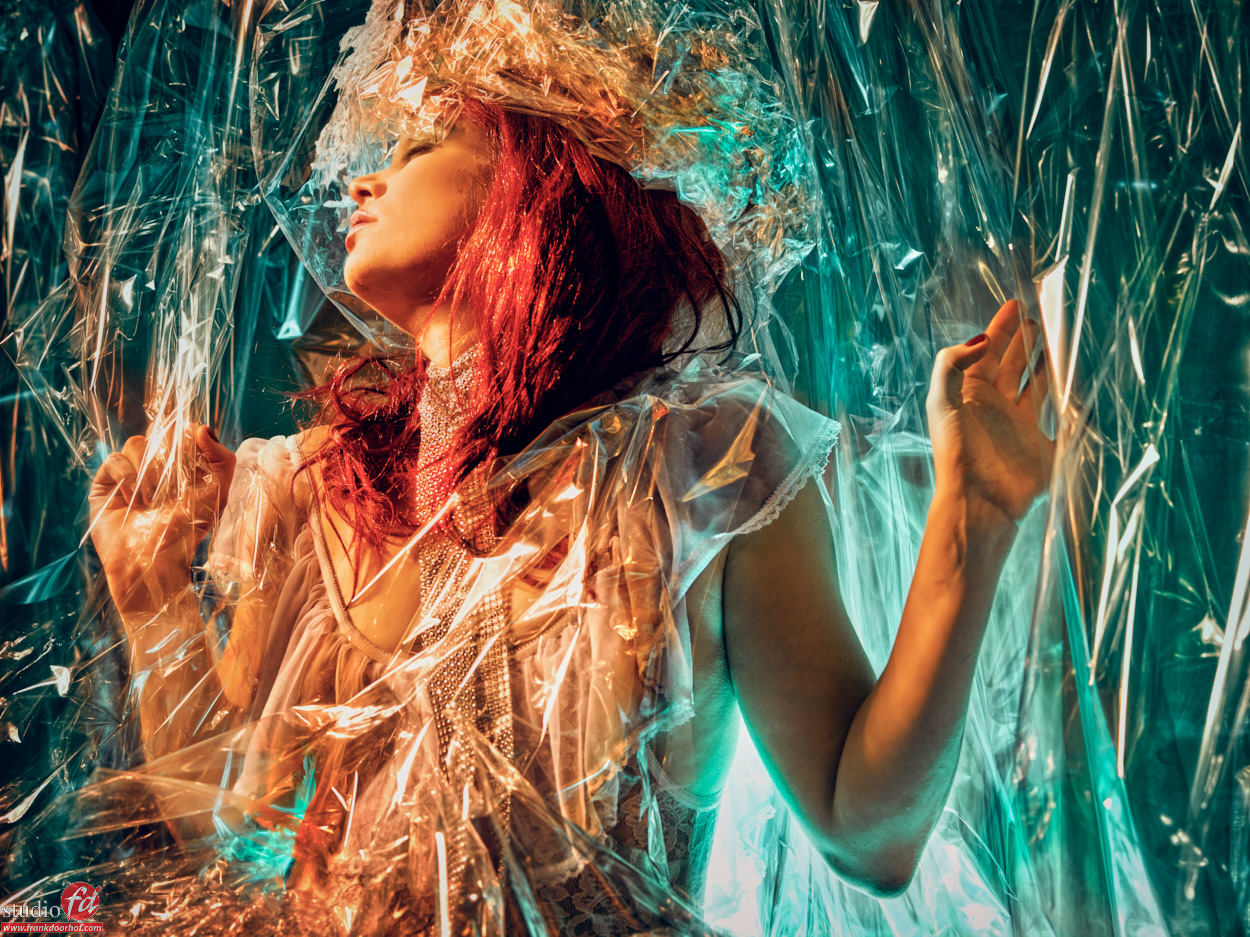
For this setup, we used wings with small lights inside. To make sure the lights show up you have to be able to capture enough light.
This can be done with a higher ISO or a longer shutter speed.
What I normally do is use the EVF of the camera in emulation mode. This way you can see what your setup in your camera looks like.
I would advise to set up with an option to lower the shutter speed. Often when you start adding the strobes you will find that you need a bit more light from the continuous light source. Especially when a model is uncomfortable it’s nice that you can quickly change the setup by just lowering the shutter speed.

Now that you have the perfect setup just use a light meter to set the strobe up to the ISO and Aperture you chose. And you’re ready to shoot *and probably lower the shutter speed.

Background

A nice dark background is ideal with see-through materials and lights.
But it’s vital for these kinds of shots you use a focused light source, in other word,s make sure you only hit the subject with strobes where you need it. This way the continuous lighting will have a nice dark background to show up and show their color and brightness much better.

I’m using the Geekoto GT400 with a Geekoto Quicky softbox with a grid.
The Quicky is a smaller softbox that has a very straight light beam and is great for focussing light on your subject, even from a slight distance.

Model photography with cheap materials and lights, I like it!

Model photography with cheap materials and lights Model photography with cheap materials and lights Model photography with cheap materials and lights

Check out this video about being creative with 2 models dressed up as Barbie

You can rent our studio and get creative too 

Introducing the new Geekoto softboxes

You’ve already seen them

I’ve been posting some images online and on the blog already with the amazing new striplight and lantern from Geekoto.
But today I want to share the official video we made for the Dutch market (and English) about these brand new softboxes.

Of course both softboxes are super fast to setup and collapse plus they both can change the speedring. For the stroplight there is a totally new designed mount that makes assembling even faster (I thought it was not possible).

You can get the striplight and lantern and all other Geekoto gear via our webshop.
On the webshop you find all the gear I use and like.

Let’s take a look at the videos.
I’ve created an English and Dutch version.

TIP on backgrounds

When I started out with model photography I used a lot of seamless backgrounds, and I think most of you do.
However the more I shot the more I grew bored with these backgrounds and I started using the studio walls and more and more and I was drawn to location work. Of course it’s not possible to work on great locations all the time, and let’s be realistic…. the background does have to have something interesting, being it structure, rawness (is that a word?), edginess (love that word, I always use it when I don’t know something else) and…. well you get the general idea, walls can be cool if they are cool.

At one point it dawned to me that if I couldn’t go to locations all the time why not get the locations in our studio, if you go through my portfolio you can actually see that a lot of my work is using models pretty much straight up or in front of walls. In our studio we actually painted all the walls in different themes and looks going from nice and dark to totally distressed with wallpaper hanging down and broken plaster. Sometimes people will actually comment on these walls and ask me when I’m gonna do some fixing up… until I tell them that those are sets and their response is “oh cool, I need that”… actually at that time I already earned my money for the workshop because in my opinion the biggest problem a lot of photographers struggle with is “seeing possibilities”. So if you see an old broken down wall don’t see it as something that has to go but see it as an photo oppertunity.

Our studio is pretty big and there is no wall in the studio that we can’t use as a backdrop, I always am stunned when I visit studios that are HUGE but have all the same color walls, it just doesn’t make sense for me, of course a shooting area for cars has to be one color, but there are also so many other walls, areas etc. that you can use and that are often left untouched, for me the studio is a working space and not an office (heck even my office has different themes, I hate plain walls I guess).

So what if you can’t do your walls like we can?
In essence all walls can be covered with wallpaper right?
So find some interesting wall paper like for example this :
Roosmarijn Maart 29 2016 0331

Roosmarijn Maart 29 2016 0340If you are not allowed to do this on the walls, make “small” (2.50×2.50 mtrs) panels and cover them.
But you can also paint those panels, in this case one of our interns did a tremendous job I think, and as you can see it REALLY spices things up, the image in front of it is already cool but the walls…. well they complete it, and it really also helps to enhance the styling.

Nadine Professional Imaging - 16  March 12, 2016

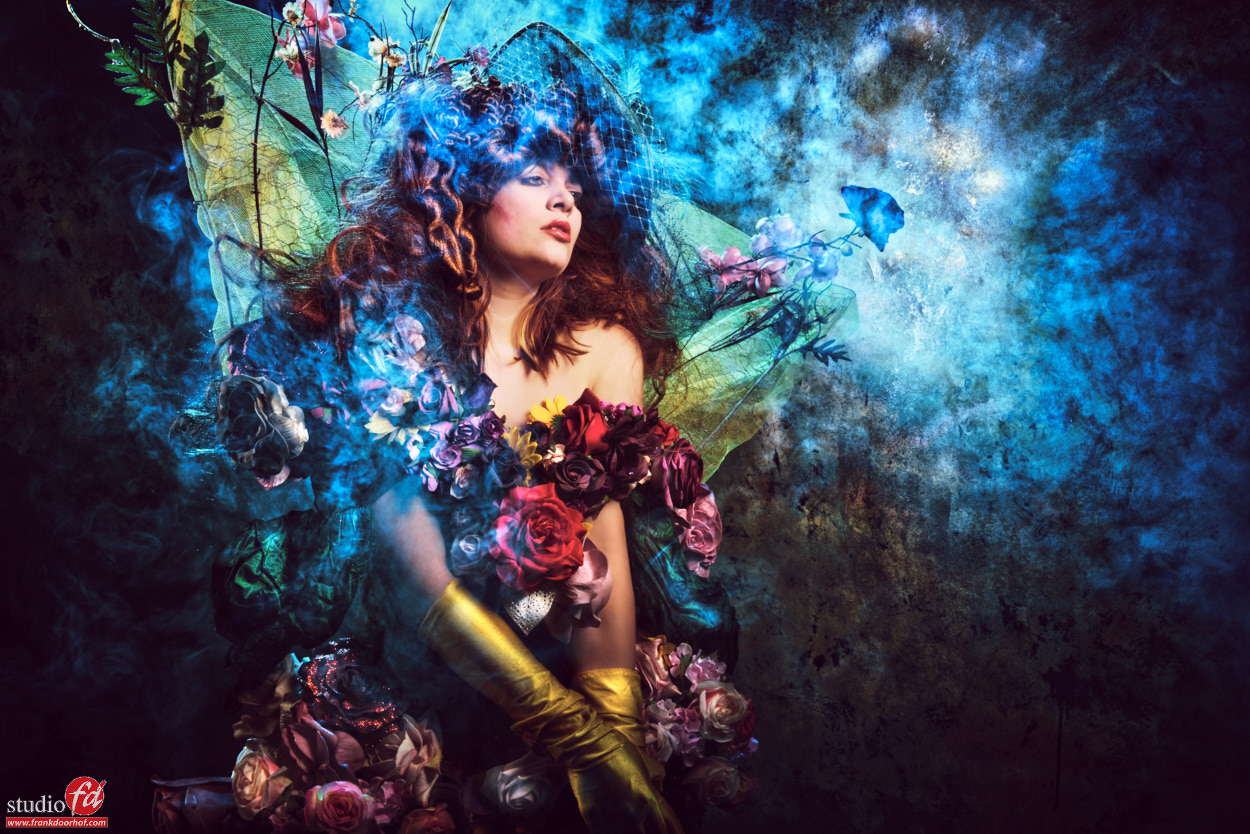
Indeed all the structure and blues you see is in the wall, we used a little bit of smoke to spice the set up, but the wall in combination with nadine her awesome styling makes the image complete.

But a lot more can be done.
Here are some examples of our walls in action 😀

Bertrie en Mauries Februari 3 2016 0583 1

Roosmarijn Maart 29 2016 0347 1

Nadine Februari 6 2016 31200

Nadine Februari 27 2016 0020

Now if you don’t have the options for panels, or wallpaper or…. there is always another option.
Lastolite is a brand you probably know right?
They have some amazing foldable backgrounds with great prints, and the fun thing is… they don’t take up any space and they look great in a photoshoot. I always have some with me when I teach on location (just in case).

Here are some samples from the Lastolites.


Nadine April 3 2016 1430

Poeka bij FotoKlein December 19 2015 0010

Poeka bij FotoKlein December 19 2015 0042

Now if you think these are too expensive (man you are hard to convince :D)
You can always use a backdrop system and mount some plastic to it and play with that.

Nadine open dag November 28 2015 30556

Nadine open dag November 28 2015 30526

Or use some curtains

Nadine open dag November 28 2015 30488

So the next time you grab your seamless…. try to do something more creative and start using the walls, areas of your studio etc.
OR….. well you also use seamless of course.

Karina Feb 13 2016 Phase One workshop NY 0064


Karina Feb 13 2016 Phase One workshop NY 0067If you want more in depth tips and tricks check out my book “Mastering the model shoot” it’s not just on models but also has extensive parts on styling, your studio etc.
Also check out my instructional videos via this website (see the left menu), and check out my videos on KelbyOne where you can also find one on building your own studio.

Using props… the chair

Often people ask me “what is the perfect prop?”
Well let me start by saying that there is no perfect prop.
However if I had to choose one I would say it’s chair…
Now don’t get the expensive posing chairs you sometimes see in studios and online, in my opinion these are nice but also very overpriced and will limit the way you can shoot for the simple reason they are often not the most attractive chairs.


You can not only incorporate them into your set, but you can also make the model pose more dynamically. In other words add a lot of play into the shoot.


My favorite way to get chairs is to visit the second hand stores and get the more damaged, ugly, vintage looking chairs they have, the first advantage is that they are often cheap (hey I’m Dutch :)) plus they (in my personal opinion) have way more character than a new one. PLUS.. when you’re done with them… well you just cut them open and you have a second life for the chair.


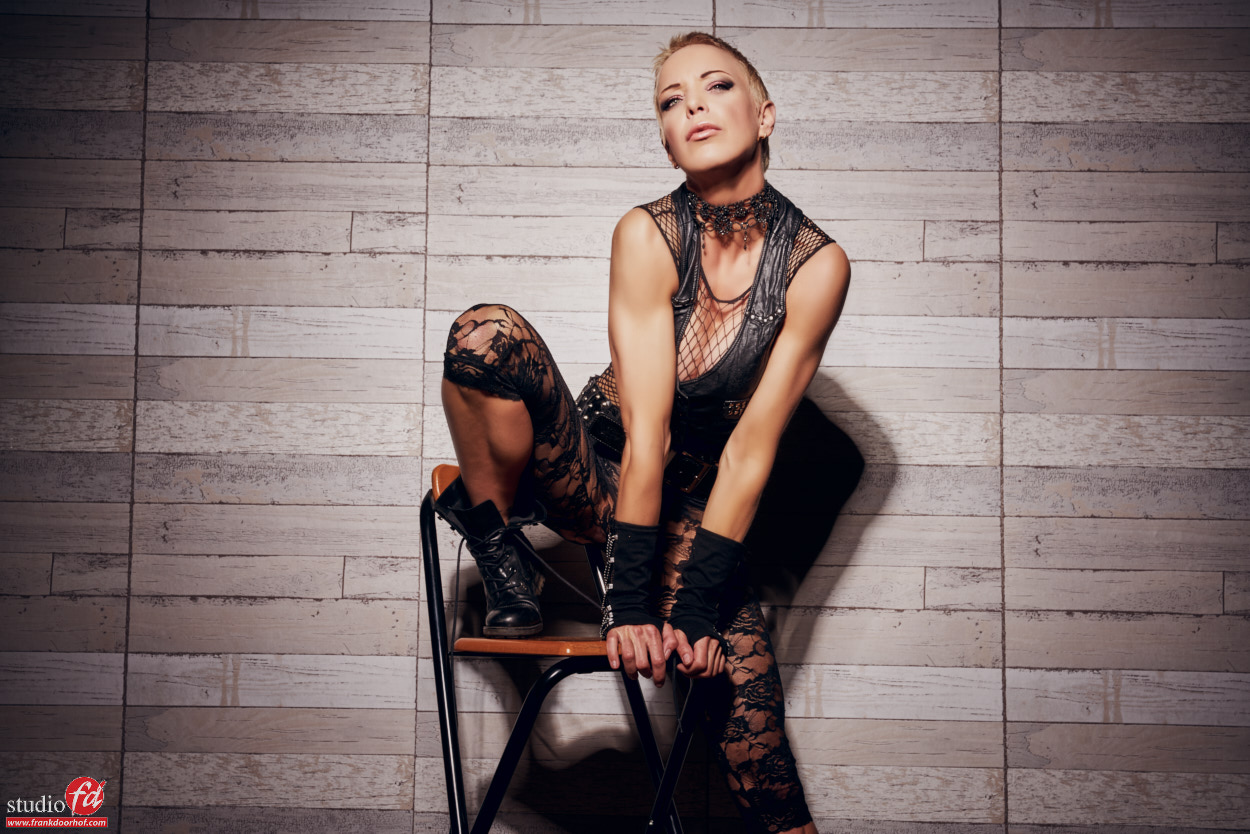
Today some images I took during the test session with Marieke with 2 of our chairs.
Some might be considered NSFW so beware.

Marieke Jansen Oktober 2 2014 (49 of 107)-Edit

Read more