Mixing strobes and a chandelier
A chandelier is always fun
You can get them pretty cheap at flea markets, or maybe you still have one somewhere in an attic.
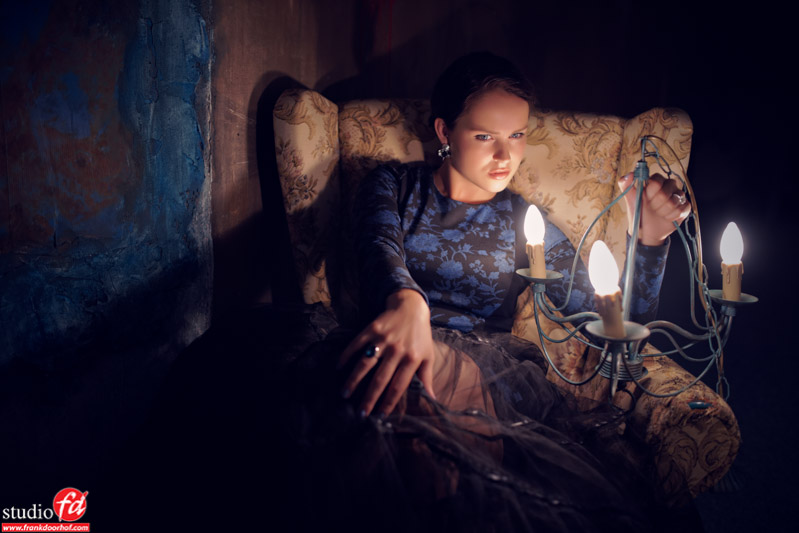
We have a small collection of chandeliers in our studio, and sometimes during the workshop,s we take one (or several) out to spice up a set. And today we are doing the same. Some pictures of the workshop, Mixing lights
But how can you easily shoot a chandelier?
Or any other continuous light source when combining it with strobes?
The whole process is actually pretty simple, but there are several routes.
First, there is the option to shoot it without strobes.
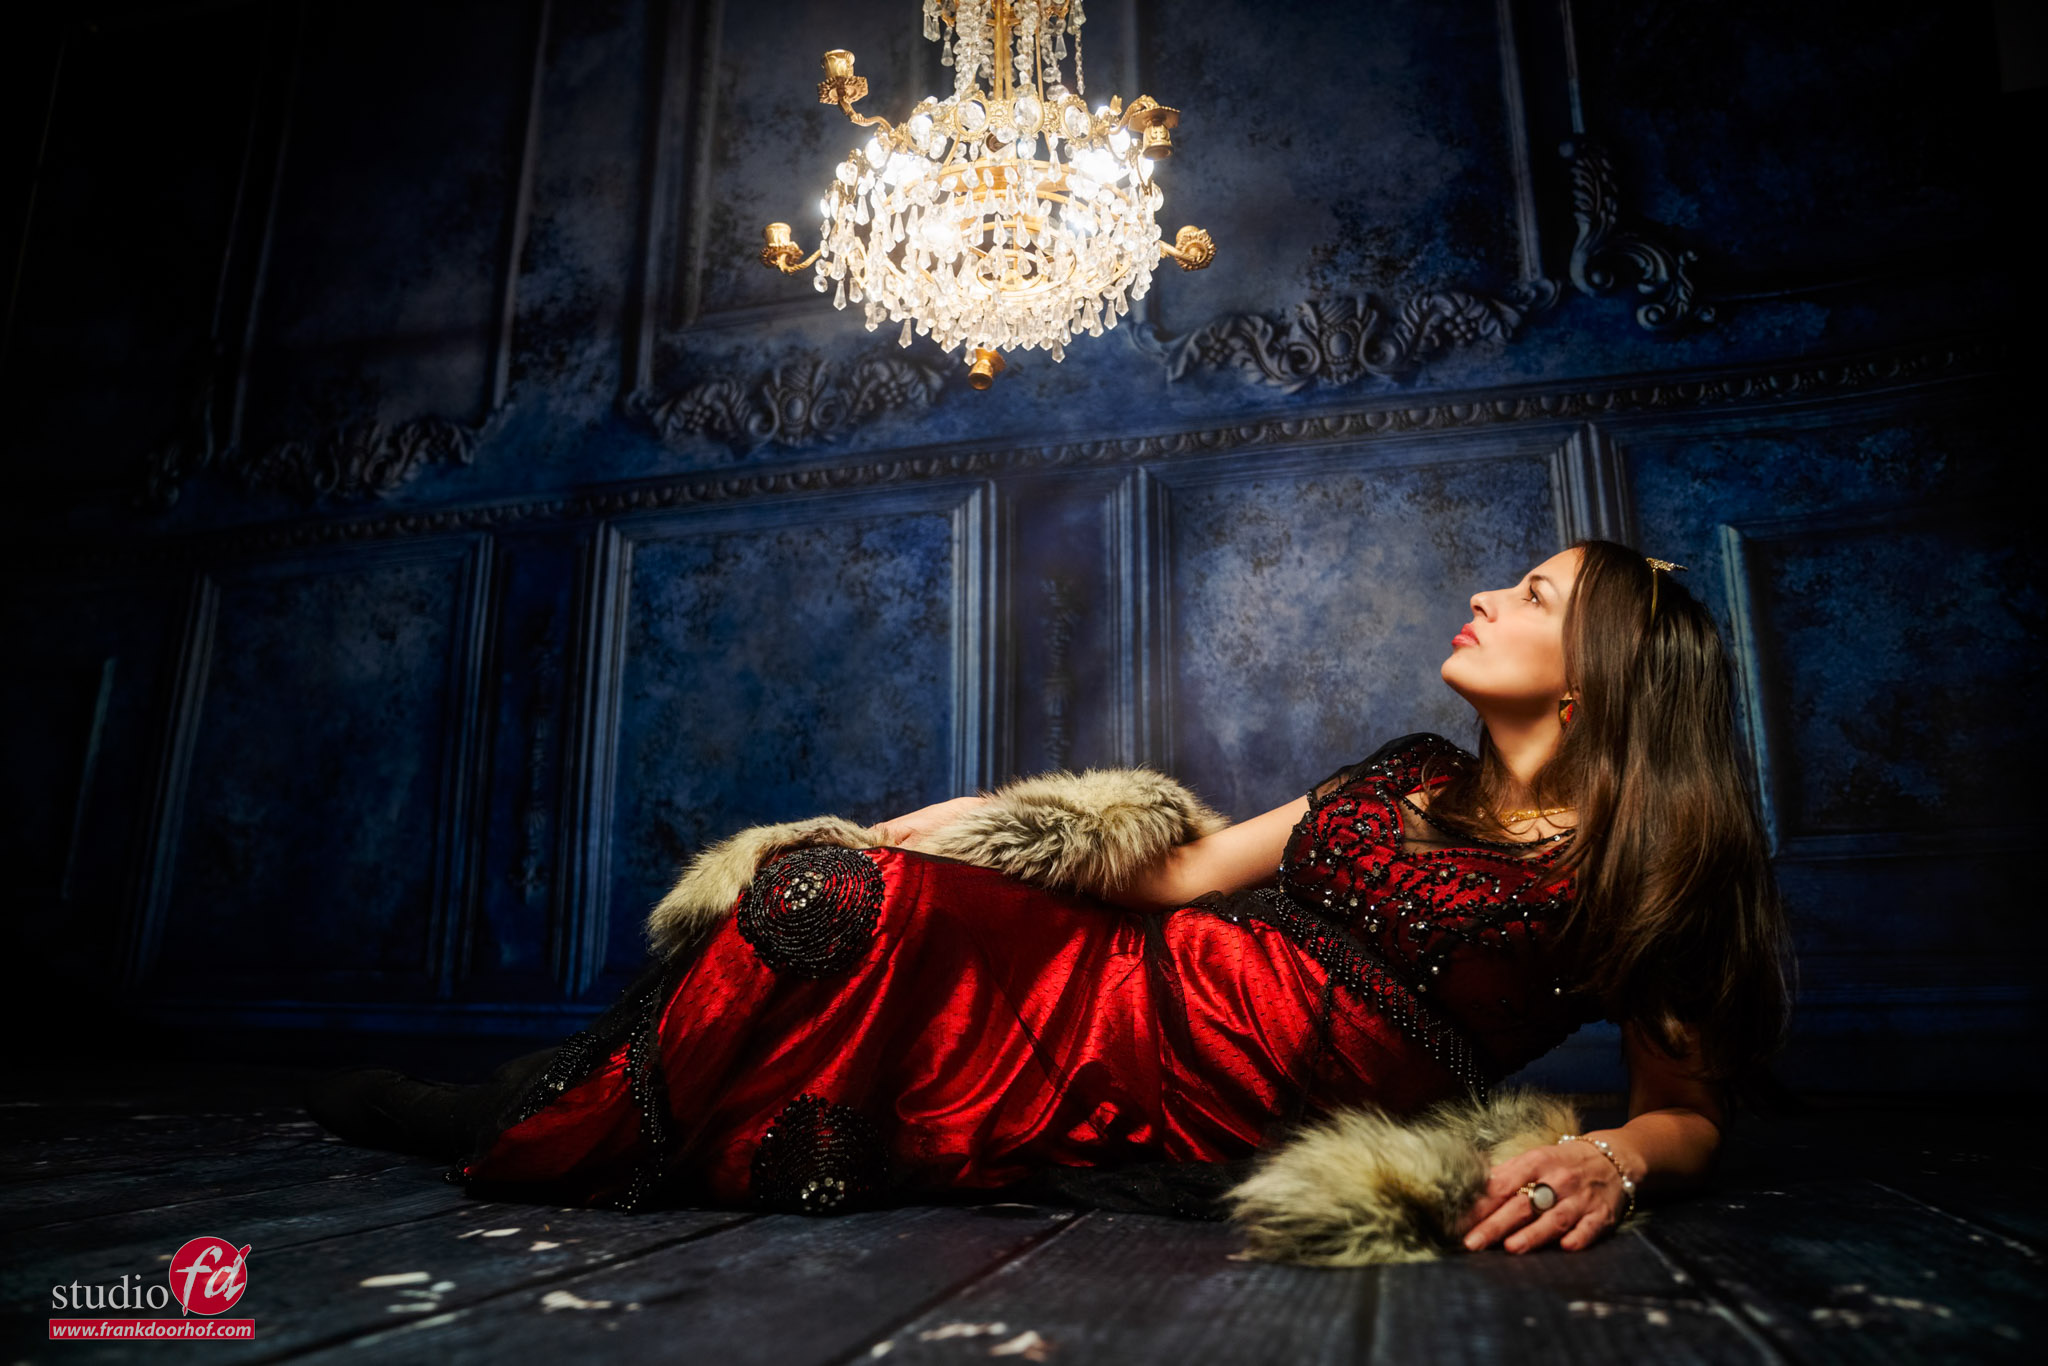
In that case, I would place the chandelier as close as possible to the model to make sure the chandelier doesn’t blow out, but still has enough light to light your subject. Plus, by placing it closer to the model, the light fall off is much nicer.
You can get an effect like this quite easily.
 The only thing I do with an image like this is lower the highlights in the chandelier.
This is very easily done in Lightroom, and it might surprise you that if you place the chandelier in the correct place, you don’t even need a lot of adjustments.
But today we are mixing lights: a chandelier and strobes
Well, ok, one strobe.
When we combine a strobe with continuous lighting, you always have to take a few things into account.
ISO: the sensitivity of the sensor, higher means more noise.
Shutter speed: how fast you “freeze” the frame; lower means a greater chance of blurry images
Aperture: the wider the aperture (lower number), the more light enters the lens, and more shallow depth of field.
Continuous lighting: builds up over time; there is no limit to shutter-speed, as long as you can handle the camera (or use a tripod)
Flash/strobes: a flash of light, that is there for a fraction of a second (the flash duration) and is gone after this.
The problem with strobes is that we have to deal with something called the X-sync. In short, this is the maximum shutter speed you can use without seeing a black bar in the frame.
For most cameras, this is 1/125. This is also why we often take this shutter-speed as the standard maximum in the studio.
There is a new system from Sony where you can shoot at every shutter speed.
HOWEVER, do take into account that if you shoot at a higher shutter speed than your flash duration, this will cut your light output.
Steps to make it work
I think it’s clear that the chandelier/continuous lighting is the light source with the least output.
Also, we cannot change the output of the chandelier. You could use a dimmer, but this will only result in less light. So, we don’t want this.
This means we are basing the whole image on the output of the chandelier.
What you can do next is use your EVF in “lighting emulation mode/setting effect” and see how you like the chandelier.
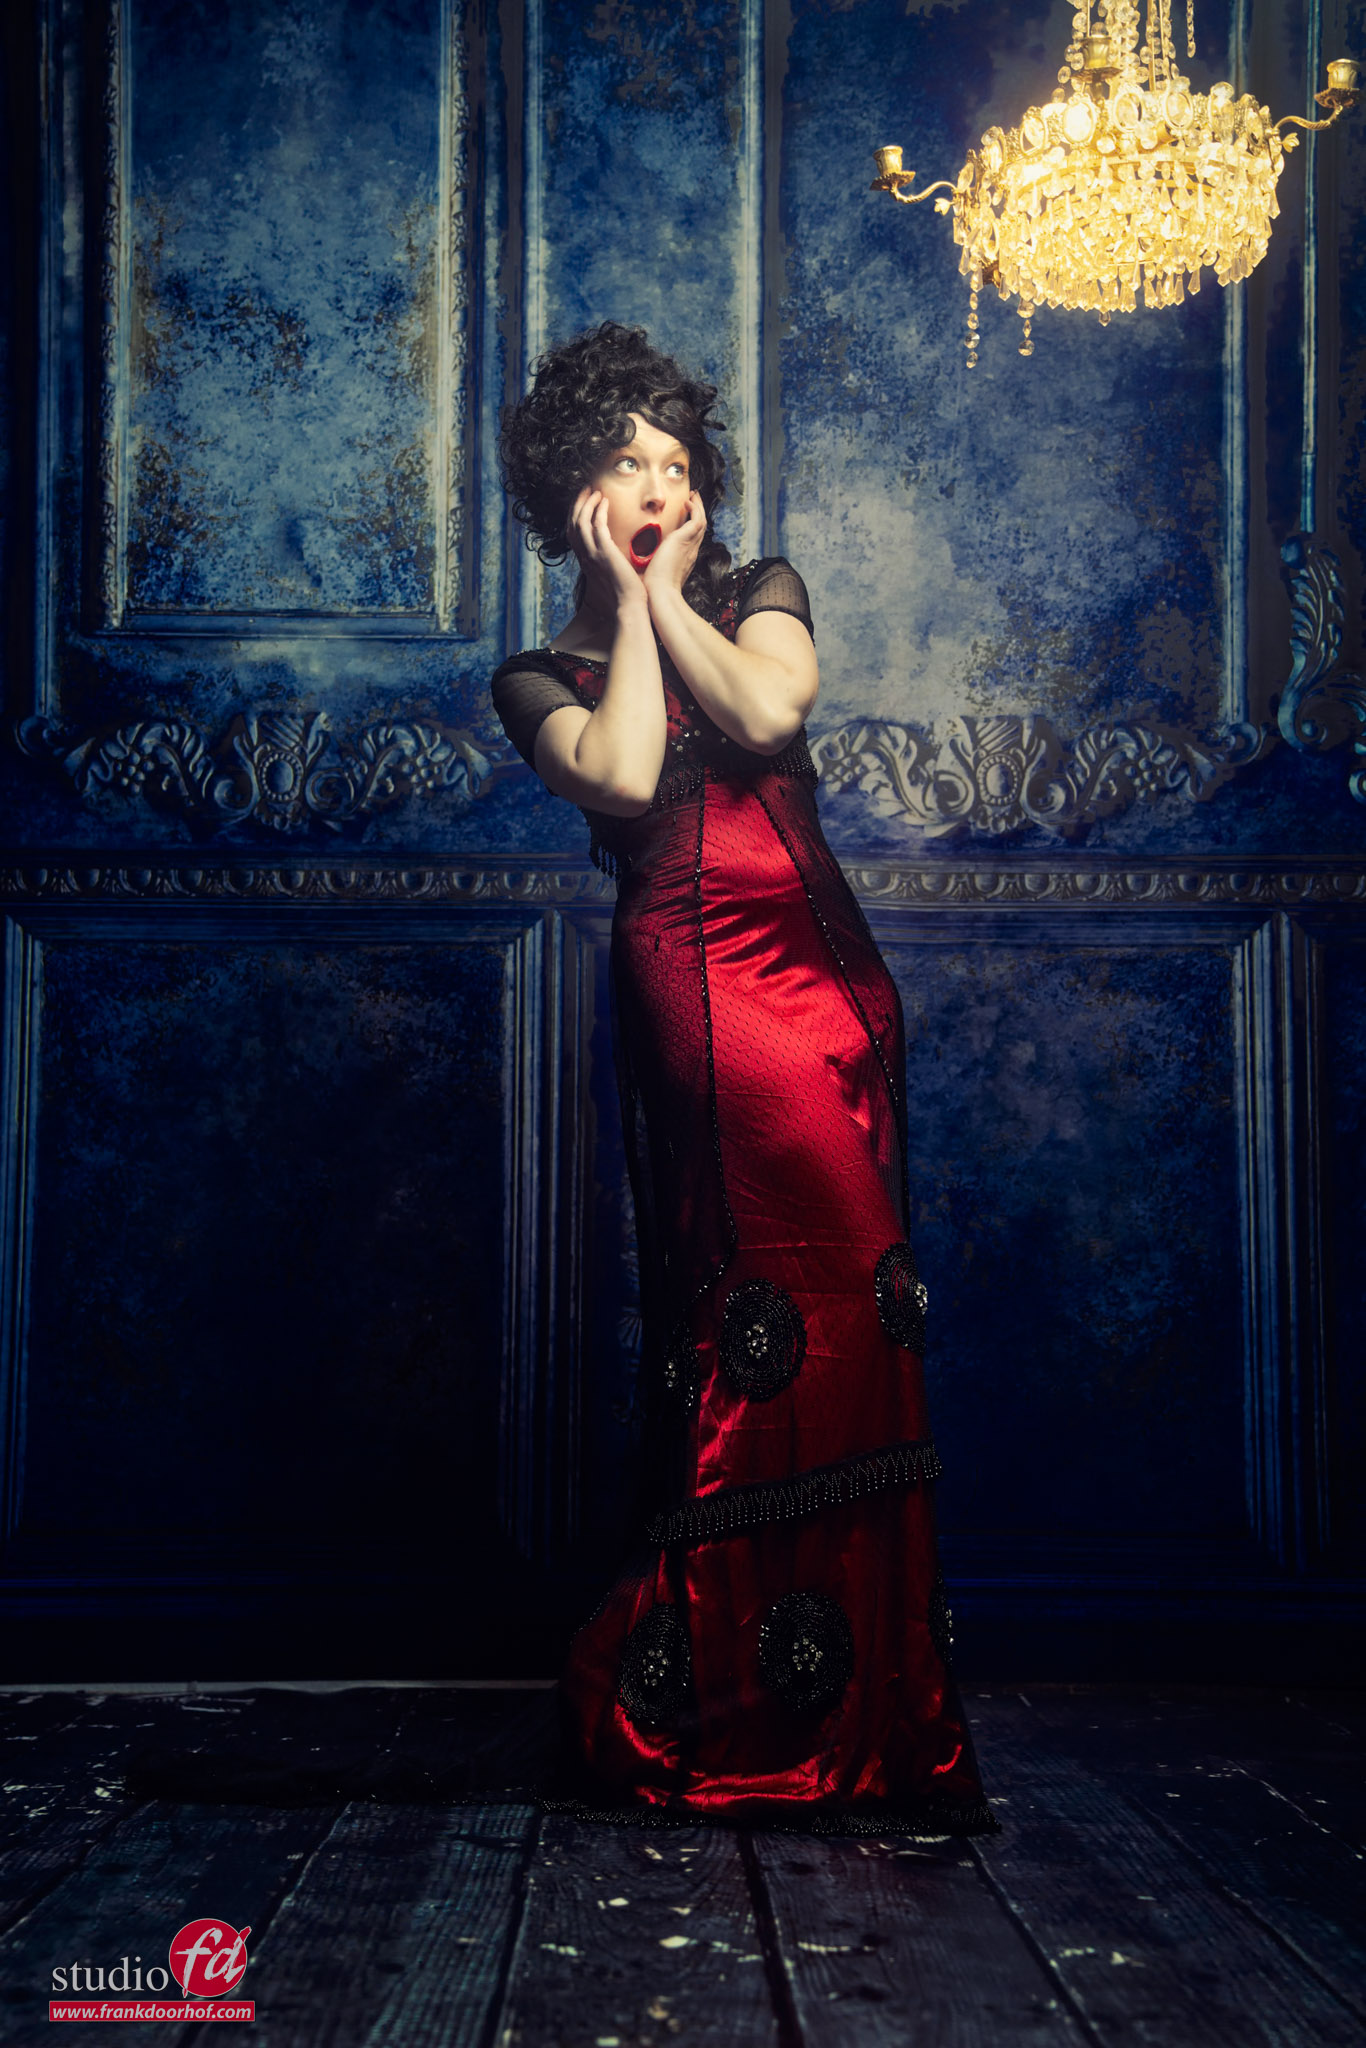
Because we are using strobes, it’s not important where the chandelier spreads. It’s only important that we get the nicest looking chandelier. So, I personally like it when it blows out just a little bit around the lights and gives a slight glow, but you can still see all the details.
When we use the chandelier without strobes, you can correct this with the highlights slider. But with strobes, let’s try to get it right in camera.
Now my advice is to set it up as dark as possible, so you can see every single detail.
My own workflow is that I choose the aperture first; in most cases, this is wide open for the lens I’m using.
I will fix my shutter speed on 1/125 and now change my ISO till I get the result I want.
If I already see the ISO is getting too high, I will lower my shutter speed. I’ll explain in a moment why this is important.
Add strobes
When you have a shot you like, it’s time for the strobes.
Probably the whole set will be dark with just a floating chandelier.
But you now know the aperture, the ISO, and the shutter speed (which is not important for the strobe, as long as it’s below 1/125)
So get your lightmeter and set up your meter to meter the light, and the only thing you have to do is set the meter to the ISO you selected and adjust the strobe till it hits the desired aperture. You now have a perfect 1:1 mix.
And now the fun part.
Because we are shooting with strobes, most of the model will be frozen by the very fast flash-duration, the chandelier doesn’t emit a lot of light so infection on your model is minimal. You could even make your model move around and freeze the motion.
When you use continuous lighting that is too strong, you will see some slight ghosting around your subject. This is literally the build-up of the continuous light combined with the strobe, which, of course something we don’t want and is often a problem when shooting with strobes in the sun and freezing motion on 1/125. Here, HSS can be a great solution.
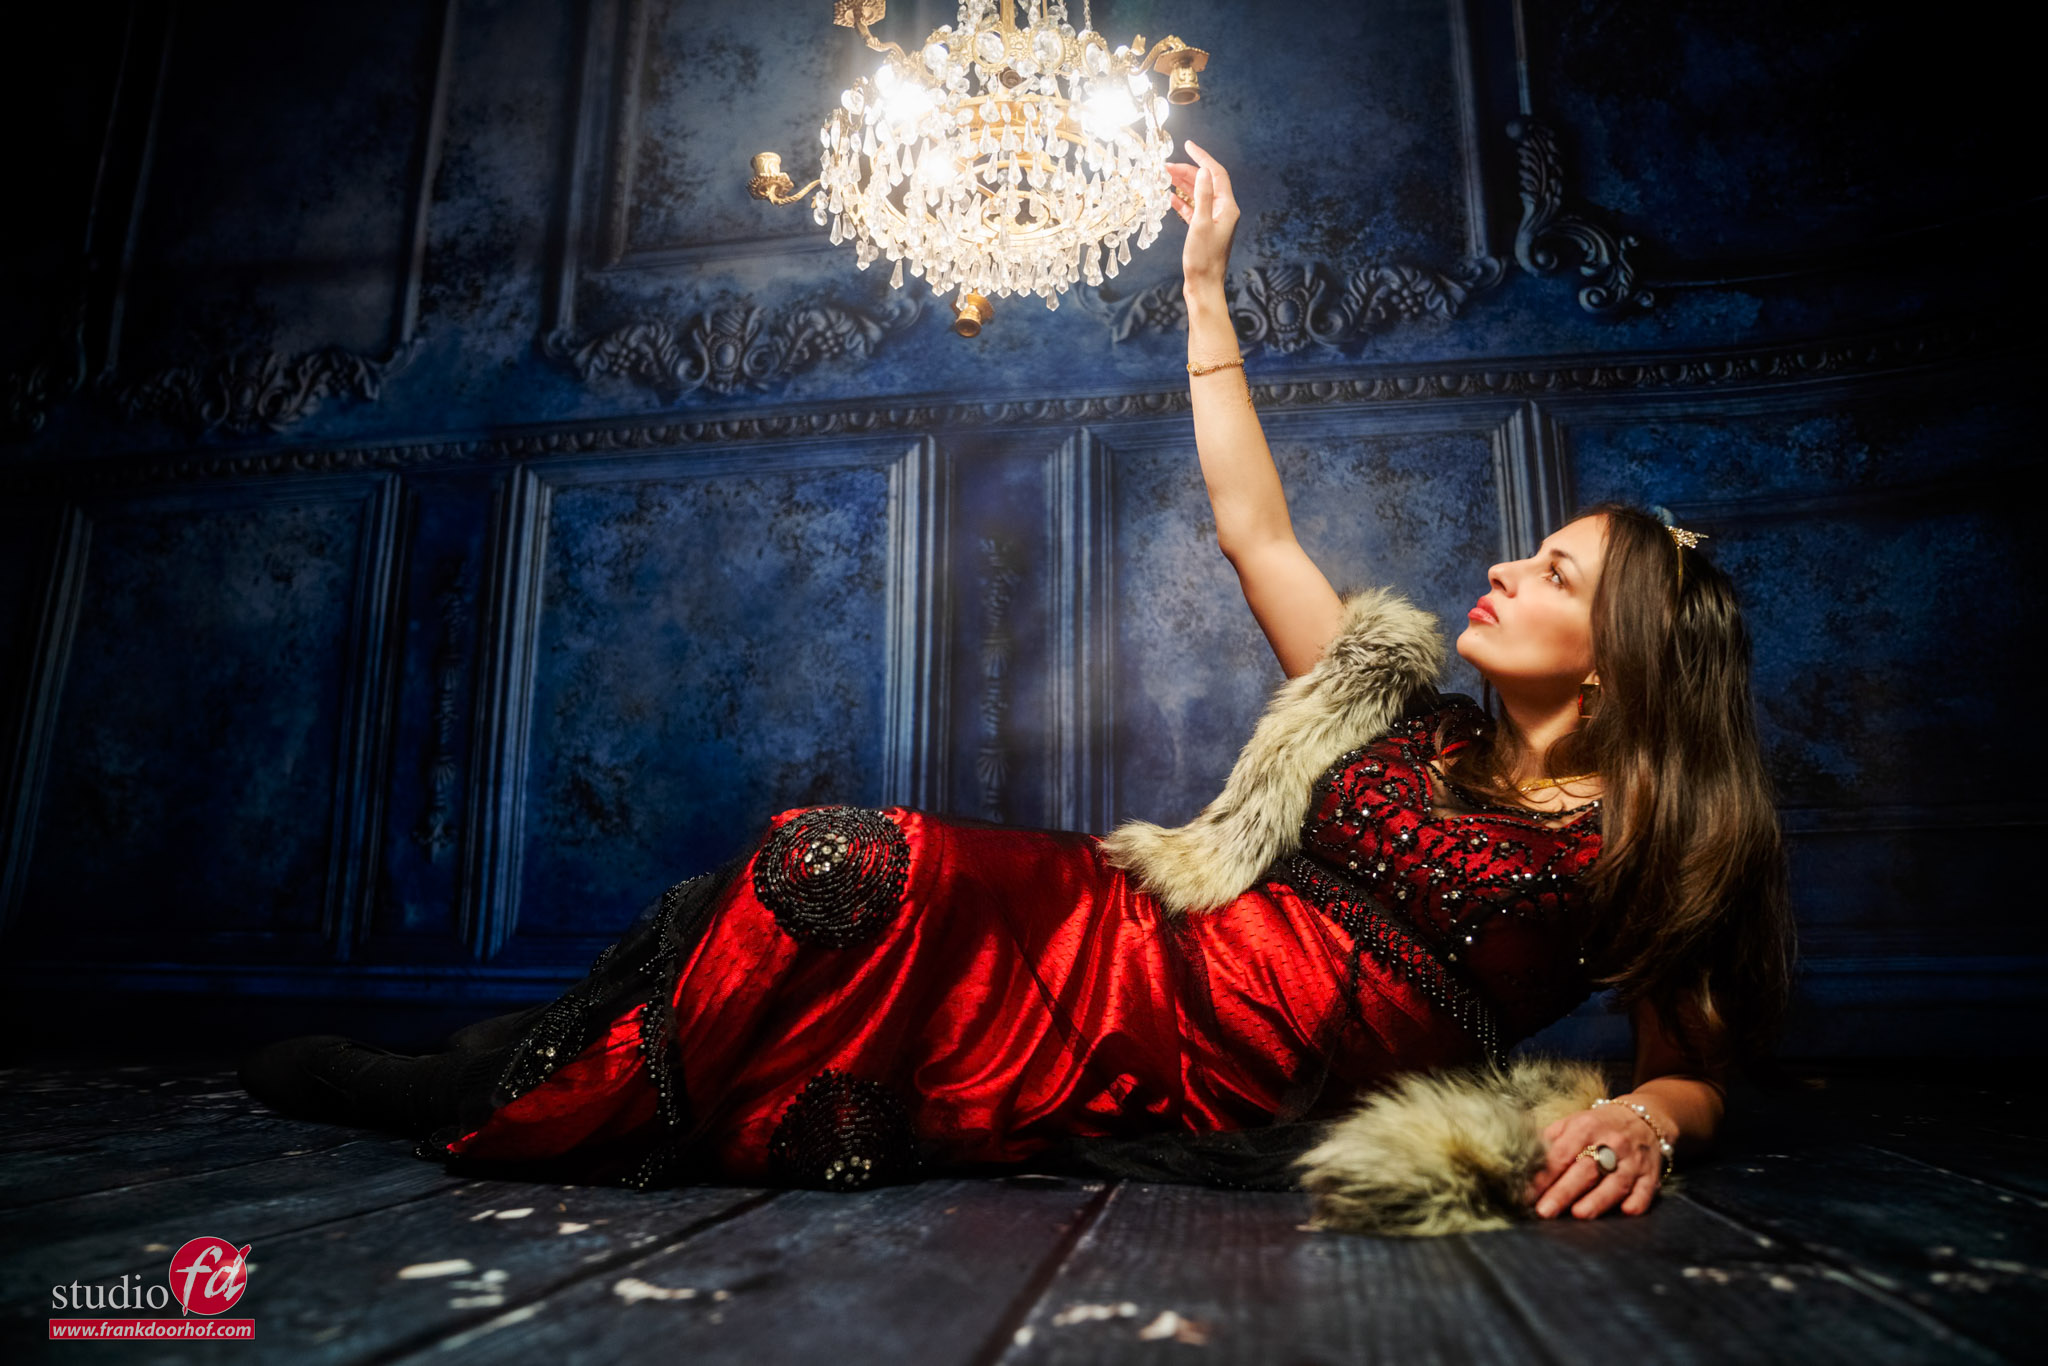
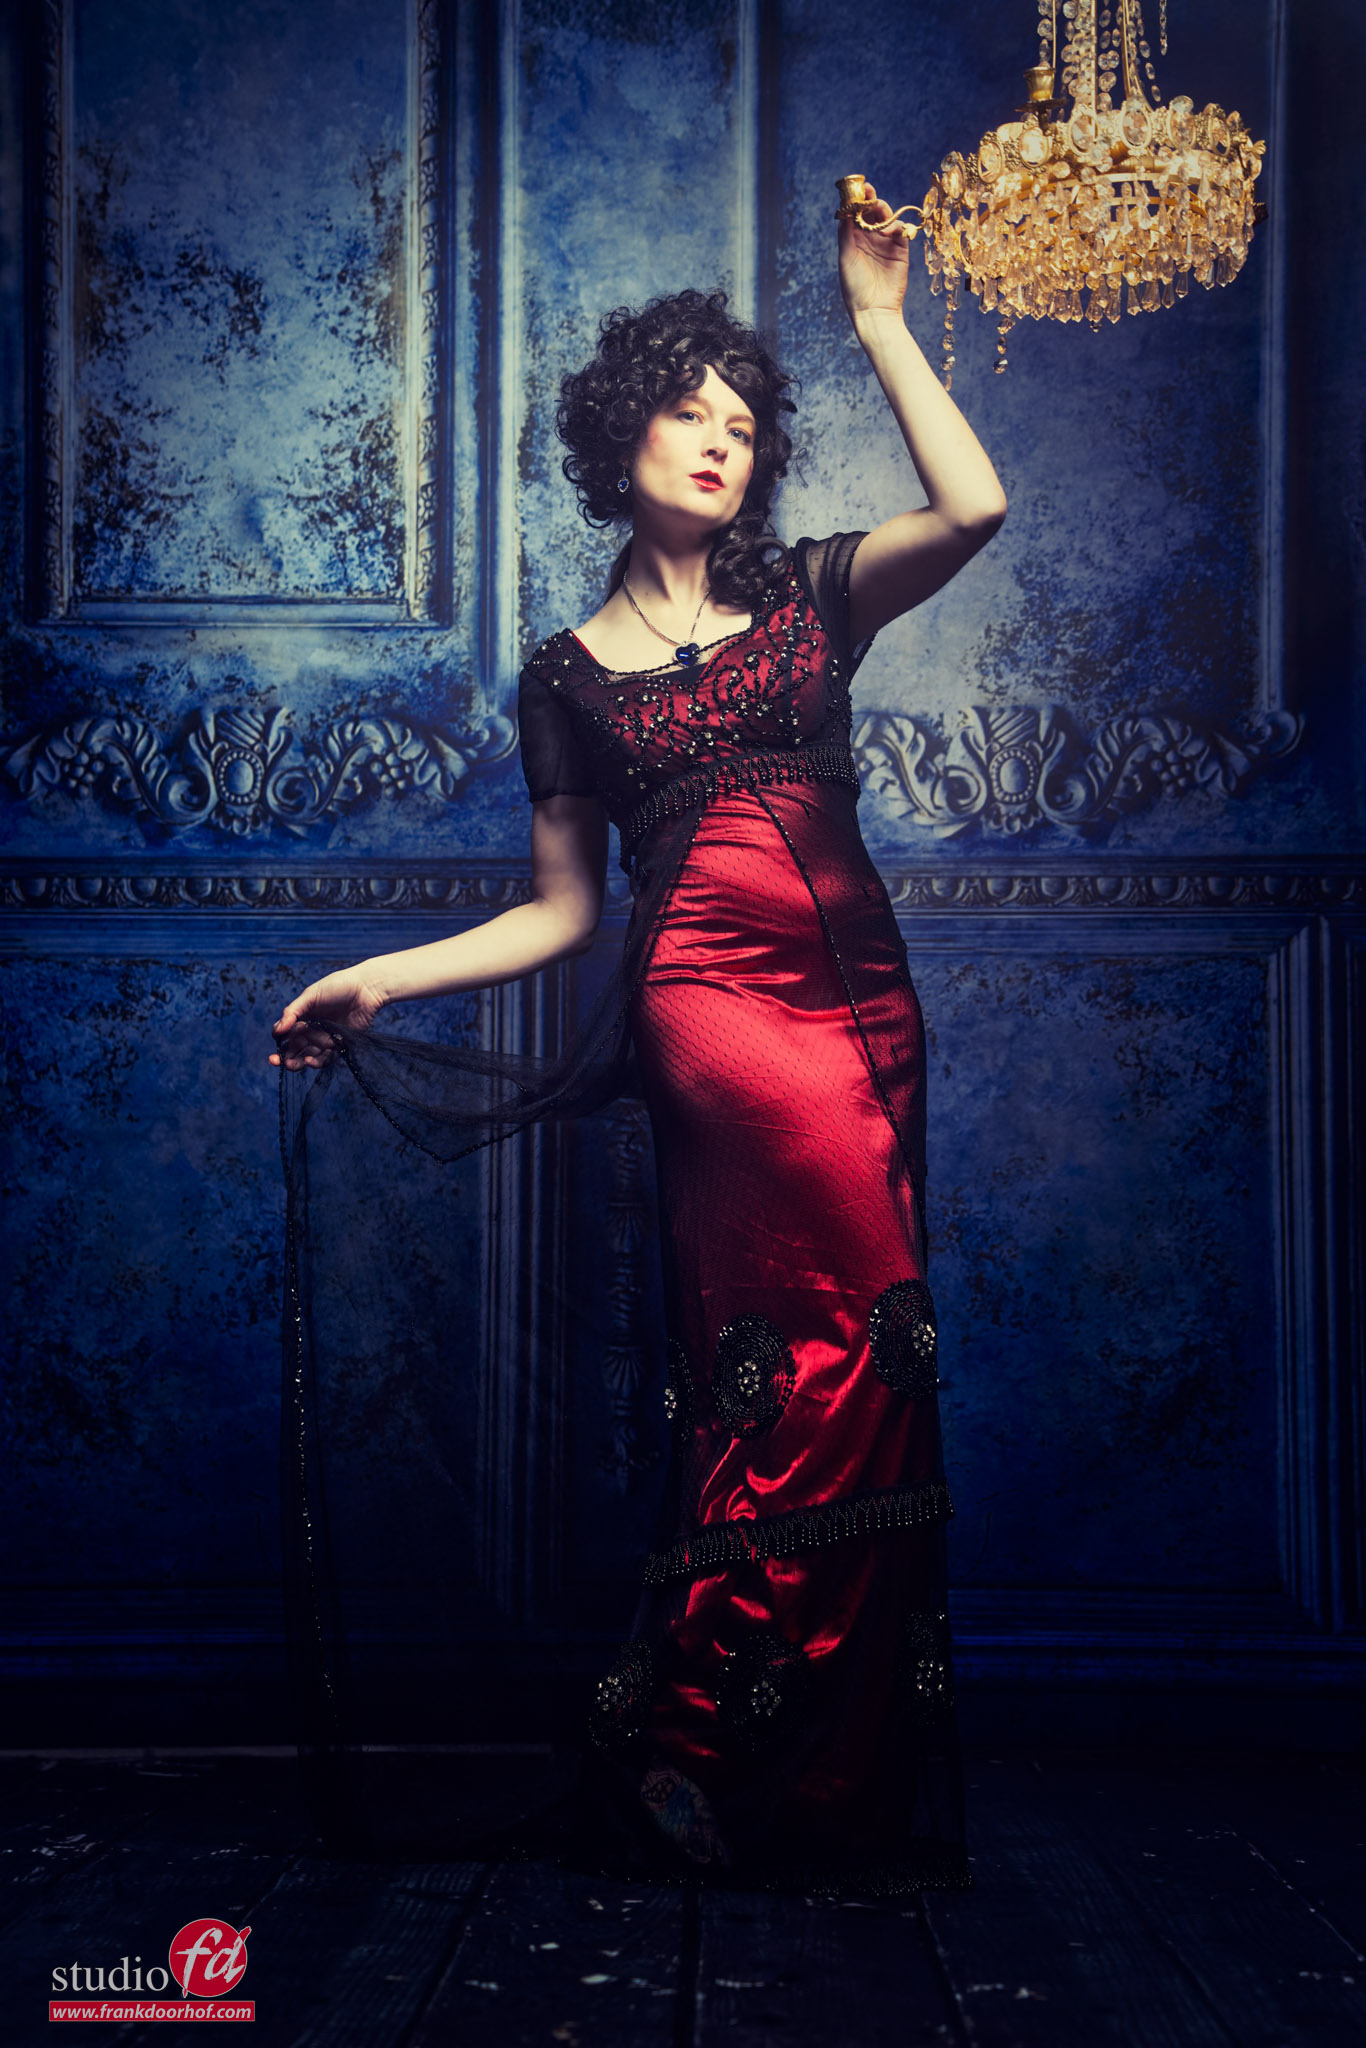
Mixing lights: not enough light from the chandelier
And if you feel the chandelier doesn’t emit enough light? You just lower the shutter speed, and the chandelier will become brighter.
As long as you ONLY change the shutter speed, only the chandelier will change in output. Especially for clients that don’t know anything about photography, it sometimes seems like magic when they see you changing nothing (:D) and still the lights get brighter. You have a client for life because they think you’re a magician.
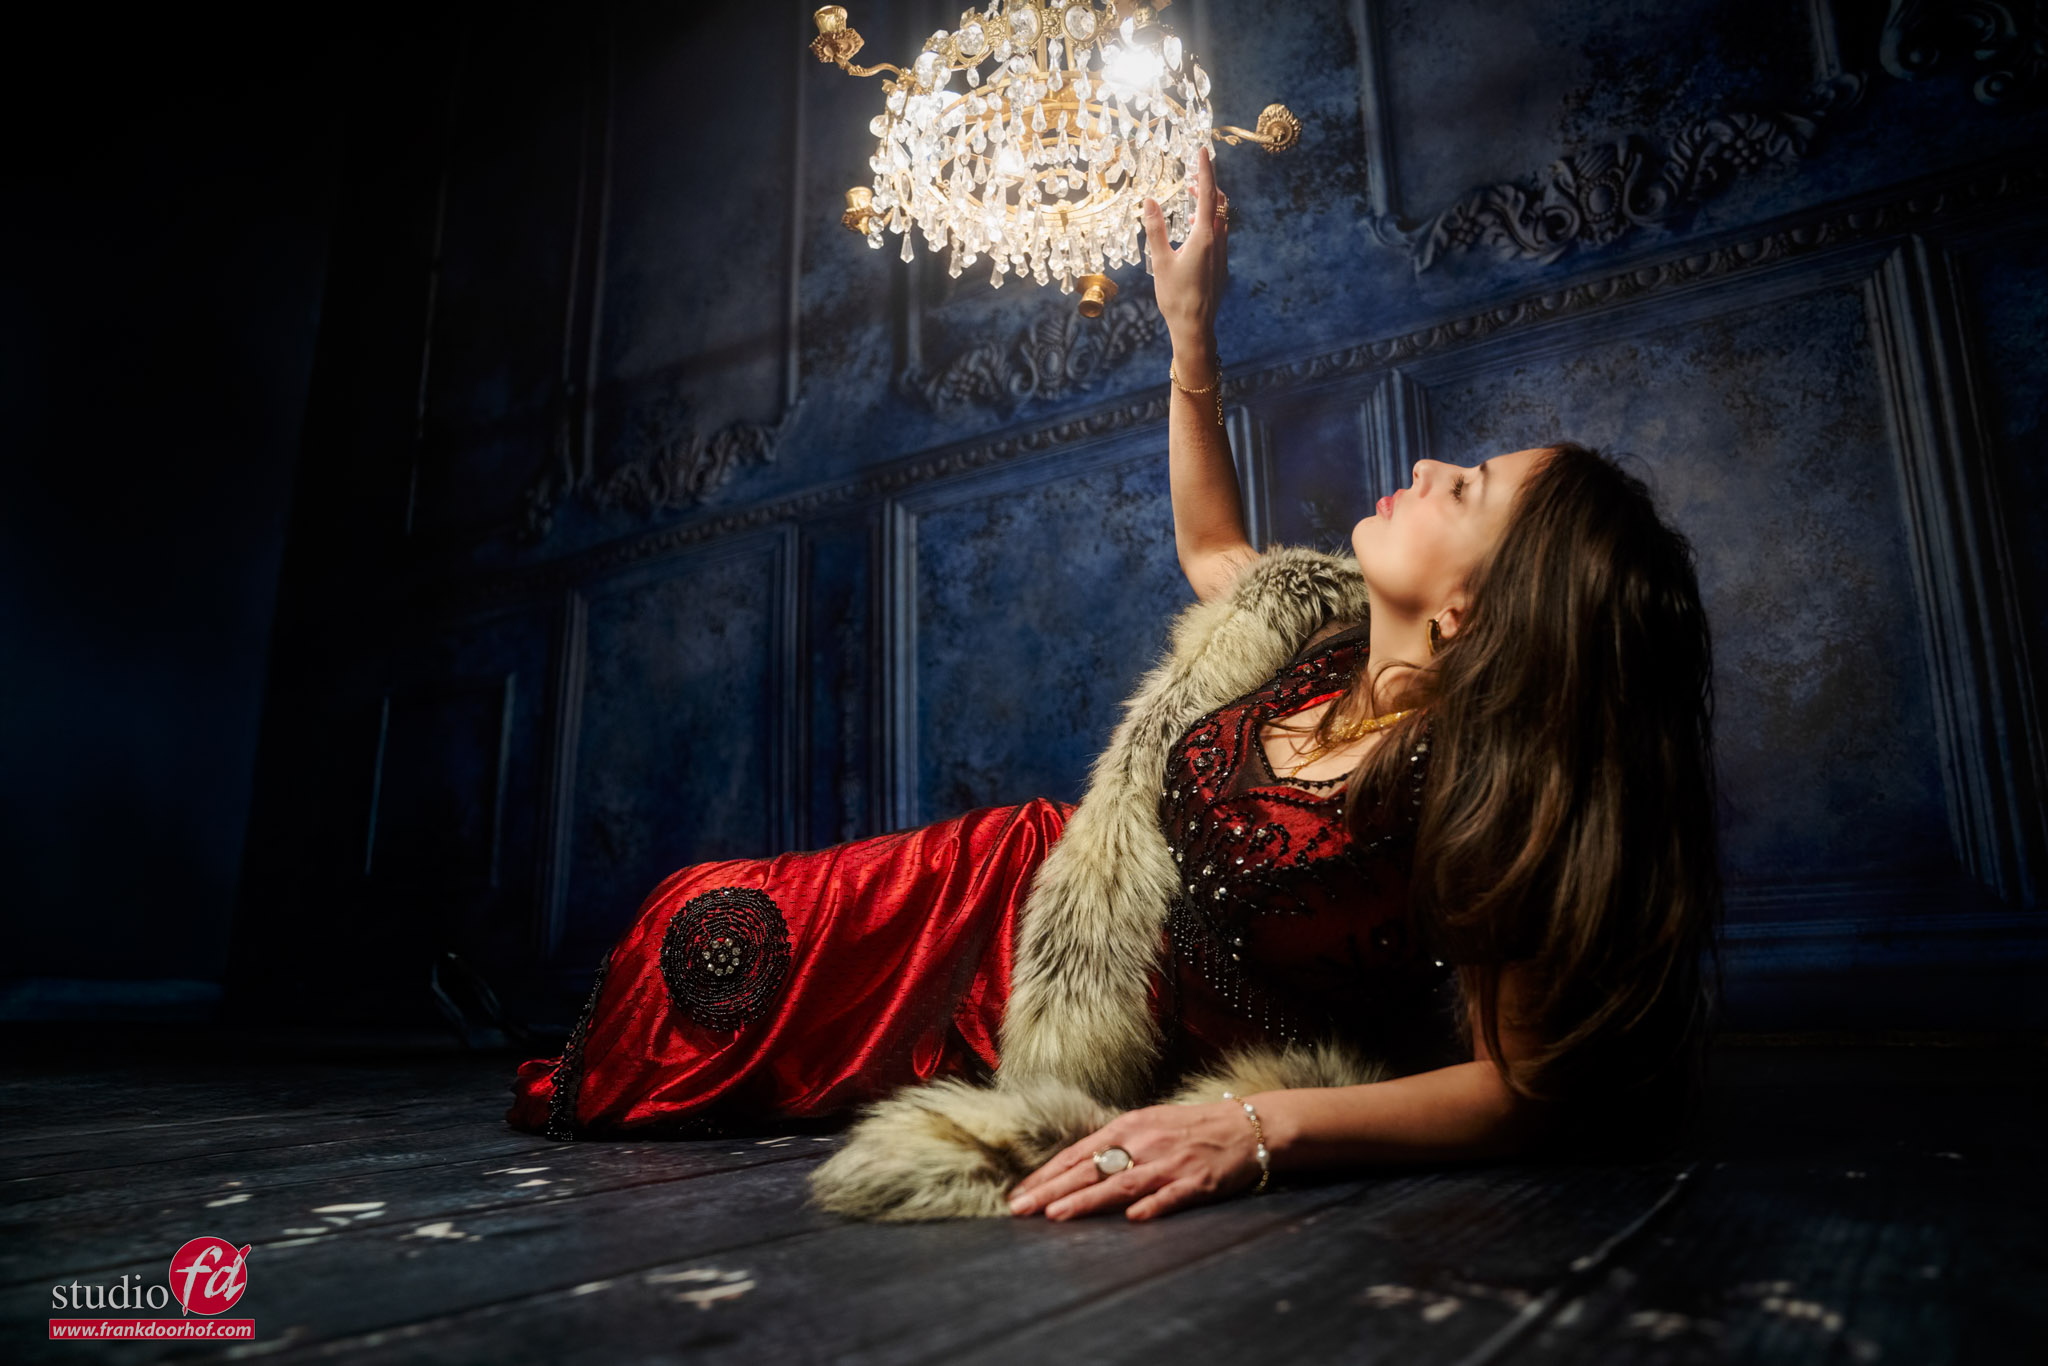
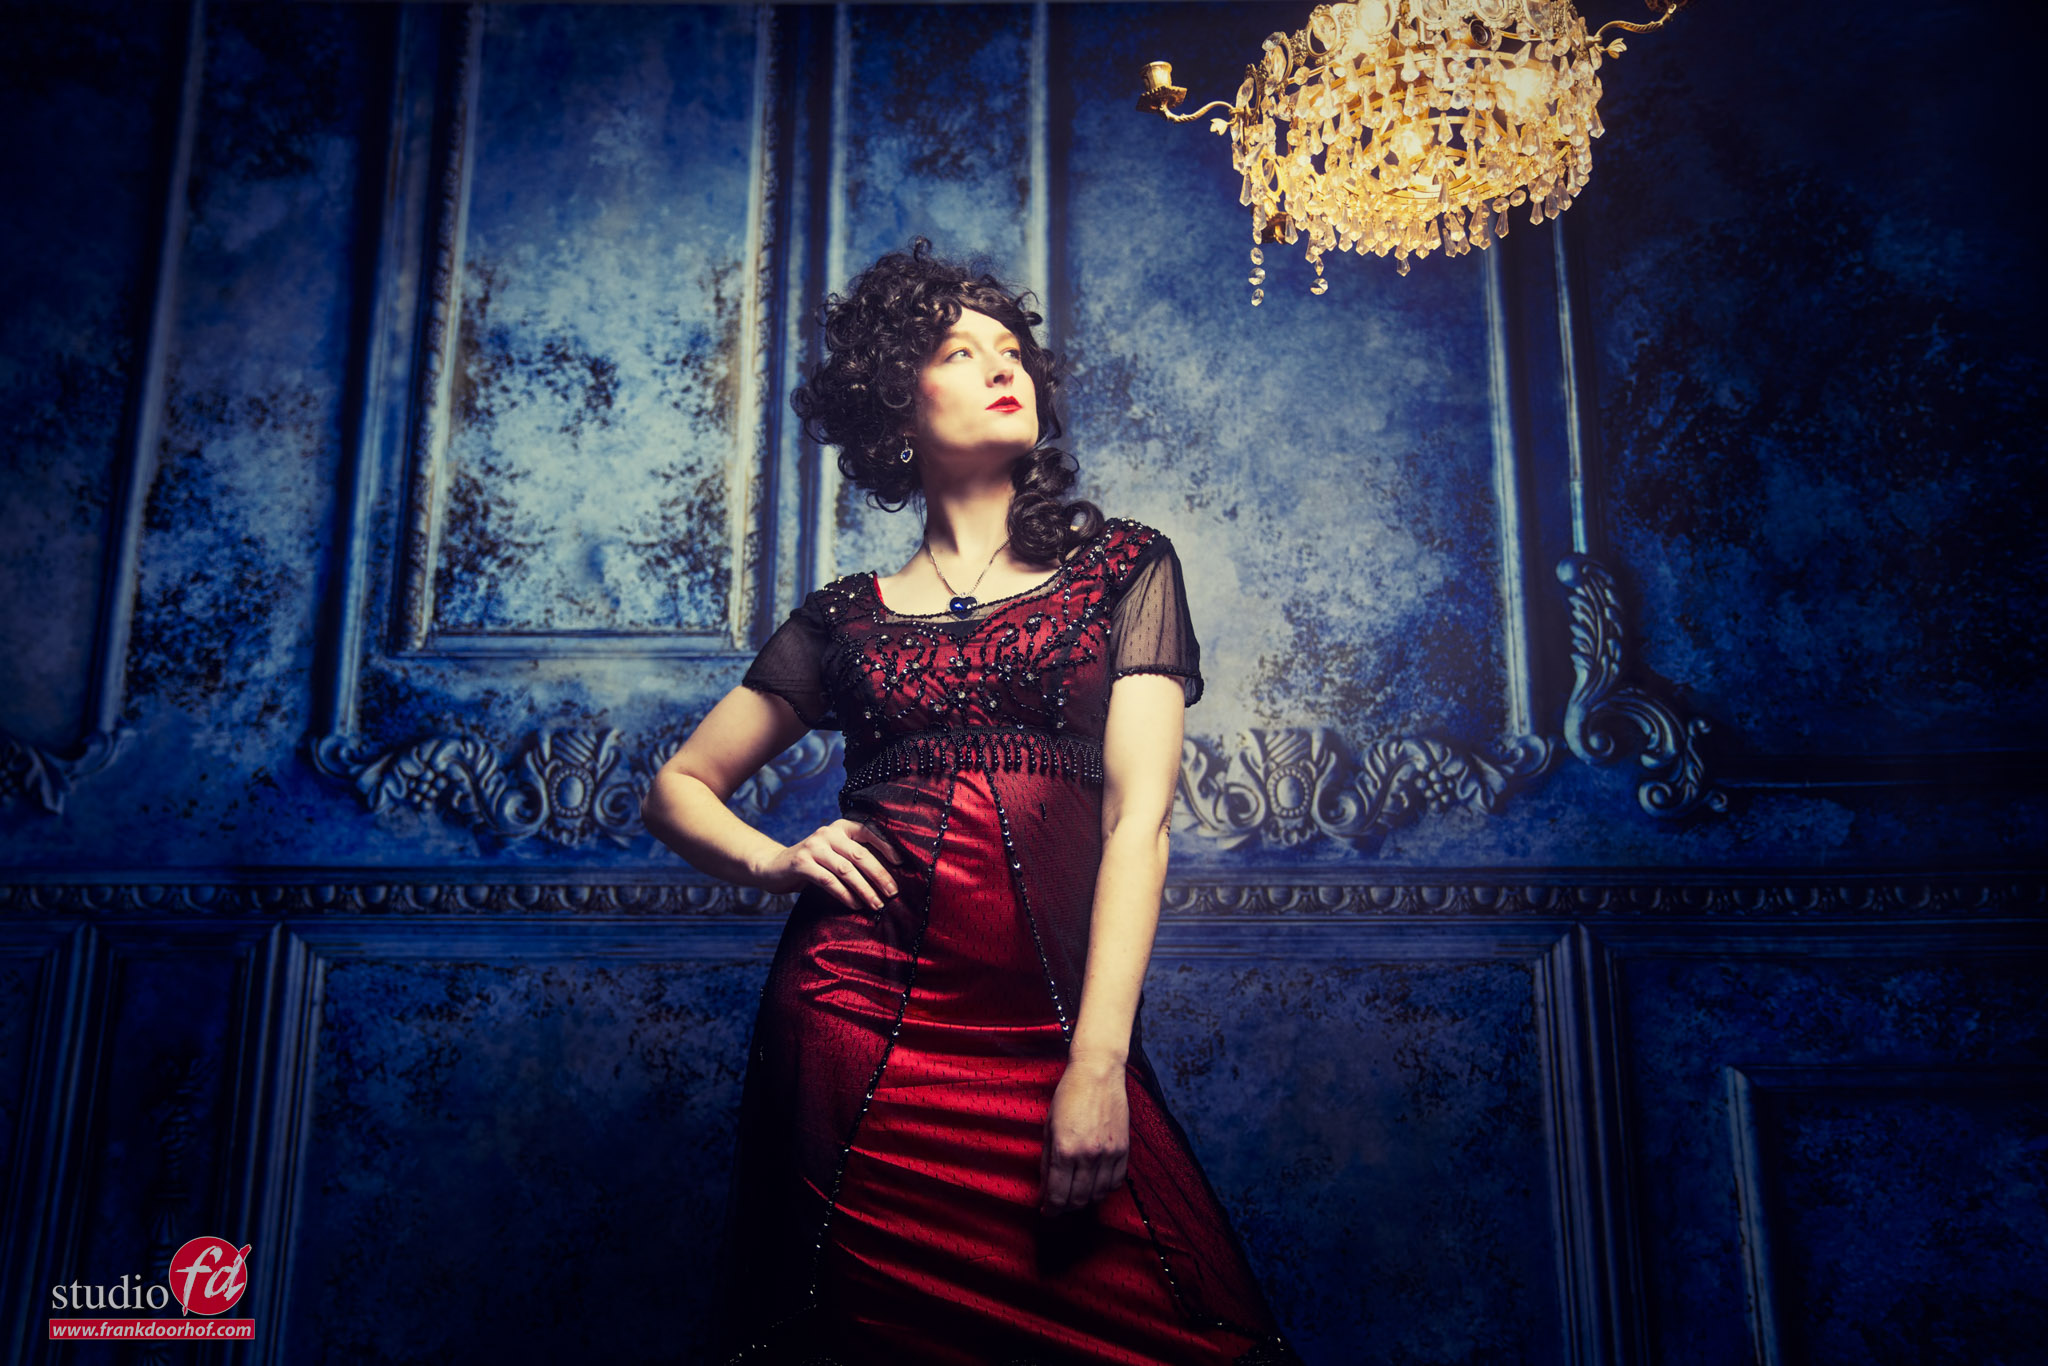
Of course, it’s still important where you place your strobe(s) and which one you use.
For example, you could use something like a Geekoto Lantern straight on the model. But also a more focussed lightsource from the side, and you can even feather the lantern.
As long as you make sure there are no weird shadows going on, you are free to create cool effects.
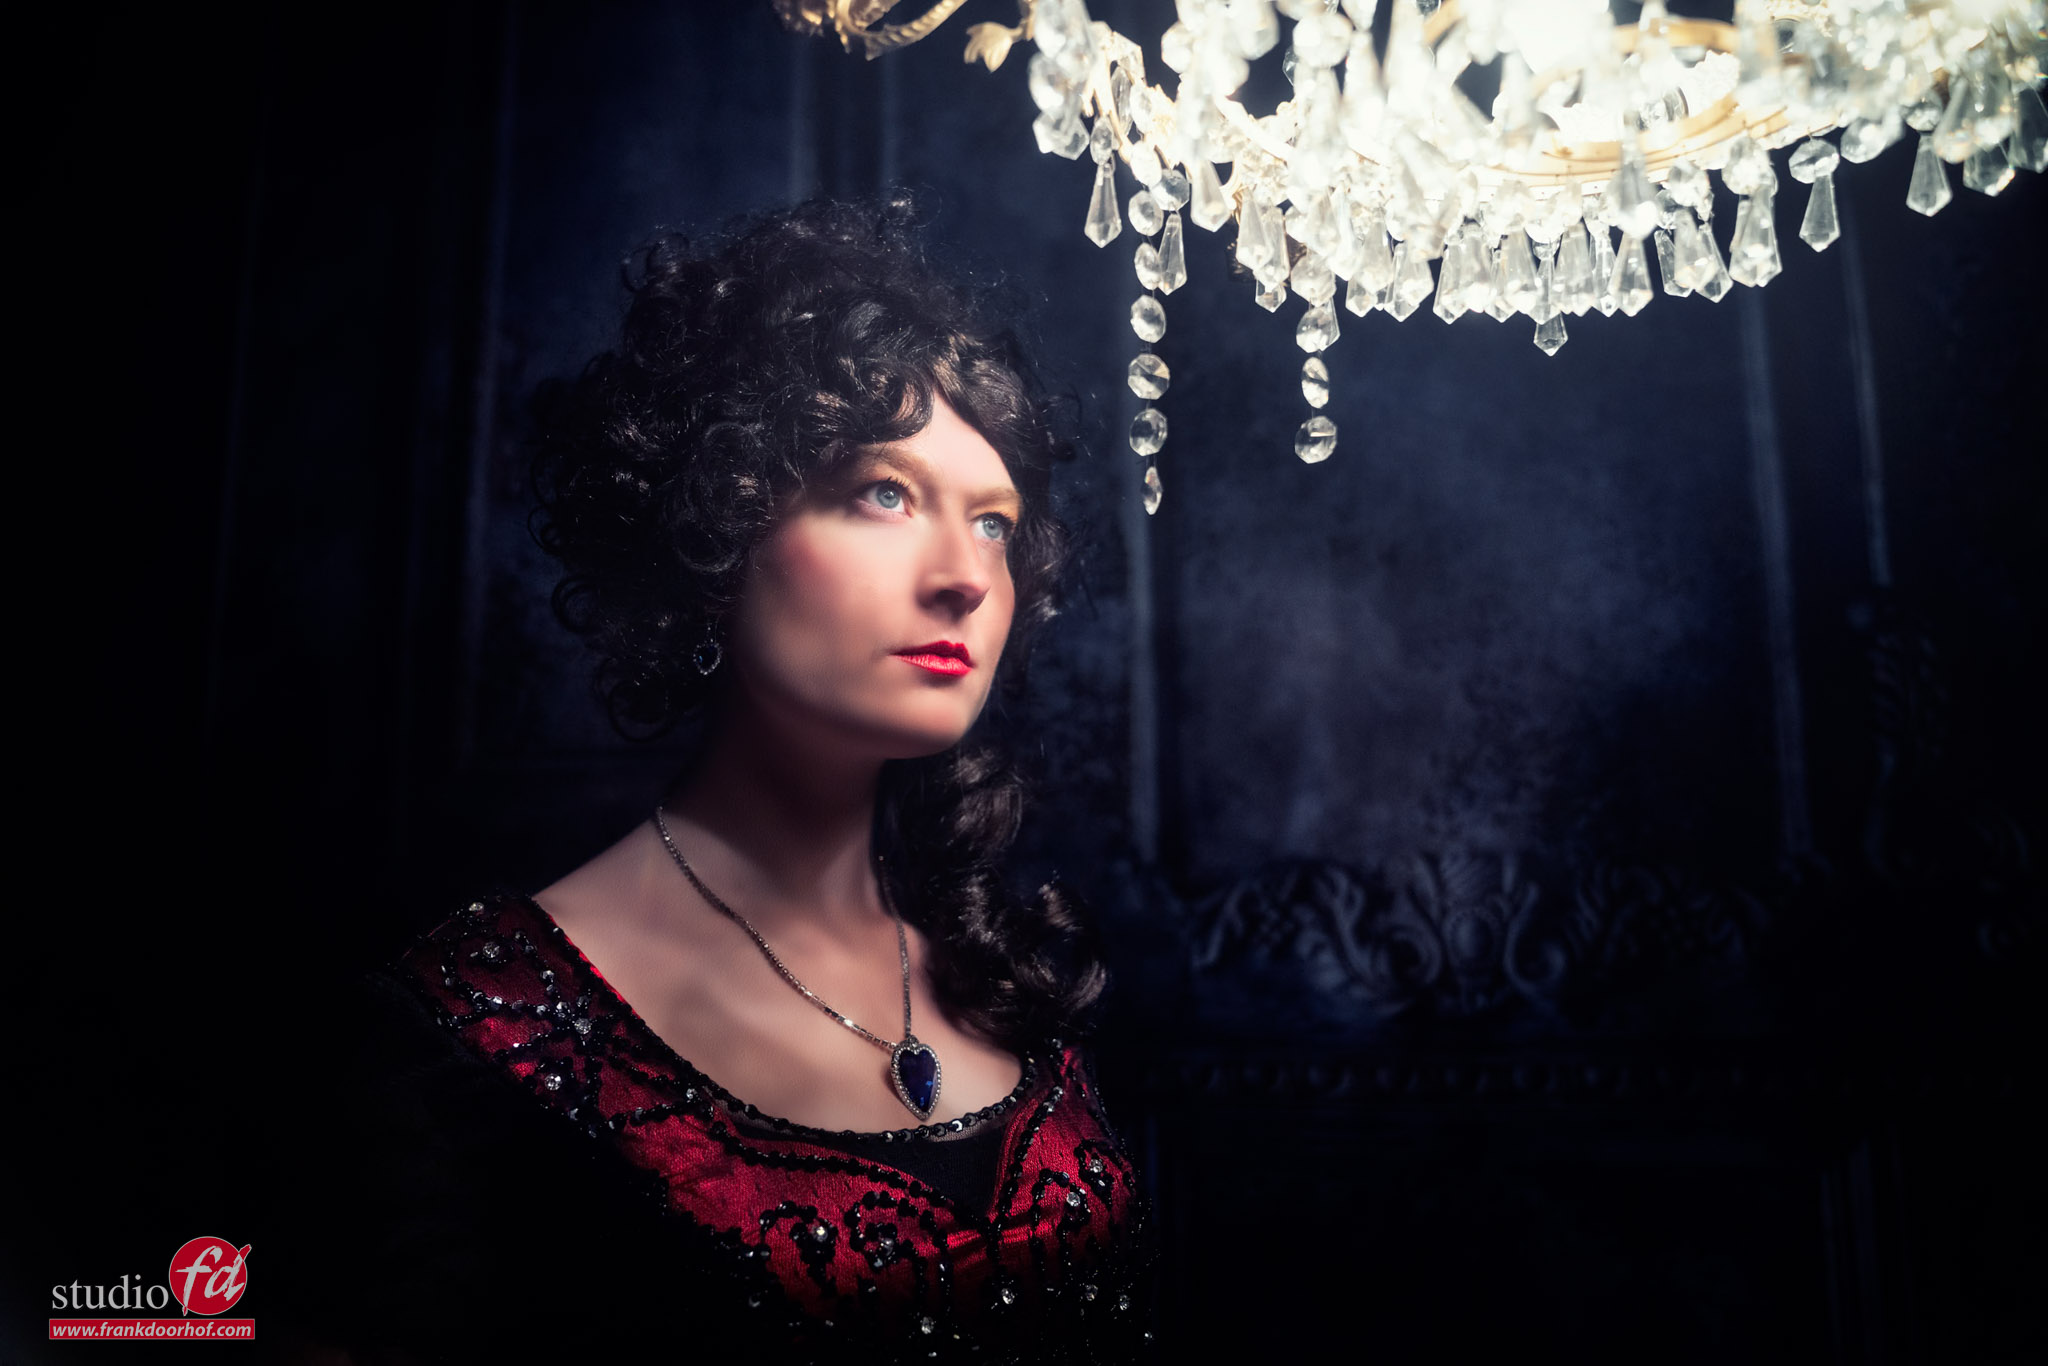
And of course, if you think there is too much light in the set, you can always use a slight/strong vignette.
Personally, I think the vignette is one of the most powerful additions to draw the attention of the viewer into the frame, so don’t feel bad adding it in.
And of course, never forget to also take some images with just the chandelier.
Because the more choices you have after the photoshoot, the better.
Workshops about (mixing) lights
Want to learn everything about light control?
Want to visit a workshop where it’s not just shooting a model with a fixed lighting setup, but see how the setup is built and adjusted to the taste of the group?
And of course learn how to work with poses, backgrounds, small sets, styling, retouching, and a lot more…..
If this all sounds awesome, visit fotografie-workshops.nl and book your workshop.
If you don’t speak Dutch, no problem, let us know a few weeks in advance, and we can switch the workshop to English.
Not possible to travel to the Netherlands?
We got you covered with our 1:1 online workshop.
We have a full streaming setup in our studio. 4 detail cameras and of course the retouching software, so you can see every detail and of course ask questions during the day. Plus, you get all the RAW files after the workshop.
See this other blog about Mixing lights: a chandelier and strobes