Reviews on gear and software

Images from the Irix lens review

Earlier this week you probably saw our video of the Irix lens.
If not….here it is


For you guys not speaking Dutch… (the video was recorded for a Dutch company), I was pretty impressed with the lens and the quality of the shots were very good. If they ever release a Sony version I will probably buy it for myself 😀
Today some of the images we shot during the video.

nadine-canon-5ds-irix-october-6-2016-0027

nadine-canon-5ds-irix-october-6-2016-0029

Z30 SP xDrive for the traveling photographer

Some things look great on paper but are terrible in real life.
Some things can be solved.

According to some the iPad/iPhone etc. are closed of systems where you always need iTunes to sync or put stuff on your device, and although indeed this was always true in the past there are many solutions now a days that work like a charm, for example I use mostly “preview” to get images and videos off my iOS device, or (if there aren’t many) I use airdrop, and when I need them in the catalogue of Lightroom I will just connect my phone to Lightroom.

In fact I only use iTunes to get video material on my iPad before traveling and music on my iPhone. And even then I don’t convert the video via iTunes, I just drag and drop the files into the folder for my CBR reader or video for VLC. The times where you had to convert everything is long gone.

But still there sometimes is the need for more, especially when traveling.
We love to edit video on the big screen of the iPad pro, but I also love to watch some episodes of my favorite show while flying and preferably I want to carry everything with me so I have a lot to choose from, and although you can fit a lot of shows on the 128GB iPad pro…. well I still want more sometimes, and when you combine it with video editing even the 128GB can be filled up rather quickly.

But don’t worry… there are solutions for that too.
Enter the Z30 drive.

SP128GBLU3Z30V1W

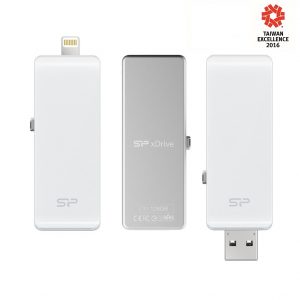
I’ve tested the iShowfast a while ago and although I liked the idea of the drive, and in all honesty it did do its work almost flawless, the connection was very weak and within a few weeks of normal use I already wasn’t able to lock both the lighting and USB part of the stick, in the end they exchanged the stick but I’m now so used to the Z30 that I’ll keep it in it’s box and probably sell it. The main thing I like about the Z30 is that there is a 100% hidden position as you can see in the middle of the image above. With the iShowfast there wasn’t, so you always had the USB or lighting part exposed, and that means…. well change of damage or dirt getting in the contacts.

Now writing a review on a device like this is pretty… well let’s put it this way, it’s like writing a review on a USB stick, it works or it doesn’t  😀

Safari

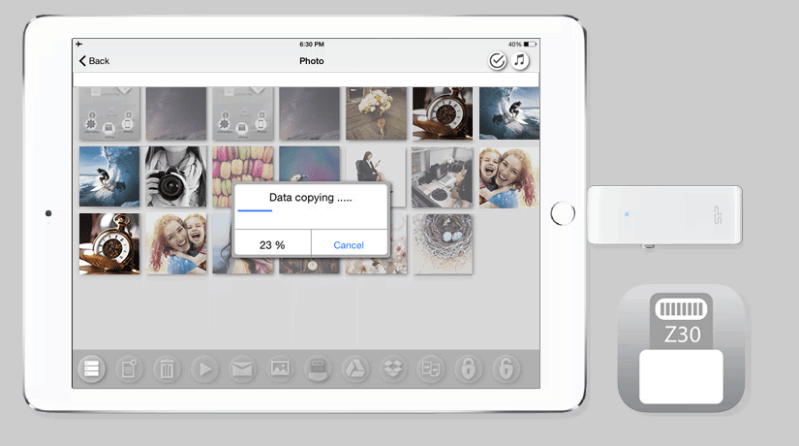
In essence the Z30 drive makes it possible to very quickly sync files like photos, videos and documents between your mac/pc and iOS device. To make it work the only thing you need is the free iOS app that you can download from the app store. Via this app you can do some pretty cool stuff like creating a backup from your camera roll, backing up your contacts (and restoring them), synchronize between devices, work with dropbox (upload and download) and of course it also supports encryption so your files are safe.

I’ve been working the Z30 for some time now and I must say that I’m really happy with it, it copies pretty snappy from my MacBook Pro and the “feeling” of always being able to copy material from my MBP to my iPad pro on the road is pretty handy, we film a lot of material on the road and it saves us a lot of time to being able to already do some editing on the plane and the iPad pro simply shines on video editing capabilities.

If you’re traveling a lot, OR if you just need some extra memory on your iOS device and you don’t want to always connect to a MBP/Pc or whatever the Z30 is something I HIGHLY recommend. Check them out on their site. it’s available in 32/64/128GB versions (I tested the 64GB version)


A 100MP Workshop and review

One of the things that I really love to do is test new gear….
Often it does mean that I have to keep my mouth shut for a long time (sometimes short) but being able to work with gear in beta is very exciting, especially when you can still have input.

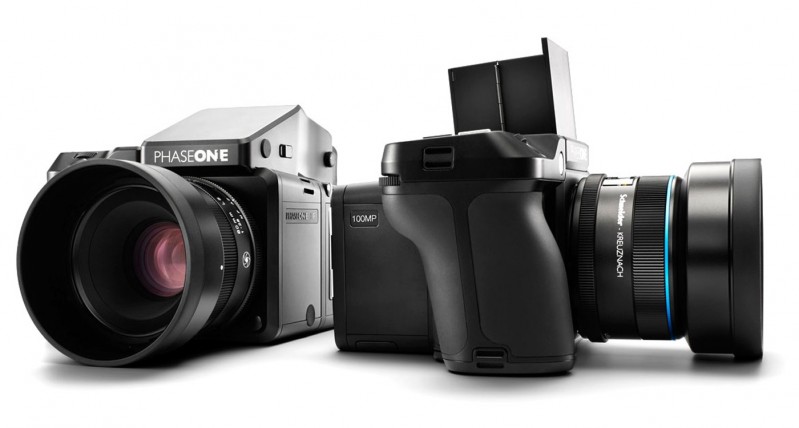
One of the companies I’ve worked with in the past is Mamiya/Leaf now part of Phase One, I always loved their backs and when they released their brand new XF camera system I was immediately in love, for the first time in a long time there is a REAL upgrade to the DF(+) system and the cool thing…. you can even switch to waist level finder mode on the camera, for people not knowing what this means… it means you look down on the camera and can have contact with your model much easier, wait let me show you….. here you see the camera with the normal viewfinder and with the waist level finder. This is really an incredible cool feature, especially because you now also have auto focus of course and that’s very handy. It’s not the first time there was a waist level finder camera with AF but the XF is one of the most complete systems I ever tested.

phase-one-xf-100mp

But with a camera there should also be a back right?
Well that’s how Medium Format works, you have the camera, lens and a digital/analogue back (in this case digital only).

Now Medium format was always known for the high dynamic range and high megapixel count, but in all honesty with the new Sony sensors Medium format was playing catch up, it was still better if you stayed under ISO200-400 but in all honesty above that…. well give me SLT or DLSR.
A few years ago Leaf/Phase One introduced the first Sony Sensor in a Medium Format camera and I was able to test the 50MP sensor on the road during a road trip through Denmark, it was the first time I didn’t touch my SLT camera at all, in fact I didn’t even took it out of the case, the 50MP sensor did an amazing job in both low light as in day light, the only “problem” it was a crop sensor, and in all honesty I also love to shoot with the back on a Mamiya RZ67ProII and having a full frame sensor on that camera is already a pretty tight crop, so I gave it back with the comment…please make a full frame sensor 😀

It took a while but now it’s on the market, and what a nice back…..
100MP (actually 101MP) and a TREMENDOUS dynamic range and great high-iso performance. Of course I wanted to test this camera and back. This is how the idea started to teach a one day workshop in New York with the new camera in cooperation with Phase One. And I can be very short about the experience….. this is an AMAZING camera (and back).

Now most of the attention will mostly go to the camera, this is where you really see the difference with the “old” system, the XF is MUCH faster with it’s auto focus and also much more accurate, where the DF+ is already very good but sometimes slow, the XF feels very snappy and is spot on. Also the speed in which the 100MP files are dumped over the USB connection is nothing less than stunning. The camera has a lot of new features including an automatic Electronic first curtain which makes the camera more “stable” (less vibrations) and with 100MPs to shoot with that’s not a bad thing.

The first thing a lot of people ask…. “What about dynamic range”
well this is always hard to say, because although the older backs were much less “dynamic” according to DxO labs than my Canon for example I had to disagree because my Aptus series really blew my Canon away with dynamic range, but agreed there was a bit more noise in the shadows. Now with the new backs Phase One claims a 15 stops dynamic range, I don’t know if that’s true or not, but what I do know is that it’s one of the most dynamic cameras was that I ever tested, I could get detail back in areas where I would (even with my Sony A7RII) would have said “ok this is ridiculous, it’s gone”.

The second thing is…. “What about compression and bits”
Now this one actually got me into some sort of a dilemma a while ago with my A7RII, a lot of people complained online that Sony was “butchering” their files and didn’t get the maximum quality out of the sensor, Sony responded with a (first on the market I think) totally uncompressed data output, resulting in HUGE (double the size) image files, the critiques were silent, and I still shoot “compressed” for the simple reason I can’t see a difference in 99% of my work and if I see the difference it’s not worth that I shoot the other 99% of the images in that setting taking up a load of my drive space. So that being said, the Phase One stores in different formats, which gives you the option to choose, but the best option is a real 16bits storage in their IIQ format which is handled marvelous by Capture One (the software I use for most of my RAW developing for fashion work).

But most of all people ask…. “Do you really need 100MP”
Well it depends.
For some applications 100MP is not even enough, think about people making replicas of art pieces for example, but also for the “normal” user 100MP is not as “weird” as it might sound. One thing a lot of people don’t take into account is the resolution of modern day monitors. When we edited our 16MP files most monitors topped out at 1920×1080 which at that time was HUGE, you never needed more, but most monitors also topped out at 24″. Now a days most monitors are in the 24-27-32″ range and to be honest I think most people will be on 27″ within a few years. Now size also means higher resolutions, most aRGB monitors are 2560×1440 which is a lot more pixels which in essence means that if you zoom in on your picture the “zoom effect” will be less. This means in real life that if you do a retouch on for example a pattern you have to zoom in to 200-400% to make sure you don’t mess up and have the accuracy you need. If your camera has a higher resolution zooming to 100% is often enough (although I also love to work in 200-400% with tricky parts).

Now if you travel and shoot and work on a nice new MacBook retina you might not realize that your images are actually “scaled” on a 2880×1800 display, which is even worse because it’s “only” a 15″ screen, meaning zooming in becomes very difficult. And it doesn’t stop there, new monitors with higher resolutions are coming REALLY fast, 4K (4096×2304) and even 5K (5120×2880) resolutions are hitting the market as we speak.

Editing a 16MP file on a 5K monitor is “madness”, the resolution of the file is 4608 x 3456 which would actually mean that if you zoom in to 1:1 there would hardly any difference….. well that’s not a nice way of course to edit.

To make a long story short, for print you still have more than enough resolution from a 16MP camera, but resolutions of projectors, TVs, monitors jump forward at an almost alarming speed the last few years and this means that having a 100MP camera at once isn’t that “weird” anymore especially if you do retouching (or just love to zoom in a landscape or street scene (something I LOVE to do). In fact when I zoom in on my iPhone shots on my MacBook retina there is hardly any zoom effect, and when I zoom in on my old files actually really nothing happens.

In this blogpost you can see some of the finished results from the New York workshop.
My overall opinion on the new camera is STUNNING, it’s very fast and accurate and I love to work with it, the waist level finder is great and the way the camera handles is what you expect from a camera in this price range (because it’s not cheap). The back itself is simply put breath taking, for me personally it will be a while before I will be shooting with a 100MP back myself (I also have to earn my money and can spend it only once) but if you are in the market for a camera/back combination like this… I don’t think you will find anything better… IT ROCKS… the files literally sang in Capture One and Photoshop, I could push the shadows and pull the highlights as far as I wanted and the sharpness was absolutely breath taking, but most of all I REALLY loved the skin tones, this is something that I always miss in certain cameras, even with the use of a color checker the skin tones often are just…. well…. a bit off, but the XF100 nailed it, and even although I tint all my images, it’s incredibly important to have a file to start with that is as clean and perfect as possible.

If you have the chance make sure to test the system yourself.


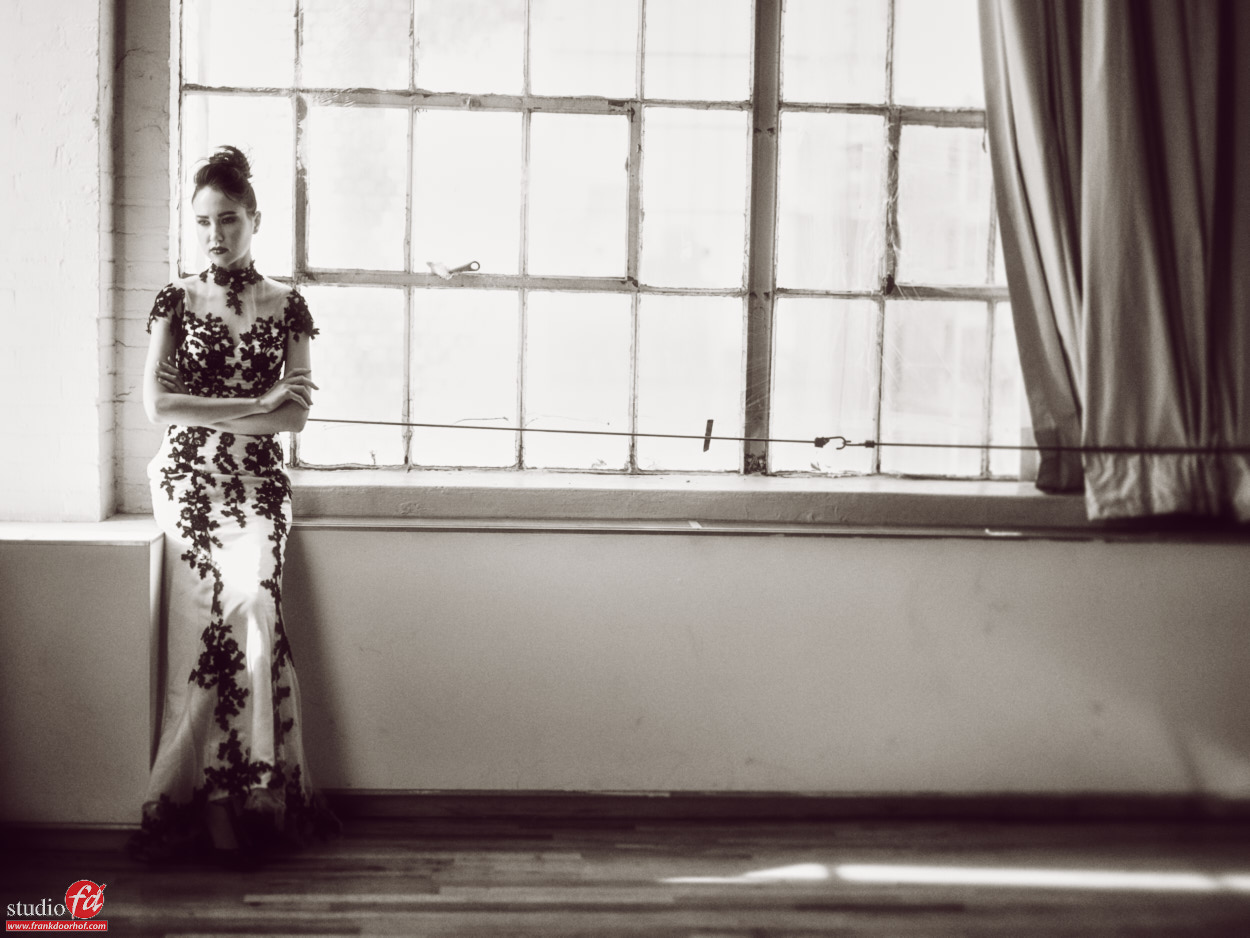
We started the workshop relaxed with some expression and portraits.

Karina Feb 13 2016 Phase One workshop NY 0022

And playing with some contrastKarina Feb 13 2016 Phase One workshop NY 0031

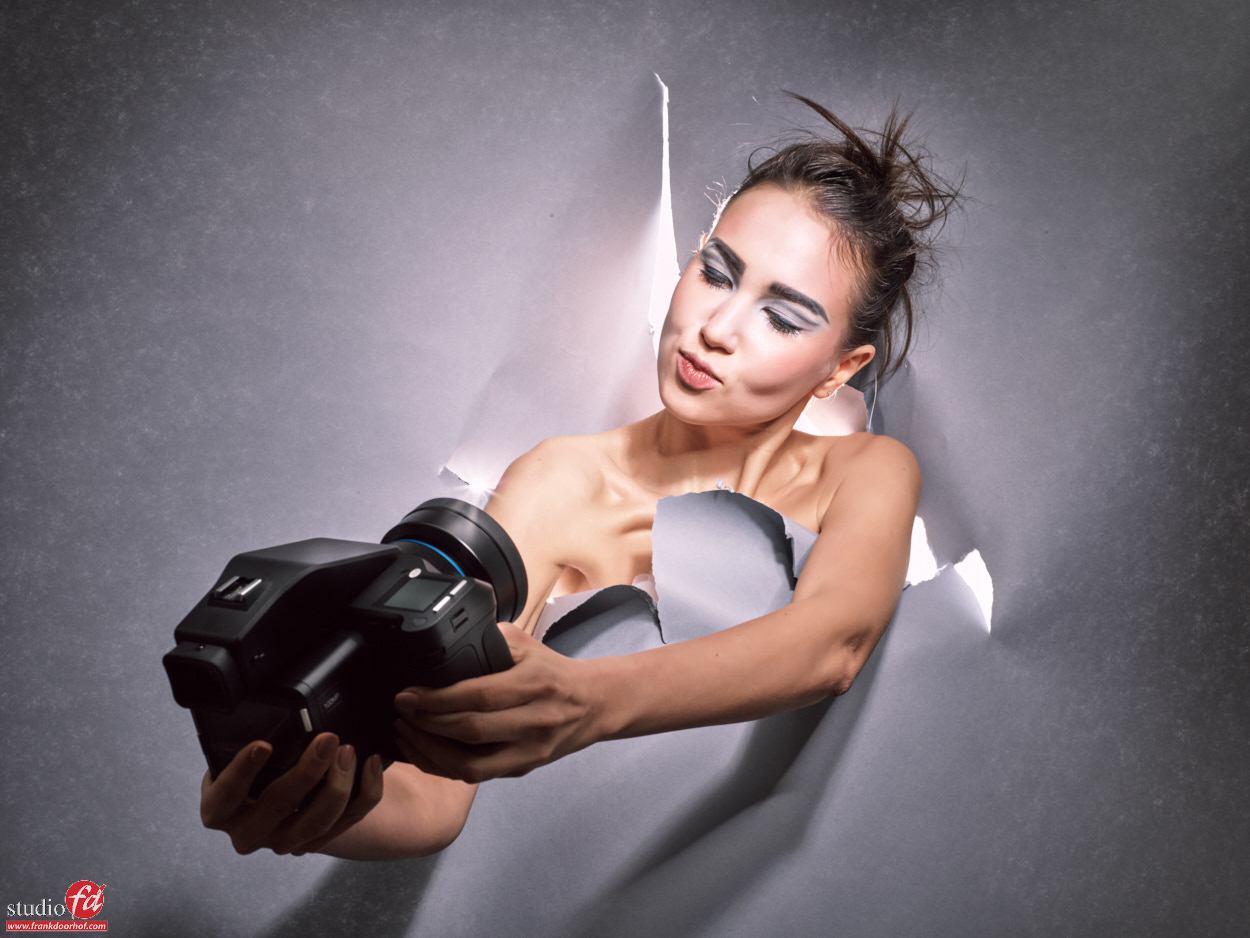
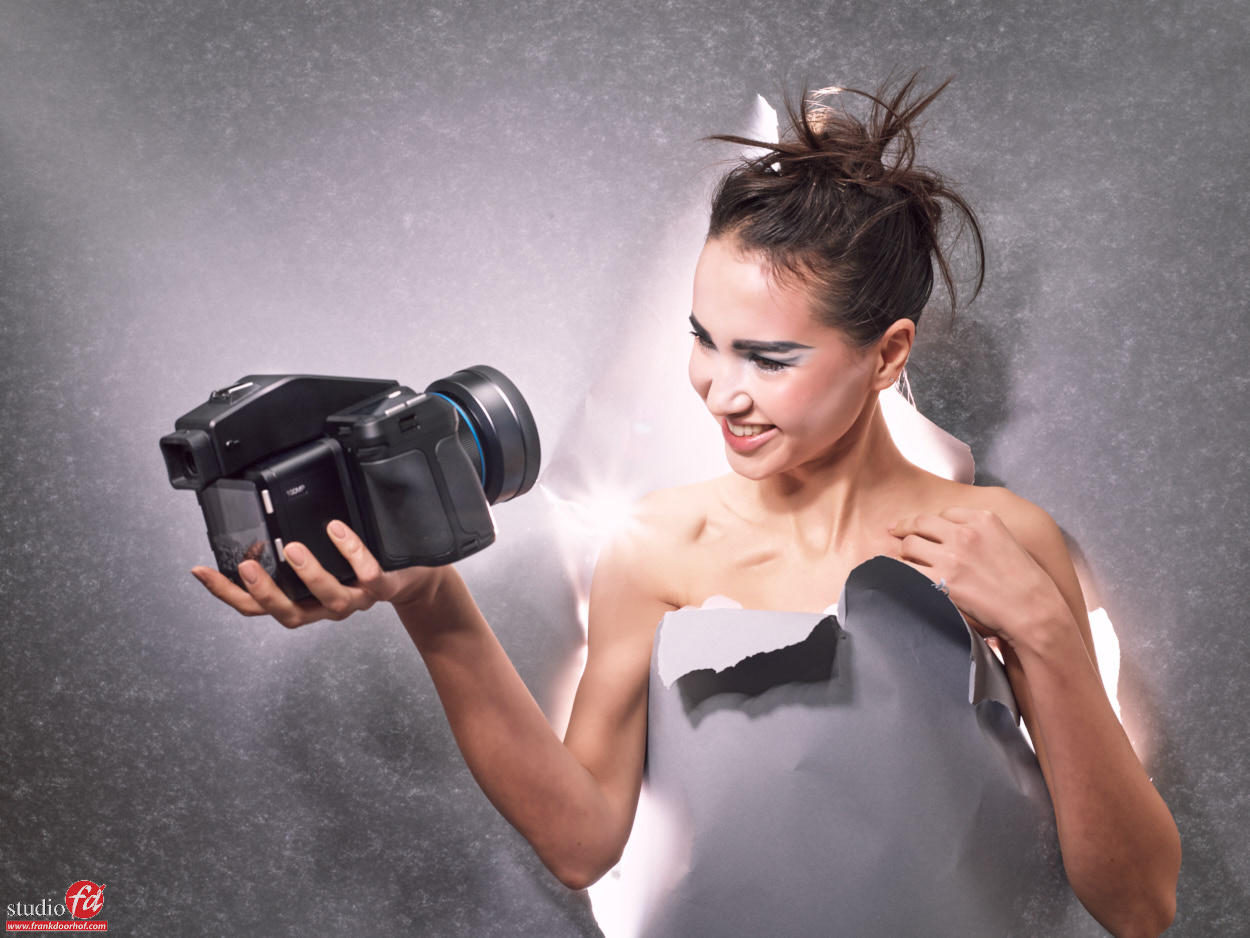
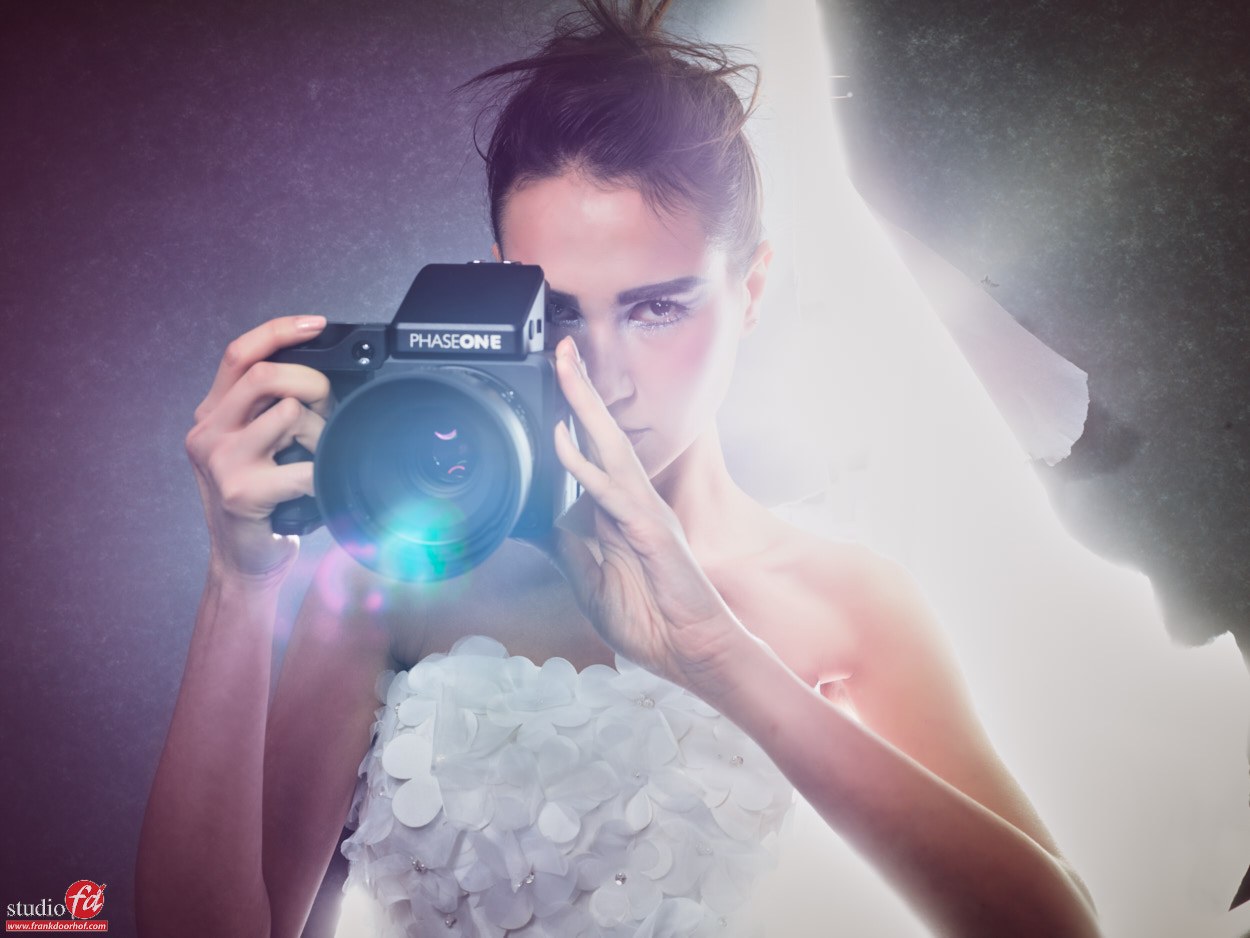
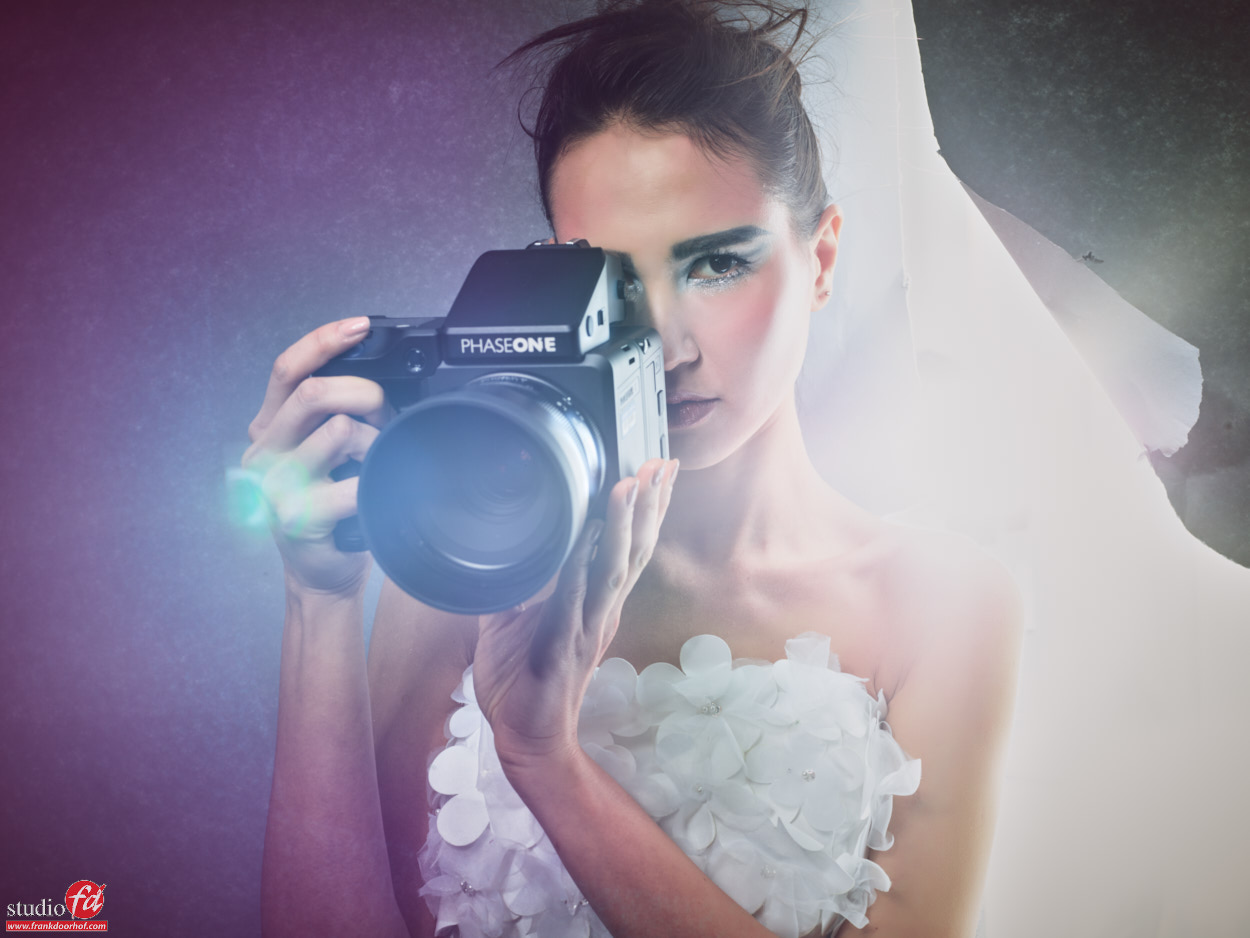
Creativity within a photoshoot is always important so why not use the background in a different way, and throw in a prop (in this case, why not try to make some images for Phase One) 😀Karina Feb 13 2016 Phase One workshop NY 0055

Karina Feb 13 2016 Phase One workshop NY 0064

Karina Feb 13 2016 Phase One workshop NY 0067

Karina Feb 13 2016 Phase One workshop NY 0093

Karina Feb 13 2016 Phase One workshop NY 0099

Karina Feb 13 2016 Phase One workshop NY 0102

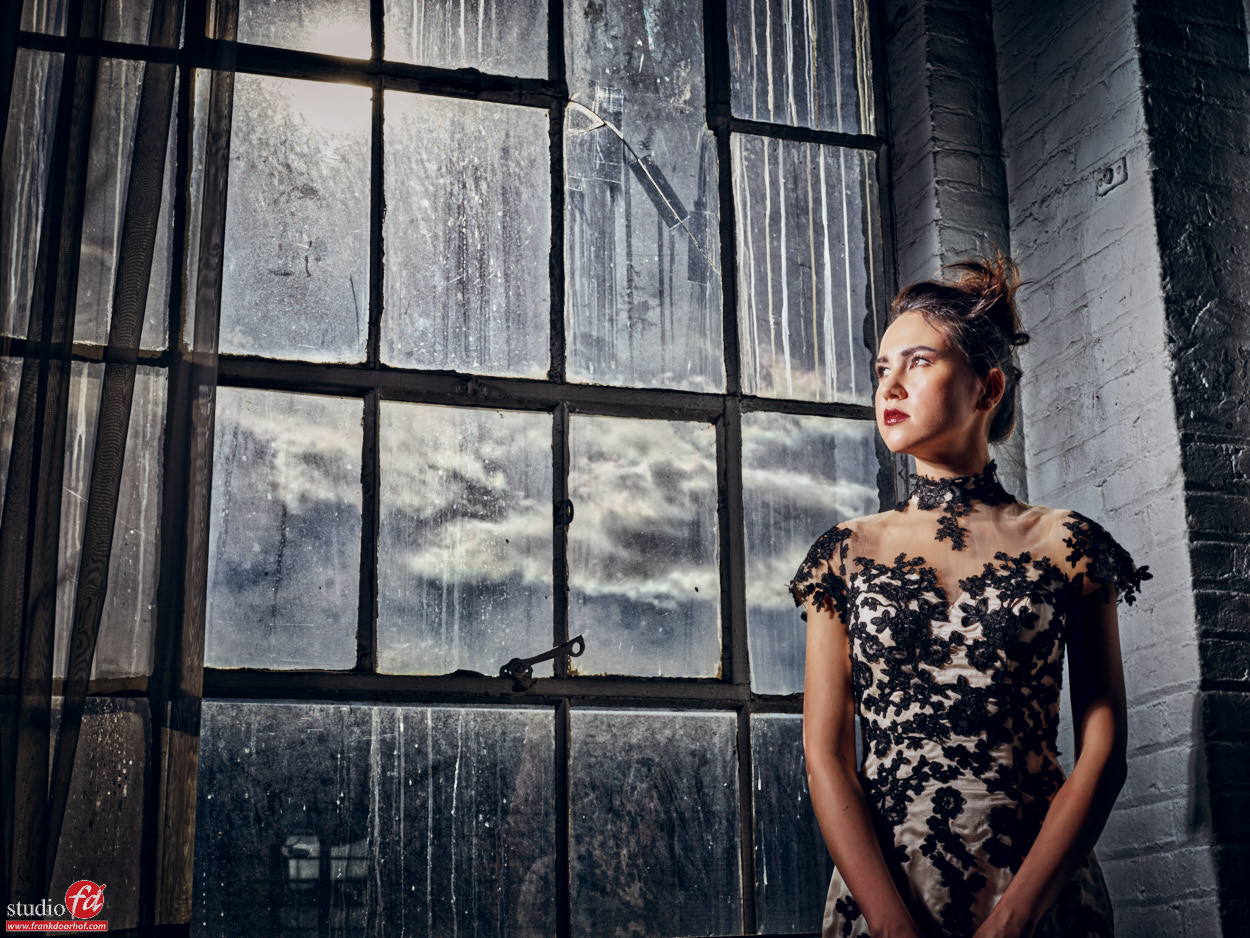
As you can already see in the backlit images, the dynamic range is awesome, you can still see details in the models arms and the white areas aren’t blow out where I didn’t want to blow out. Pretty cool.


So we thought let’s up the ante a little bit. The next shot was done without any strobes, just using the windows and kicking up the dynamic range in Capture One, pretty impressive. Shadow detail and no blow out areas. Don’t try this with an old camera.Karina Feb 13 2016 Phase One workshop NY 0119

Here you can see that I included the bright sun in the frame and by using the leaf shutter lenses you are able to cut the ambient light, with shutter speeds up to 1/1600 you have a great range to work with to let in more or less ambient light.

Karina Feb 13 2016 Phase One workshop NY 0130

Karina Feb 13 2016 Phase One workshop NY 0144

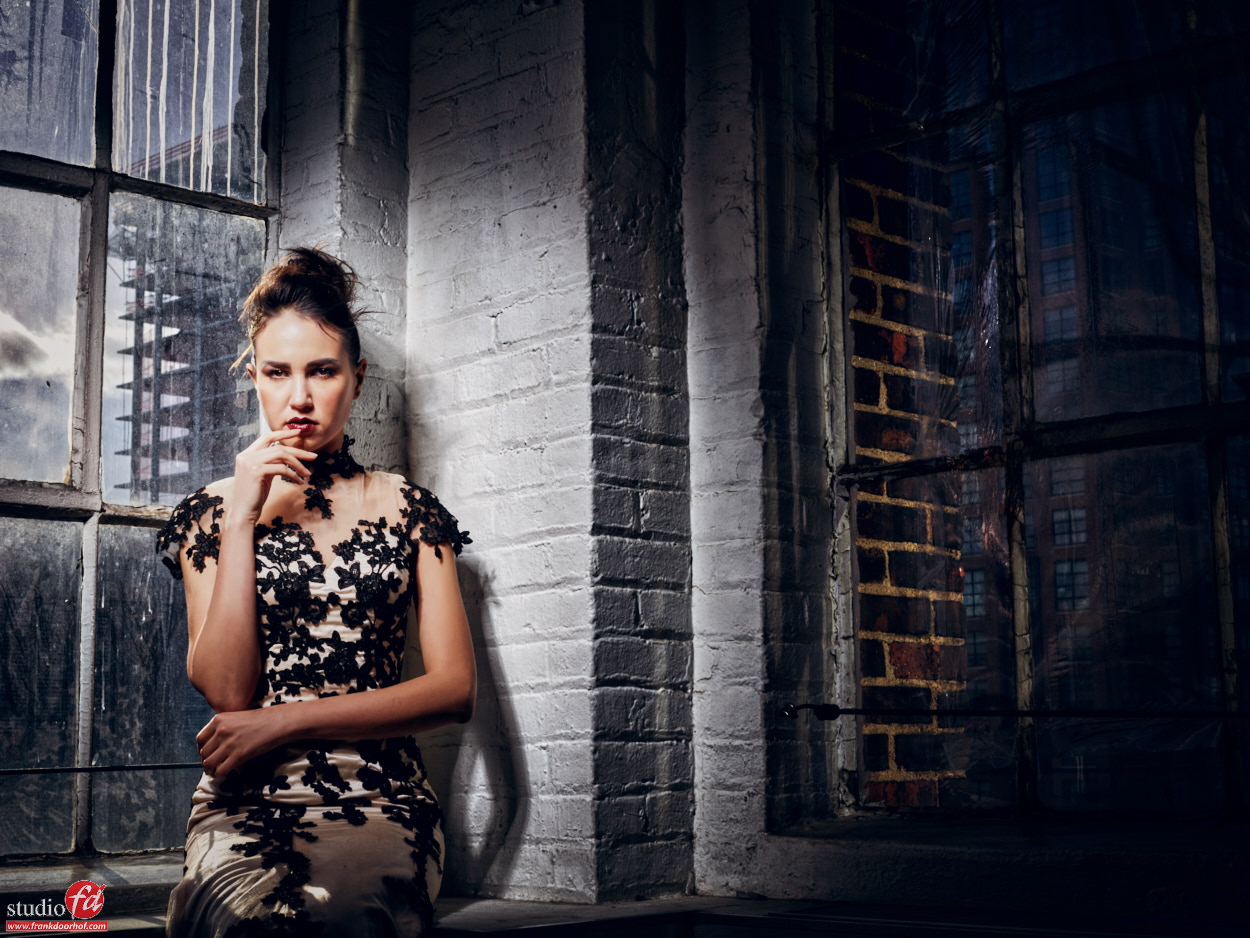
The final shot we used both window and cut the ambient light with a combination of strobes and shutter speed.Karina Feb 13 2016 Phase One workshop NY 0177

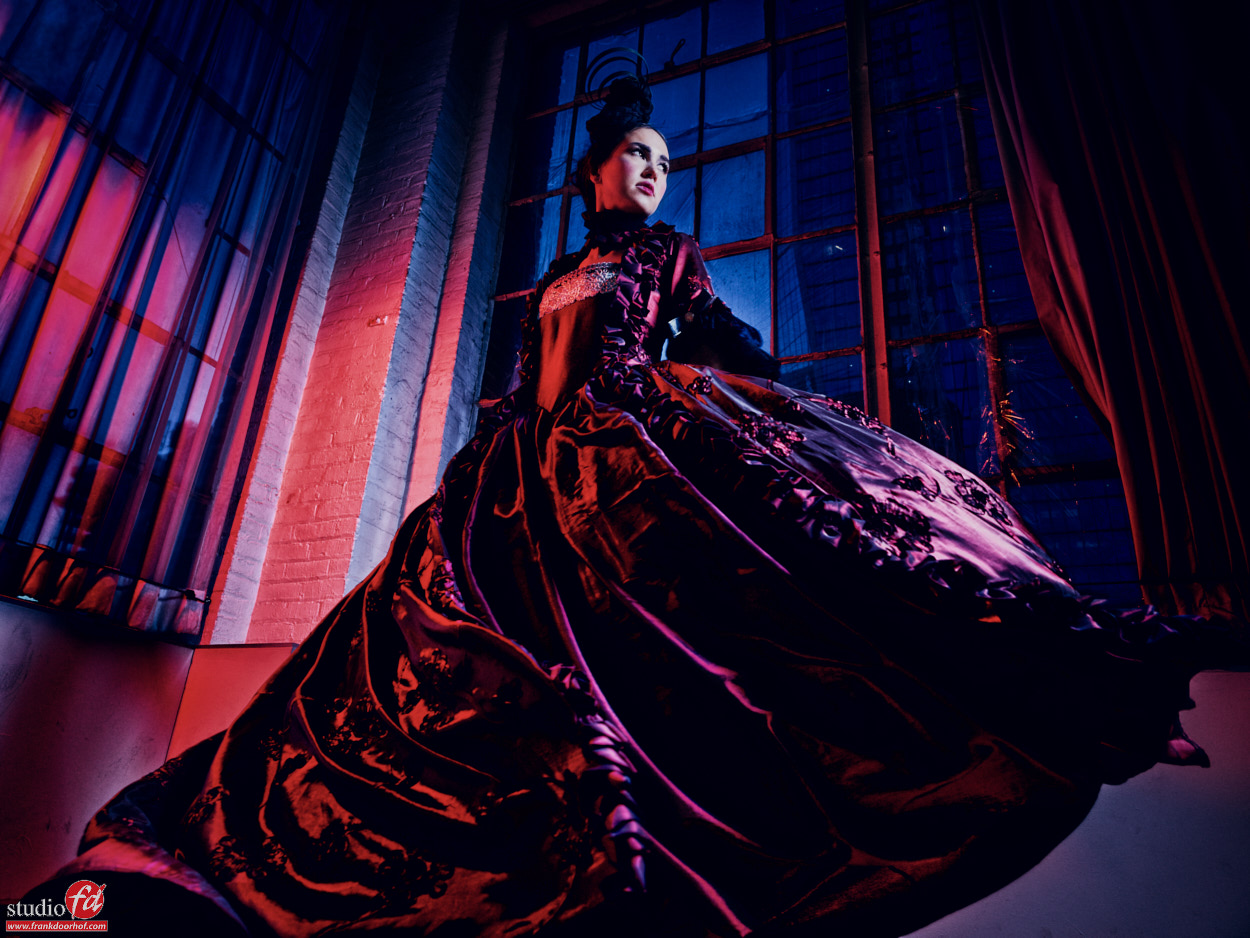
And finally adding some color with gels for an extra effect.Karina Feb 13 2016 Phase One workshop NY 0225


MIOPS camera triggering system

Do we need remote triggers?
With modern day cameras there are so many options that one would think no… but do read on you might be surprised….


You guys know that my reviews are always a bit different, I don’t really like to just sum up some specs and add a link to them, to be honest you can find that on the manufacturers website :D, I always like to give you my personal opinion about a product, so read this review as my personal view on the MIOPS, your opinion may be different.


A while ago I got the MIOPS remote trigger and because I’m not really a landscape shooter it will always take some time to really dive into remotes. “so why get a remote in the first place?” Yeah I hear you, well it’s actually very simple. Although you might not use it all the time there are those moments where you go “OH MY I wish….” and those moments happend too often for me so I want a really good remote.


Now as you know I love the triggertrap device, it’s very handy, has a great app but… you have to be pretty close to your camera because the camera is connected to your iPhone, so the triggertrap is a different device (and a very good one), the thing I like about the MIOPS is that you don’t need to be connected to your iPhone, you just connect the MIOPS and from there it’s all up to the app inside the MIOPS or your iPhone.


Let’s first talk about the MIOPS itself
The case itself is very sturdy and just small/big enough to be fitted as “oh yeah I have to take one too” in almost any case. Meaning there is NO excuse not to bring it. Controls are very simple and feel a bit outdated with todays touch screens etc. BUT… this is actually a good thing because it also means the MIOPS is a very affordable device, now at $239.00 you might think it’s actually not that cheap but wait till you see what this baby can do….


Let’s look at the app and what it can do
The MIOPS can be controlled from the unit itself but via the app everything goes so much better and smoother, and I must admit it all looks very very complete.


There are several options which I will briefly discuss and give some examples of when to use them.


First up we look at scenariosIMG_8455
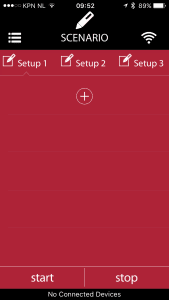
In scenarios you can “write” your own order of things, or in other words, what do you want to happen in which order. In total 5 “events” can happen and sensors can be used for this, sounds complicated? well it’s more a matter of just putting them in and you’re done. In total you can store 3 different scenarios. Now you just have to think of something creative to use them on….


Second up is timed release
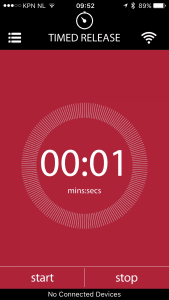
IMG_8454

This one is pretty straight forward, just say WHEN you want to trigger the camera and it does it for you. You can use this for selfies (but there is a much better option for this), or just for any shot you want to take after a certain time.


Third option is press and lock
IMG_8453

This is a very handy for those ENORMOUS time-lapse recordings, no need to keep the finger on the shutter, just press the button, the camera starts recording and locks, and it will stop as soon as you press it again. Of course the benefit of using it on a remote is that there is absolutely no camera shake, especially when using mirror lockup.


Fourth option is Press and hold

IMG_8452

Pretty similar to the previous one but now you don’t need to lock you just keep your finger on the button and the camera will keep recording the image till you lift your finger.


Fifth option is “cable” release

IMG_8451

The old fashioned cable release, but now without a cable 😀
Just press the button and the camera will take the shot, very handy for when for example you have the camera behind a goal and want to take that killer shot just in time but you don’t want to be there in the goal with the camera, or if your camera is mounted higher up in a sports complex or other area, a very handy tool.


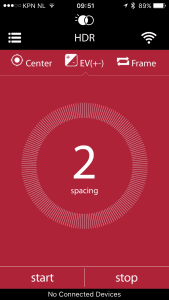
Sixth option is HDR
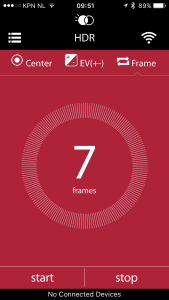
IMG_8449

IMG_8448

With modern day sensors the need for HDR is often not as necessary as it was in the past, so IF we use it it should better well be very interesting, and the MIOPS does not disappoint, with a range of 7 shots it should be possible to make dynamic shots that even the Sony sensors can’t record (pun intended), but please…… don’t use HDR as Highly Destructive Retouching 😀


Seventh option (and we’re not done yet) is Time-lapse 
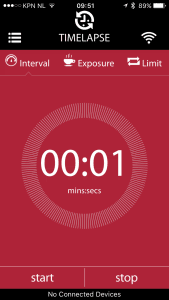
IMG_8446

Now this is one I still want to play with a bit more because some of the results can be INCREDIBLE. You set the camera for a certain time period and a certain amount of images and you just walk away (although I would advise to always stay with the camera), at the end of the period you end up with a certain amount of images which you put into your favorite video editing software and voila you have an amazing overview of what happened during the time…. well of course it highly depends on what you record, I tried one on our living area and to be honest I could have captured it also with one shot :D… so this is one I’m sure I’m gonna test out this summer more when we are traveling with our RV again. We were planning on using it in New York but it was so cold that I was glad to just take one shot, let alone stand somewhere for a longer time.


And we are already at number 8th which is LASER
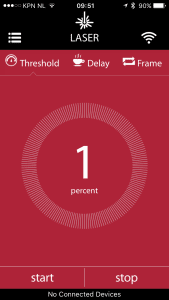
IMG_8445

Now don’t misread this, the MIOPS does NOT have a laser inside, so what is the laser option?
You can use any simple laser pointer (for example for presentations) and aim it at the MIOPS, now as soon as something passes the laser beam the camera will be triggered. This is amazing for shots of something flying through the air, something like security, a balloon that is shot by an arrow, an animal that sits somewhere or arrives, etc. etc. there are many different options you could use for this.


Number 9 in the row is even more interesting because it’s sound

IMG_8444

The laser option is great but also takes some planning and you need something that hits the beam, with sound you just need the sound. Great for those moments where you throw something through glass, hit a board, drops something on the ground (or on your model and she screams, yeah have to work on that one) but also for the ultimate selfie…. just set up the camera and shout “HEY” make sure you don’t add Siri because…. well Siri will ask you what she should do which makes taking the shot a bit more difficult. For groups shots this option is awesome, everyone is standing nicely and now just let them all shout, great shots 😀


Now let’s look at number 10 already which is my personal favorite… lightning
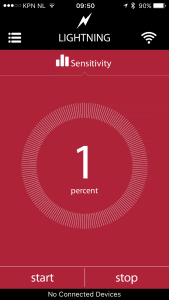
IMG_8443We all have seen those amazing lightning shots and wondered “how did they do this” and we all tried it…. well I know I did, and in all these tries I might have captured maybe one or two that were decent, now I have to add that we hardly have any lighting here, but I know that as soon as we have I’m gonna set up the MIOPS and capture some of those bolts…. I think besides all the other options this is probably one of my favorite options because I’ve been wanting to take a shot with lightning for some time now…. now only hope it will happen soon 😀


Finally we have one more option and that’s called DIY
Now I have to be honest, I didn’t play with this one yet, but when I read the description it makes the MIOPS I think one of the most complete triggers on the market. “The DIY mode is the mode where you can hook up external sensors to your MIOPS. Your options are endless: Temperature, Pressure, Humidity etc. The advanced modes are Scenario and four different Cable Release modes. These features are only available if you control your MIOPS with the IOS application.


Conclusion
For some people remote controls are vital, some people claim they will never use them….. I think that last group is actually wrong. Of course an “old fashioned” cable release is not needed anymore, we have so many options in our cameras… however that is also the reason why many remote controls just end up in the closet with the dust, I also have some radio remotes that I never use any more for the simple reason that my camera has more options than the remote and thanks to the timer option I can literally do it “any” way I want.
So if you are a manufacturer and you want to release a remote that is a worthwhile investment, because let’s be honest $239.00 is not exactly a no brainer, you better step up your game and release something that is rocking… and in my opinion this is exactly what the MIOPS is, it’s compatible with most cameras, including the Sony series, and it works just as advertised, it’s fast, stable and has a overload on options and features, including a “build your own solution” which is of course great for people that want even more, think for example about people that work in labs or other industries and need very specific options, and I think for that group the MIOPS is actually very cheap.


For us “hobbyists” it’s an investment, but I think it’s an investment that is worth every single cent, the MIOPS is designed to stand a beating, it’s small and it’s loaded, I say “HIGHLY RECOMMENDED”. Find out more at MIOPS