As a photographer, tethering is without a doubt one of the best things you can do for your workflow.
It doesn’t matter if you shoot on location or in the studio, shooting tethered is always handy.
So what is it, and what do you have to check?
Tethering means; connecting your camera to another device to show your images (or preview of your video) on that other device, this can be a computer, phone, or tablet, it doesn’t really matter, the idea is that you can show your images on another device than your camera.
When shooting to the computer there are many great extra options like:
- Seeing the shot large so you can easily check for focus
- Use the focus overlay function of, for example, Capture One to see in a blink of an eye if you nailed the focus with manual lenses
- Use the overlay function (if available in your software) to shoot straight into the cover/page design you are shooting for
- Use presets to show your client (or yourself) how images will approximately look after retouching
- Marking images directly for selection or delete
- Trust of the client by letting him/her see the results while shooting
- Possible to automatically create backups while shooting to a computer
- Absolutely necessary for any form of education or demos
- and much more….:D
Some things to check
Not every camera is compatible with tethering.
And also not every camera is compatible with every software package.
The best way to check is to read the manual or just google the name of the camera and tethering. In most cases, this will give you the answer you need. After this, you also have to buy the proper cable. Always take into account that you have to be able to move around. Most cables are sold in 4.7-5 meters length and although it sounds like a lot always realize that your desktop/laptop is not standing on the floor and your camera is also not on the floor, so unless you want a cable that is hanging in the air (a disaster waiting to happen) you always have to add at least 1.5 meters to the length you think to need. This is why I’m a big supporter of using 10 meters in length for anyone that has a studio and/or has a little room to move Especially outside 10 meters is really handy.
Software solutions
As you can imagine there are a lot of software solutions that support tethering, it’s impossible to cover them all here, so I will keep it to the software and hardware I have experience with. For all software counts, you find a list of compatible cameras on their website. So if you can’t find it via google, check out the software manufacturer’s website, this will also be a solution.
Capture One
I think most people know Capture One.
It’s not only a great RAW convertor, but for tethering, it’s one of the most stable and fast solutions out there.
There are special versions for certain cameras, but beware that you need the pro version in most cases to shoot tethered. The base versions only do RAW processing.
Smart Shooter
A very basic solution if you want to use Sony cameras in Lightroom via the free extra plugin.
Smart Shooter itself is mainly aimed at event photographers and is very fast and stable, but lacks features like adjusting anything in your images, this is just tethering, and that does it very well.
Lightroom
Lightroom has been the all-round solution for many photographers. It’s a great solution to store your images, use smart albums, retouch, and with the new Lightroom CC Adobe has a great online/offline platform. For tethering, it’s a bit more work than Smart Shooter and Capture One, where you just turn on the camera and it works. With Lightroom you have to start tethering manual, it’s not difficult, but it’s a few steps more. On the other hand, shooting into Lightroom is a delight; with presets and preview options. And if you already have a creative cloud subscription it’s already on your hard disk.
Camera native
You might not think about it immediately, but most cameras actually have native software for shooting tethered. And in almost all cases this works like a charm. If you can’t shoot into Lightroom via the internal tethering solution using a hot folder in combination with the camera native software works very well. It’s a bit slower but in most cases that doesn’t really slow you down.
Cascable
One of the things I really wanted for a long time was shooting tethered to my iPad Pro. And although wireless was possible via the Sony it didn’t gave me the stable connection I needed. So I was very happy when Cascable supported Sony cameras a few months ago. It’s not a cheap solution but I can say that it really works like a charm. However with Sony cameras make sure that when you turn off the camera or disconnect the camera, you HAVE to remove the battery before the iPad will release the port again.
Ok now that we have seen the software solutions, what are some problems you can encounter?
Problems and solutions
In most cases, tethering problems can be solved quite easily but can be very tricky to track down, so let’s take a look at some problems we have encountered over the years and how we solved them.
Camera settings
It sounds bizarre but trust me… in most cases, it’s a matter of a simple setting in the camera.
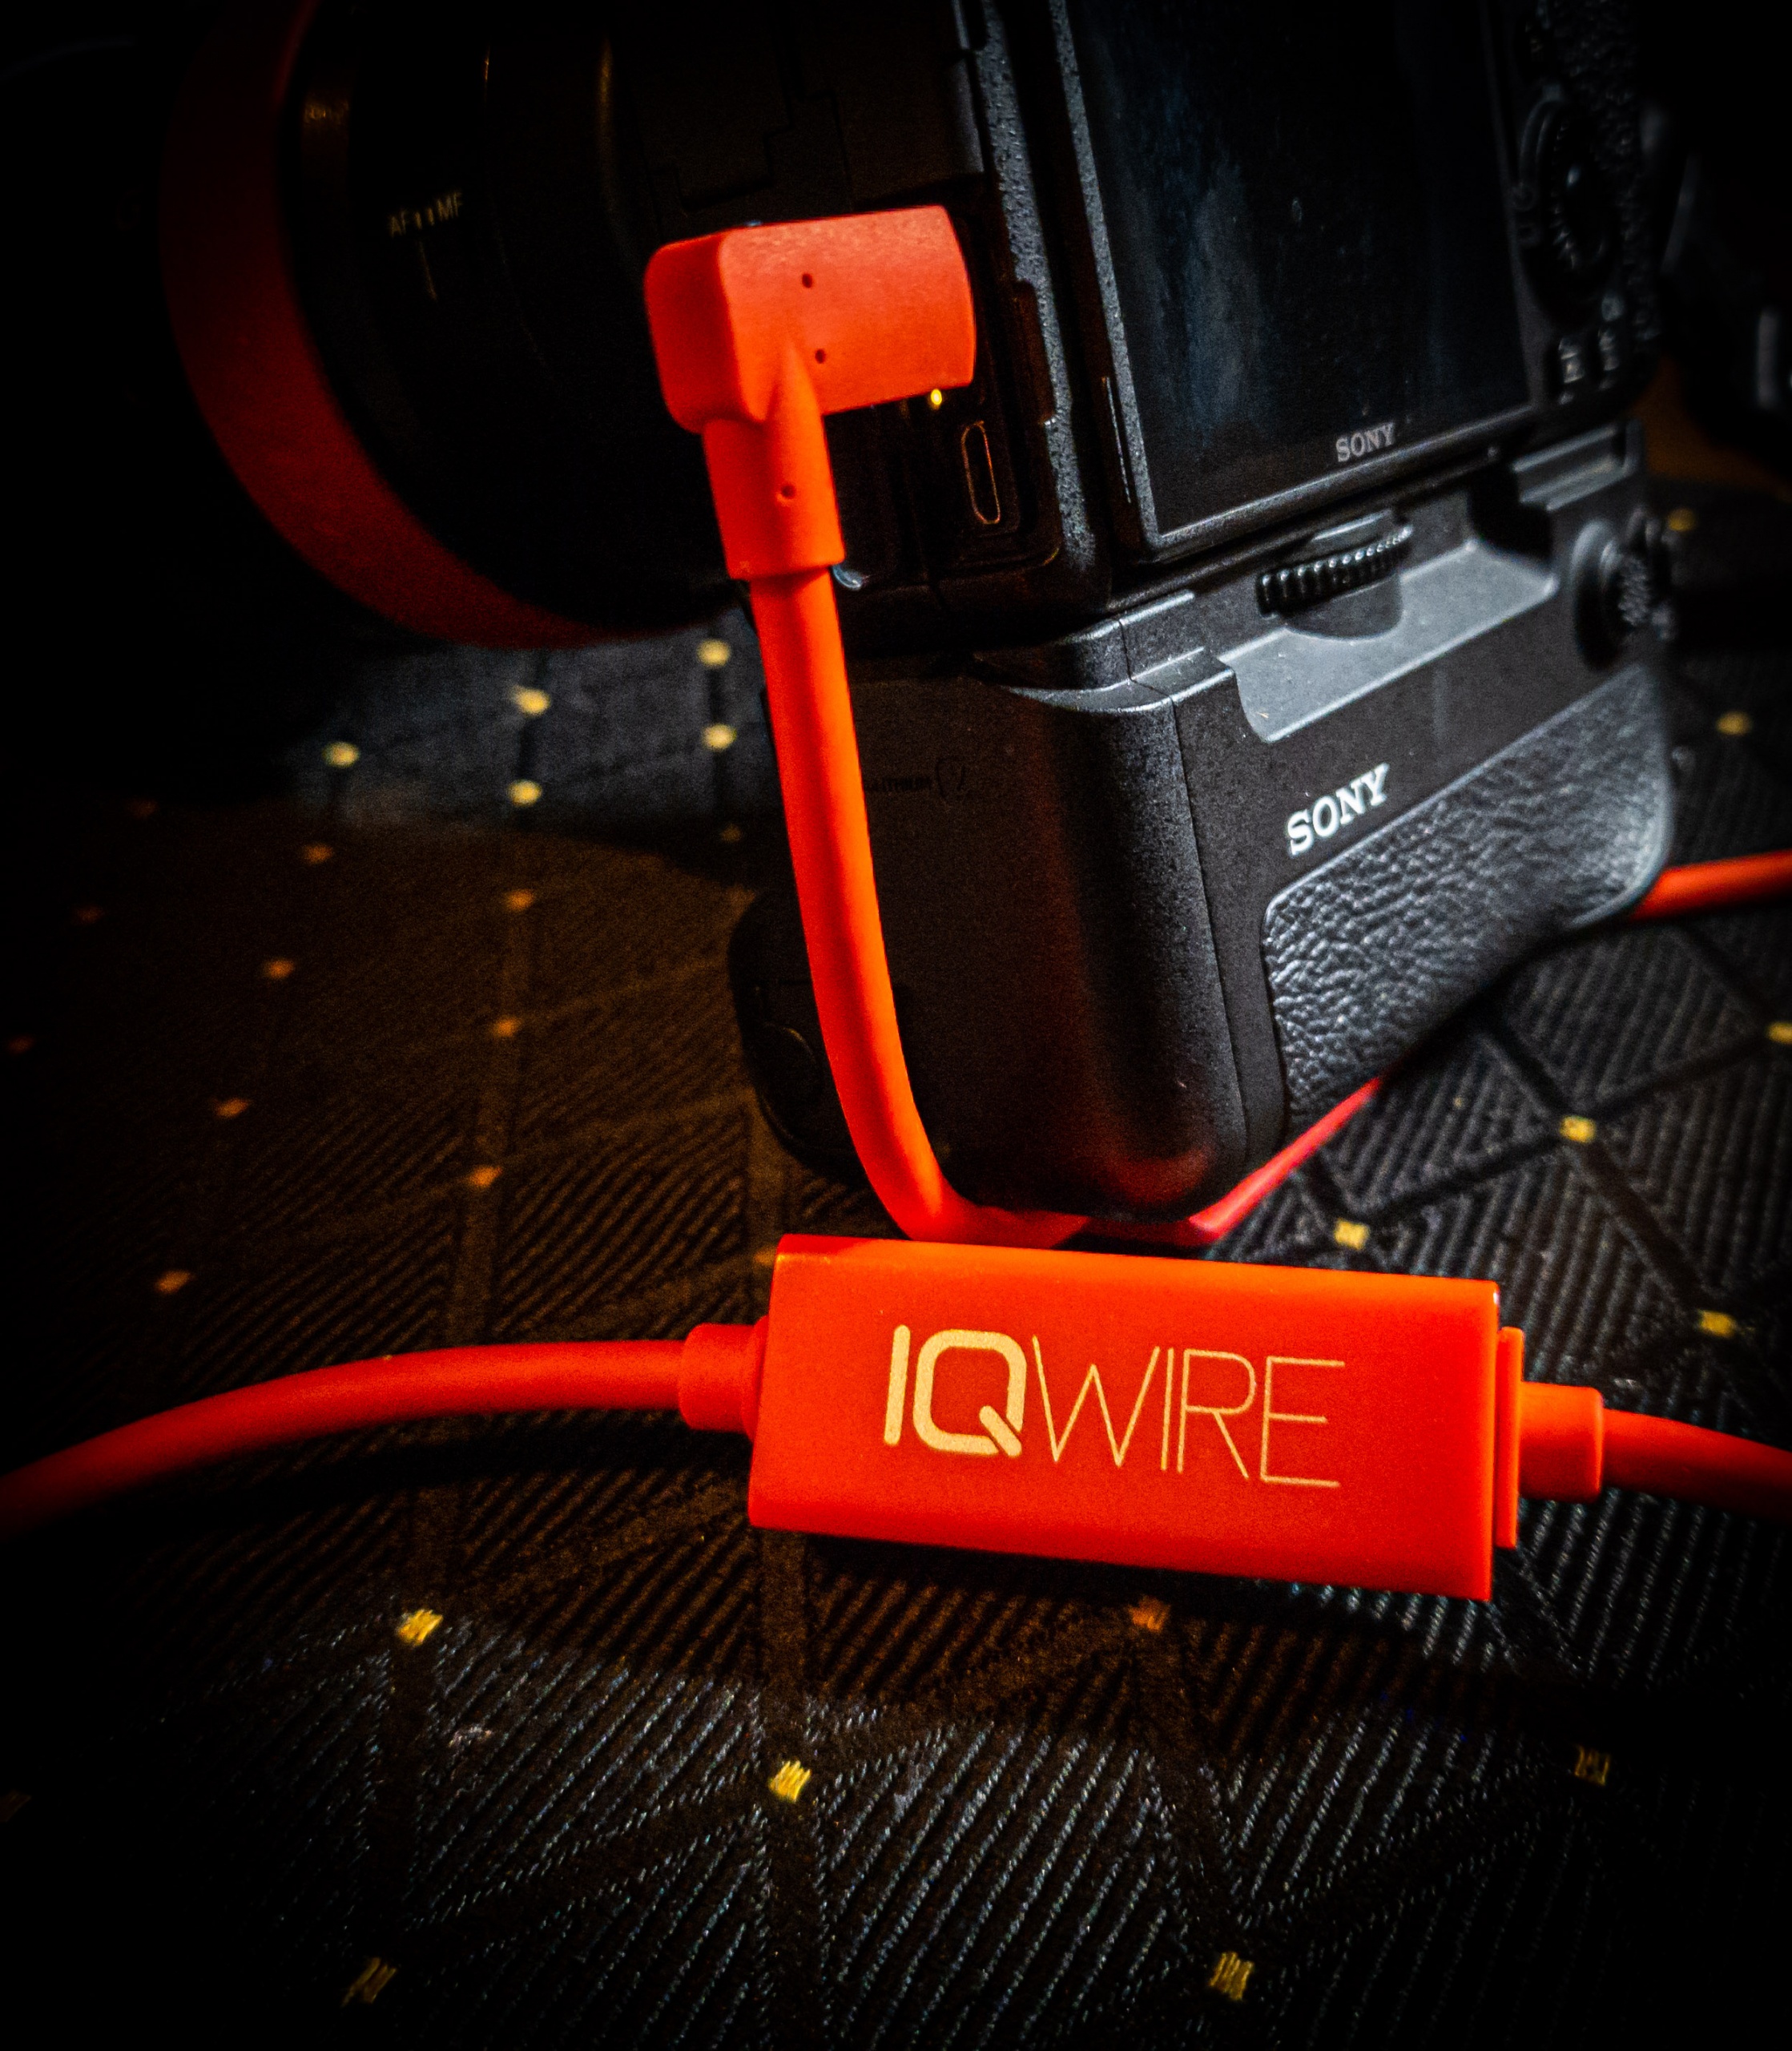
First of all, make sure the protocol for USB is set up correctly. You can often choose between a mode for PC control and hard drive mode. Always chose the option to have PC control. For Sony cameras it’s also vital you disable the option to use smartphone control, the first time it drove me nuts because in the USB menu everything seems normal but that one setting made it impossible to shoot tethered. For most cameras, it’s just selecting the right protocol.
In most cases, it’s a matter of power
When you have to disconnect your cameras, have hiccups, etc. try to disable power saving on your computer. And don’t just do the standard power saving. In most OS versions you can also disable the USB power saving (let the computer put USB to sleep OFF). Check online how to do this for your OS version. What can also solve a lot of issues is using a powered hub, it doesn’t have to be an expensive one but in our own experience, we found that using cheaper USB hubs doesn’t last as long as for example Startech hubs, which are running for over 5 years in our studio now without a problem. Also, make sure you disable charging over USB when you experience problems.
On certain laptops try different USB ports, some ports will give more power than the others. We especially found this to be problematic on certain MacBooks.
What when it always worked on port A and during a shoot it doesn’t….?
Well, don’t panic just try another port, reboot the machine, and next time port A will also work again. Why? no idea it just works that way on some machines.
Update the USB and Thunderbolt drivers, we found this problem on almost all Dell XPS laptops, using drivers from the net which are often newer than the Dell drivers can totally mess up the USB c port on those machines. Make sure that ALL mainboard drivers are Dell-certified drivers and your tethering will work like a charm.
Use external power.
Sometimes it’s necessary to connect power to the tether cable. In all honestly we hardly ever experienced this with our clients in over 12 years but it can solve some issues if nothing else works.
Make sure connectors are clean.
The protection caps delivered with your cables are there for a reason, keep dust and dirt out of the connectors, this is one of the most experienced defects in cables, so make sure yours stay clean.
Don’t twist your cables, or try to tie them in a knot.
Yes, it sounds logical but you don’t want to know what we sometimes see. Tethercables are very sturdy (if you buy the right ones) but everything can break down, so always treat your cables the same way you treat your expensive camera gear. When you’re done use a velcro strip to bound the cable together.
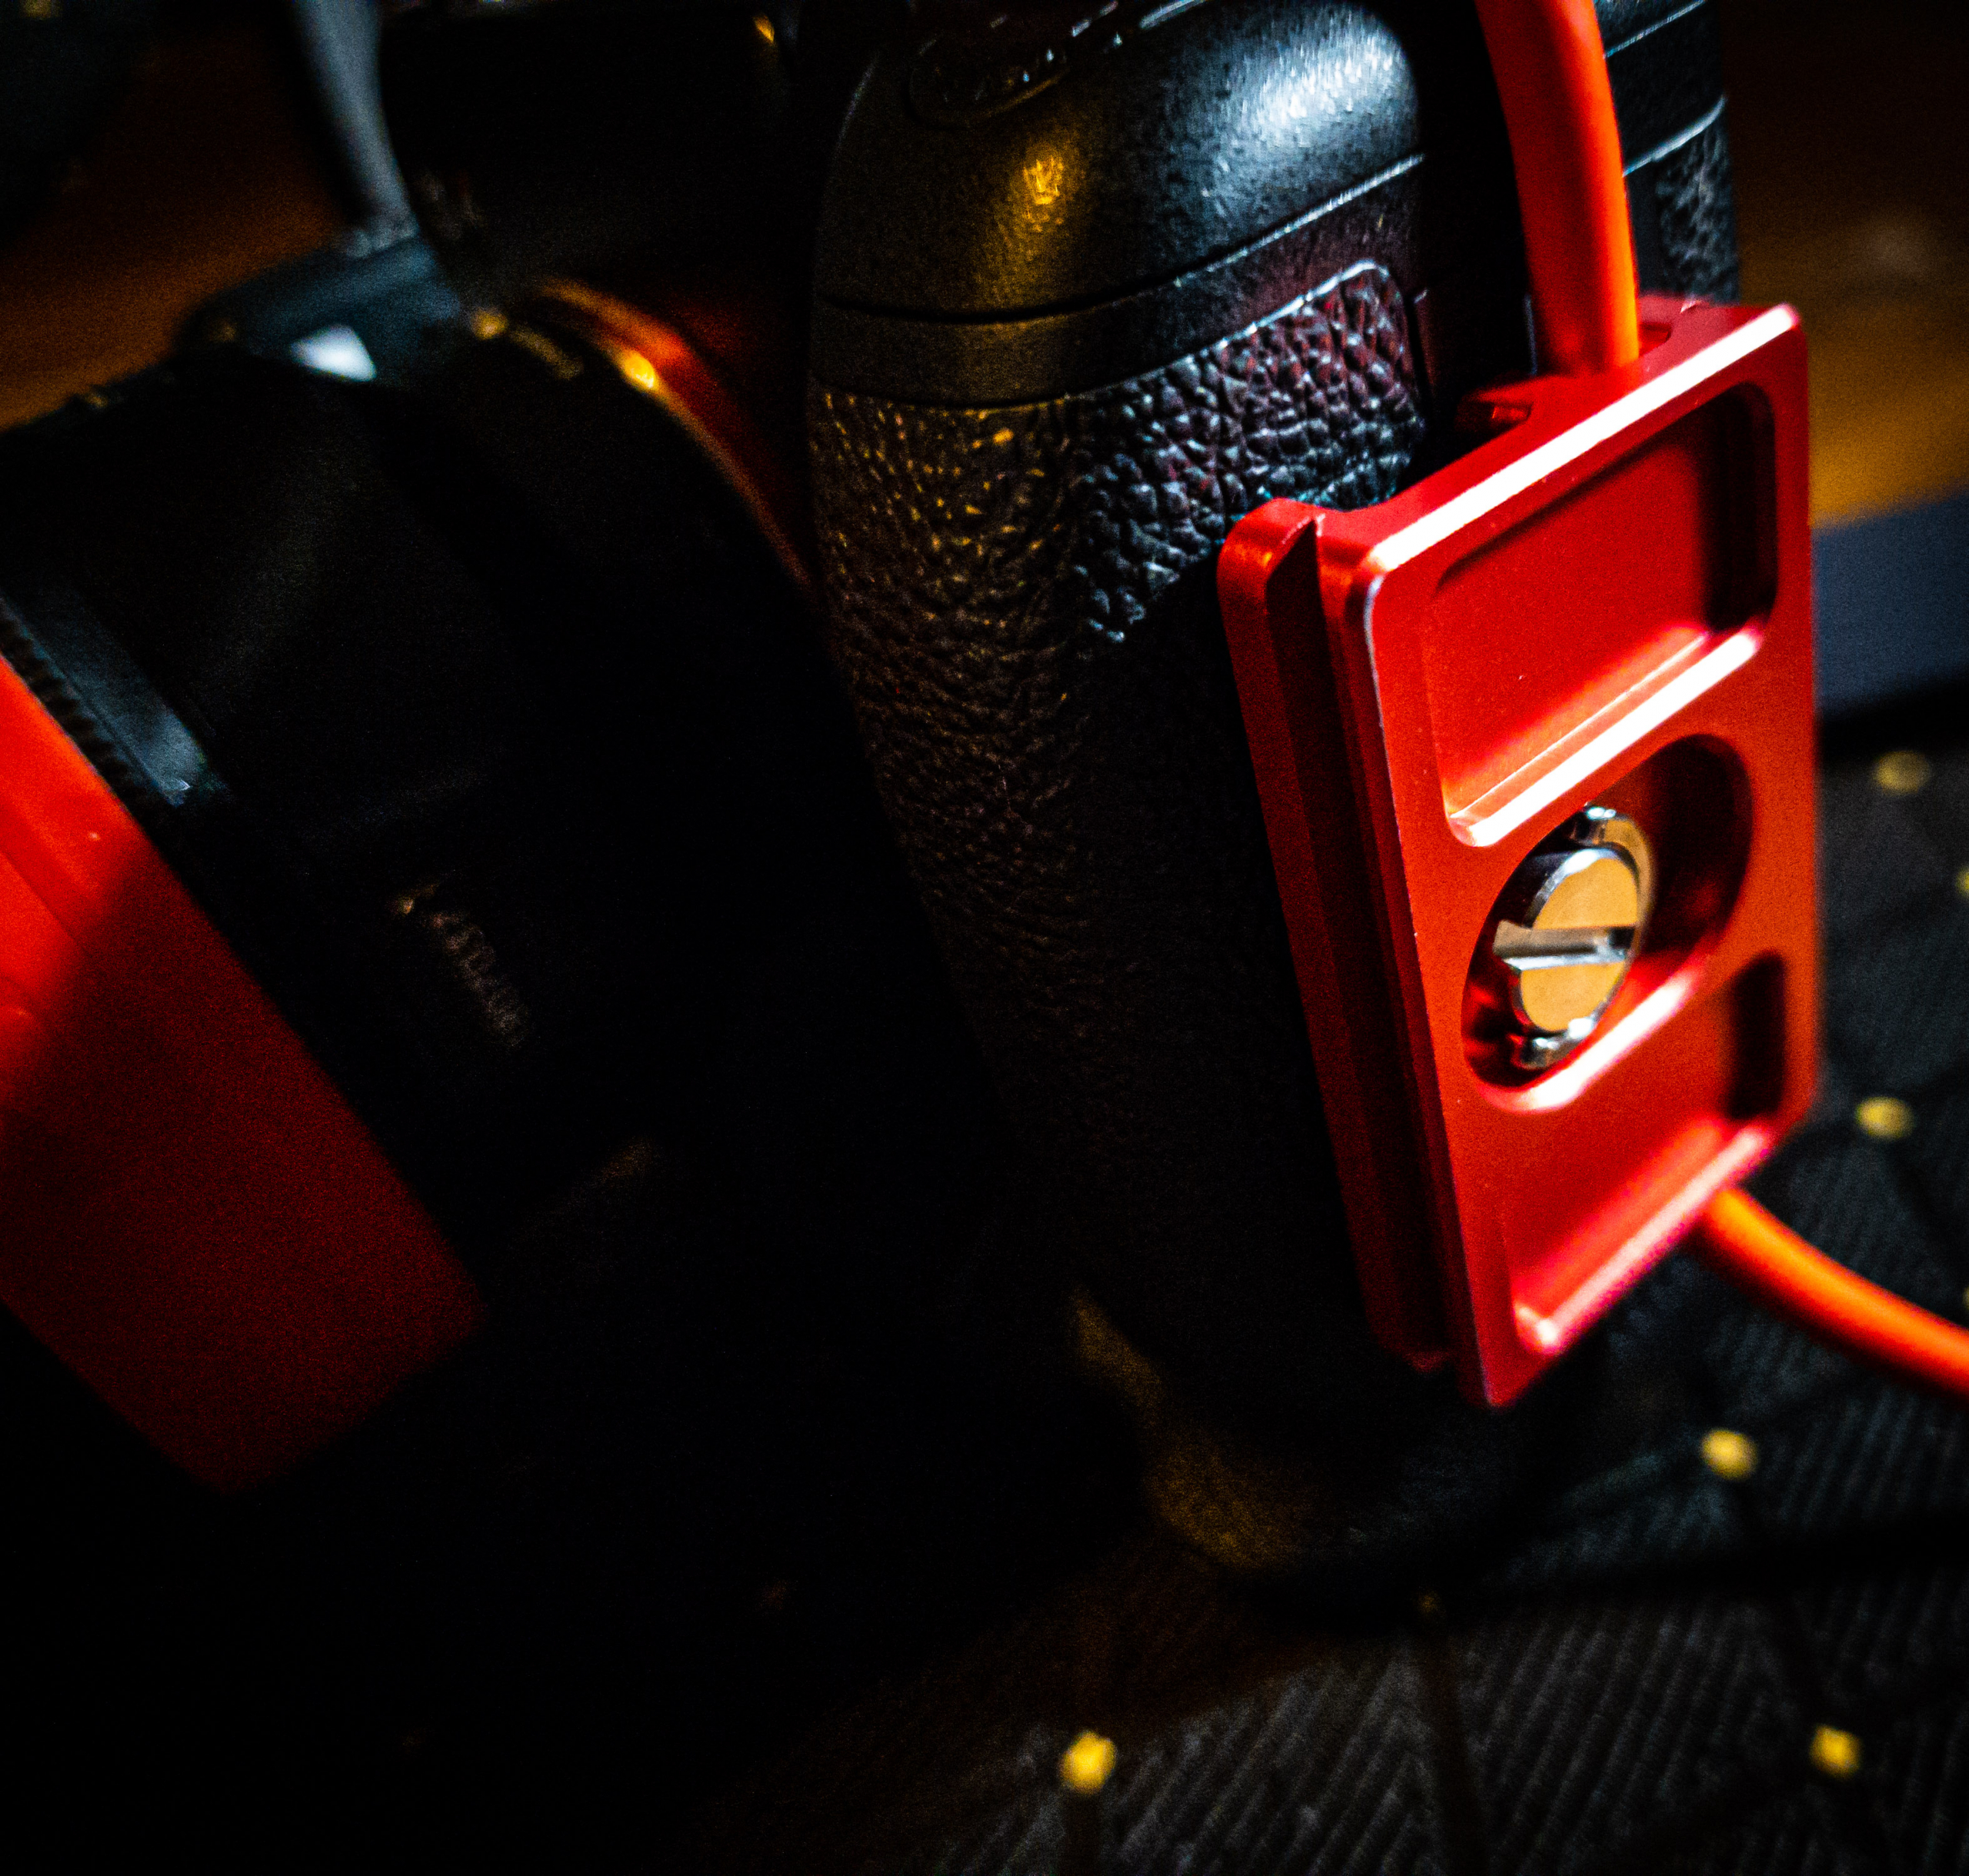
Use something to protect your camera port.
Protecting the port is without a doubt one of the most important things. Damaging a port is a certainty when shooting tethered without protection. The cable is hanging loose in a not so strong port and you move the camera almost constantly, that’s not a good combination. So our advice is to use angled cables and for example our Cable Block which is Arca compatible and will hold your cable firmly in place and prevents any problems with cable port damage.
Some apps that can cause problems.
This is a bit hit and miss, when you tried everything and nothing works, please disable DropBox, OneDrive, and any firewalls you have running. This is especially an issue with wireless tethering but we also found one customer that couldn’t work with capture one when DropBox was running, so it’s always something to check.
If nothing works…
Before panicking check on another machine.
Feel free to contact us, we can always help out to solve your problems.
Some things to check
Make sure to check in your camera what the settings are for tethering. In most cases you won’t have a lot of options but for example, with my Sony cameras I can select the size it sends to the computer (full or 2MP) and if it sends the RAWs or JPGs, and what stays on the card. Normally for tethering, I will set it up to shoot RAWs to the computer and store the RAWs on the card.
If tethering is slow, check in for example Capture One how the files are handled, Capture One can be set up to show the images as soon as they come in, or after they are rendered… I always let them show right away.
If your images don’t show when you shoot in Lightroom make sure “Advance to next” is enabled, normally this works automatically with tethering.
Hardware
I’ve been tethering for over 17 years and started literally with the yellow cable connected to my video output to a CRT tv. And hey, it worked. After that, we went to firewire which was the first real connection with a computer for me. After that, we went to Firewire 800 which was faster but also a lot less stable as a connection, and then it only went downhill. The connectors on the cameras became so small and fragile that I sometimes wondered if we would end up with just 2 wires we had to put in with a microscope. It’s insane that people don’t think about the forces that will be put on those ports and cables while tethering.
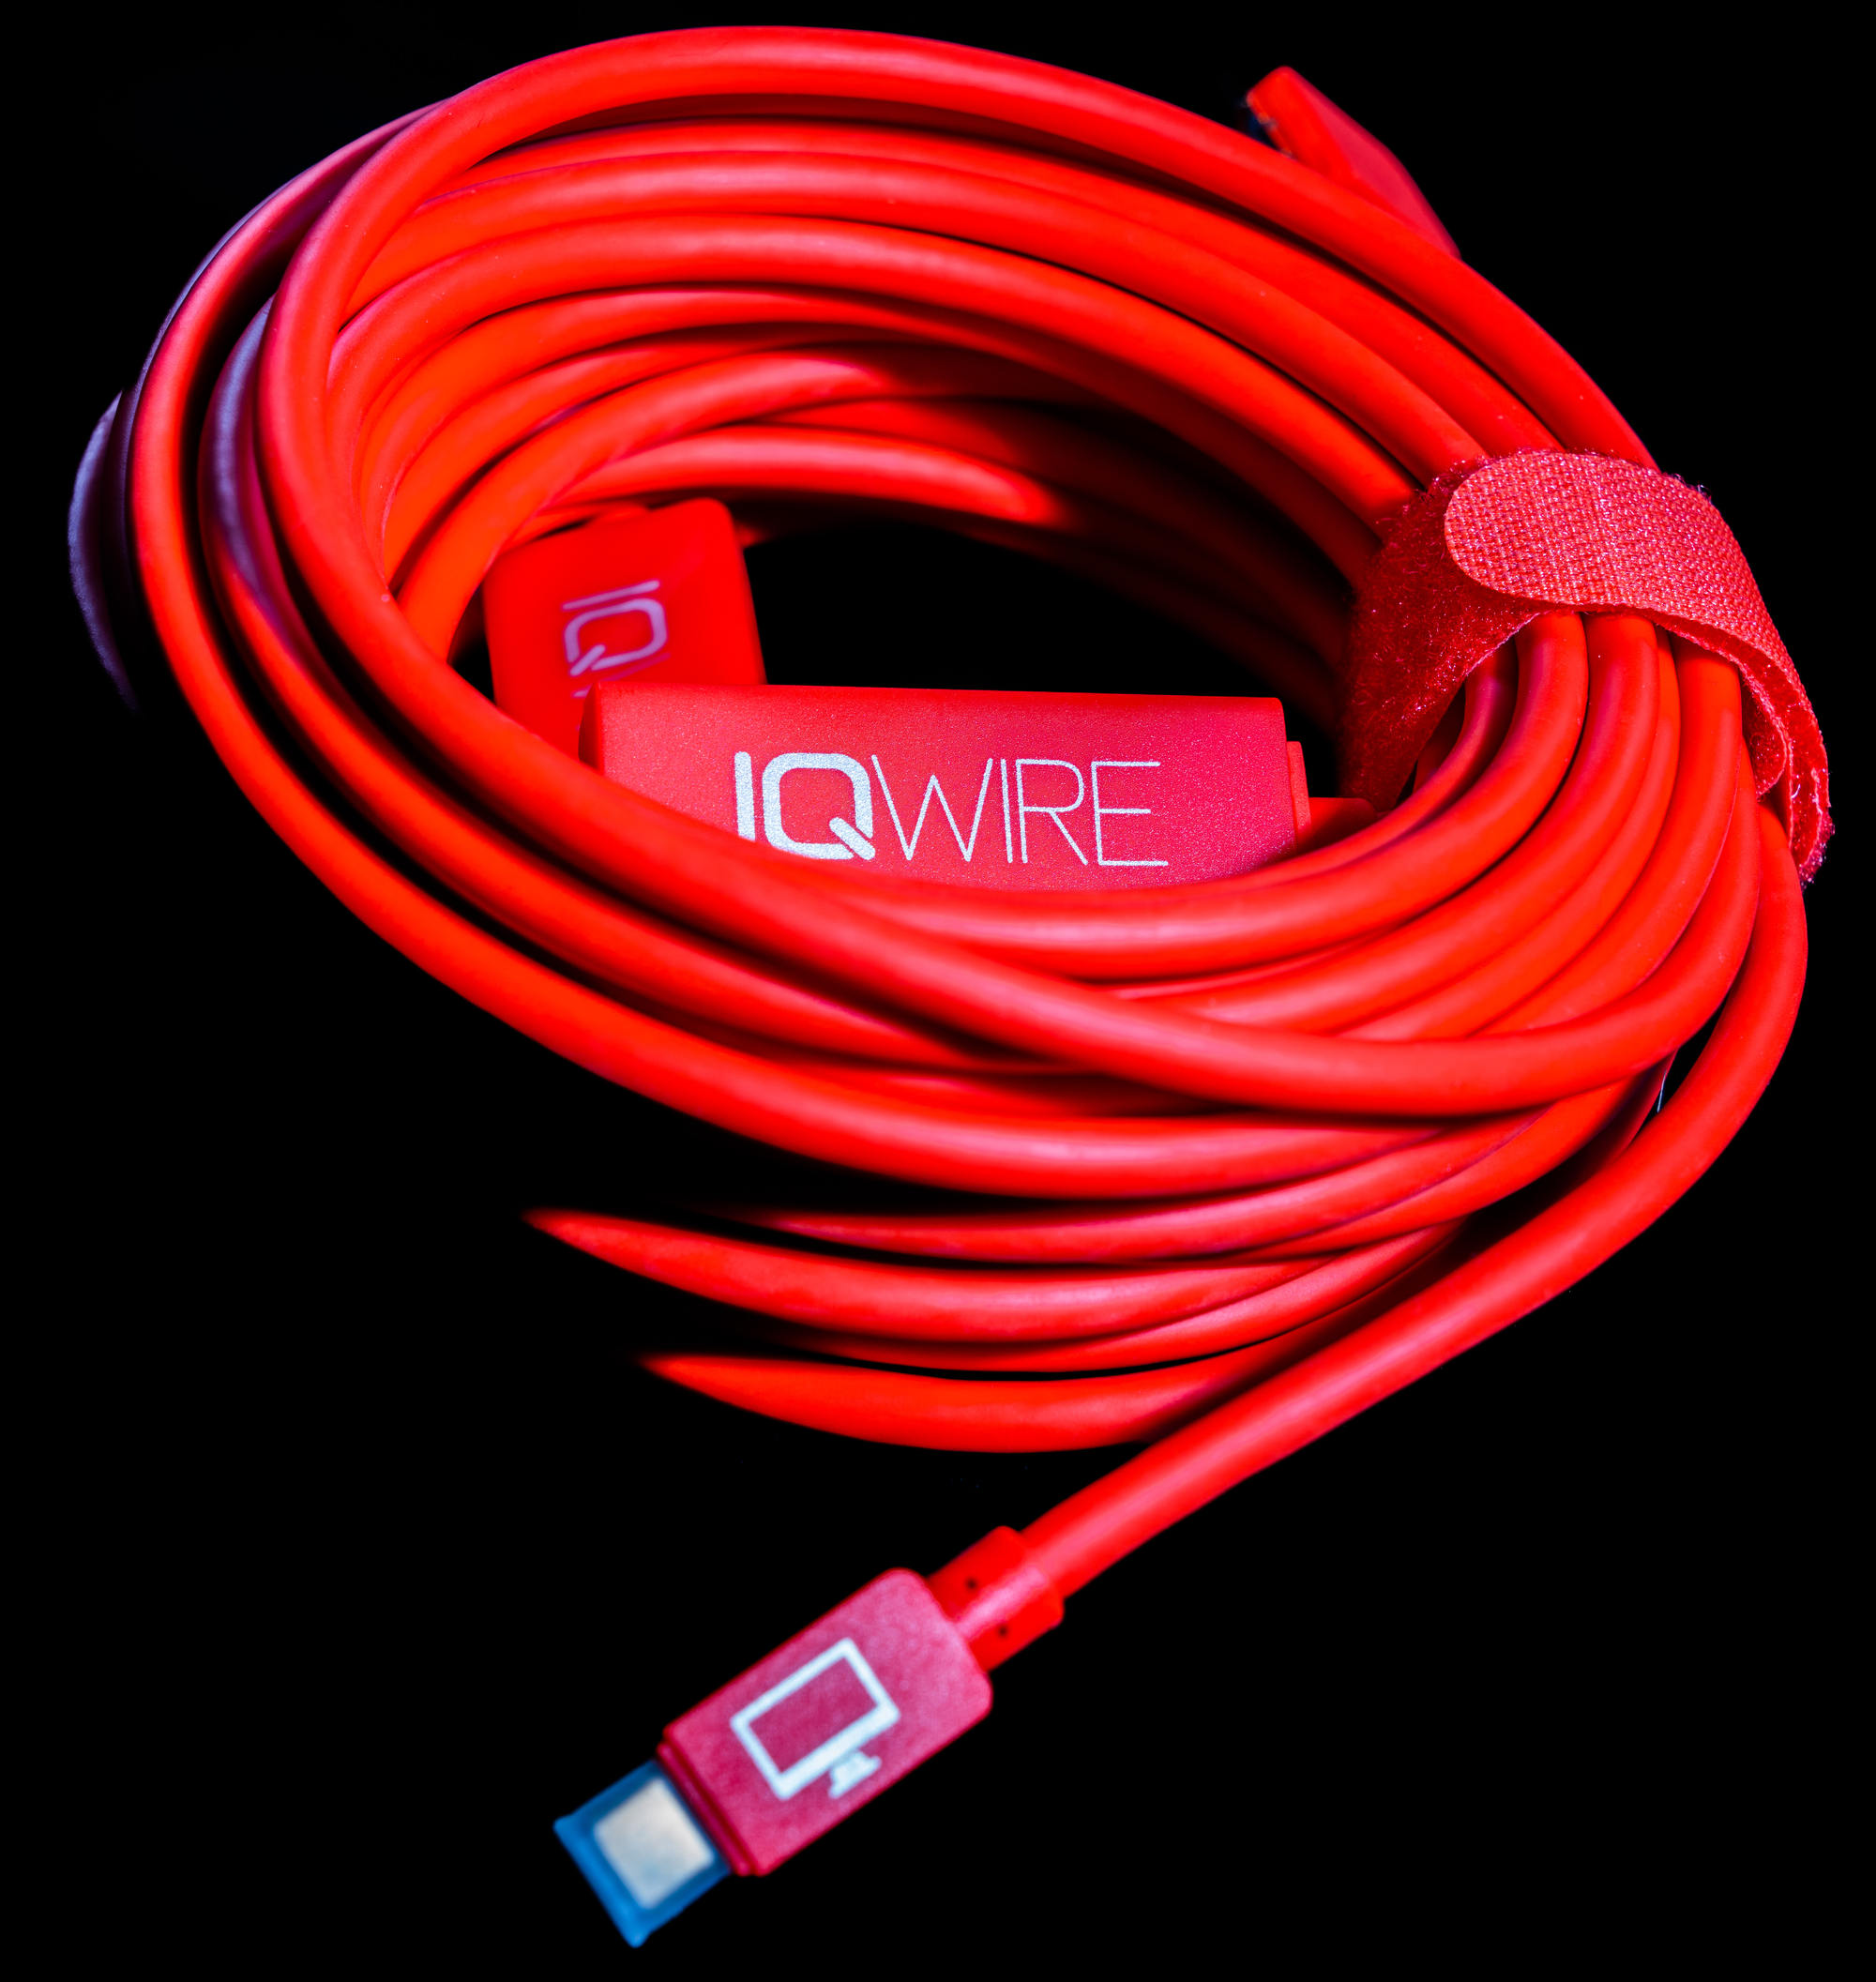
When USB C arrived we finally had a solid connection on both the computer/tablet side and the camera. But time continues and with today’s super-fast cameras spitting out an insane amount of data, the demands on the cables also have increased. We are using the tether cables from IQwire in our studio and also distributing them in The Netherlands/Belgium, the IQwire cables are in my opinion the next generation in tether cables.
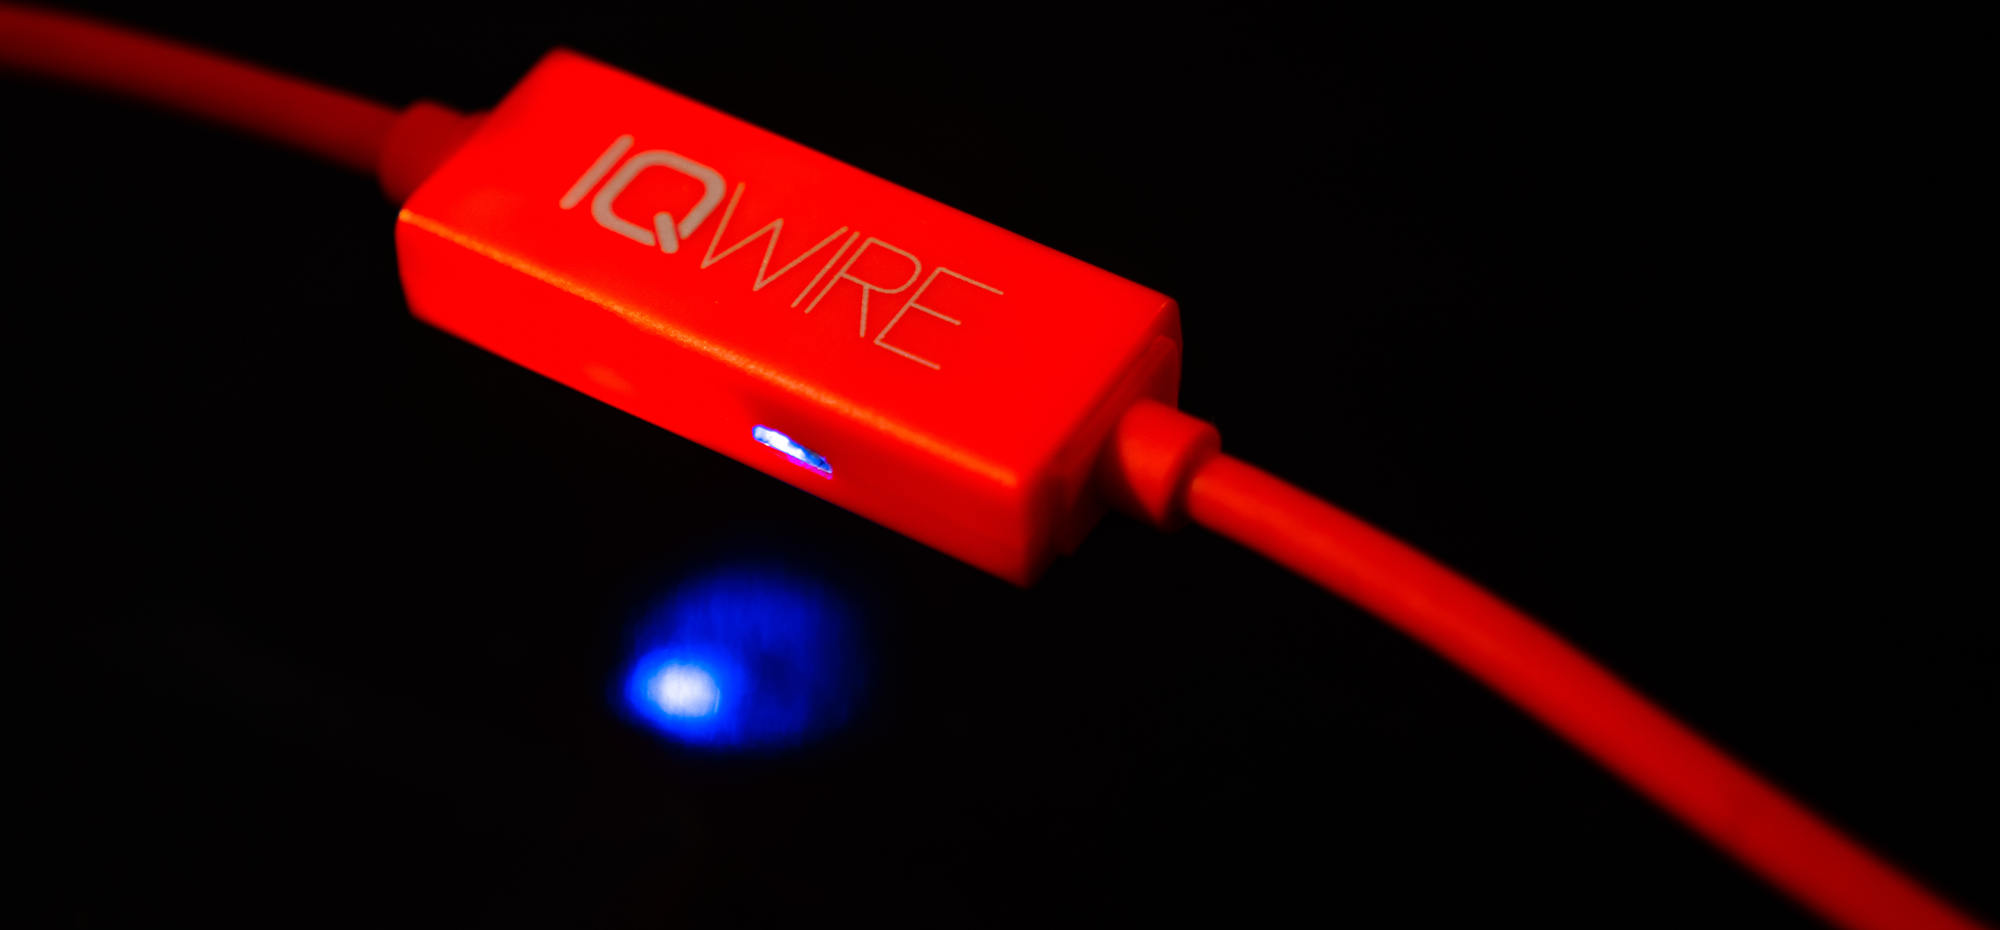
Available in 10 meters (and 5) the IQwire cables support super-fast connection and data transport, thanks to the 2 inline boosters (10-meter version) and IQconnect hardware which makes connecting your camera not only very fast but also negotiates the highest possible data rate, meaning the cable makes it possible to shoot on full speed and never miss a beat, no pauses just one continuous stream of images coming in. The boosters are also lit, so you can even see the cable in dark studios. And if needed you can also connect a power supply to both boosters. This makes the IQwire cable for us the most advanced solution at the moment. Also the fact the cables are all delivered with protection caps and a velcro strap for storage and angled USB C connectors marks all the boxes for me.
In The Netherlands/Belgium the IQ wire is available via www.iqwire.nl and the 10-meter versions are delivered with a free CableBlock.
Like this:
Like Loading...






You must be logged in to post a comment.