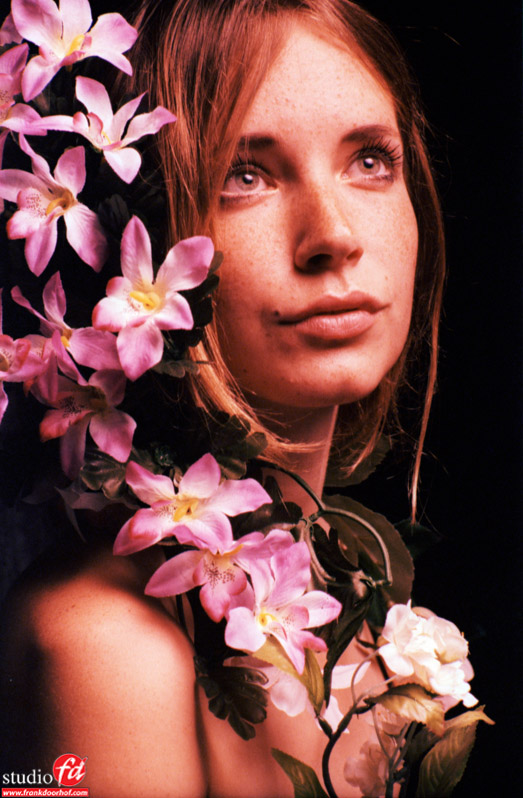
Cross processed images
Today the first results from a cross processed film.
In this case a Sensia 100 film cross processed in C41 chemicals.
Model : Esther.
Scans : Epson V700
Camera : Mamiya NC1000S
My blog, although I don’t see myself as a blogger but as a Photographer I will try to blog some interesting material during the weeks.
Expect at least 2 updates a week.
Today the first results from a cross processed film.
In this case a Sensia 100 film cross processed in C41 chemicals.
Model : Esther.
Scans : Epson V700
Camera : Mamiya NC1000S
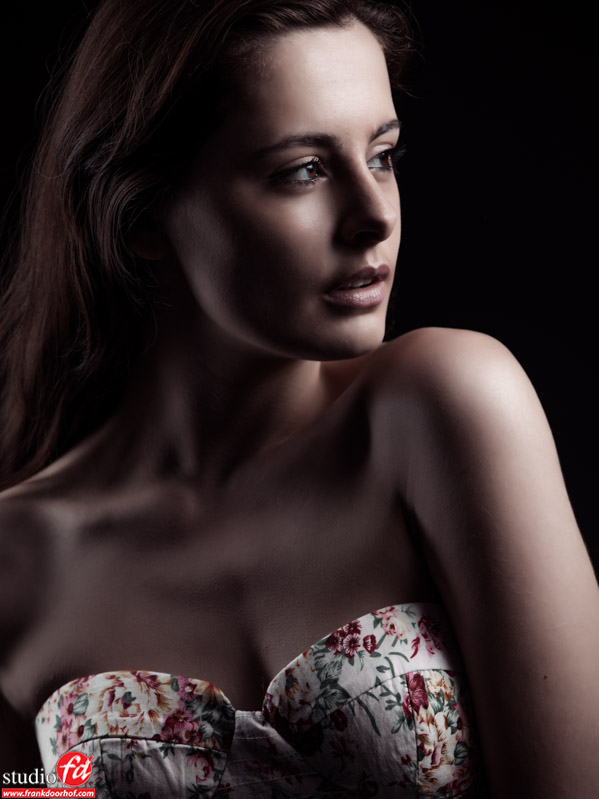
Today another new model which will be doing some workshops for me in the near future, Sylvia.
Every once in a while we do testsessions to find new models, mostly for the fashion workshops but sometimes also for the glamour workshops, this time I would like to introduce Suzanna. You will be seeing a lot of images from her in the future I think.
In some countries the images might be considered NSFW (Not Safe For Work).

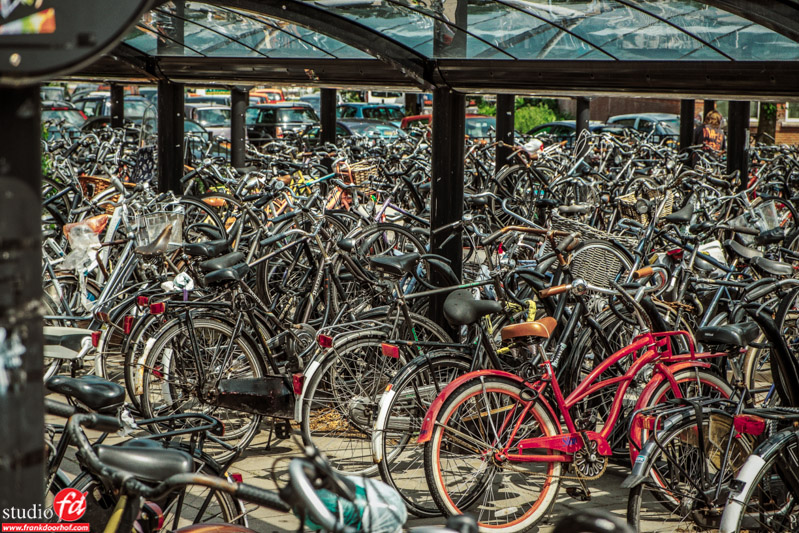
Today some images I shot during a small photowalk in Kampen, a nice town close to our home in Emmeloord.
All images were shot with the Fuji X-E1 and 18-55 lens (my favorite combination).

You must be logged in to post a comment.