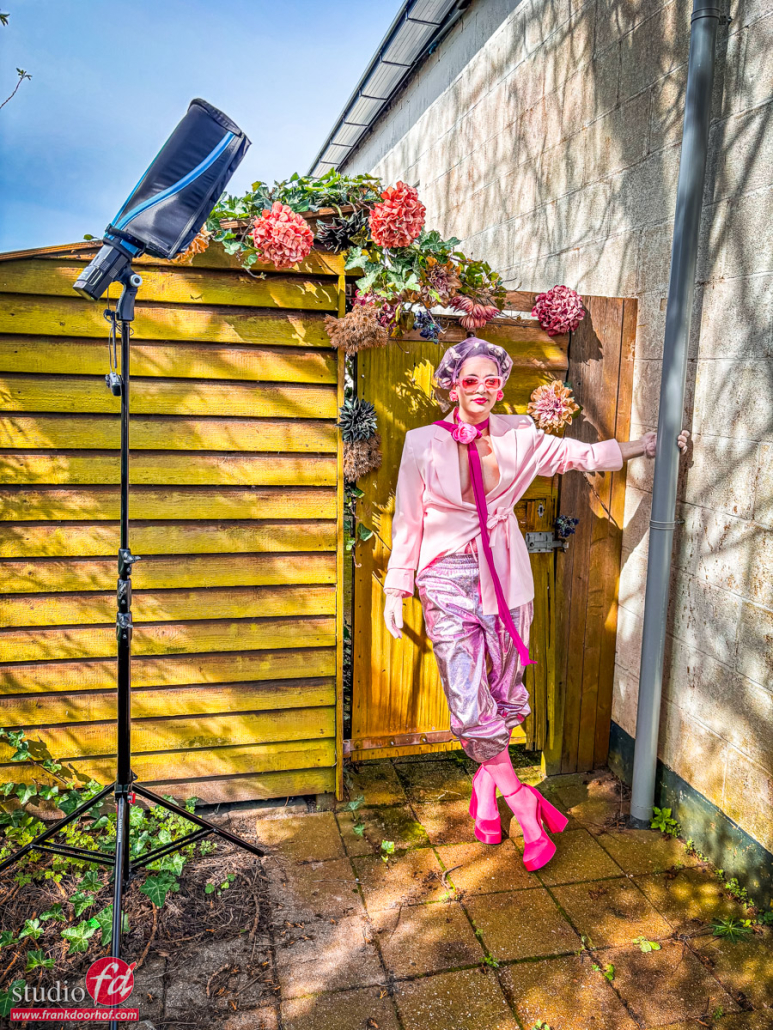
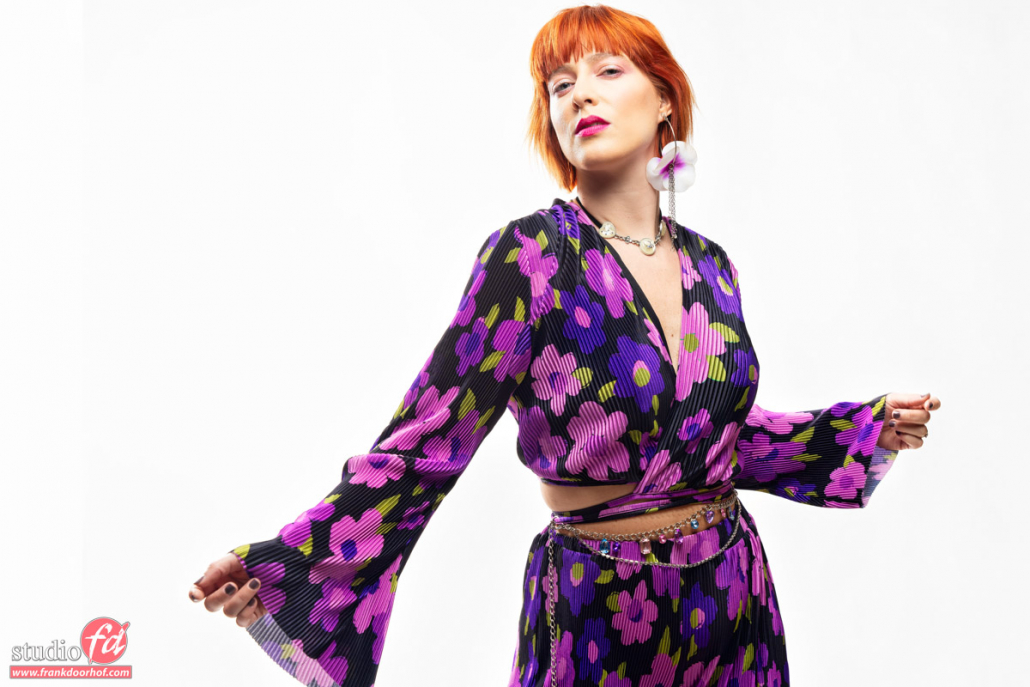
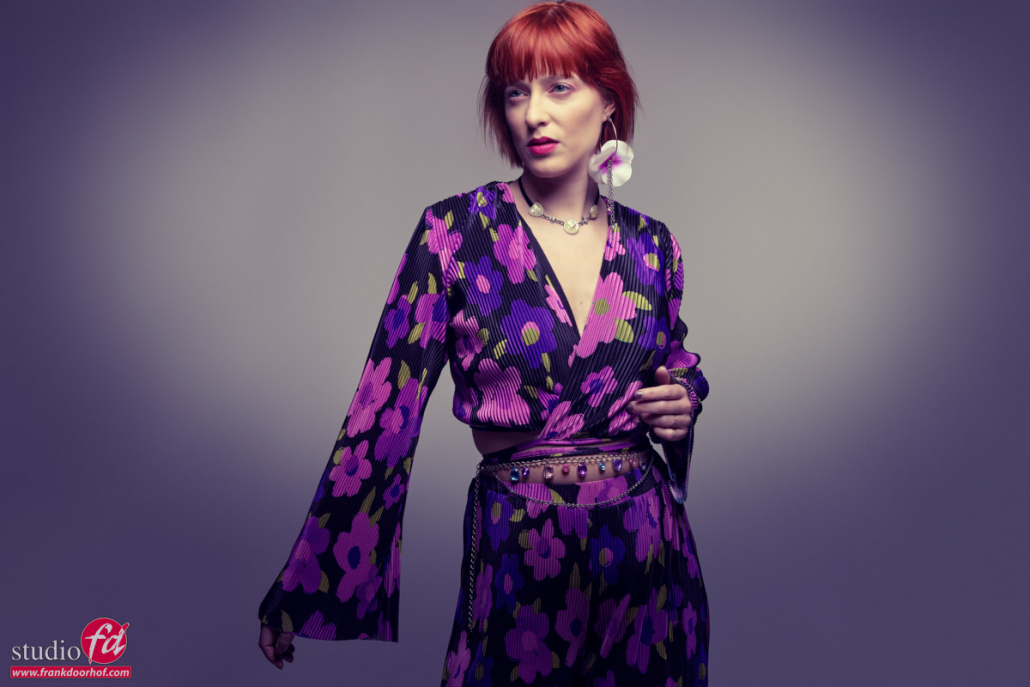
My blog, although I don’t see myself as a blogger but as a Photographer I will try to blog some interesting material during the weeks.
Expect at least 2 updates a week.

Some colourful lights in the set

Adding continuous lighting is always fun

In todays blog post some images we shot during a workshop with out model Trista.
I’m using a mix of strobes and continuous lighting here.

Due to the reflective floor (plexiglas) and the mirror the angles under which you can shoot are slightly limited.
I loved this angle because it adds a bit to the story telling part of the shot.

Hope you like the results.
The set it build with isolation blankets we had left from our new roof instalment.
A good set doesn’t have to be expensive 😀

Over time you will collect things that you can always combine during photoshoot. Some people will decorate their whole house with little sets, in our case we just collect a lot of “junk” at flea markets, attics etc. we are always interested in things we can someday use. The only problem is room.

Always try to see possibilities, like in this set we used the isolation blankets. There were just laying around so why not use them.
I’m pretty sure you have a lot of stuff in your home that would make awesome set pieces.

Build a set for less than $10 and use it many different ways…. yeah I’m Dutch

Of course I would love to spend thousands on elaborate sets but let’s be honest, we can’t.
So it became a challenge to do everything as cheap as possible and maximise the use.
And I think we broke all records with this one.

A while ago you probably saw the blog post about the set we build with rescue blankets, well those blankets also have a silver side.
So today in the blog the results from a recent workshop with our model and awesome stylist Nadine.

During the workshop I gave the attendees a simple, assignment.
This is the set, go crazy.
you have 10 minutes.

Of course I had to put my money where my mouth is, so after the 10 minutes I also did a try.
All the shots you see now are shot within that time frame, if you deduct the explanation of course.

I started relatively simple.

Here I’m using a Geekoto GT400 with the Nanlite Fresnell lens.
The Fresnell has quickly become my favourite light modifier for high contrast images.
I did use Fresnells in the past but hardly during workshops, they were simply put too expensive and I love to teach setups that you can also recreate yourself without breaking the bank. But the Nanlite Fresnell has a super friendly price, so I’ve been using a lot now 😀

Now in this shot you only see one light, but on the side there is a Geekoto GT250 with a rogue omnidirectional dome.
As soon as I turn that one on I have my second set, which as you probably agree upon is “a bit” different.

But because 10 minutes is actually a lot of time we moved the strobe to the backside of the set and aimed it down.
I’m now using a slight magenta coloured gel under the dome, the reason I’m using magenta is that with the tinting later on it will give me a nice “reddish” tint.
You can also use a red gel but after tinting it this way it could be a bit too much and clip some red.

From this point on I just started experimenting with the output of the gel and under which angle I shot.
Also getting slightly closer to Nadine and using the wide angle to enhance the position of the legs.

It’s always a cool effect to use a wide angle and let the model point her toes towards the camera.

Of course the exposure you meter with a light meter is the “perfect” exposure, but sometimes it’s not the “perfect” exposure you want in your images.
In these images I loved the darker look you see above, but what if…. you just open the aperture and add a lot of extra spread on the background by changing the angle of that strobe.

Indeed without changing a lot you can have a totally different look

But we are not done yet with our challenge.
Now that I like the total look, I’m ready for some close ups.

Angles change everything

And because I’m standing now anyway, let’s throw in a higher angle and a really low one.
Using different angles are without a doubt one of the easiest, quickest and best way to totally change the look and feel of a shot.
As you can see here, the impact is pretty obvious.
Also because I’m shooting into the light in the lower angle shot the KF concept Black diffusion filter really does it’s work.

Adding lights that are not strobes

As you can probably see there are some lights in the Chrismas tree, but so far I have to yet turned them on.
The simple reason was that I didn’t like them in this set, but because we had a few seconds left, we decided to turn them on.
The only thing you have to keep in mind is that when you shoot with strobes you are shooting with a lot of light and a pulse, so as long as you stay below 1/125 there is no problem in the studio (we call this the X-sync).

Because the Christmas lights are very low in output, I had to lower the output of the strobes (you can quickly do this via the remote control) and turn on the lights. Now you can use the shutter speed to let in more or less of the continuous light, the flash will stay the same (turn of your modelling lights) but the Christmas lights will show up more intense the longer the shutter speed.

We ended up with this shot.

As you can see it’s possible to shoot a lot of different looks from one set.
Just make sure you setup everything in advance so during the shoot you can quickly change things around.
For me this often means I’m using the same mainlight. But will change my accent lights around a lot, sometimes just via the remote control, but also position wise, and of course walk around my model a lot.

1o minutes really is a long time if you set everything up correctly.
But preparation is key. When the model is not yet on the set your whole idea should be in your head, and tested.
This will keep the model interested and fresh. and in the end your client happier.

Feel free to reach out with questions.
We really appreciate a share on social media.

Use light in different ways for awesome portraits and more

One of the things we probably all start with are books with lighting diagrams.
Now don’t get me wrong, they are awesome to get a general idea of the lighting setup.
However I strongly believe you should be able to “read the light” by just following the shadows, it’s often not really important to know which light sources are used, as long as you can recreate the look.

We can shoot images with a beauty dish that can very close to a small softbox for example, but when we start to use Fresnell’s you can very quickly see the difference between a reflector and the Fresnell, this is something that you will quickly pickup when you start to look at the shadows and the different way the shadows change.

But then it becomes really interesting when you add the angle into play.
Of course we all know that changing the angle from higher to lower can have a huge impact in your end result, but for me the real game changer was when I started to move around my model. Just a slight movement to left or right can make an image look totally different.

Let’s take a look at some of the images I took of Nadine during a recent workshop.

I’m using our Geekoto GT400 here with the Geekoto small softbox and grid
On the other side I’m using GT400 and the Nanlite striplight with grid.

One of the things I love about a striplight is that you can use it in a lot of different situations where you need to light a large area but don’t want any spill light.
In this case I’m using the striplight angled, this way I lights both my model and the background. By changing the angle of the striplight slightly I can balance the light on the background and the model. A very powerful technique.

By moving just a little but you can create some more powerful portraits.

But sometimes you need a little bit more intensity?
Make it black and white, add some grain and contrast….. “instant art” and yes this one was in focus 😀
(inside joke).

But let’s take one more step to the side and also include the striplight.
Now this one won’t be the shot you like or even want to try, but sometimes clients want something a bit different. And it’s just one step more to the side. Always try it.

If you have any questions, feel free to reach out.
We really appreciate a share on social media.

Awesome fashion shots with a complete set on a roll

Fashion shots with Nadine

One of the things I absolutely love are the fashion shots they did in the ’60s-’70s. In today’s blog post, I used that era as inspiration for a more modern “Frank” approach 😀
So continue ready how I made these awesome fashion shots with our model/stylist Nadine.

In today’s blog post, we talk about posing, lighting, and backgrounds.

I’m using our Geekoto GT400 flash unit with a Geekoto 48″ softbox without the grid.  You could add a striplight from the other side to give a little bit of accent light.
During the workshop/assignment, I often shoot both ways because they can both give a totally different look and feel. Sometimes the client (or myself) likes the accent light more with certain poses and clothing. And sometimes the basic setup works best. If you want to go really “crazy” you can even add some gels to the set. But today we kept it more basic and as you can see the striplight just opens up the shadows a bit on one shot and gives a little bit of accent on the other. On the Geekoto commander, I can quickly change the settings of my strobes.

My main light I will normally not change, but accent lights I often adjust during the shoot.
Because I’m shooting tethered I can clearly see the effects of the setup and this also means I can more easily adjust my lights on the fly. Especially for the accent lights shooting tethered makes it possible to quickly adjust the lights to fit the poses and mood without leaving my spot 😀

Styling

Nadine did the styling for this set herself (as usual). She made the top with diamonds and glue. and sew a lot of jeans together.
We wanted some more unusual poses, and for me, it’s important that the model will find her/his own poses and “flow” through them. So I will often just coach which way to look or turn. But try to let the model find the poses her/himself. This way you prevent falling into the same poses over and over, plus it will just look way more natural.

Let’s take a look at some shots and then I’ll explain a bit more about the background and setup.

an awesome fashion shot with model/stylist Nadine


Backdrop

As you can see on the images I’m using a special background.
In a short time, this has become one of my absolute favorite backgrounds.

In this shoot I’m using the Click Backdrops Soft master grey background in the larger size pro fabric, this means it’s possible to use it as both the background and floor part. With this material, it’s also very easy to use tinting or gels and still get a very nice-looking effect in the background/floor. Here I’m using a slight (well okey slightly more than slight) blue tinting.

Motion

Now when we shoot images like this I also want a little bit of motion in the shot.
Motion doesn’t always mean models have to go crazy or leave orbit. You can add a little bit of motion by just raising a leg and slightly standing on her toes. Always remember that the model should point the toes downwards, otherwise, it looks really bad.

As you can see, just adding that little bit of “action” really enhances the shot.
It doesn’t mean the others are bad, they are just different. And again, you will sell more and get more clients when you offer variety in your work.

Angles

Most shots you’ve seen now have been done from a relative “standard” position.
However, when you want to enhance the action a bit it can really help to get a little bit closer to the model and shoot from a slightly lower angle with a slightly wider lens. This is one of the reasons I love to use the 24-79 F2.8 Gmaster from Sony.

As you can see the result is pretty amazing.

Phot

Photoshop for awesome fashion shots

I’ve used generative fill in Photoshop to fill in the sides.
By the way, did you know you now also find generative fill on the iPad in Photoshop?
And it works just as well for most things, which makes the iPad another step towards a real pro device.

Close up

Anyway, let’s continue.
Full body shots are great of course, but never forget to also get some close-ups.
Here I’m using a different tinting, but it’s the same setup.

another awewome fashion shot with Nadine

If you have any questions feel free to reach out.
We really appreciate a share on social media.


Check out the short I made


Adding some color to totally change the look and feel, also with Nadine 

See how I used the Soft Master Grey backdrop with Claudia