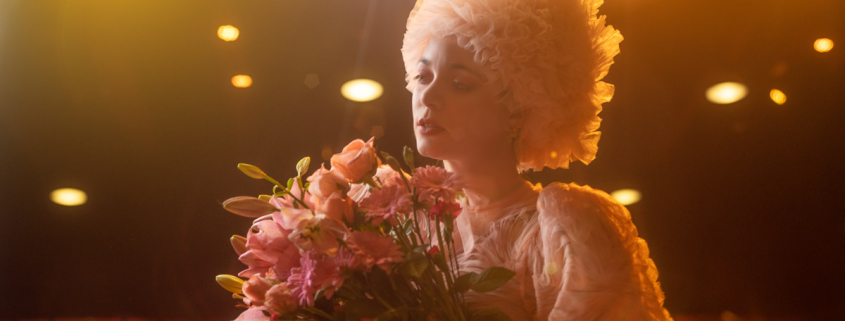
Telling stories in Borne
One of the workshops I absolutely love to teach is the “Working in an unknown situation and telling stories” workshop. In this workshop, I’m using the location where I teach as my background, decor, set, etc.
The cool thing is that every single workshop is different and covers different subjects due to changing situations.
Photographing in every situation is also the title of my Dutch book. Improvising is easy as you know what you are doing.
How to make great pictures in a place you don’t know or any unknown location?
I’ve taught this workshop in conference rooms during Photoshop World, and local photo club meeting places ranging from churches to schools. The one thing they all have in common… when you first see the room you have to wonder how you’re ever going to take awesome shots there. This makes it totally different from going to a great location like an urbex building and start shooting because wherever you aim the light or camera is usable.
Yesterday night we took this concept to the Fotoclub Borne. And this was an excellent example of working in an unknown situation and telling stories
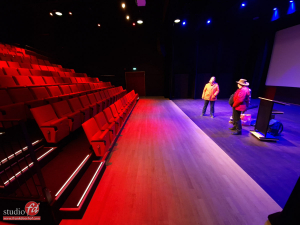
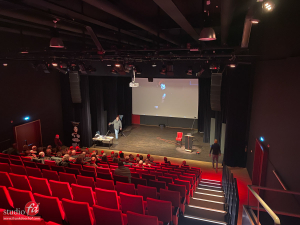
This is the location.
And of course, we did bring an awesome model… Nadine 😀
And that helps a lot obviously.
So let’s take a look at some of the results.
Sets
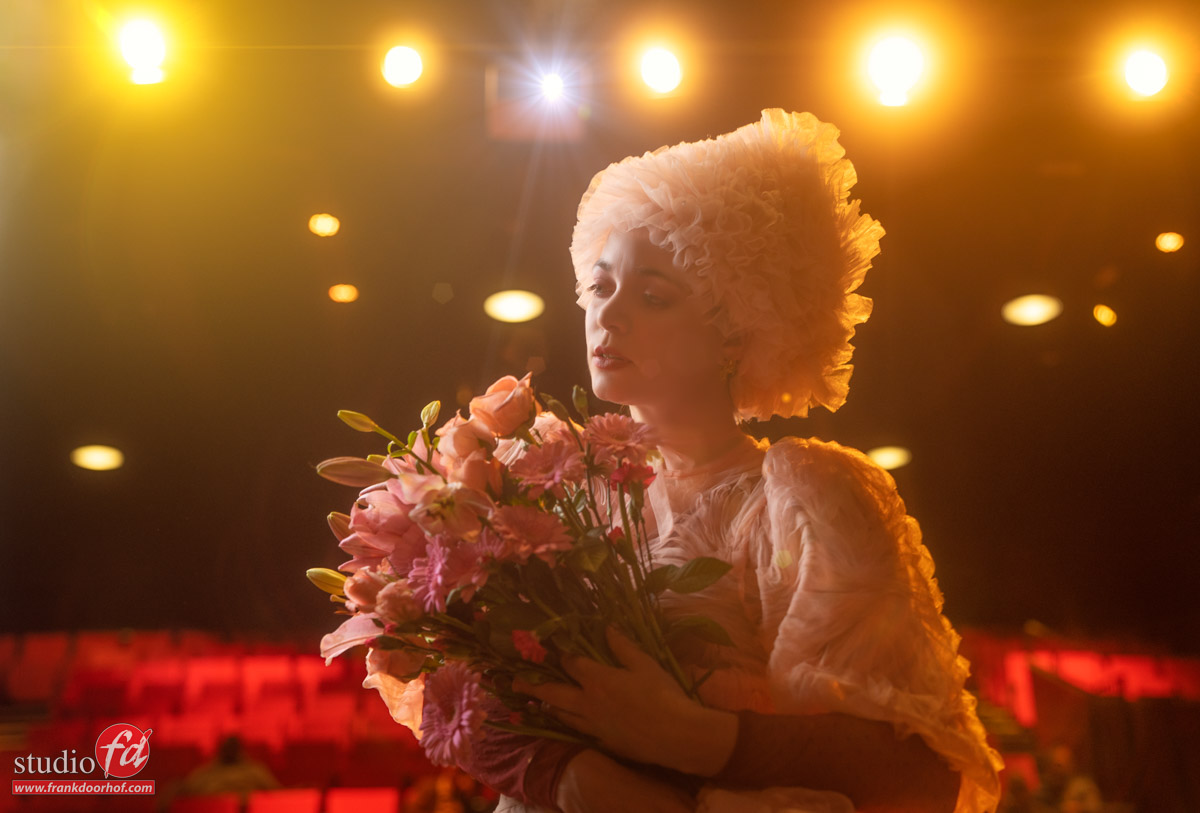
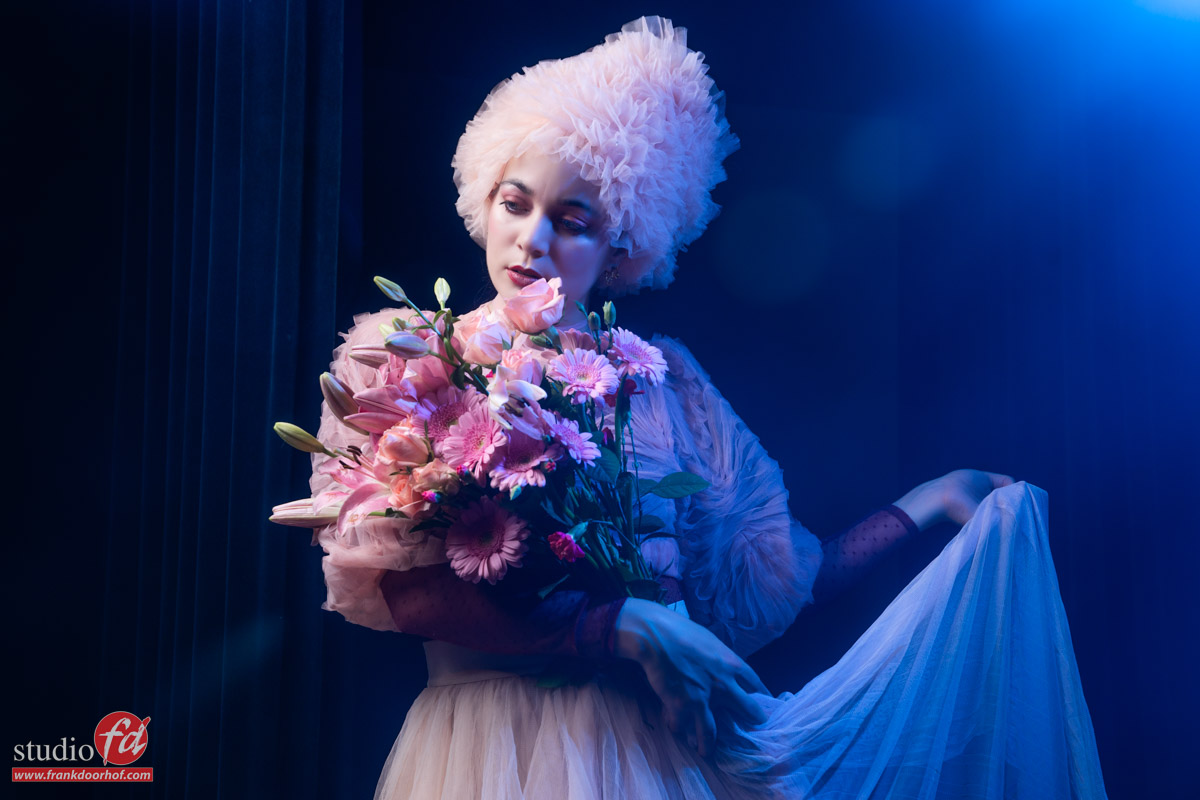
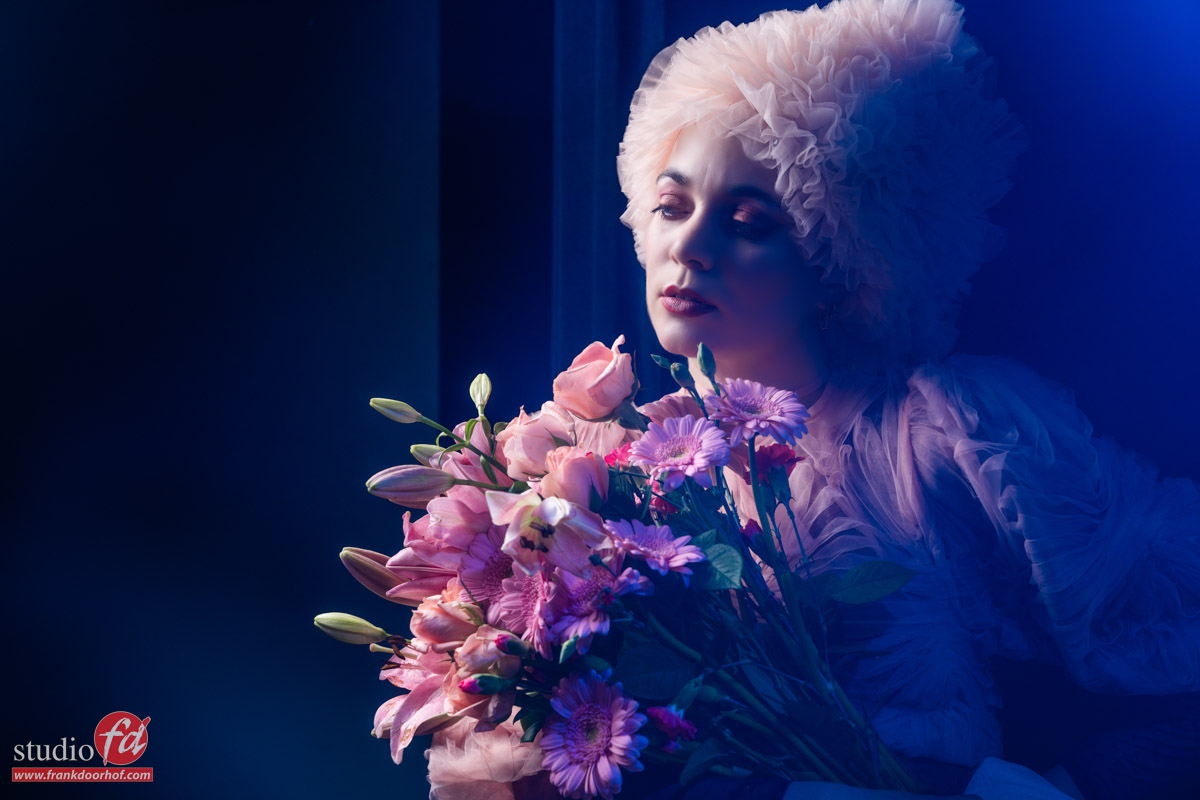
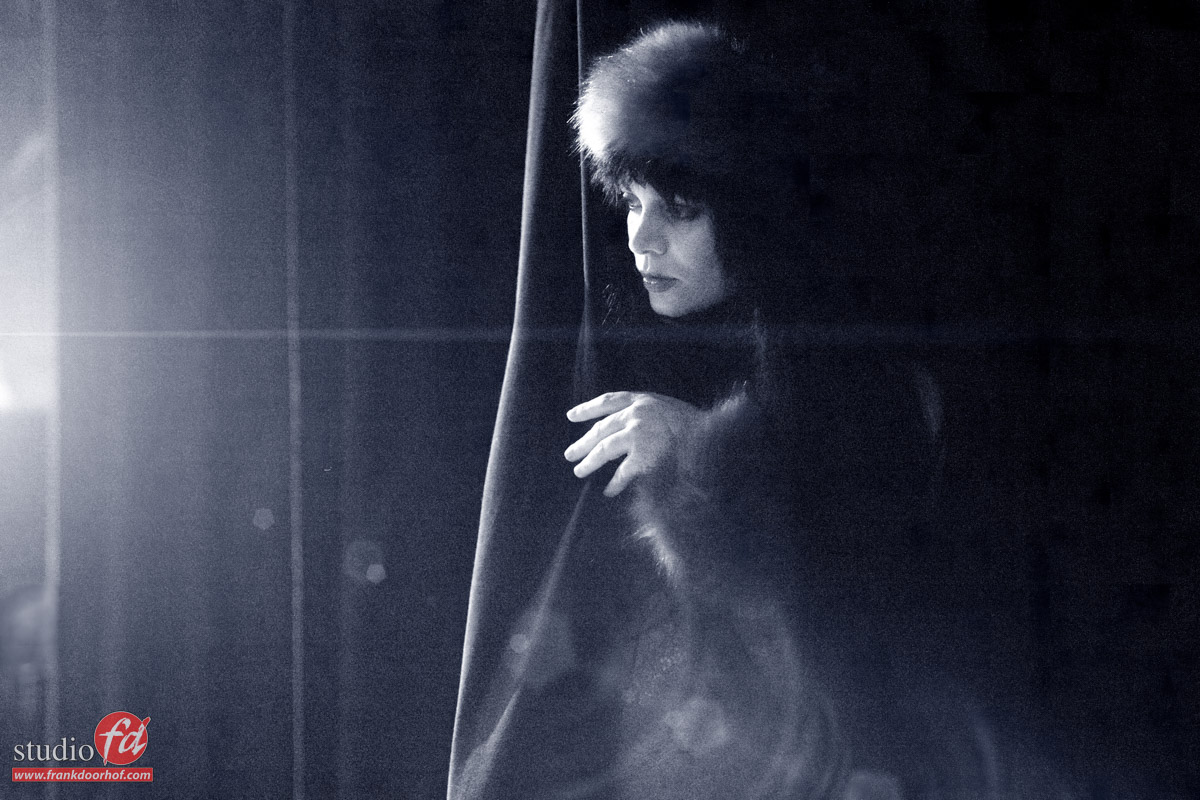
For the first set, I gave a lot of attention to telling a story with your images, and the “theater” setting. The outfit that Nadine chose did fit perfectly. I actually do not know if Nadine planned it or just thought it looked cool. But seeing she didn’t see the location beforehand (like me) I think we were just incredibly lucky.
When I looked at the location the first thing I thought was: a performer that takes the final applause, maybe plays a bit with the curtains, like checking the audience, etc. when you start with thinking in solutions it often goes very fast with ideas.
So let’s take a look at the results.
More storytelling
But it could also be fun to play with the curtains of course.
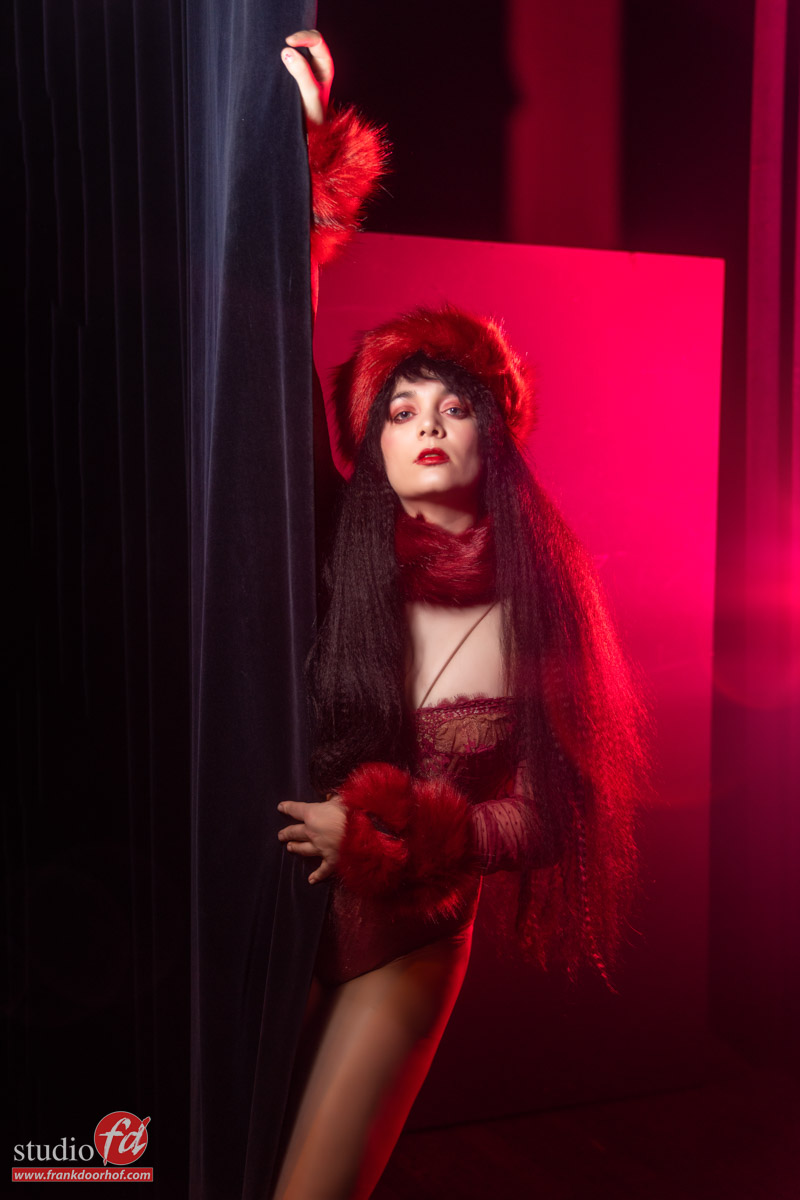
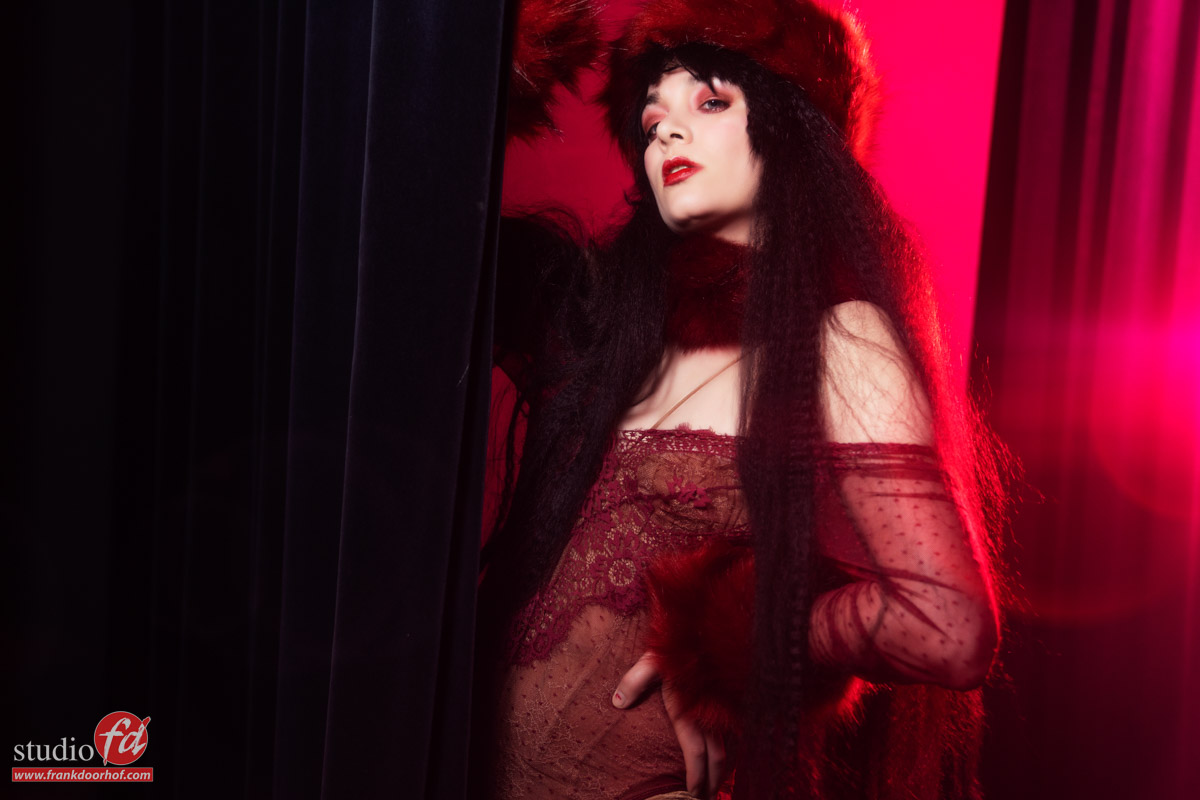
Shoot without strobes for storytelling
And by shooting it without strobes and using the available light, trying to get just a small area of detail from the location, and using a harsh black-and-white conversion it almost looks like the performer is looking into the audience just before her show.
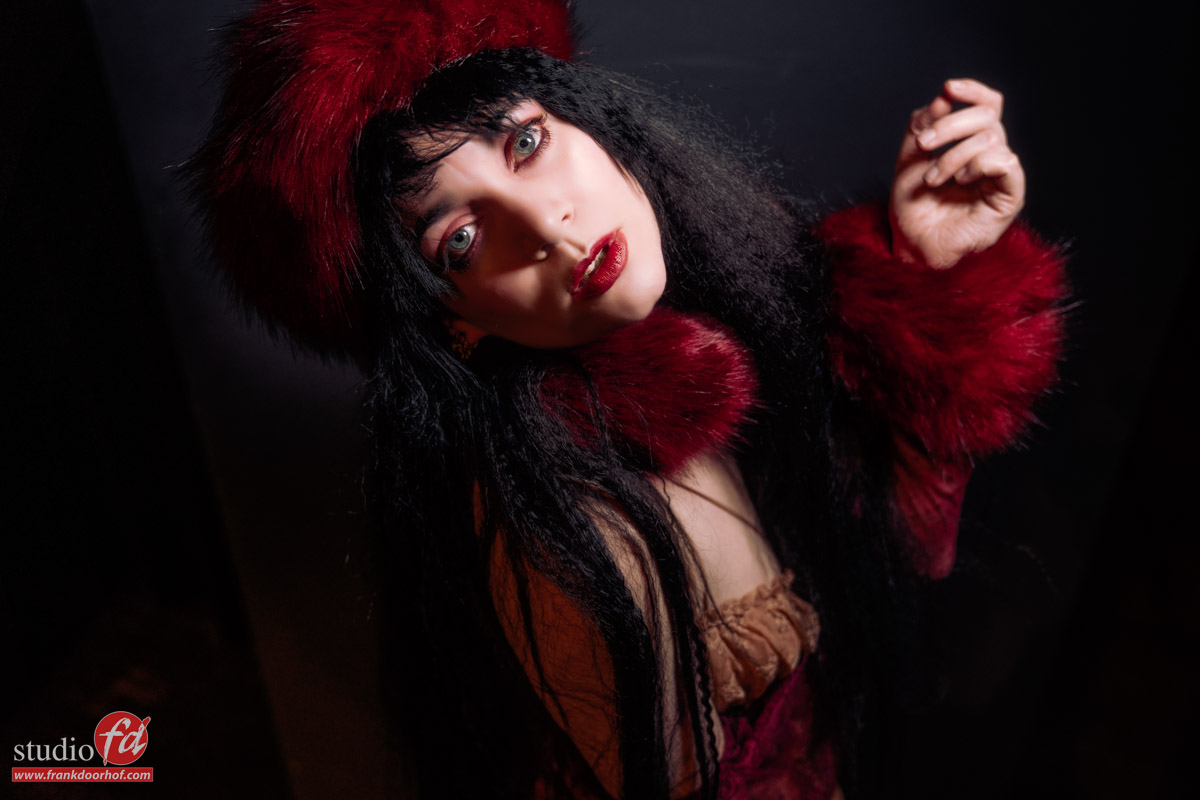
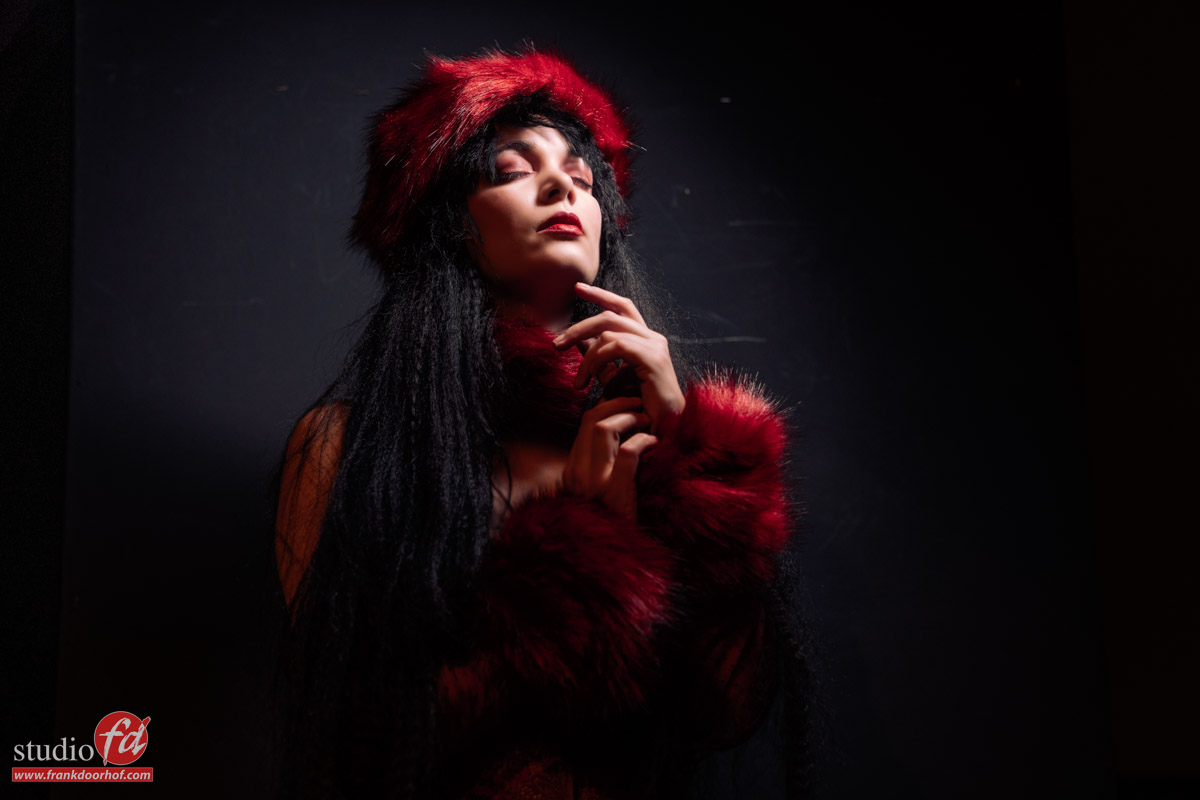
After the first part, I focussed a bit more on the importance of angles and expression.
Using one of the blackboards that were available in the room.
Rogue Dome & Snoot combined
Of course, there are always a lot of questions and I combined some of them in the last set where I combined the Rogue dome with a gel and the Rogue snoot to really let the model jump out. The cool thing about the snoot and using it on a speedlight is that you don’t get a round lighting circle but actually what you see in the images, a rectangular pattern. When you prefer a round pattern just add a diffusion gel instead of a color/CTO gel in the gel holder. This makes the snoot one of the more flexible attachments I use (the FlashBender still wins).
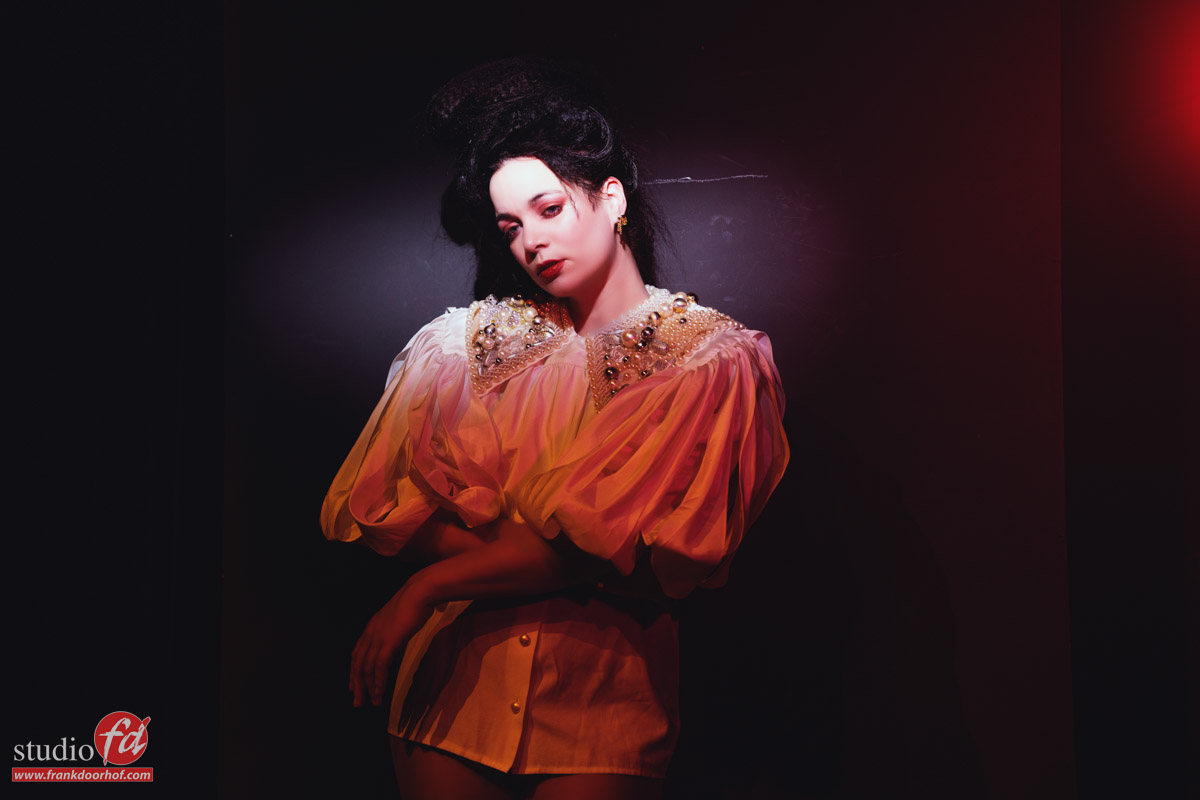
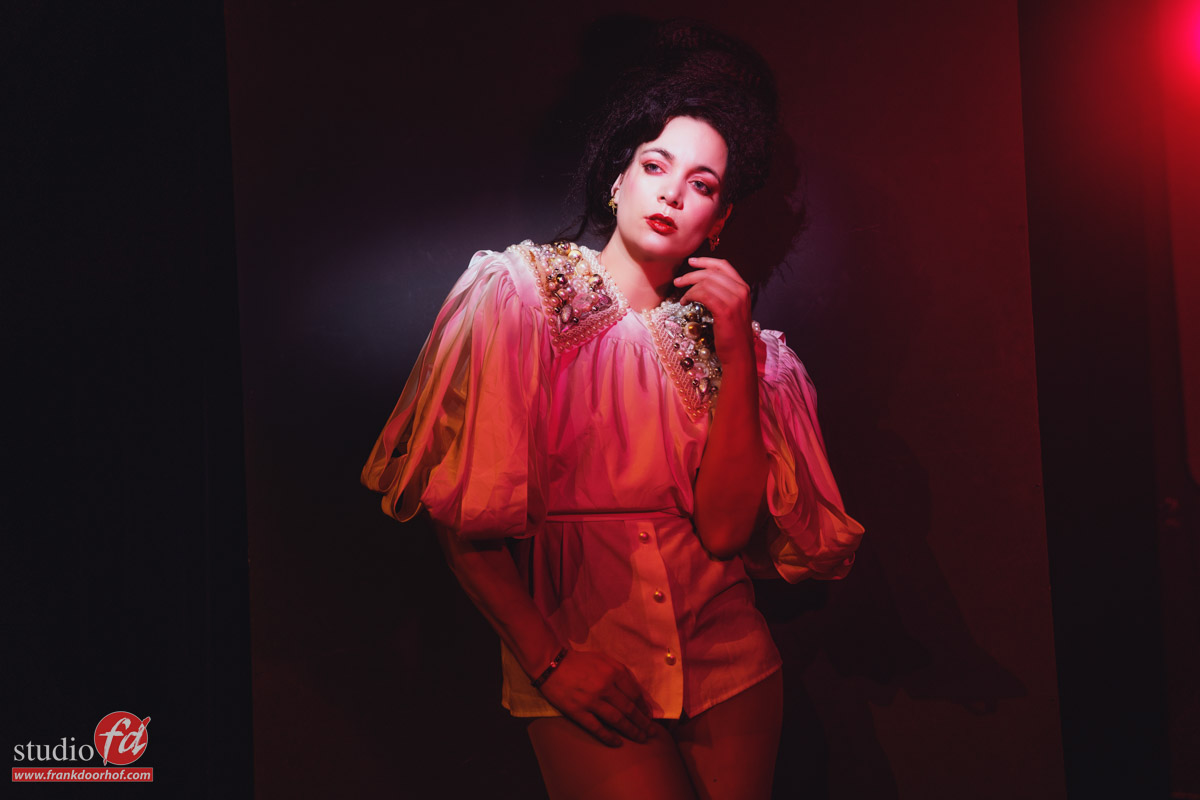
The live shoot took about 2 hours.
Sometimes I wish I have more time to really nail the shots, but thanks to Nadine I think we can be very happy with the results 😀
Gear used :
Sony A7RIV
Sony Gmaster 24-70 f2.8
KF concept black diffusion filter 1.8 for the lensflares.
Apple iPad Pro 12.9 M1
IQ wire 10mtr tether cable
Cascable on the iPad for tethering
Nissin speedlights (this workshop is also done with our Hensel strobes, but we mix this up for different locations)
Rogue Umbrella black with sleeve, check out this video
the magnetic system of Rogue: with dome, snoot, and gel
Rogue Flashbender 3 (also with grid)
And of course :
Calibrite colorchecker duo
Sekonic light meter
This is about average for what I use on location.
The only thing we switch is speedlights for Hensel strobes (Porty for outside and Experts for inside locations)
I hope you guys enjoyed a quick behind-the-scenes look at the workshop and liked the images. I think we really got the magic and the essence of working in an unknown situation and telling stories

