Shooting into the light
On the topic of doing stuff differently with light I think shooting into the light source must not be forgotten. A few years ago people would do everything to prevent shadows from blocking up, now a days it’s a “cool” thing to do and you see it in fashions magazines a lot, but also creating lens flares was something that a few years ago would mean (for 90% of the shots) that your shot would be labeled as “unsellable” today it’s a hot thing and everybody loves to do it, including me. Actually I started using it a few years ago to add something different to some of my outdoor shots, seeing I was heavily influenced by the photography from the 70s and 80s it was not really a weird thing for me to do actually because you could also see it in movies and photography in that era.
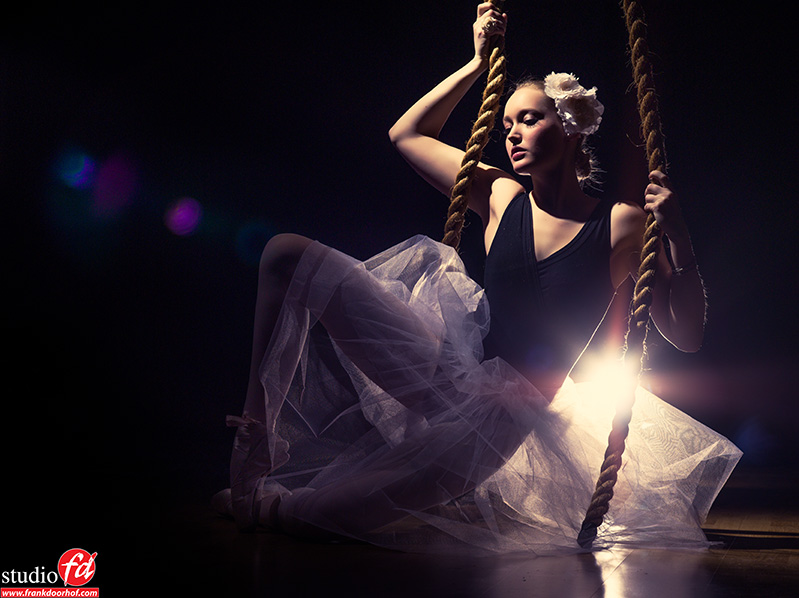
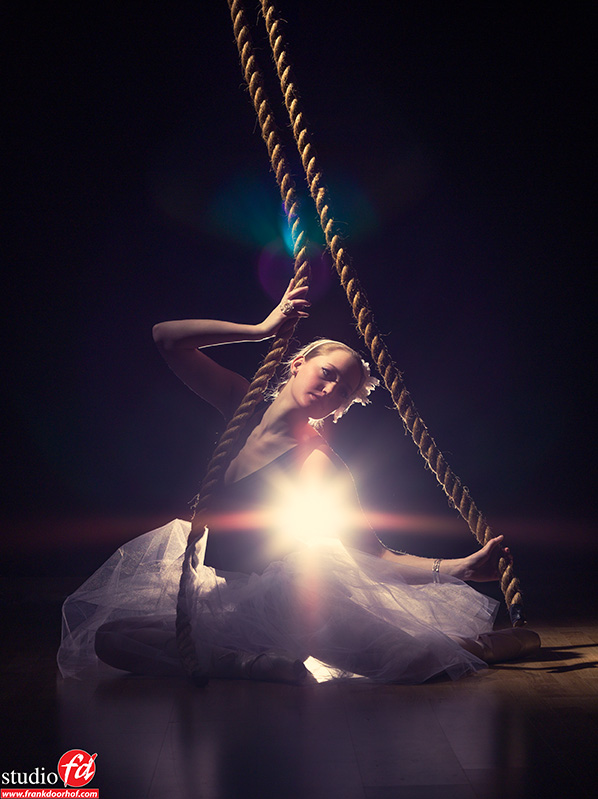
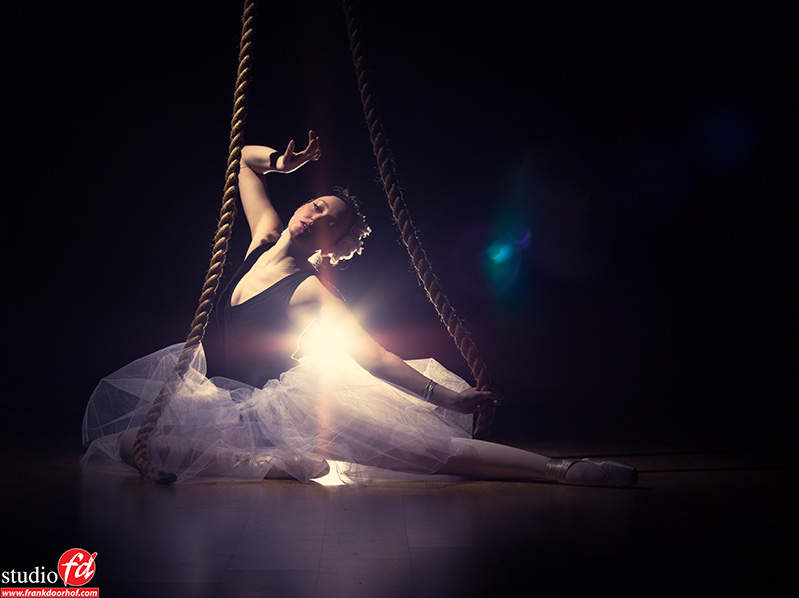
However using lens flare and shooting straight into a light source on full power is actually something different (although it’s a sure thing to create the flare :-)). A lot of photographers will be a bit “afraid” to shoot straight into a strobe on full power (or at least a few stops above the main light) but I will show you that it won’t bite you.
What you do have to realize however is that lens flares can also ruin an image so placing them correctly is very important, and it can be done. When you are shooting images like this I HIGHLY recommend shooting tethered, because that’s actually the only way that you can really see what you’re doing in detail. But do realize it’s not just luck how the lens flare is rendered in the image, you can actually predict and see it. As with most things with light it’s all in the angle you choose. Look through your lens and move your lens around in small circles you will immediately see the light play in your viewfinder, these in fact are pretty good predictions of where the lens flares will be aimed. Now press the shutter and check on your monitor, with a little bit of practice you will be pretty quickly be able to place the lens flares in the locations that you like them.
In these images I use one snooted strobe aimed at the model and one snooted strobe from the background aimed straight into the camera. The output on that strobe is rather tricky to set 100% accurate and almost impossible to meter. I will most of the time just “wing it”, meaning “an educated guess” ok that sounded a lot more intellectual :-). If you go to high on the output you will blow away a lot of detail and in some cases even overload your sensor (creating weird streaking patterns), if you set it too low it won’t “bleed” the way that makes this kind of light interesting. So play around with it and make it work the way you like it.
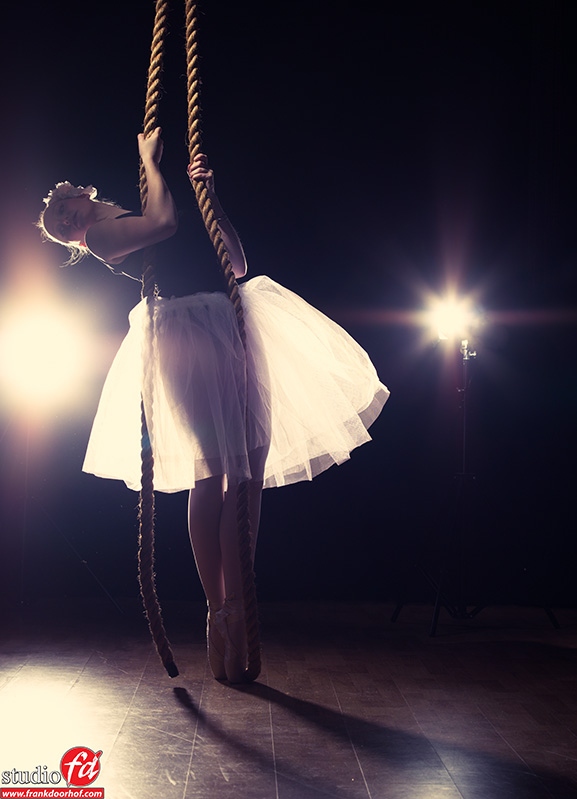
For this final shot I used an extra strobe on the background to create a more “performance night” look.
If you like what we do here, and want to support the blog please buy from our affiliate companies by following the links or the links below.

Want to be inspired by the best, make sure to get a subscription to Kelbytraining via this link?
Even the pros get their inspiration from them 🙂


Awesome work.
Here is one of my try against the sunset. The pose is one of my wife’s idea, don’t blame me for it 😉 but it came out pretty good after all 🙂 I used third party Speedlite 560 flash, and this one is taken with Canon 40D 85mm F1.8 prime lens.
love it 😀
Cool shot Leo !
Nice work mate.
Wow Frank! I love these photos, just gorgeous!
Great photos, well done Frank 🙂