Guestblog Niel van Niekerk
I met Neil during my workshops in NY last year and we immediately had a “click”, Neil is not only a great photographer but also a real nice person and I loved hanging out with Neil and doing a cool shoot at the beach with a small team of friends (always the best way to shoot). A while ago I did a guestblog for Neils blog and today he returns the favor for you readers. So without leaving you waiting for the man…. here is the guestblog by Neil.
Off-camera bounce flash
by Neil van Niekerk
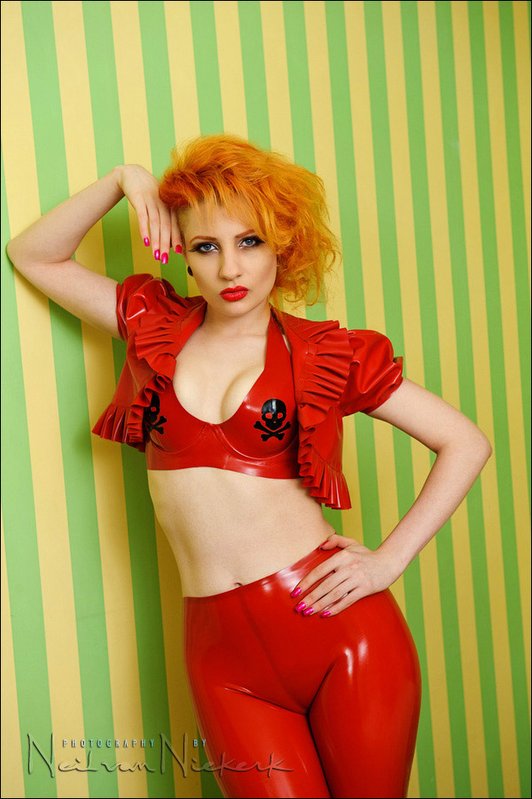
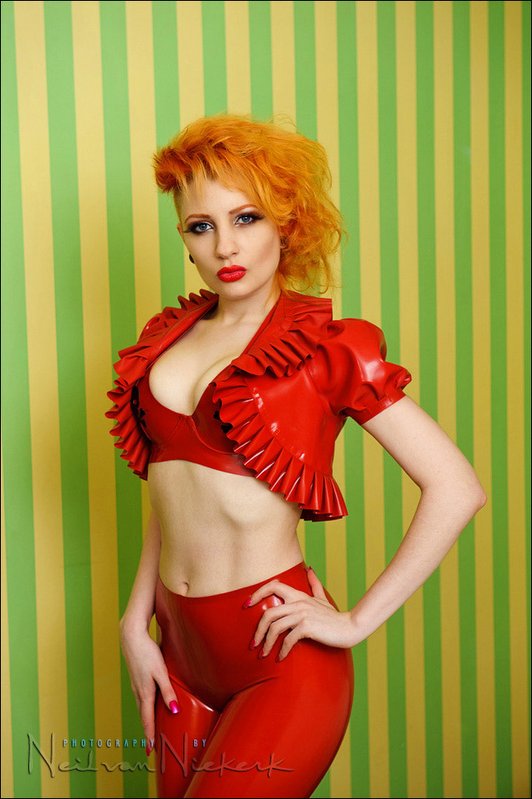
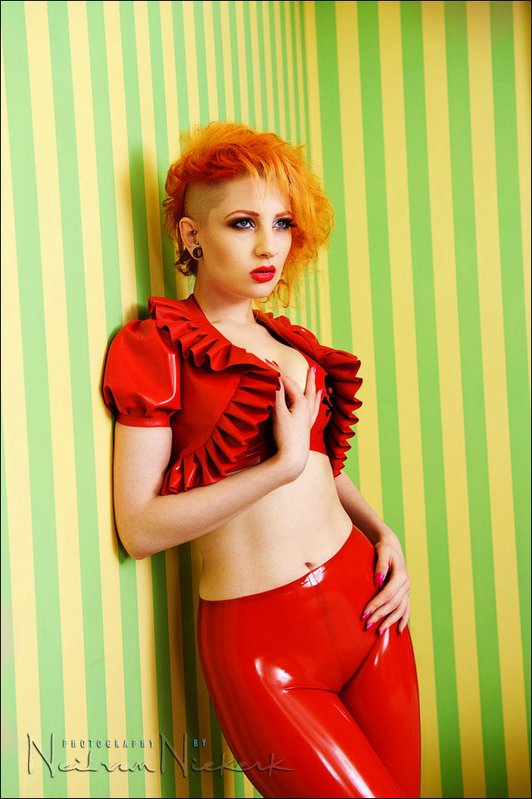
Earlier on in 2011, I was fortunate in working with an exceptional model, Ulorin Vex. She is well known for her styling and fetish costumes and also for her striking looks. She also happened to be supremely easy to work with, with her lovely and quiet demeanor – always professional. What I want to share in this article, is the thought-process that I took during this photo session. While I might have an idea, it usually takes a few detours getting there as I adapt to any specific situation. For this photo session, I was shooting in the hotel we were staying in in California. As a boutique hotel, there were a number of interesting potential places to photograph in. The room that I was staying in, had these broad yellow and green stripes … and when Ulorin Vex put her red latex outfit on, I thought this would be perfect as a backdrop – striking, bold colors.
This final image was quite simple in its execution and how it was lit up. It was lit with a single speedlight bounced towards the corner of the room away from Ulorin Vex.
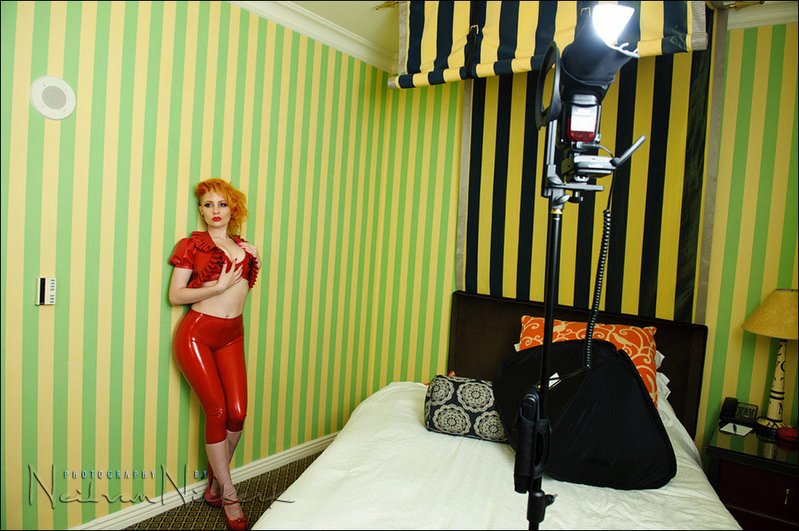
Where I started off though, was with my usual first choice of a speedlight in a softbox. (The Lastolite 24″x24″ speedlight EZYBOX).
Even though the softbox is a relatively large light source, especially compared to a direct unmodified speedlight, it turned out that with us working so close to the wall, there was a distinct shadow. I wanted a shadowless look. There was another problem in working so close to the colored wallpaper – there is a distinct green-ish color cast on her skin closer to the wall. But I decided I could live with this.
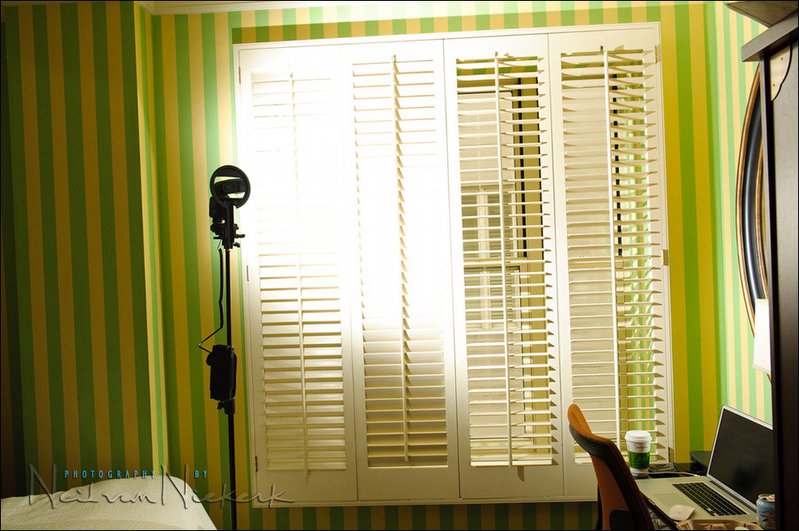
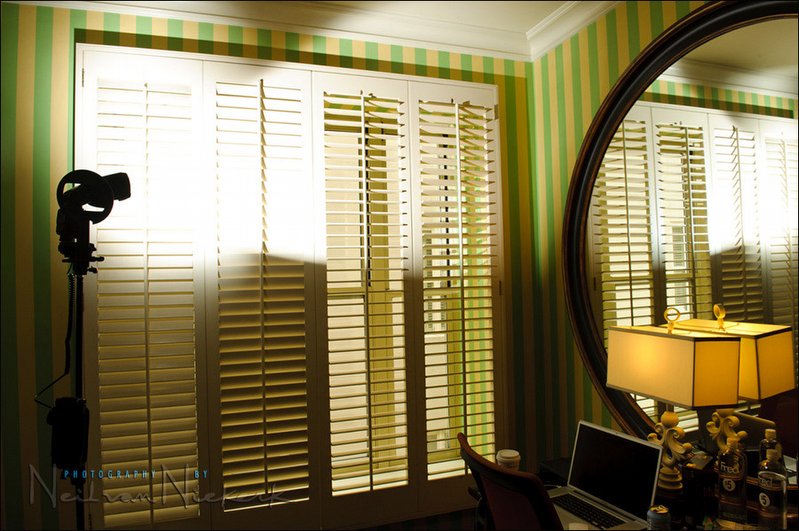
So the softbox had to go – I wanted a larger light source. The simplest way to get this, was to turn the speedlight around on the light-stand, and point it at the window shutters behind me. The shutters were cream colored and this did mean the light would pick up a distinct color cast. But no sweat – shooting in the RAW format allows me the most headroom in adjusting the images later on for a pleasing color balance.
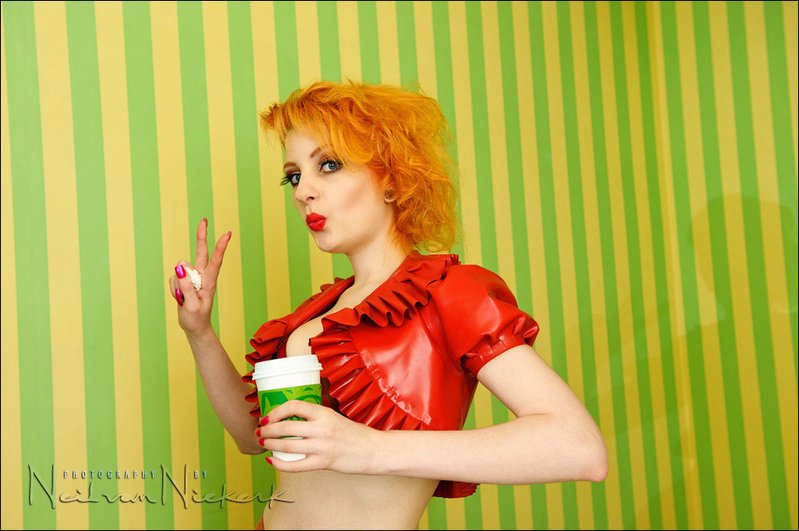
A test shot of Ulorin Vex (in an atypical goofy pose), showed there was some strange shadow behind her. Hmmm … looking back at the speedlight, I immediately saw the problem. I was bouncing the flash partially into the mirror, and the mirrored light was casting that distinct shadow there in the right-hand side of the frame.
To avoid the flash hitting the mirror at all, I flagged it with a piece of black foam held in place by hair-bands. This piece of black foam is something I always have on hand, since I use it as my default flash modifier when bouncing my on-camera flash when working indoors.
Link to the explanation of how I use the “black foamie thing” to give directional light to my bounce flash
Simple as that. Now the flash is controlled and would only hit the shutters (and part of the wall), and not the mirror. My light would now be the soft flood that I had intended.
camera settings: 1/100 @ f6.3 @ 400 ISO
Nikon D3;
Nikon 24-70mm f2.8 AF-S (used around 60mm focal length for the sequence of images.)
Nikon SB-900 speedlight; Nikon SD-9 battery pack
Wireless triggers: (2x) PocketWizard TT5 units.
The output of the flash was manual. Since my model and my light would stay in the same spot for this sequence, it was much easier to work with manual flash output, rather than deal with the vagaries of TTL flash exposure. (I do prefer to work with TTL flash when I shoot on the move instead of working in a static position.)
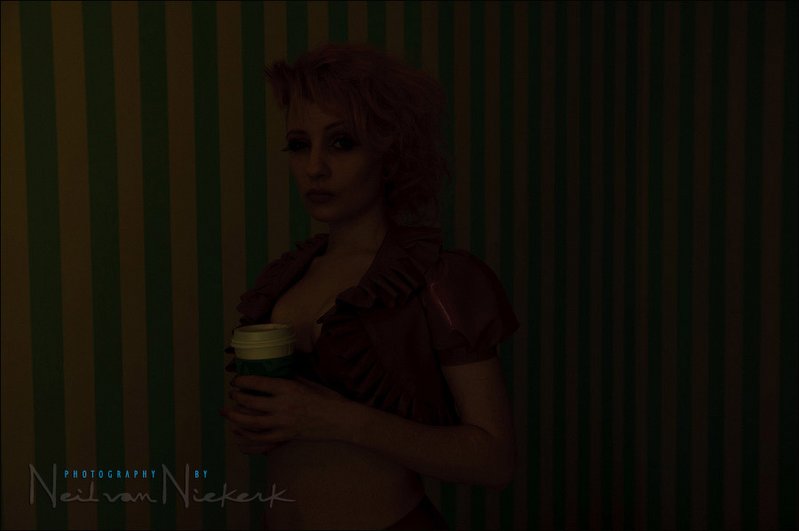
Here is the comparison shot with the flash output disabled, just to give an idea of how little ambient light registered. Negligible. I could’ve raised my shutter speed a little higher (but not above max flash sync speed), to eliminate even more of the ambient light, if I thought it was an issue.
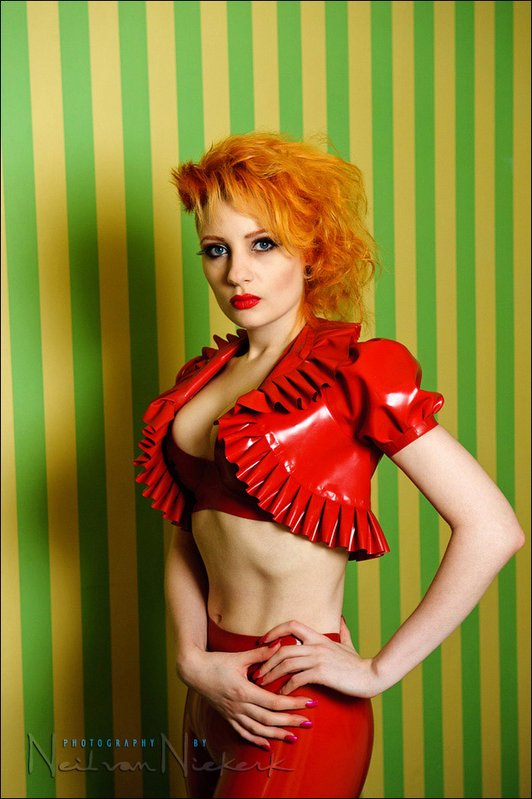
Another one of the final images that I chose from this session. Shooting more towards the corner, the background “folds” instead of being evenly spaced color bars.
With very little working room here – (you can’t see the king-size bed that we were standing on either side of) – I decided at the start of this specific session to keep the lighting simple. Very simple. One speedlight simple. Even then, as shown, there had to be some adjusting of my approach to get the result that I wanted.
Neil van Niekerk


Great read. It’s nice being able to see the difference between the soft box and bounce with the same photo.
Very nice… One of the things that I like to do, bouncing flash sideways to take photos. For me, nothing beats a bounce flash, the whole wall becomes a softbox. Great job 🙂
Measure your Lastolite. You may be surprised that it is actually 21×21. They now use a different method in measuring this box …..
Neil rocks, as always. 🙂
Amazing shots. I so love the colors. The approach is amazingly simple – guess I will need to check the wallpaper in the next hotel room i’m in. 🙂 Great reading.
Thanks for sharing more good info. I love the depth of the background info on how it was shot and of course showing the actual setup in photos is extremely helpful to illustrate your points.
Great shots. I see how ou were able to manipulate the light and the colors. Great job am learning a lot!
Spectacular results. This tutorial is so simple and easy to understand. Great work Neil.
Neil, why using off camera bounce flash instead of on camera bounce flash? In this example, I guess you could achieve similar result using on camera bounce flash.
Ryano.
Nice post Neil; I am a fan of “PlanetNeil” and it’s great to see you here at Franks place too.
Love the behind the scenes images – they clearly illustrate that with a bit of creative thinking it’s possible to get great images in almost any space. Having had the pleasure of attending both Neil’s and Frank’s workshops here in Cork in the past, it’s great to see you being guest bloggers on each others blogs.
Great tutorial Neil. Thank you.
Your flash was set to M. How did you decide what power level to set it at?
Also, do you use the SD-9 battery pack (or any battery pack) to speed up the recycle time?
Great read I really appreciate this kind of how tos, the way it is well explained with images.. sometime I tend to believe nothing beats bouncing flash but this is just a personal preference.. Thank you Neil
Always
Sabore