Guestblog Monicque Janssen (Collodion)
 I met Monicque during some of my workshops and when she told me that she would be participating in a Collodion workshop I just had to have her over as a guestblogger after that workshop to show our readers the results and tell a bit about it. So here she is with her guestblog. Feel free to ask questions of course.
I love my digital camera.
But there has always been a part of me drawn back to analogue photography.
For now it was just the longing of having my own dark room where I could develop my film… So first I was looking for a used analogue camera and which film I would like to use.
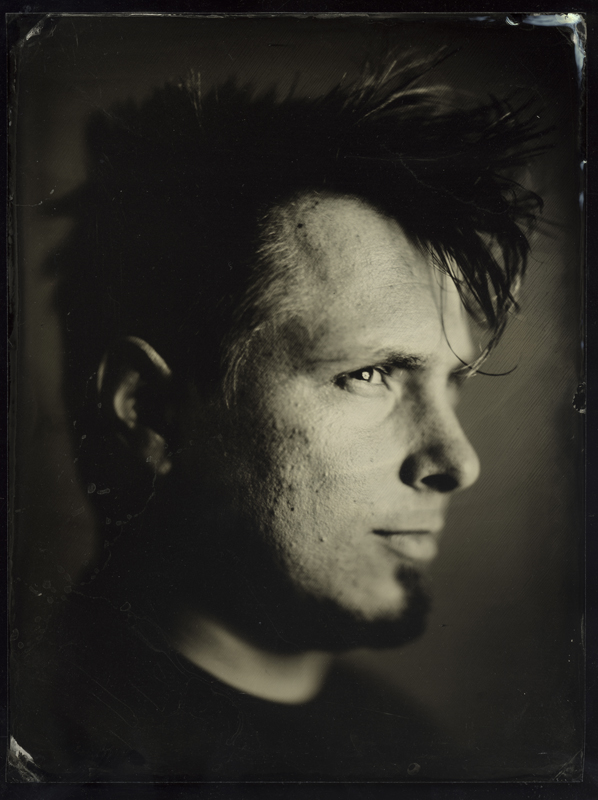
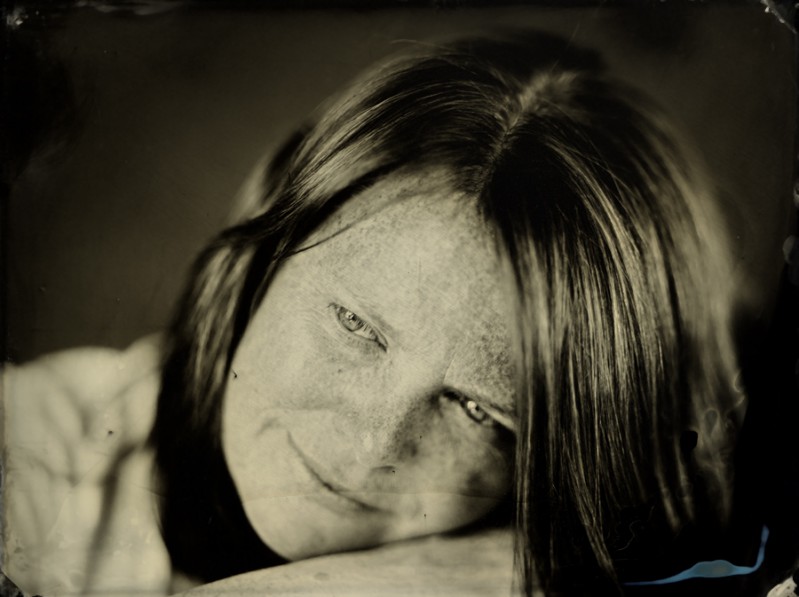
In 2009 I visited the GEM in The Hague, the exhibition featured work by Sally Mann. I was in love with her photographs. I watched here documentary “What Remains” and for the first time I got introduced to Collodion Photography. The imperfections of a “wet plate” really adds something extra to the photo. So..Game on… Where could I learn more about this kind of photography… So I went on-line and in contradiction to my expectation, there is a lot to find about this procedure. So I read all about it, I looked at pictures, and the more I read the more I got excited. I wanted more.. I wanted to feel the plate in my hands. I wanted to see for myself how the old camera’s work… See if the lenses are as sharp as the modern ones… I wanted to check if the varnish really smells like lavender.. My search for knowledge brought me to Alex. Alex lives in Holland and also is a collodion enthusiast. Together with a friend, from school – Michiel Maessen, I decided to follow a workshop given by Alex for a fun day of collodion photography..
Weeks of anticipating paid off, what a trip.. It really is like magic..
We started out with a lot of information about camera’s lenses, and the ingredients and procedures for this kind of photography.
 When the “wet plate” is ready you don’t have a lot of time to spend on a pose. So you have to make sure that you figure out which pose you want before you make your plate. As only tiny adjustments can be made when the plate is ready. Remember that the person being photographed needs to stay in the same pose for about 7 seconds… So be sure you’re comfortable. To keep your head as still as possible there is a support for your head. Alex uses two daylight studio lamps for lighting his subjects. Otherwise the exposure time would be much longer, and when you are working with real models that’s not something you would prefer.
The next step is to make the plate.
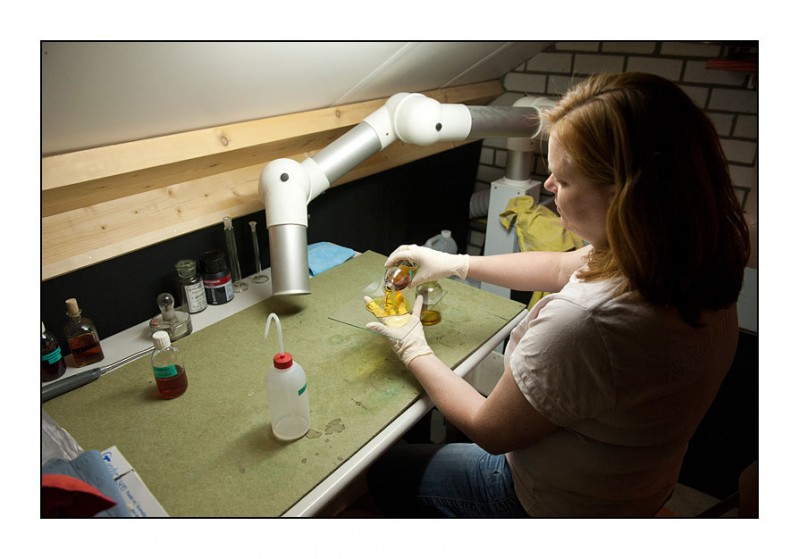
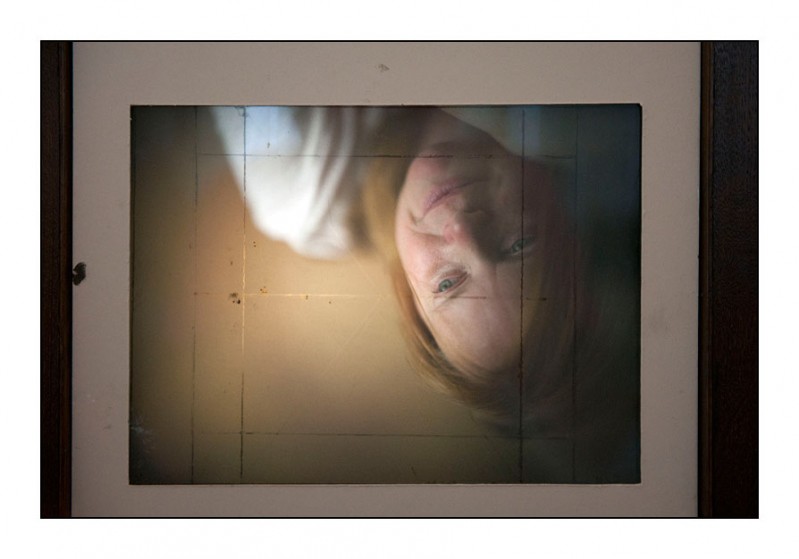
First the plate needs to be really clean. Then you pour the collodion on to the plate and very gentle you flow the plate, making sure the collodion spreads over the entire plate. The next step is the silver bath. This will make sure that the plate will be sensitive to light. After this step it is crucial that the plate is kept dark. You place the plate – in the dark room – in the camera’s plate holder. You put the plate holder in the camera and set the timer for the number of seconds you want. Make sure the model is in place and that she/he has a focus point so the eyes will not move during the exposure. When the plate is in the camera you position your model the way you rehearsed earlier. So when you know what you want your model to look like on the plate you check with a loop if the camera is in position and the subject is sharp where you want it to be.
And wow… These antique lenses are really sharp… Brilliant.. To think these lenses are build in the 1800′s..
The next step is going back into the dark room to develop the plate. This is when the magic happens. You poor the developer onto the plate.. You can see the picture appearing. This also is the step where I am going to make the most mistakes. There is a point where you must stop the developing process. And you have to be experienced to know when to stop the development process. So you have to practice practice & practice.. The developing process is stopped by pouring water onto the plate until there is a nice film of water on the plate. Next you put the plate in a solution of potassium fixation. The plate has had a milky white look until now. As soon as the plate hits the potassium the white film fades and the picture is revealed.. Watching this is like watching magic… Now all that is left is watering the plate down with tab water, and afterwards rinse the plate down with de-mineralized water.
After you rinsed the plate it has to dry. When the plate is dry you can varnish the plate.. And yes, the varnish really smells like lavender.. When you used a white plate you can paint the back black when the plate is dry.
It was a great experience.
If you want to read more about the collodion workshop or me you can visit my blog: http://blog.morephoto.nl


LOL, that’s my darkroom !!
Alex Timmermans
http://www.collodion-art.blogspot.com
Wauw, wat gaaf en leuk om te lezen Monicque!