Black and white or color or let’s do both
Some things I never do, Black and White and color!
We all have said something like this when it comes to our work. Model photography in black and white and color. One of the things I hardly use myself is selective coloring, and yeah, sometimes it looks great. But somehow in my work, it’s always a matter of keeping all colors and even enhancing them or converting them into black and white. But sometimes…
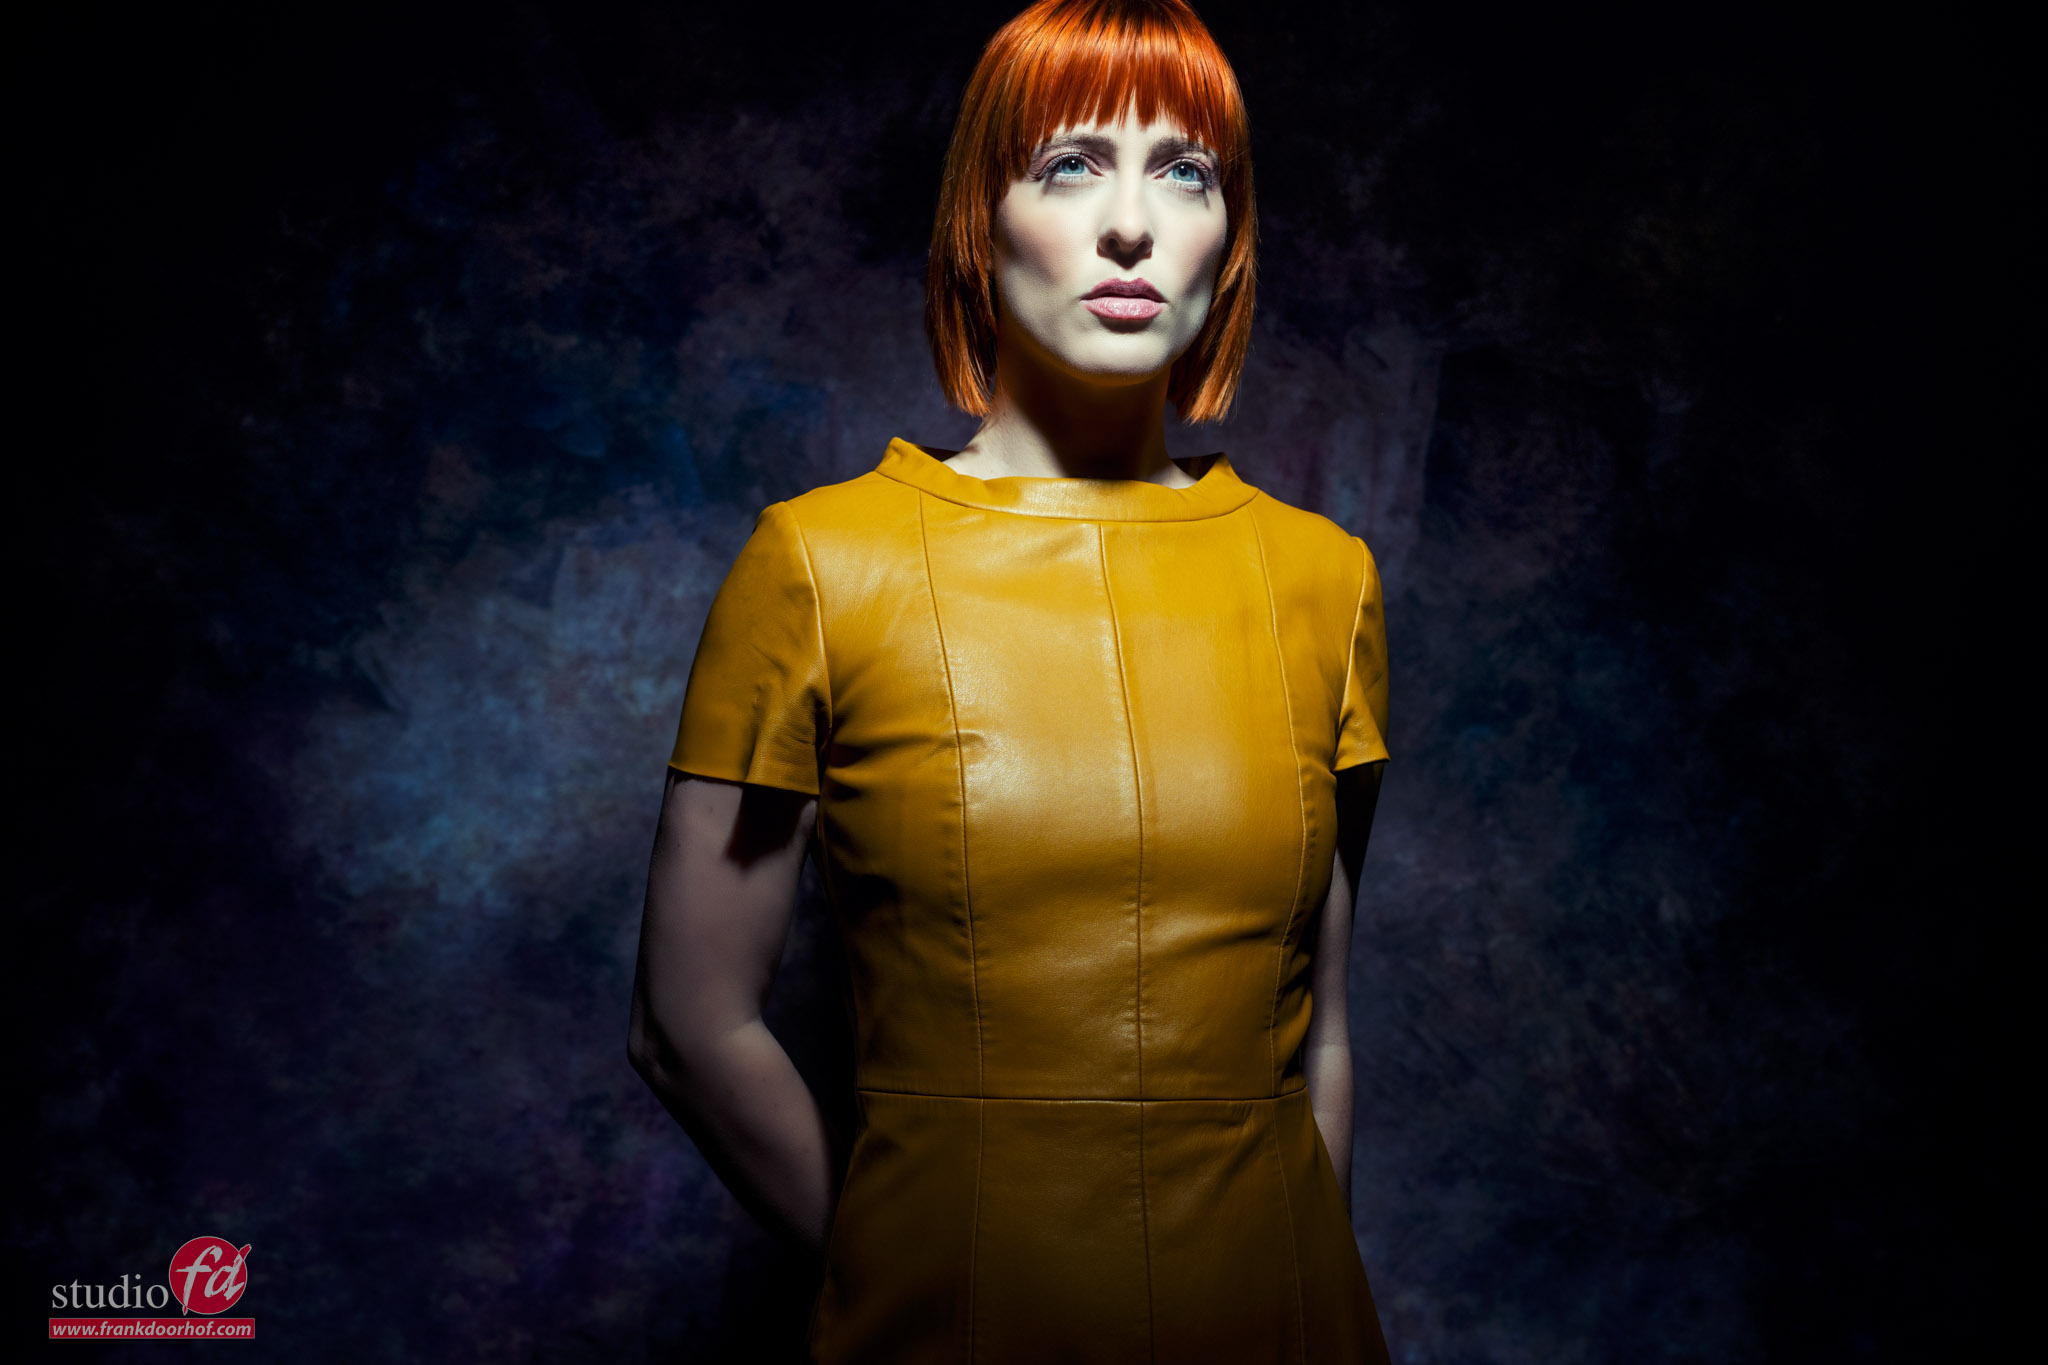
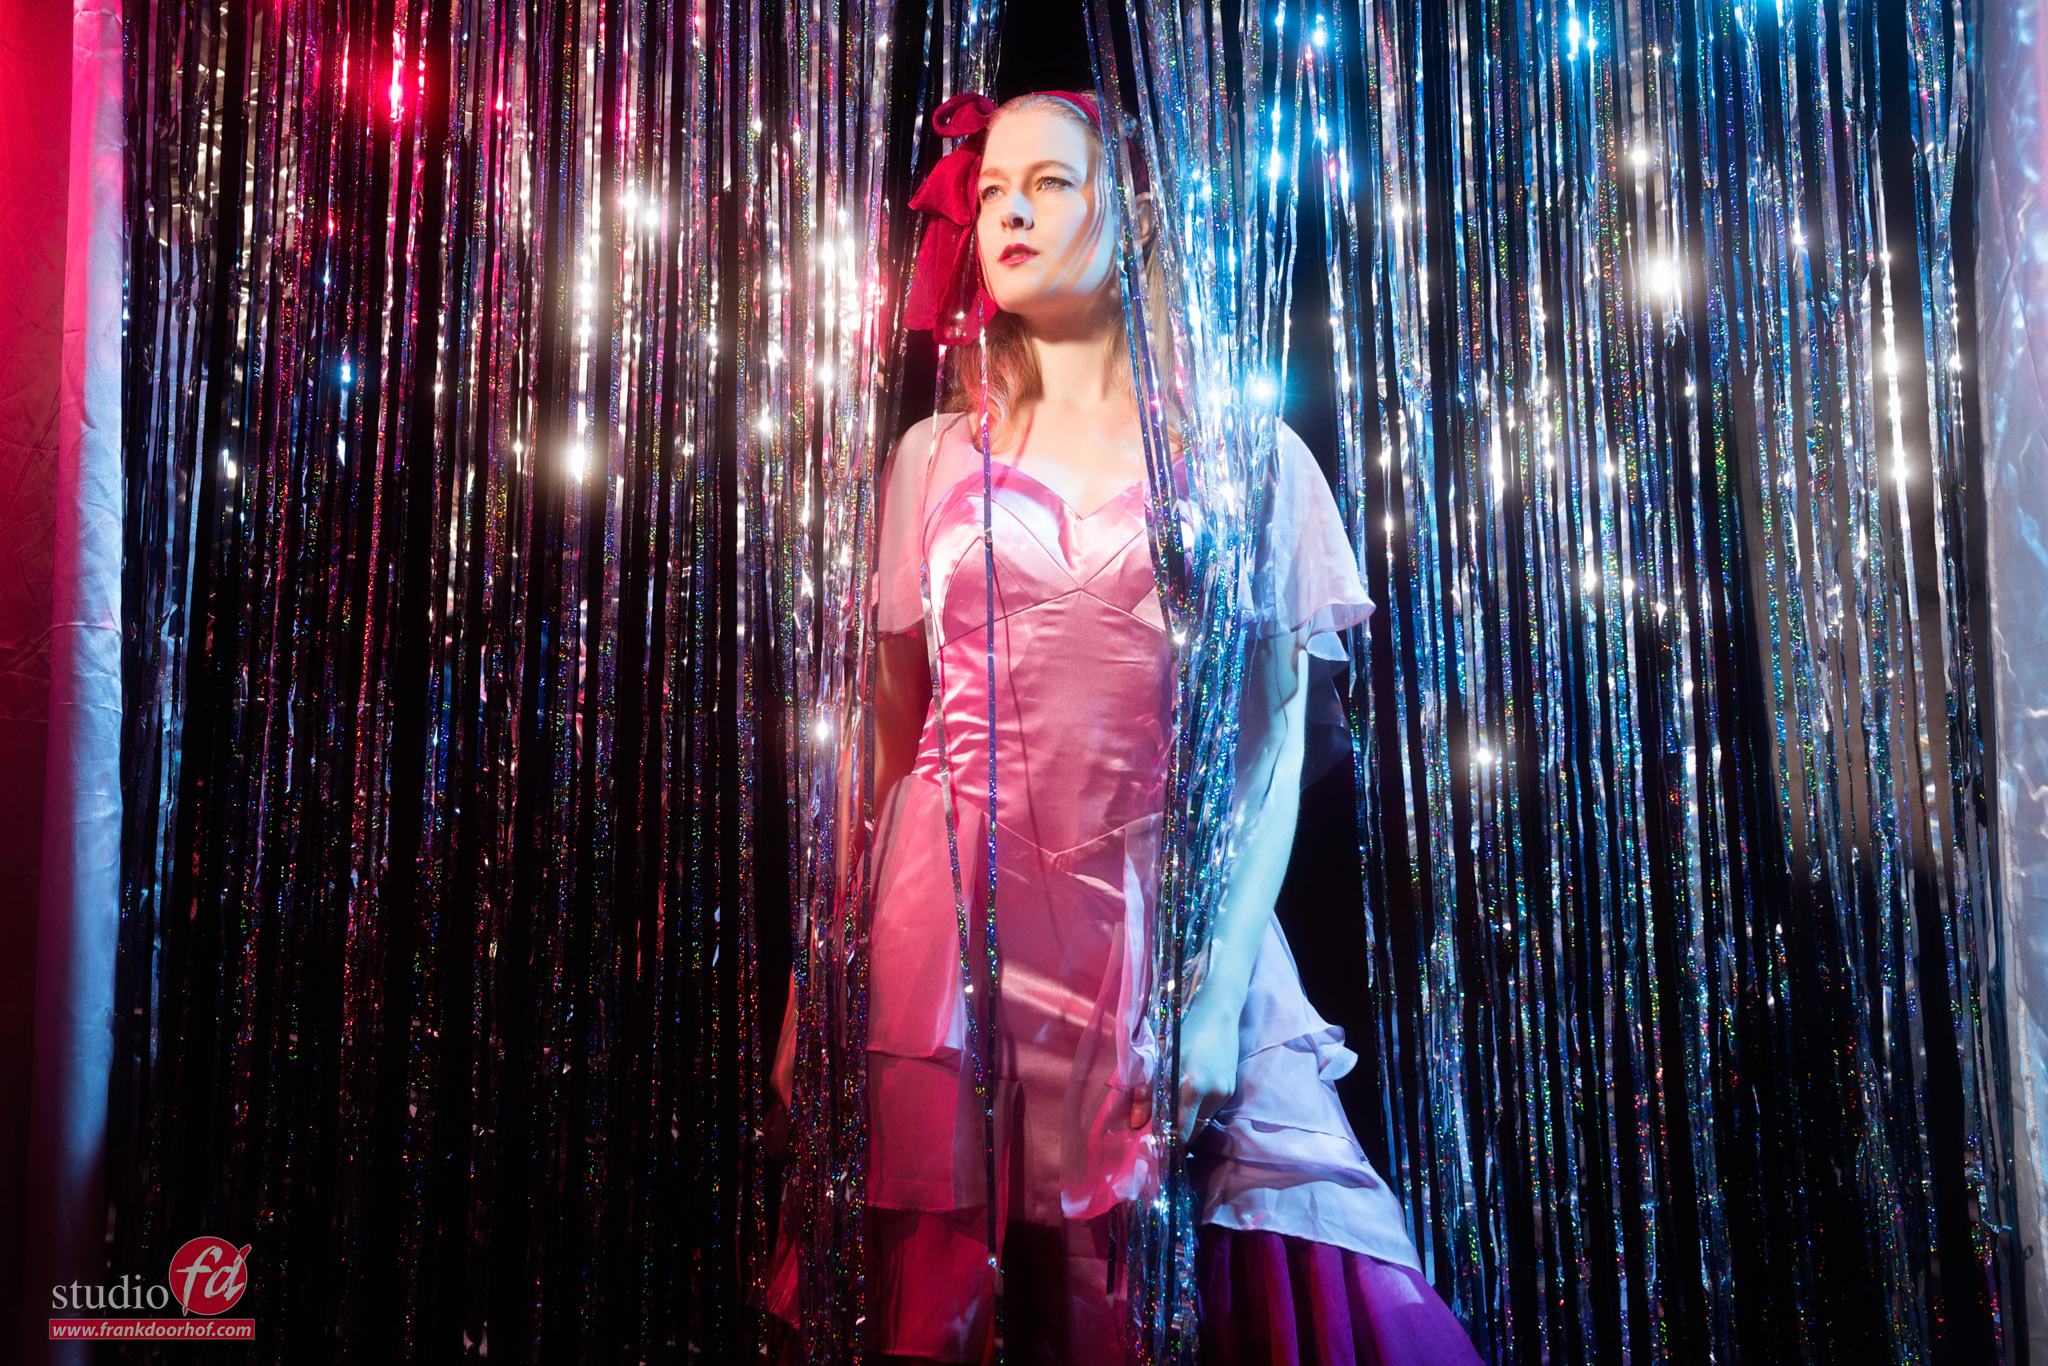
Amazing costumes ask for amazing light
During an online 1:1 workshop we got some amazing costumes and for the final set, our model Linda was wearing an awesome red hat and vintage outfit. I immediately felt an old-fashioned movie star vibe.
So, for this I wanted a spot effect on our model to make it look like a theater spot. You can use a fresnel for this like the great Nanlite Fresnel but if you want total control? The Lindsay Adler Westcott optical spot is much better because now you can control the sharpness of the effect with the focus of the lens. And for this shot, I wanted it razor sharp.
Black and White and color.
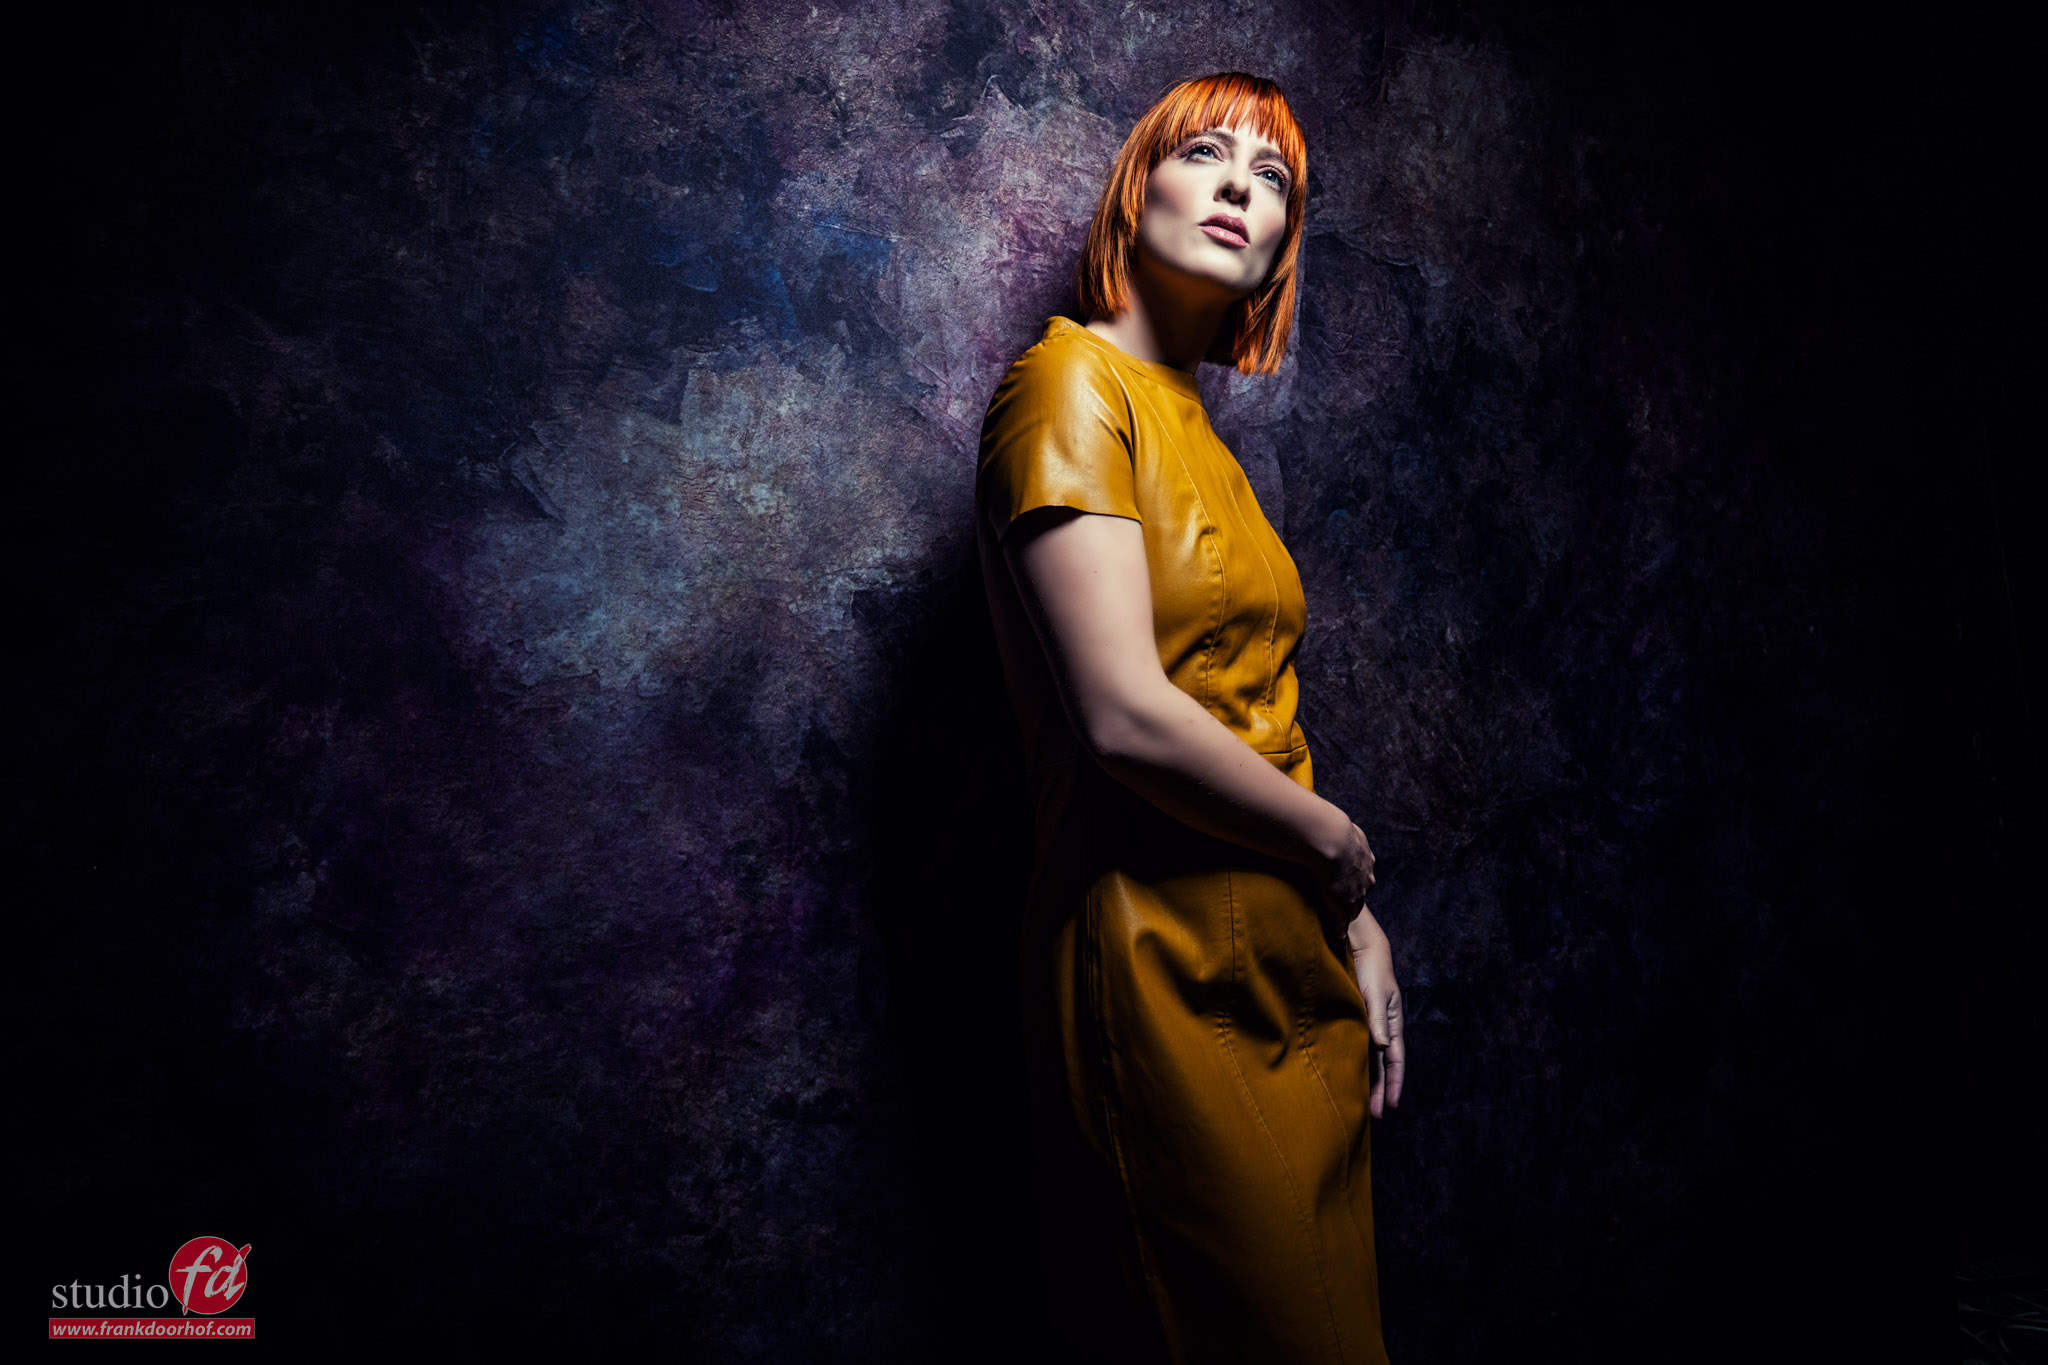
Now that I had the shots, I just loved the black and white version. But the color one was also great due to the reds. (I just love red)

I like the image in color
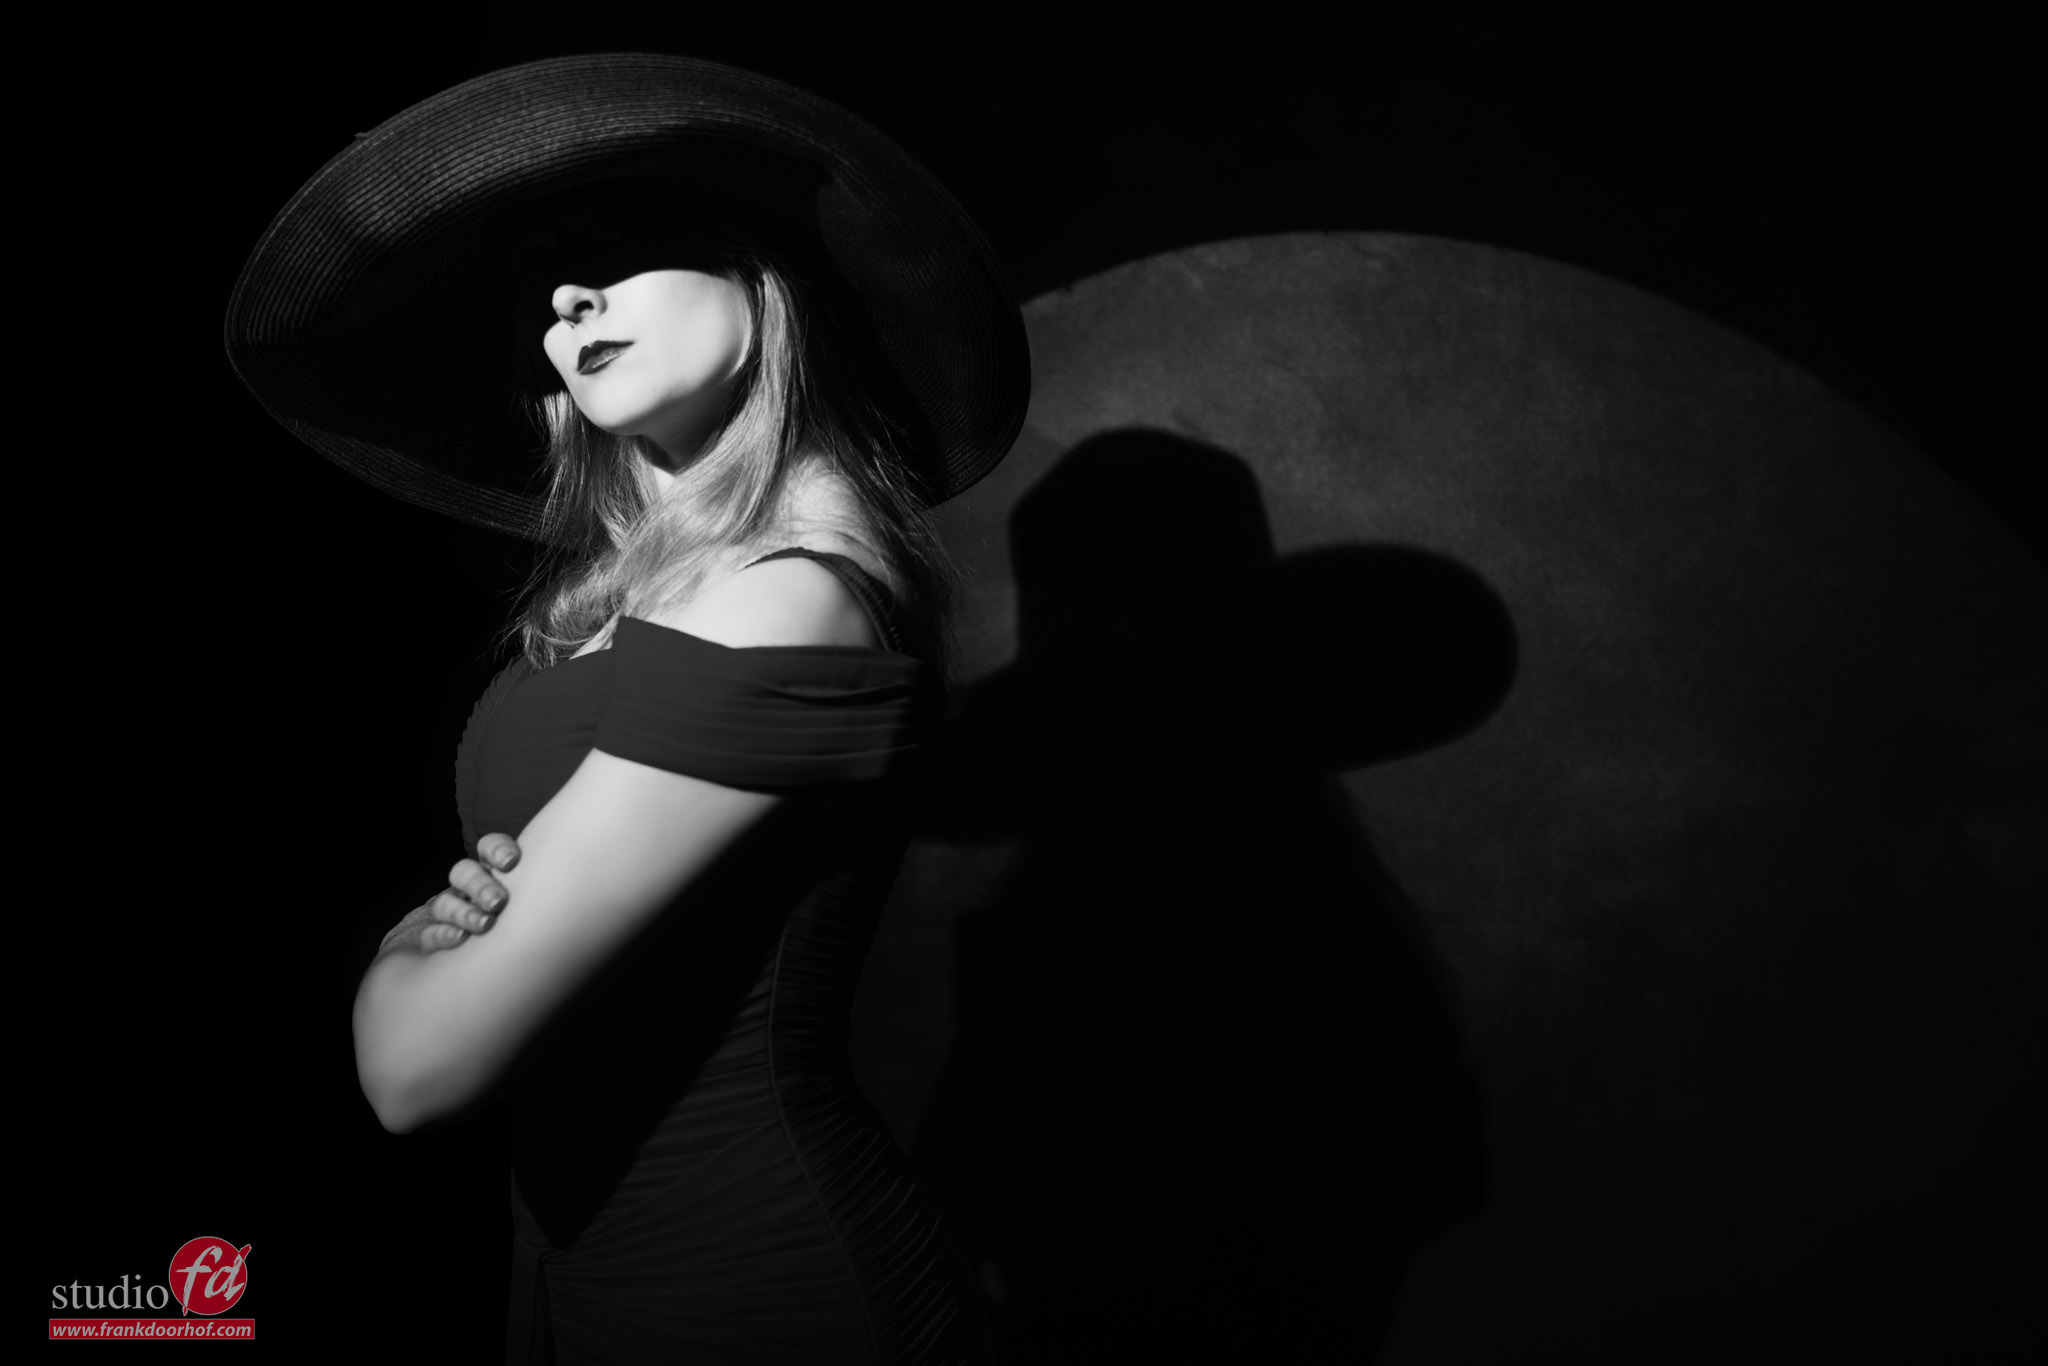
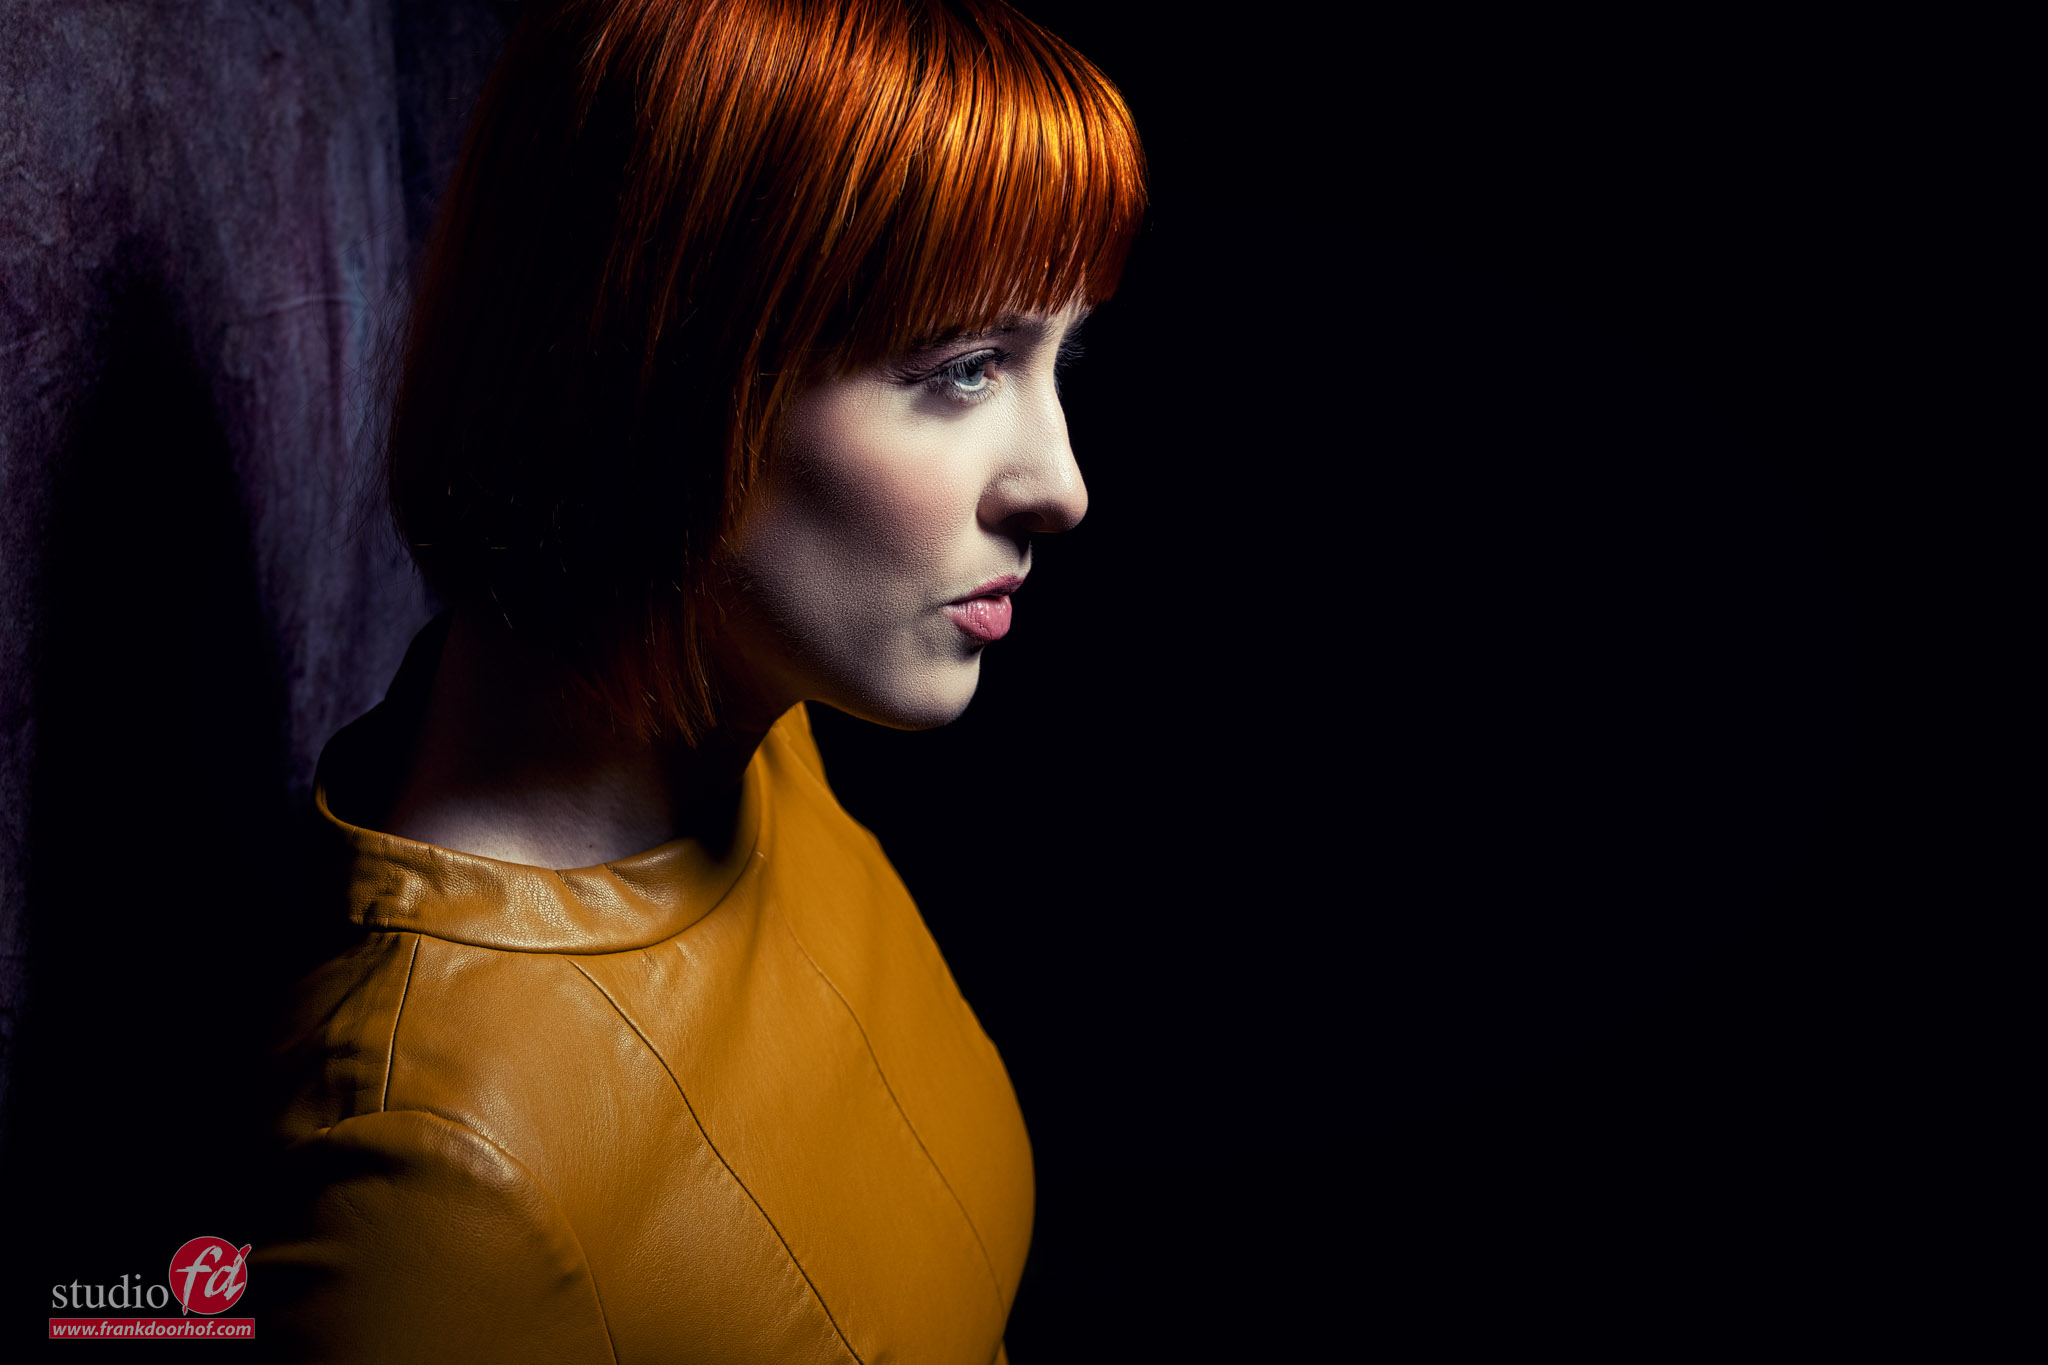
But i also like it in Black and White
As you know, I love comics and movies, and when I was doubting between the color and BW version, I had this idea of “sin city”
And that would mean selective coloring…… but in this case, I think it is more than just an effect; it really made the image jump out. So I bumped the contrast a bit and mixed the two together.
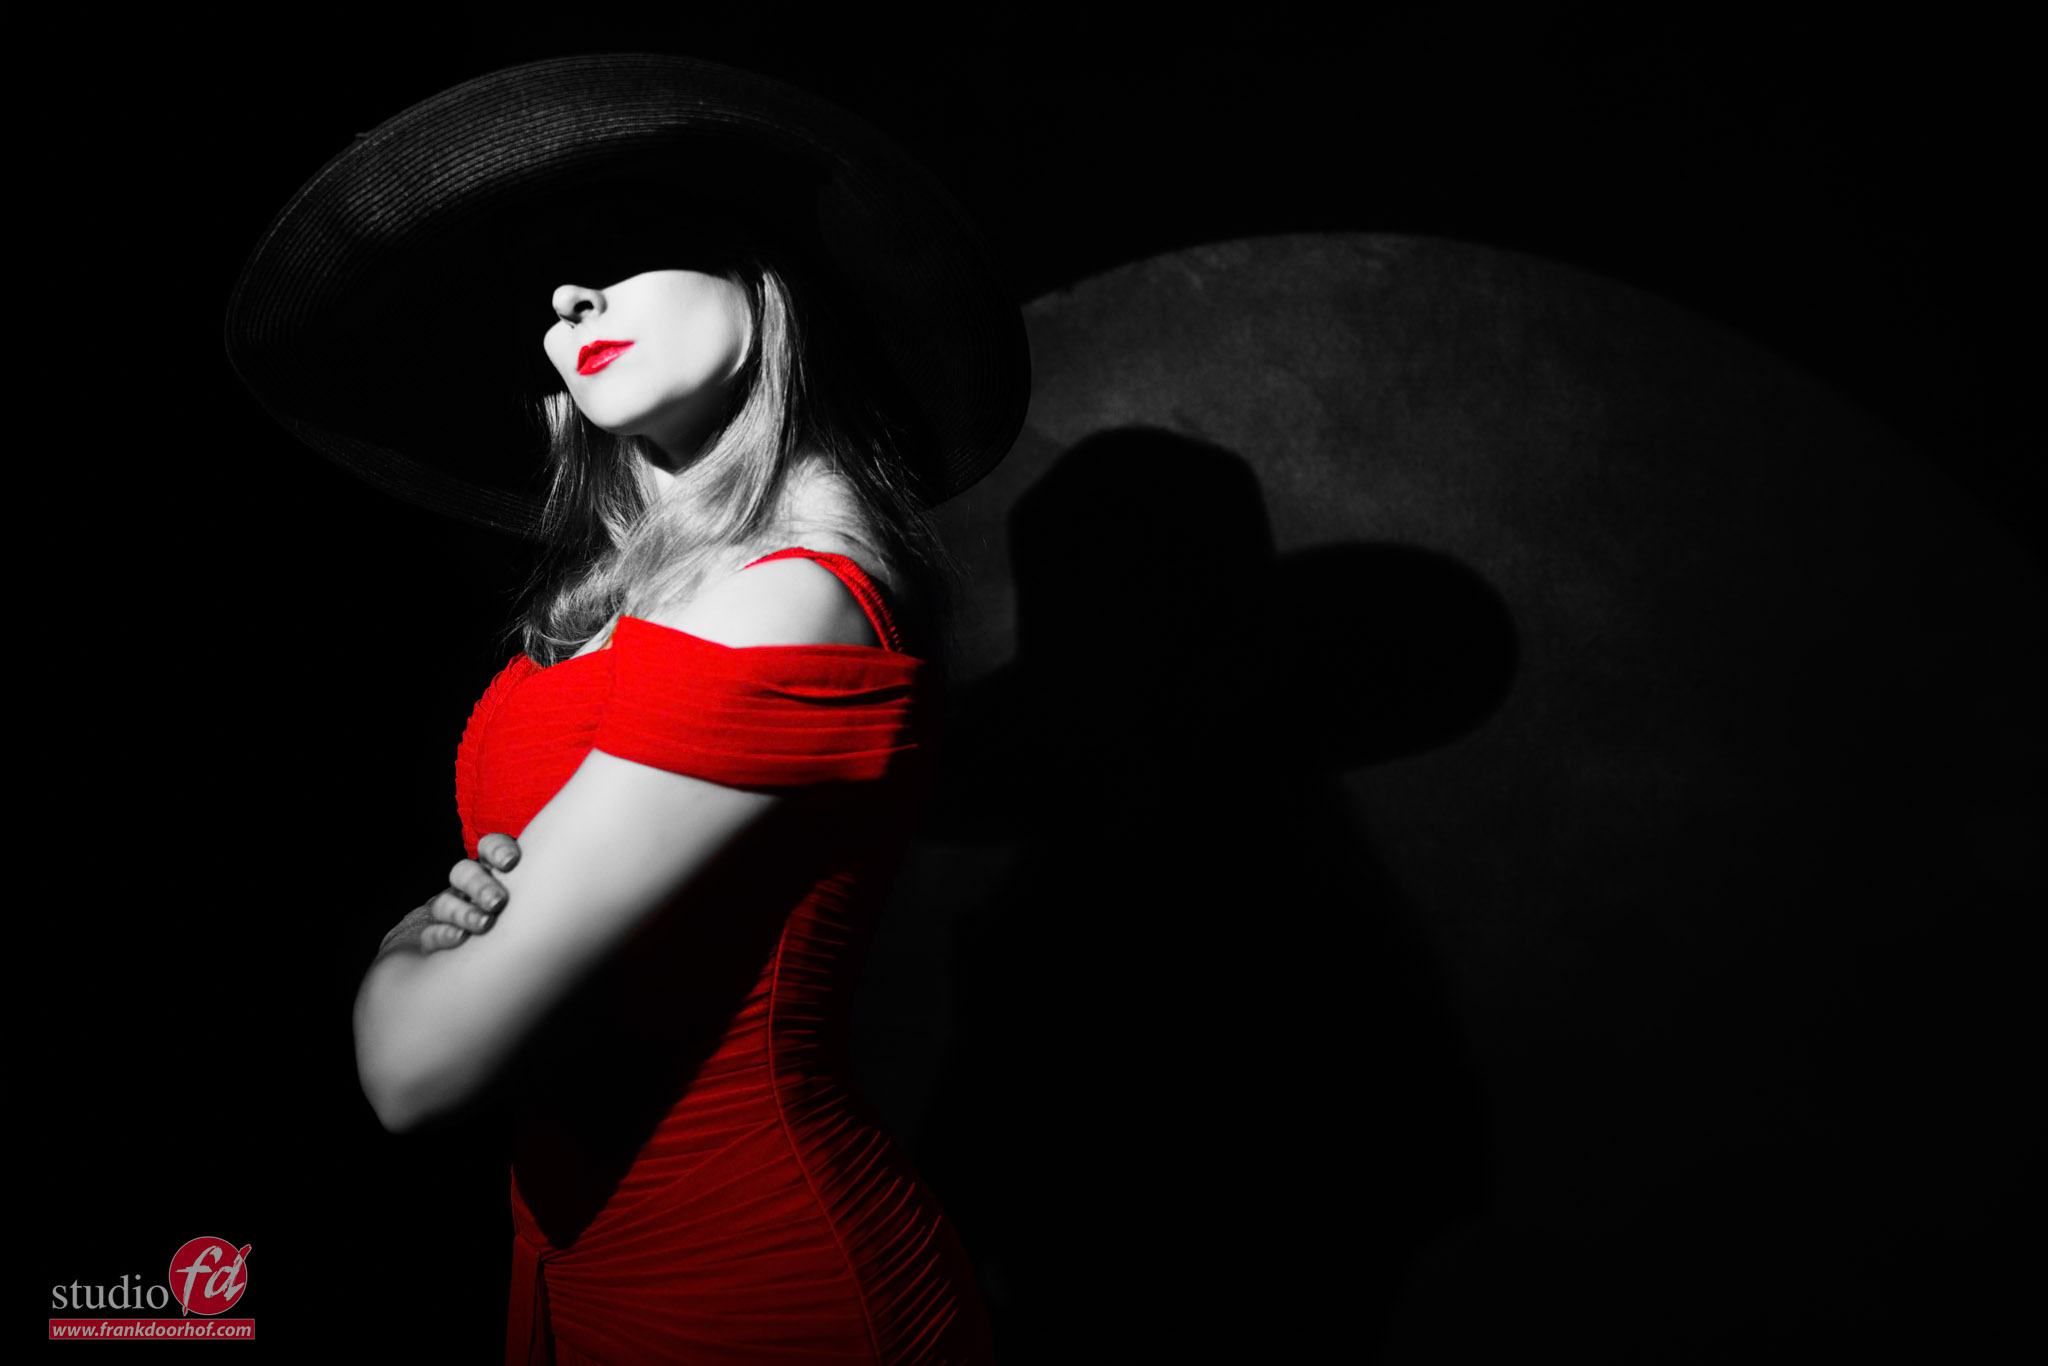
The result: black and white and color
Remember that nobody tells you you can only have one version of an image 😀
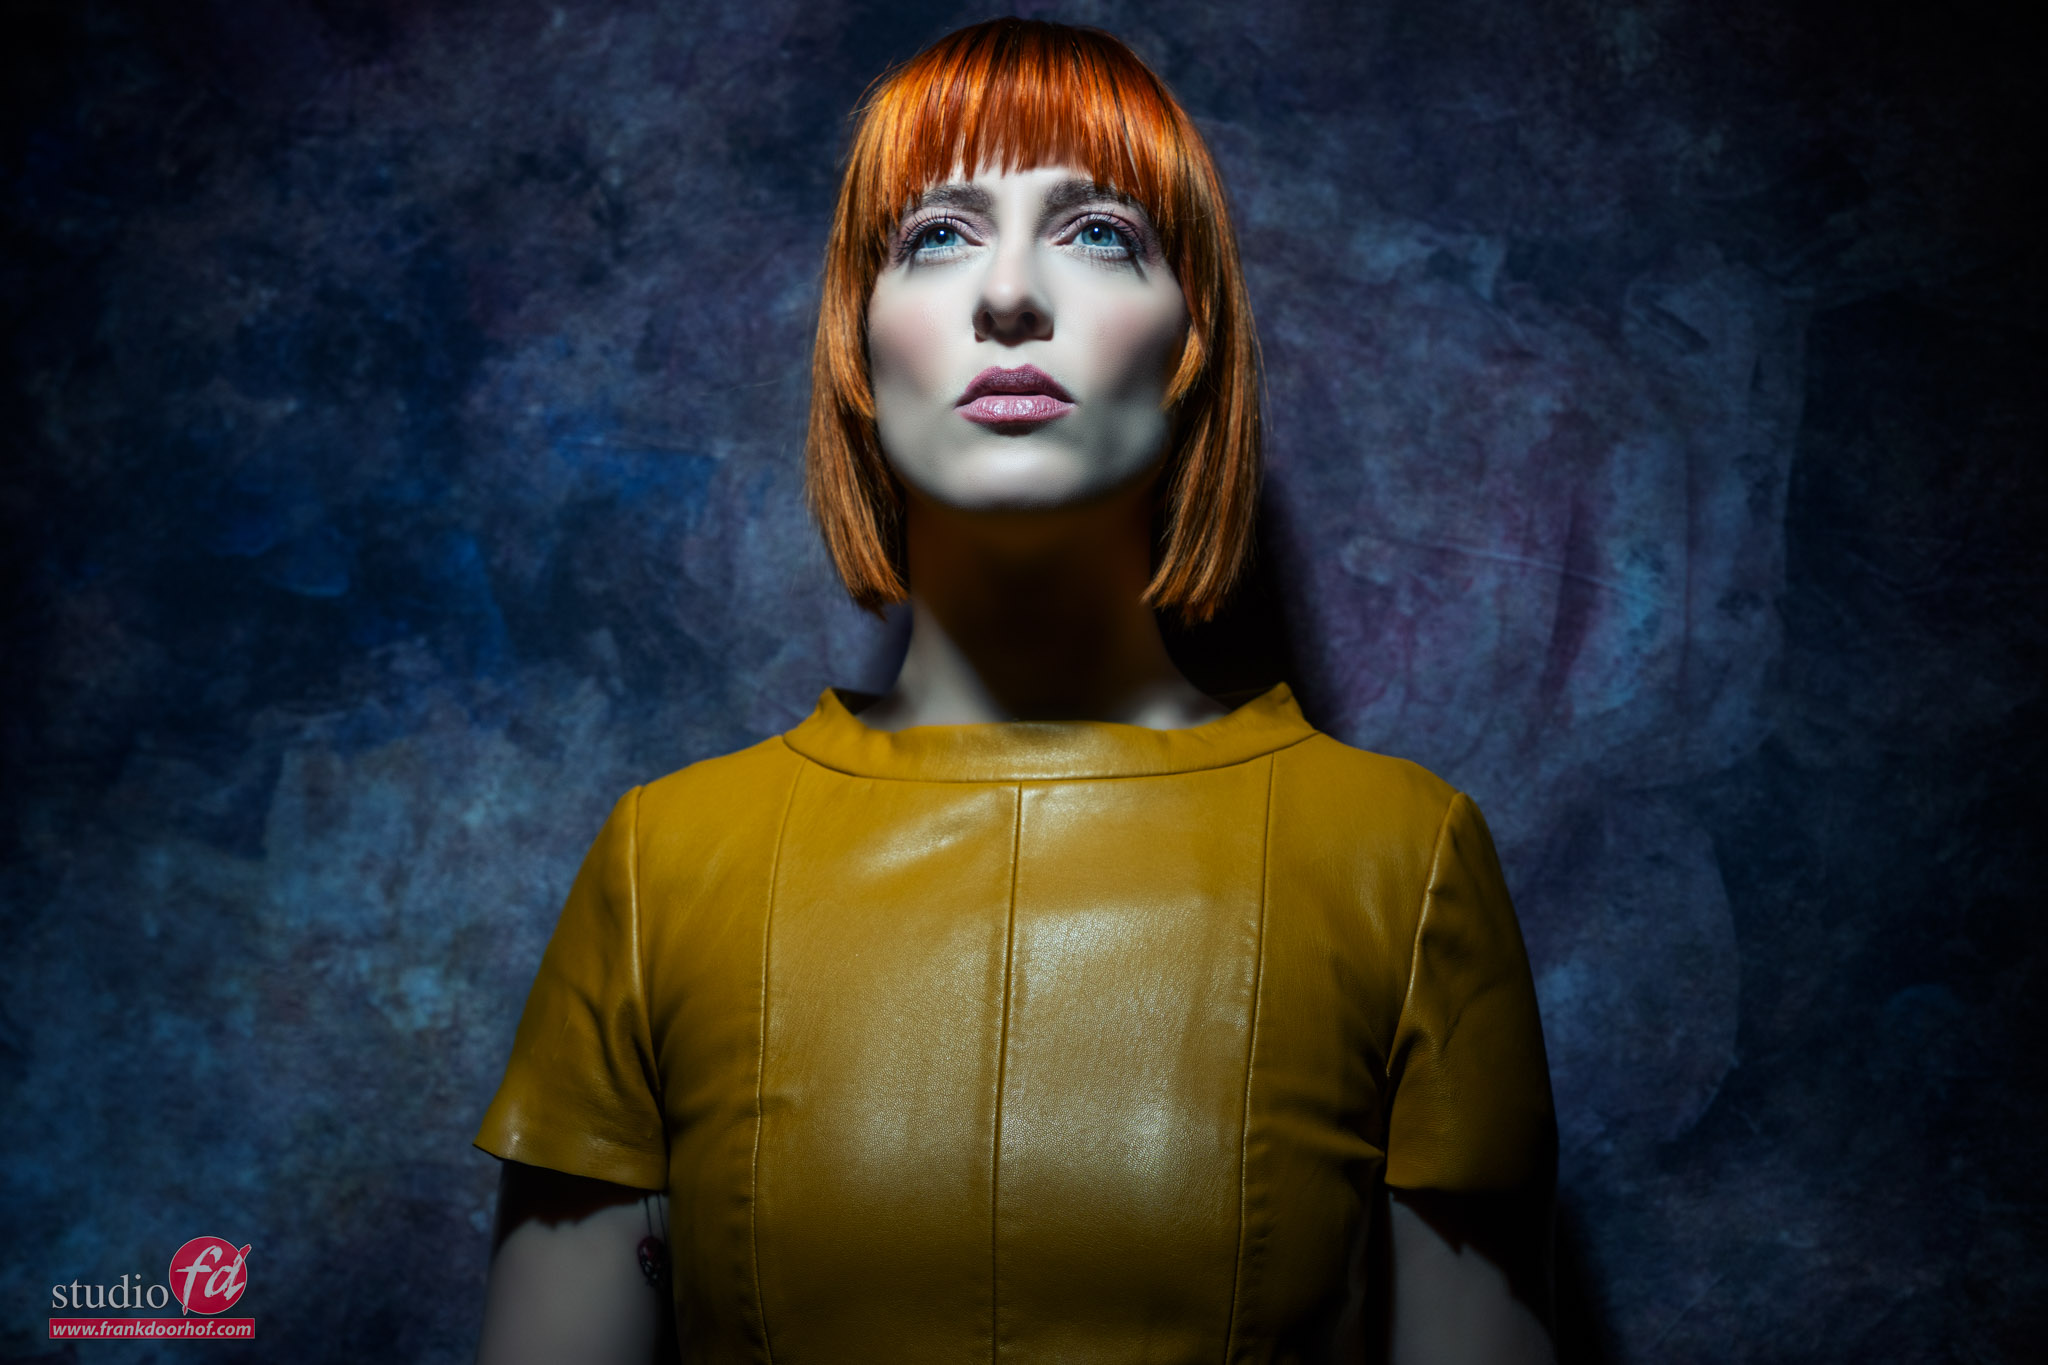
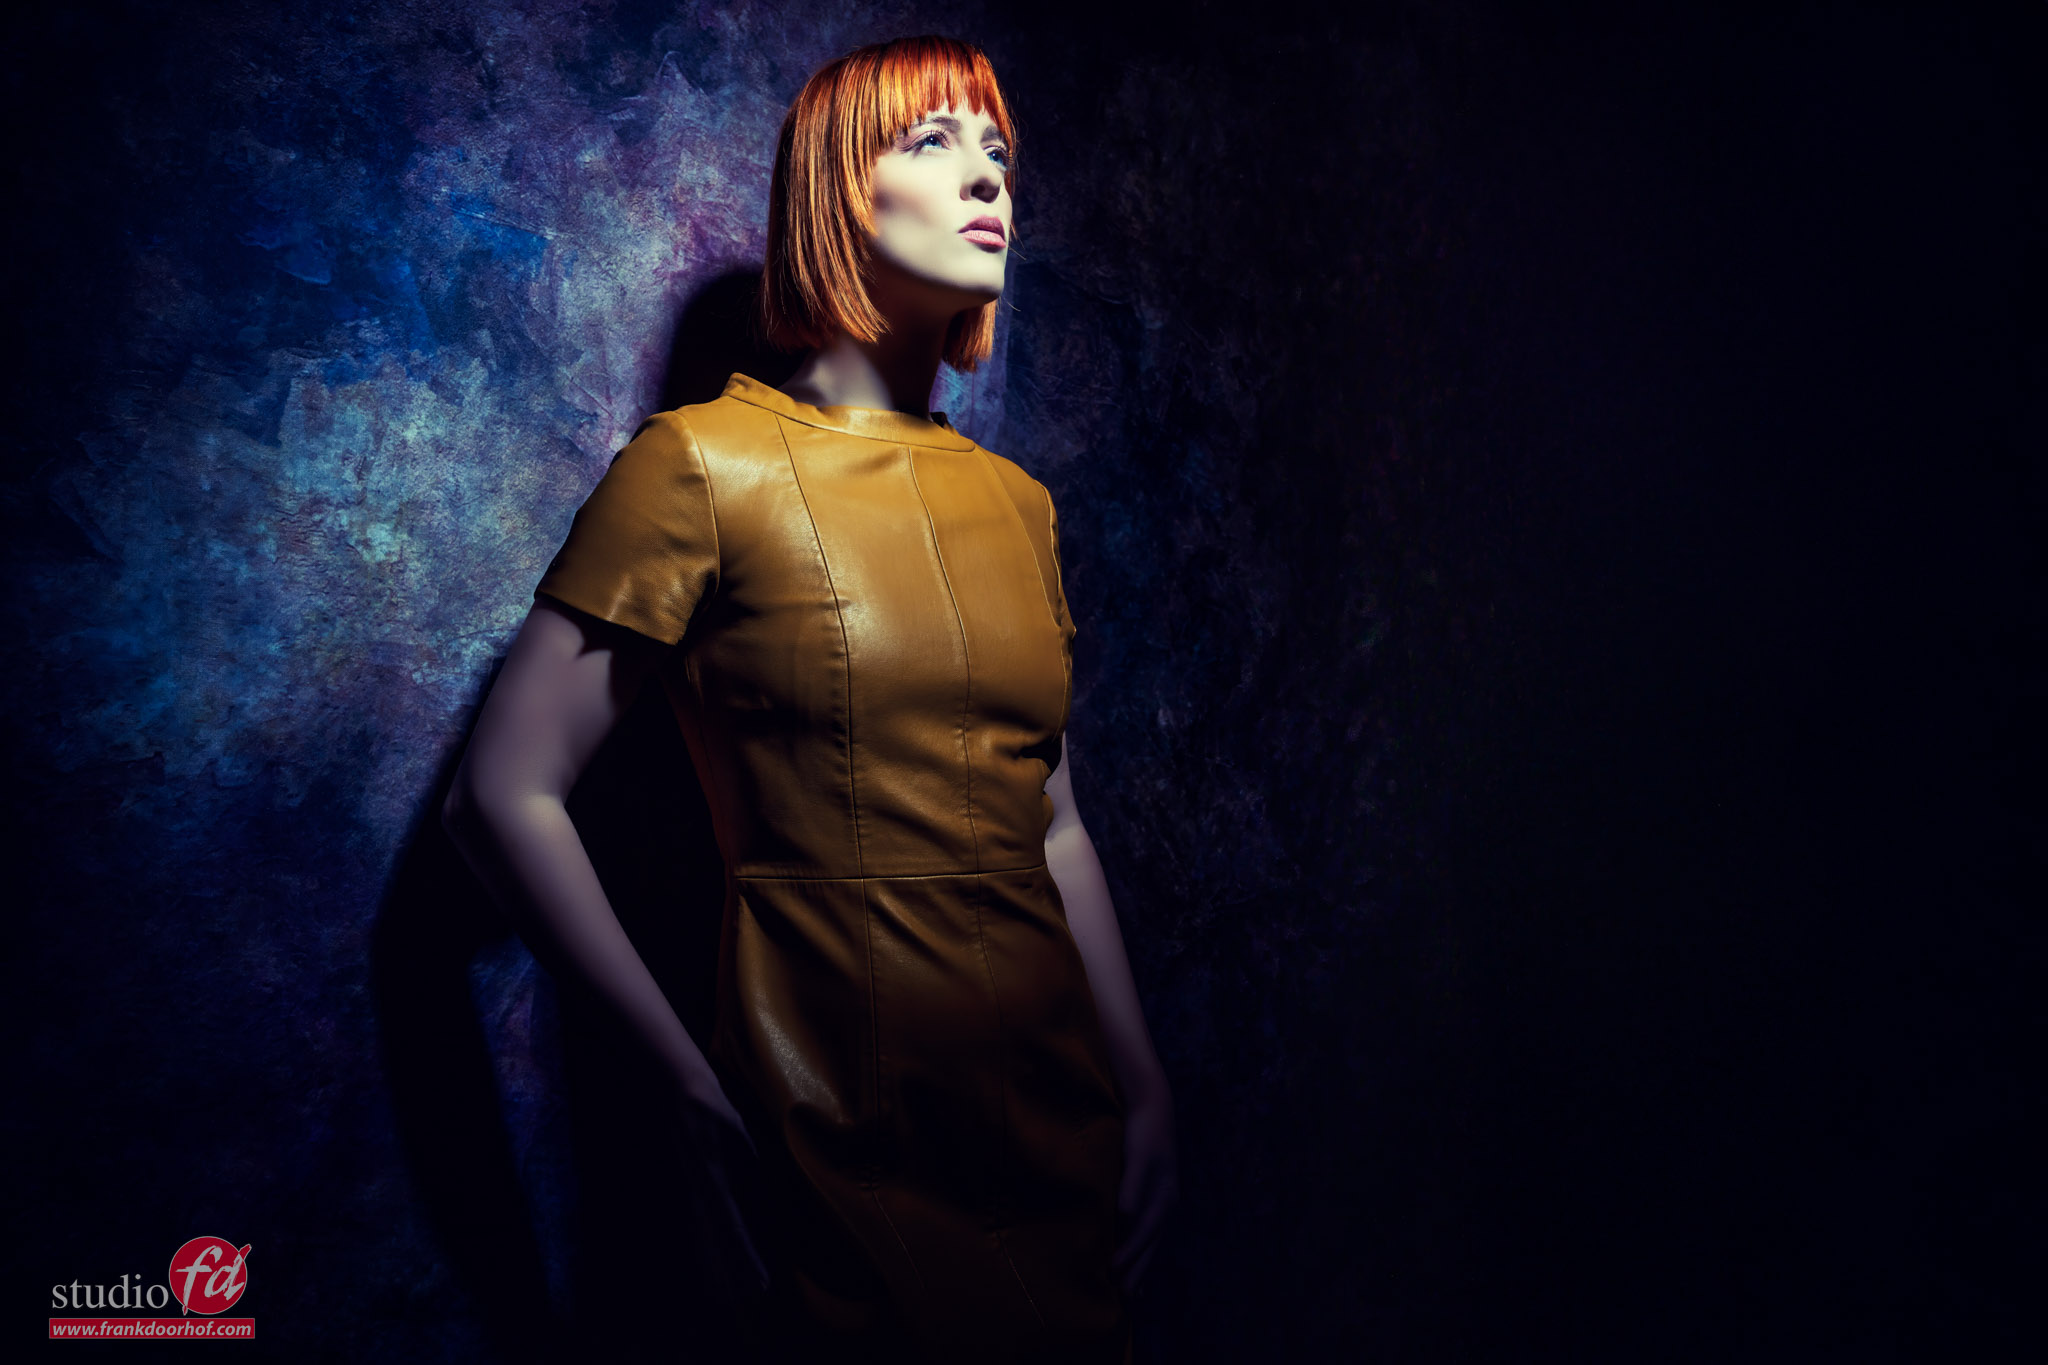
During the workshops, we always try to do 3-4 totally different sets, and this is just one 😀
Also, want to visit a workshop?
Visit fotografie-workshops.nl for more information. The workshops are in Dutch, but if you let us know a few weeks in advance,e we can switch to English.
Don’t want to travel?
It’s also possible to book a full day 1:1 online workshop, see here for more info.


You must be logged in to post a comment.