Some more classical Marie
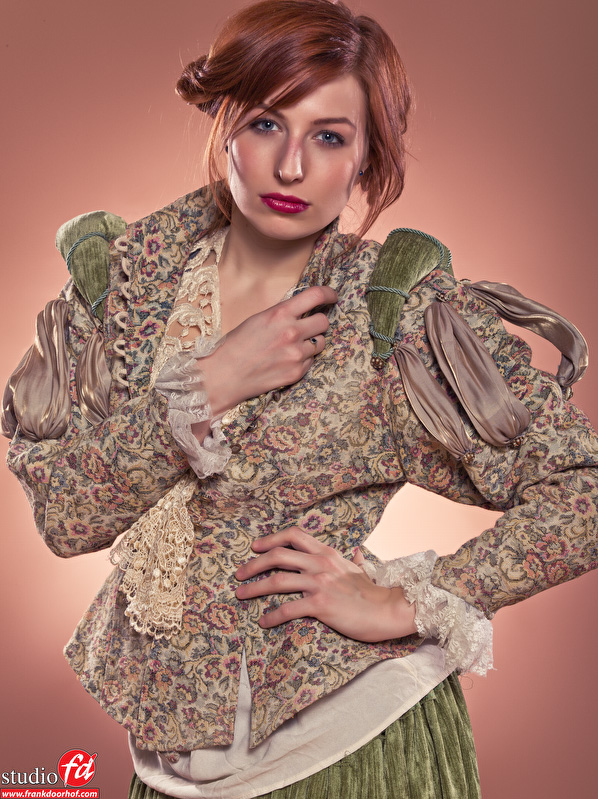
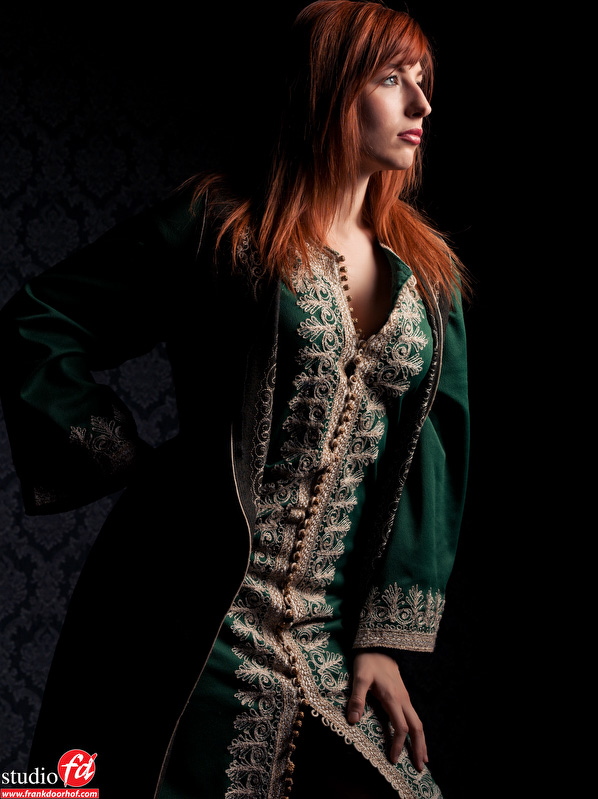
Today the final selection of images we shot last week during several days with Marie and some classical dresses.
I always try to do special themes during the workshops to keep everything fresh and interesting for students who already did certain workshops, sometimes it will be mainly based on “storytelling” and sometimes it will be “styling”. Marie was able to loan these dresses from a friend who runs a theater company and the dresses are normally used in that theater. Getting your hands on material like this always guarantee great end results.
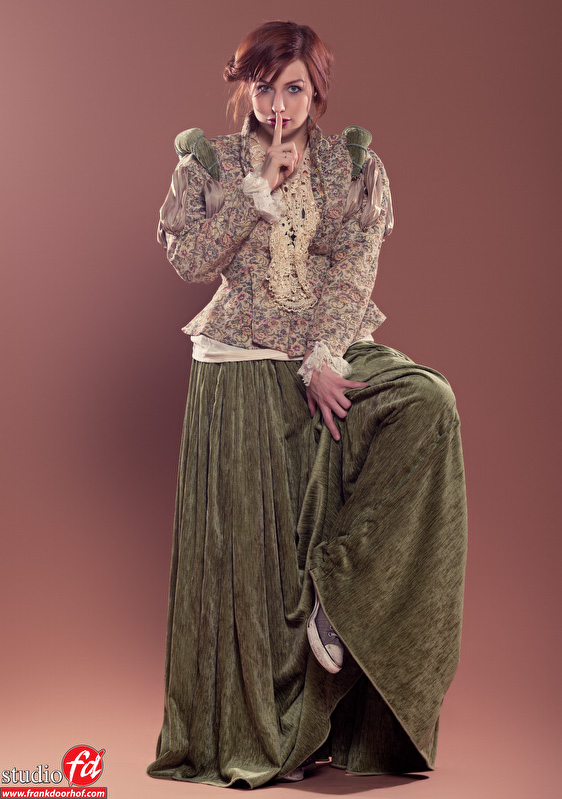 What I do like to do however is also add something that you might not expect, like in this image, everything is rather classic, but then you see the ….. shoes. Getting something like this into an image will not work for everyone, some will “destroy” the image online claiming it’s breaking the style and you did not give enough attention to the styling, however for me it does make the image, it’s something you don’t expect at first glance. However do make sure it’s totally “wrong”, when you would have combined nice shoes from a different time period it could be seen as “wrong styling”, however with adding the sneakers and the pose of the model I think most people will get the “meaning” of the shot.
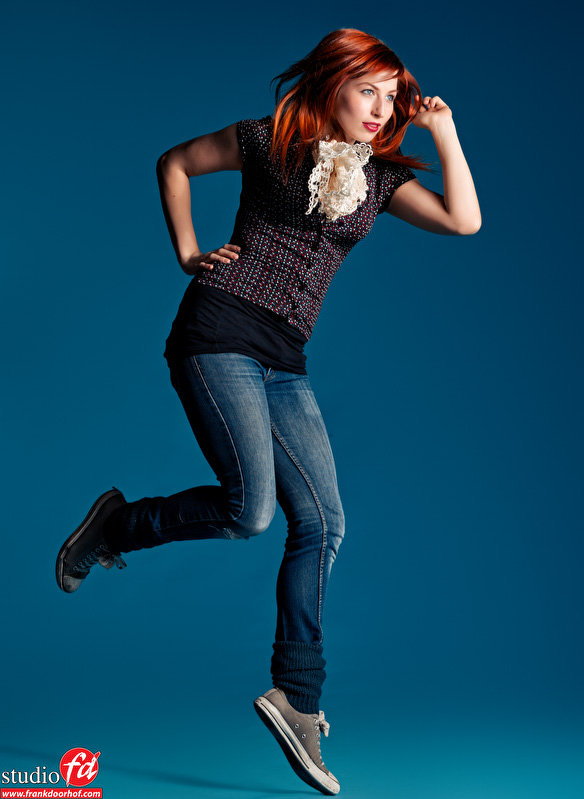
Because the images were shot during the Advanced workshop I also had to include one motion shot of course, this is a vital part of the Advanced workshop. As mentioned before on this blog adding some motion to a pose and shot will really enhance the feeling the viewer gets from the image, I love to use it to make everything a bit more “different” than the standard poses you see a lot.
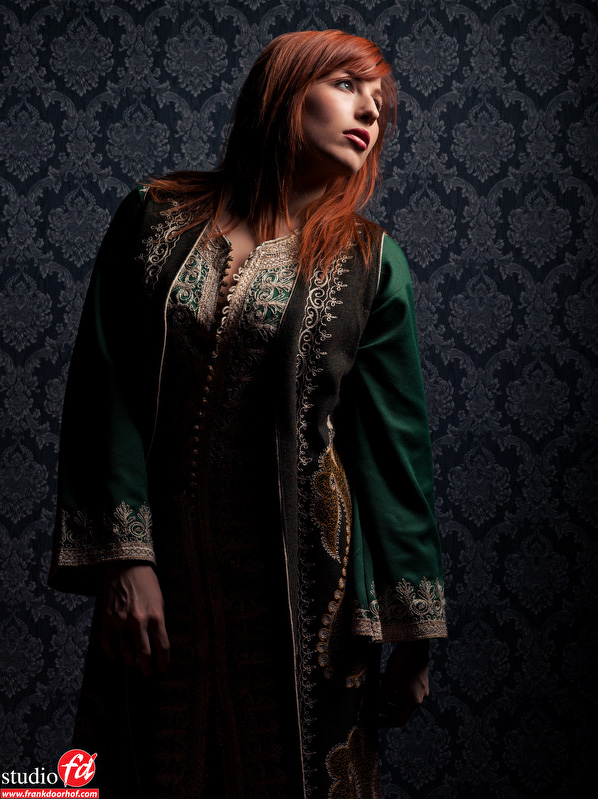
With this setup we used slightly different angles of the strobe to create a very different image, and the strobe was just moved a few cm’s by the way. This is a very powerful technique when you master it, and it will make your life a lot easier to get your vision into your images.
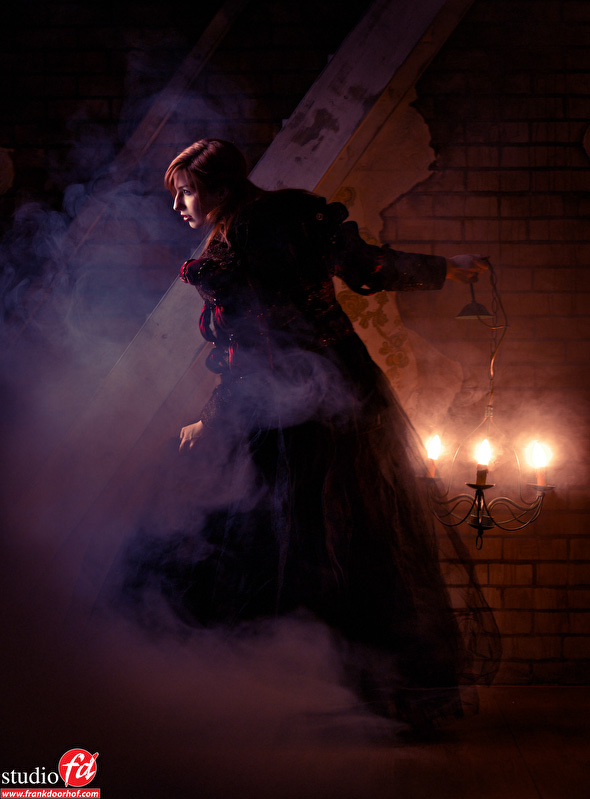
Dragging the shutter is also a part of the Advanced workshop, sometimes I only keep this in the theory part and with some workshops I also setup a scene where we use both lightbulbs (or natural light outside) and strobes. In this case we set up the following shot.
In this case I also added some smoke.
I always call smoke “the secret ingredient” because it will change the look of a scene completely and in most cases add just that little extra “magic” to a shot. The best you can see this is by first shooting some images without the smoke and than shoot a few with the smoke. Often you will be more than happy with the images without smoke, but after you added the smoke often your jaw will drop to the floor (if lit correctly) and you will love the smoke images so much more. We love to add smoke that much that outside we use a portable generator to also be able to use the smoke outside, it always transforms the image into something special for me, and remember a smoke machine doesn’t have to be expensive. For example look at this brand on B&H, they have several options for different prices (and a lot of other cool stuff)
If you like what we do here, and want to support the blog please buy from our affiliate companies by following the links or the links below.



Wow
Super! Je hebt er weer iets moois van gemaakt Frank, wat mij betreft steek je toch wel met kop en schouders uit boven de gevestigde orde 😉
Dank je wel, altijd leuk om te horen dat mensen mijn werk waarderen.
I realy like the look of picture 4 and 5. Ok, 1 and 2 are also very nice. The colors on 1 and 2 are very warm. Beautifull as always.
I have a question about the smoek. Whe have a smoke machine bur the smoke is realy cluttering (i’m not sure if this is the right term for it) and it dosnt realy stay low. I this because i use the wrong fluid. The fluid came whit the machine so i don’t realy know what kind it is. Do you have some tips for this?