Glamour workshop with Lisanne (some images NSFW)
Yesterday I taught the glamour workshop, this time Lisanne was our model.
It was the first time Lisanne did the glamour workshop and I have to say she did great and will be back without a doubt, but you can judge that yourself by the images of course.
Finding models for the glamour workshops is something that seems to be harder and harder for me, I guess I’m too picky the last few years :D. Lisanne I met during a Dutch Heaven meet and greet and I immediately loved her attitude and looks, an appointment was made a few weeks later for a testshoot and she did one standard workshop before the glamour workshop yesterday.
First setup
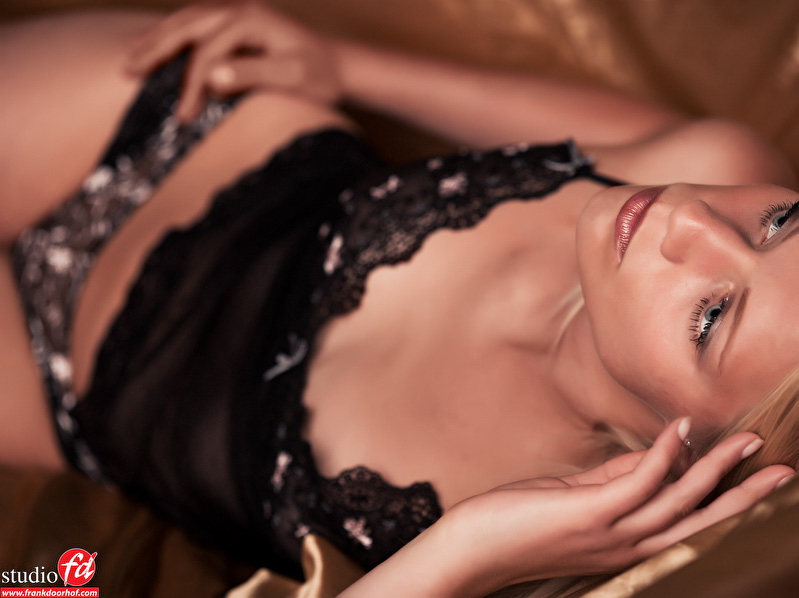
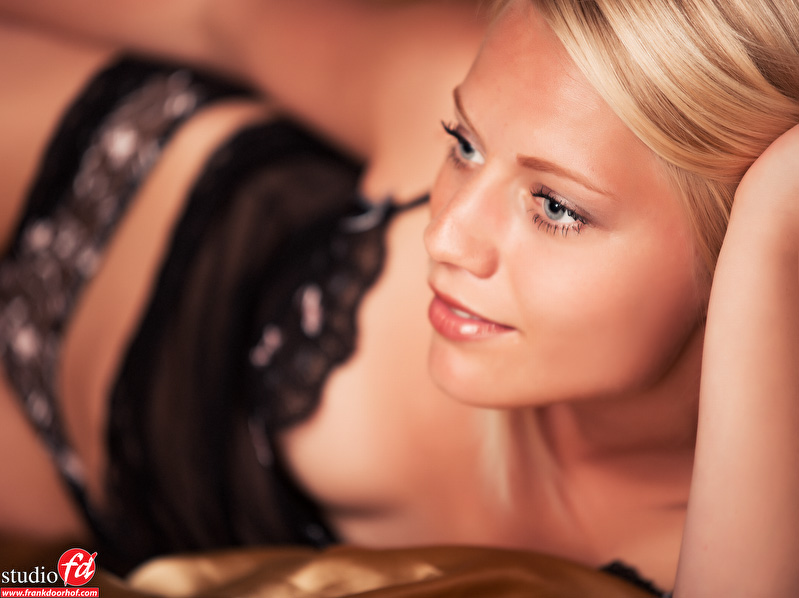
For the first setup we used a bed covered with gold material as backdrop for the model to pose in.
The main focus on this first setup is to learn the students to find the right angles, this is something that most people find very difficult, they often choose to show too much, which in this setup means the photos will not work (I placed some elements in the background that were disturbing the image and could not be moved by the students), I also limited their movement forcing them to mimic what they will encounter in some more tight locations. As lightsource the Elinchrom 1.90 Octa was used. I also explained the effect of working with the focus plane. Or in other words how to create a shallow DOF or a more wide DOF with the same lens and settings.
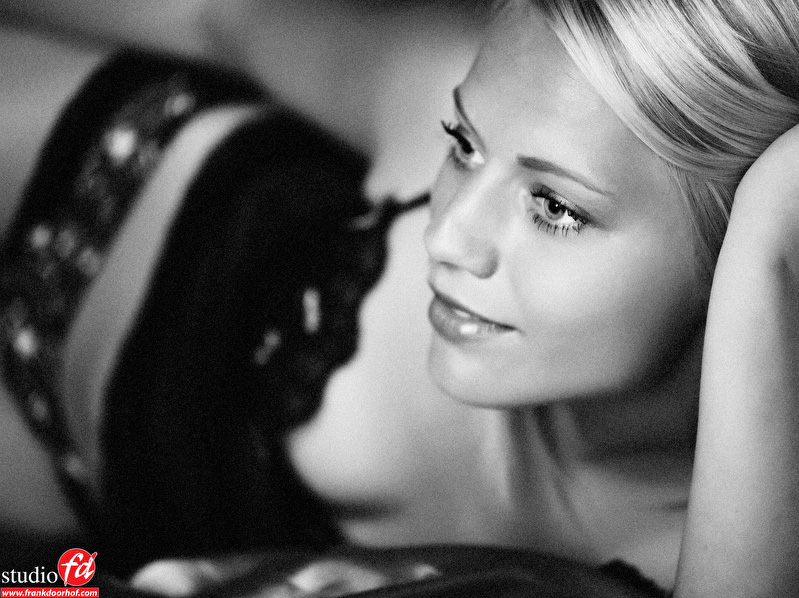
For these two images I tried two subtile different looks and the last one was also converted to B&W.
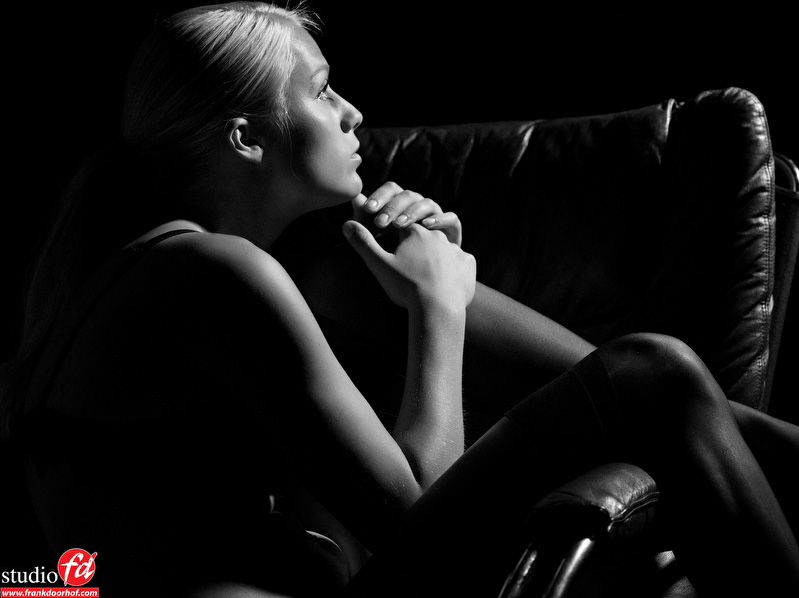
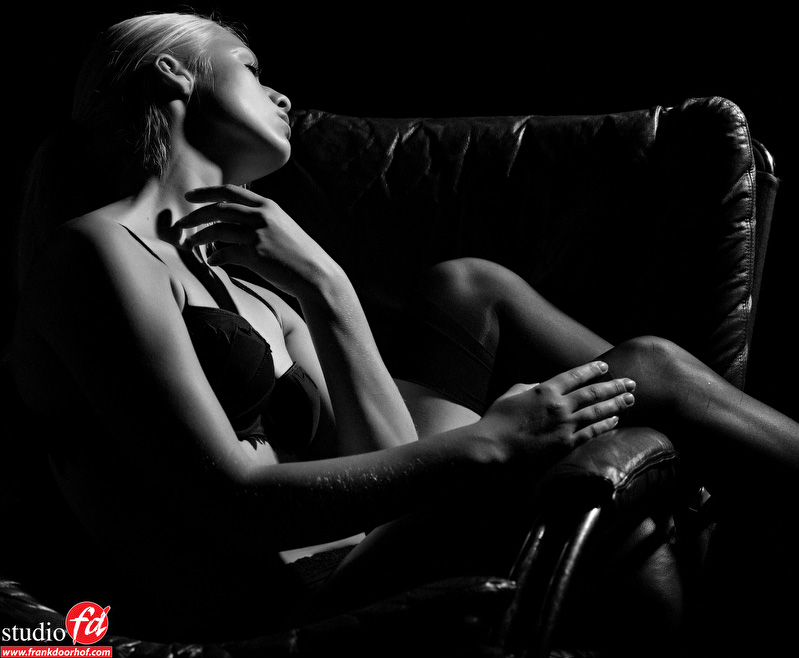
The second setup working with a spot
For the second setup it was the idea to create a very simple shot with just one strobe and grid (I used the thinnest grid from this set) and the standard reflector delivered in this set). To lighten up the shadows a bit we used a large silver reflector panel. Also here the main idea was to show the students that choosing the angle is the most important thing, I however added to this setup also the posing of the model. In practice this meant that we started with a wrong pose and the students saw it was very hard to find a correct angle that worked. After a few images that did not work (planned of course) I changed a few things in the pose of the model and everything clicked. Again this is one of the most heard problems from the students, finding the angle and combining it with a good pose. By adding a difficult to work light placement and small light area with this setup made it an interesting exercise.
The final setup
So now we discussed angles, angles + the correct static pose…. so now it was time to really move.
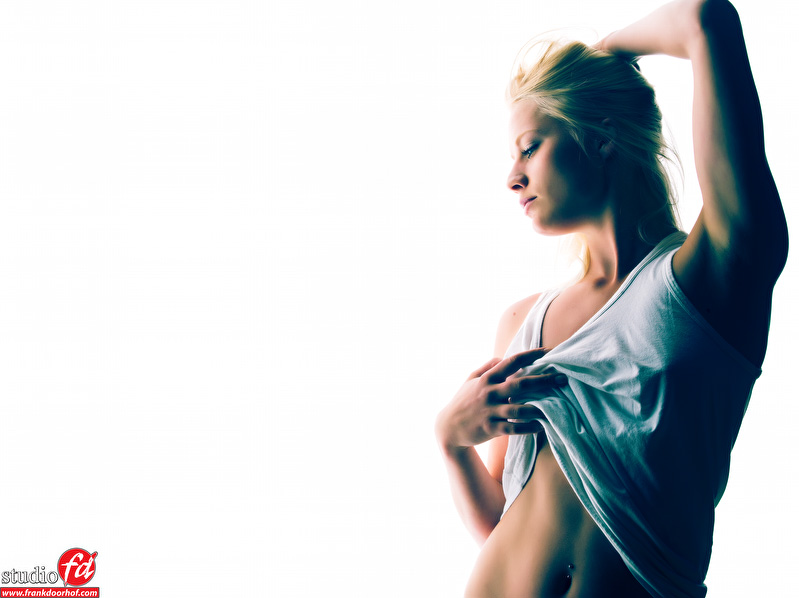
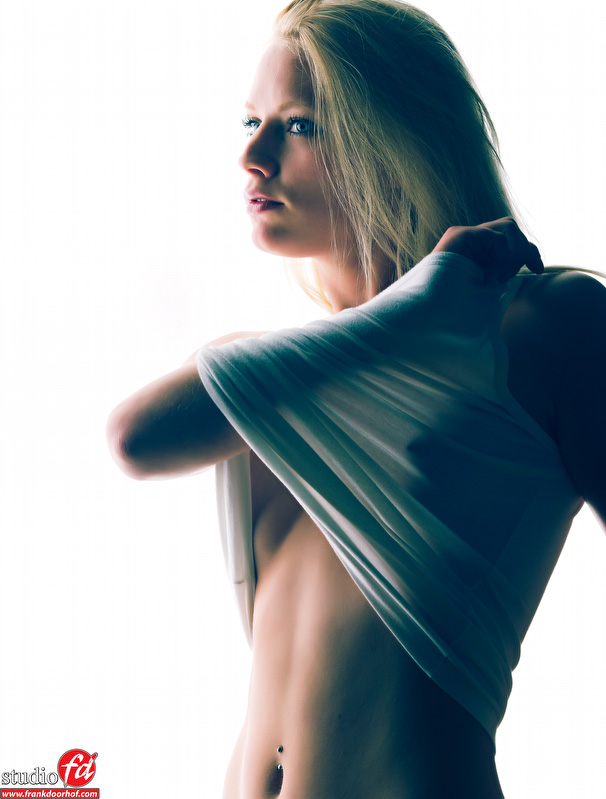
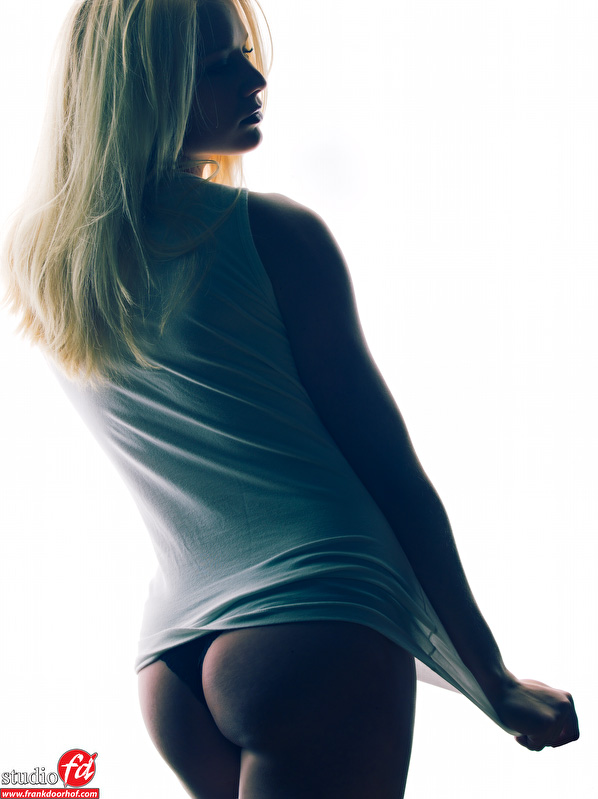
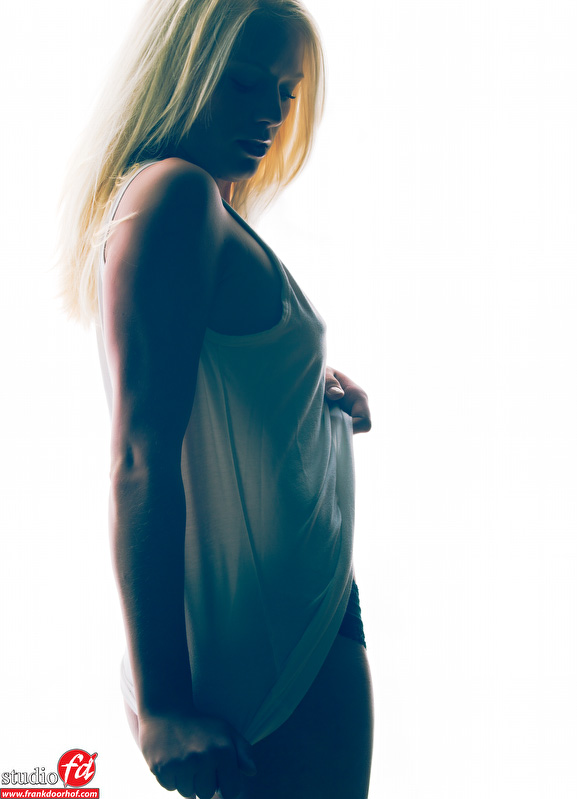
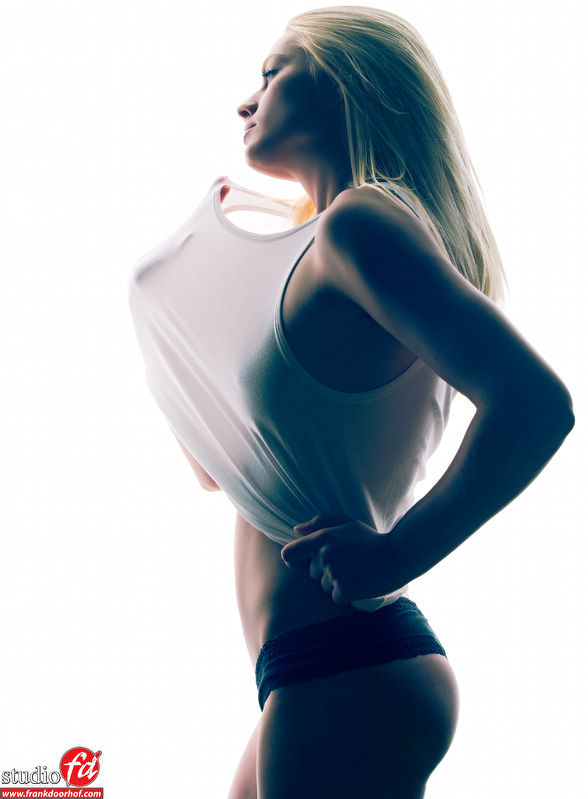
For this setup I used the 1.90 Elinchrom Octa again (I really love that modifier) and placed the model right against it, so the light wraps around the model (no other lightsources or reflectors were used). The idea behind this setup was to let the model go into more expression and dynamic posing. To be honest this is always my favorite part of the sessions. Static posing is fun and can yield great images, but as soon as we start to let the models go “wild” it get’s really interesting. So here are my favorite shots.
Conclusion
In all the workshops I first explain the theory behind the workshop.
After the theory I will always try to solve the problems the students will experience in every day shoots, because this was the glamour workshop I will of course have different topics than with the fashion workshops but in essence it almost always boils down to first finding the correct angle, finding the pose that fits the image and adding the correct expression or adding some movement. The funny thing (and also the difficult thing) is that with every model and every subject, being glamour, fashion or beauty the rules slightly change.
Glamour is one of the most difficult things to do. I don’t believe that glamour is a nude workshop, most of my glamour workshops are like you see here (mostly lingerie) glamour should give you images that are pleasant to the eye (both men and female viewers) but will show a bit (a lot) more skin than most fashion shots, this gives you as the photographer a lot more areas to watch out for, there will always be some problem areas that you will have to work out by changing the pose or covering it by the models arms/hands. I don’t believe in removing skin wrinkles in Photoshop, in most cases this will give you an unnatural look so I always try to teach my students to solve this on location by using their eyes (and common sense).
One last tip, always look through the lens, I see a lot of people coaching while not looking through the camera, than when the pose is good they will look through the camera and take the shot. When you are covering up certain body “problems” it’s very wise to do this while looking through the lens to make sure everything aligns up perfectly 😀
Have fun, and feel free to comment and share this blog post.
If you like what we do here, and want to support the blog please buy from our affiliate companies by following the links or the links below.



Very nice,
On the iPad some photos get cropped, however if you click them you can view them correctly.
what happens when you switch to portrait mode on the ipad ?
Does not make a difference portrait or landscape same issue. iPad 1 with later iOS 4.3.2 .
will check this today.
Frank, the w/shop was great, thanks! Cool to read it here within a day. Useful to read the summary even when I was there, I’ll keep working it and really nice pics of the beautiful Lisanne (2nd one is top)!
Hi,
Remember we now have http://www.doorhof.nl/forum again to share your images from the workshops with others 😉
It was a fun workshop, looking forward to the results from you (and the others)
Thanks for sharing these. Beautiful lighting, beautiful model.
John