Gopro HD hero

Yesterday it was the first time I did a small test with the Gopro Hero HD.
And because the unit really surprised me I think it could be interesting to write a small review.

What’s the Gopro ?
The Gopro is a so called POV camera, or in other words Point Of View.
It’s a camera that is placed on a location that gives an interesting view and gives you as a film/video maker some unique videomaterial. Think about the cameras on racecars, motocross bikes etc. The Gopro does this but does it in full HD.

The Gopro for us ?
The first time I saw the Gopro was when I did the filming for Kelbytraining in Florida. We were shooting a BMX-er and our camera man Adam had a Gopro with him that was connected to the BMX bike, the results were stunning (soon to be seen on kelbytraining). Immediately I was thinking about situations were we could use a POV camera ourselves and before we knew it there were too many.
Think about using it on your holiday ?
How about all those beautiful drives which are impossible to capture with your handycam simply because you can’t hold it still enough or the angle is just not interesting from the car, the Gopro to the rescue. We bought the Gopro motorsports HD which comes with a suction cup which you can connect to your car or other areas where you have a flat surface. As you can see in the videos in a moment we did a small test by mounting the Gopro on the hood of our car and we drove a few miles to test and made a small video.

Were you mount the Gopro is up to you of course.
In the case of the test videos we mounted it on the hood of the car but I guess for holiday drives we will probably mount it on the roof. But you can also place it inside the car of course, where ever you think the view is best, it’s an incredibly flexible system. You also don’t have to be afraid for rain, the Gopro is placed inside a waterproof housing, the only “problem” can be water on the lens which is visable in the image (as you can see in the demo video).

Read more

Sym images

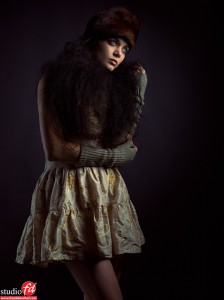
A few months ago we shot two sets for the scooter manufacturer Sym.
We used two models for the two scooters, the first set we did with Corine for the Jet, the second set we did with Cherelle for the Orbit

As locations we choose the skatepark in Emmeloord for the Jet and because of the more business like look of the Orbit we choose a location very close to the studio, just across the road. Both locations had to be planned carefully of course because you normally can’t just show up and do a commercial photoshoot, but it all worked out great and without any problems. On the skate park we had to also convince some of the local skaters and bikers that we needed clean shots without anyone in the frame, but luckily for us they did and even wanted to participate in a few of the shots.
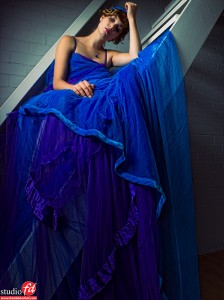
Because it took some time to get the publications out I could not yet show the images, yesterday I received the new folder however so finally I can show the results of these shoots. It’s totally different than what they normally do so I thank Sym for taking the chance to go with my style and images, I hope you guys on the blog also like them.

Read more

Workshop images Marie 28 Aug. 2010

Yesterday it was time for the workshop Studio Technique 2.

For this workshop the team was:
MUA : Renate
Model : Marie

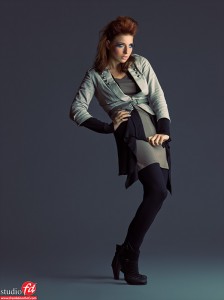
Renate wanted to work on her portfolio and kindly offered her services to me and I thought a workshop would be a great place to do that, and Marie…. well she needs no introduction of course for people that have been following my work longer than a few months. She has been one of my models for many years and without a doubt one of the models I love to work with over and over again.

On that issue (what makes a good model) I could write several blogposts (if you want I can, just let me know) but there is a reason I keep working with a steady team over the years. We do a lot of testshoots during the year and to be honest from the maybe 20 we do there is maybe 1 model that has potential enough to do the workshops for me and even from them only a few do some workshops. Maybe I’m just too critical 😀

During the Studio technique 2 workshop there is a lot of attention for the posing and coaching of the model and the start of story telling, there is no room yet for too much accessories but we do give attention to a bit of styling and working with angles.
So let’s see some of the images.

Read more

New shots Nadine 27th August 2010

Today it was time for the basic workshop Studio Technique I.

This was a privat workshop for Dutch heaven visitors and the model for today was Nadine, without a doubt one of the more creative models I know, she always has something that will stun the students…. and me.
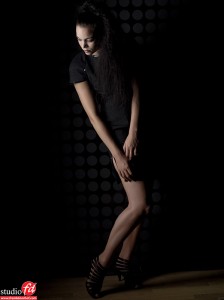
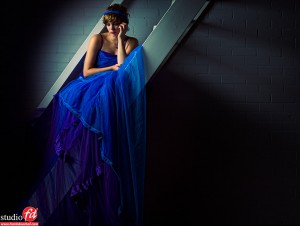
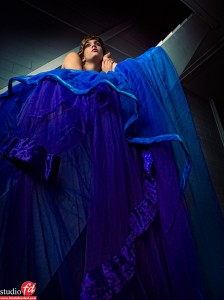
In the studio technique I workshop there is a huge part with theoretical background and after that there is a part were we bring all the theory into practice. In this blog post you can see some of the images I selected from my own set.

Material used :
Elinchrom Deep Octa with Lighttools grid
Chimera strip light also with the Lighttools grid

And yes the stairs you have seen before :D, it’s the new stairs in our studio connecting the studio floor with the second floor where which we are now using as a relax space with a wonderful overview on the studio floor from above.

To start off with the first shot you see here, this was shot with the Elinchrom deep octa with the lighttools grid, on the background a standard reflector with grid and as accent the chimera striplight with added lighttools grid.

And here are the shots :

Chimera strip light with lighttools grid

Elinchrom Deep Octa with lighttools grid and Chimera striplight with grid as fill for the bottom.

Tomorrow one of my all time favorite models is doing the workshops again, so watch out for tomorrows blog post with Marie. Also make sure to check out twitter during the workshops days because most of the time I twitter some images and sometimes a small video.