And now for something completely different digital vs VHS for music
The idea came to test out a device you probably would not expect in a recording setup.
An Hi-Fi stereo VHS recorder.
Now it may seem weird, but it's not.
When I grew up, most music was spread on tapes and even with Dolby noise reduction and great players the sound quality was nothing near the very expensive CDs.
Until we started to experiment with BetaMax and VHS recorders. Especially the Hi-Fi VHS recordings sounded great. Beta was still beter but compared to even the best cassettes this was a huge step forward, and you could get loads of music on one tape.

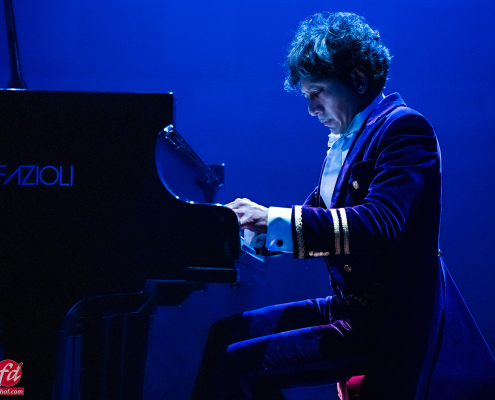
The highlight of the year, the Wibi Soerjadi concert 2024
Every year has it's up and downs, but for us both as a family and as photographer there is one highlight that stands out.
The Christmas concert in the concertgebouw Amsterdam with Wibi Soerjadi.

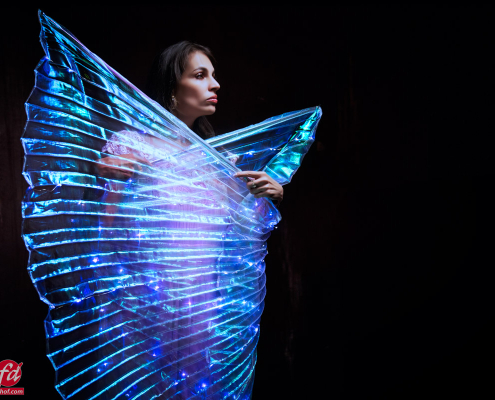
So much fun with cheap materials and lights
One of the things I love to experiment with are cheap lighting solutions.
This can be a string of fairy lights, Christmas lighting or a magic lantern.
With modern cameras and great noise reduction in Lightroom or Topaz you can really push the creative limits.
[recentblog columns=”3″ cat_slug=”blog” readmore_text=”Continue reading” excerpt_length=”15″ date=”true” comments=”true” title=”true” description=”true” post_type=”” pagination=”true” limit=”9″]

