Today it’s time for some results from the Glamour workshop with our model Claudia.
During the workshops I of course give a lot of attention to lighting techniques, but I also feel that styling, pose/expression and styling are all part of a successful photo.
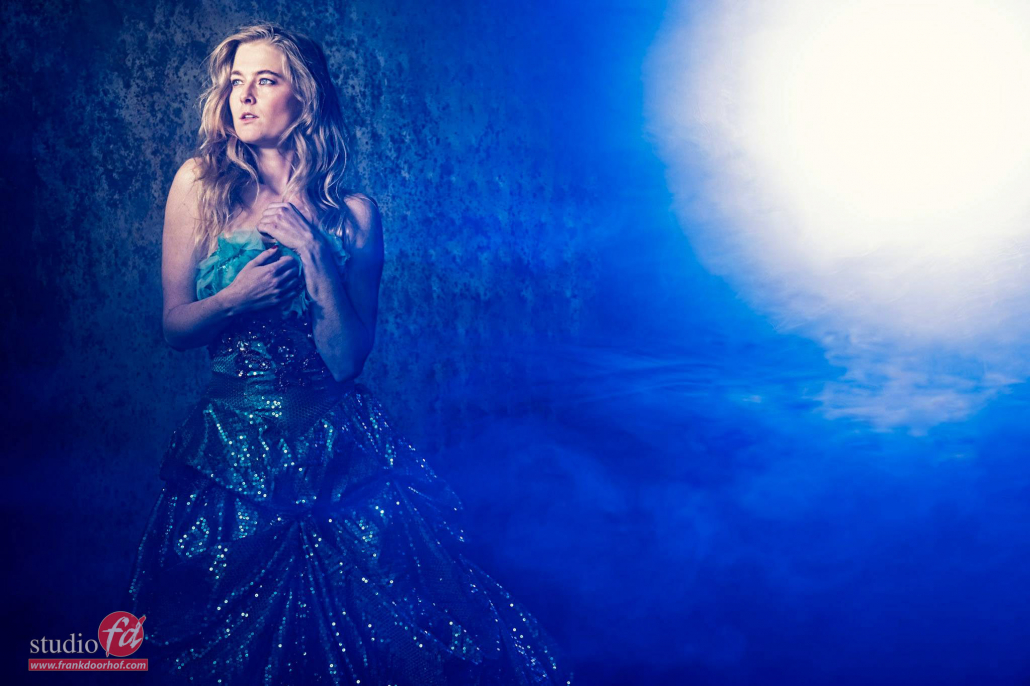
So for the first results I’m using the Lindsay Adler Westcott projector with the blades to create the triangle effect. This is an awesome light modifier with almost limitless options. For fill I’m using a blue gel because otherwise the sides would be totally black which I don’t think helps the image 😀

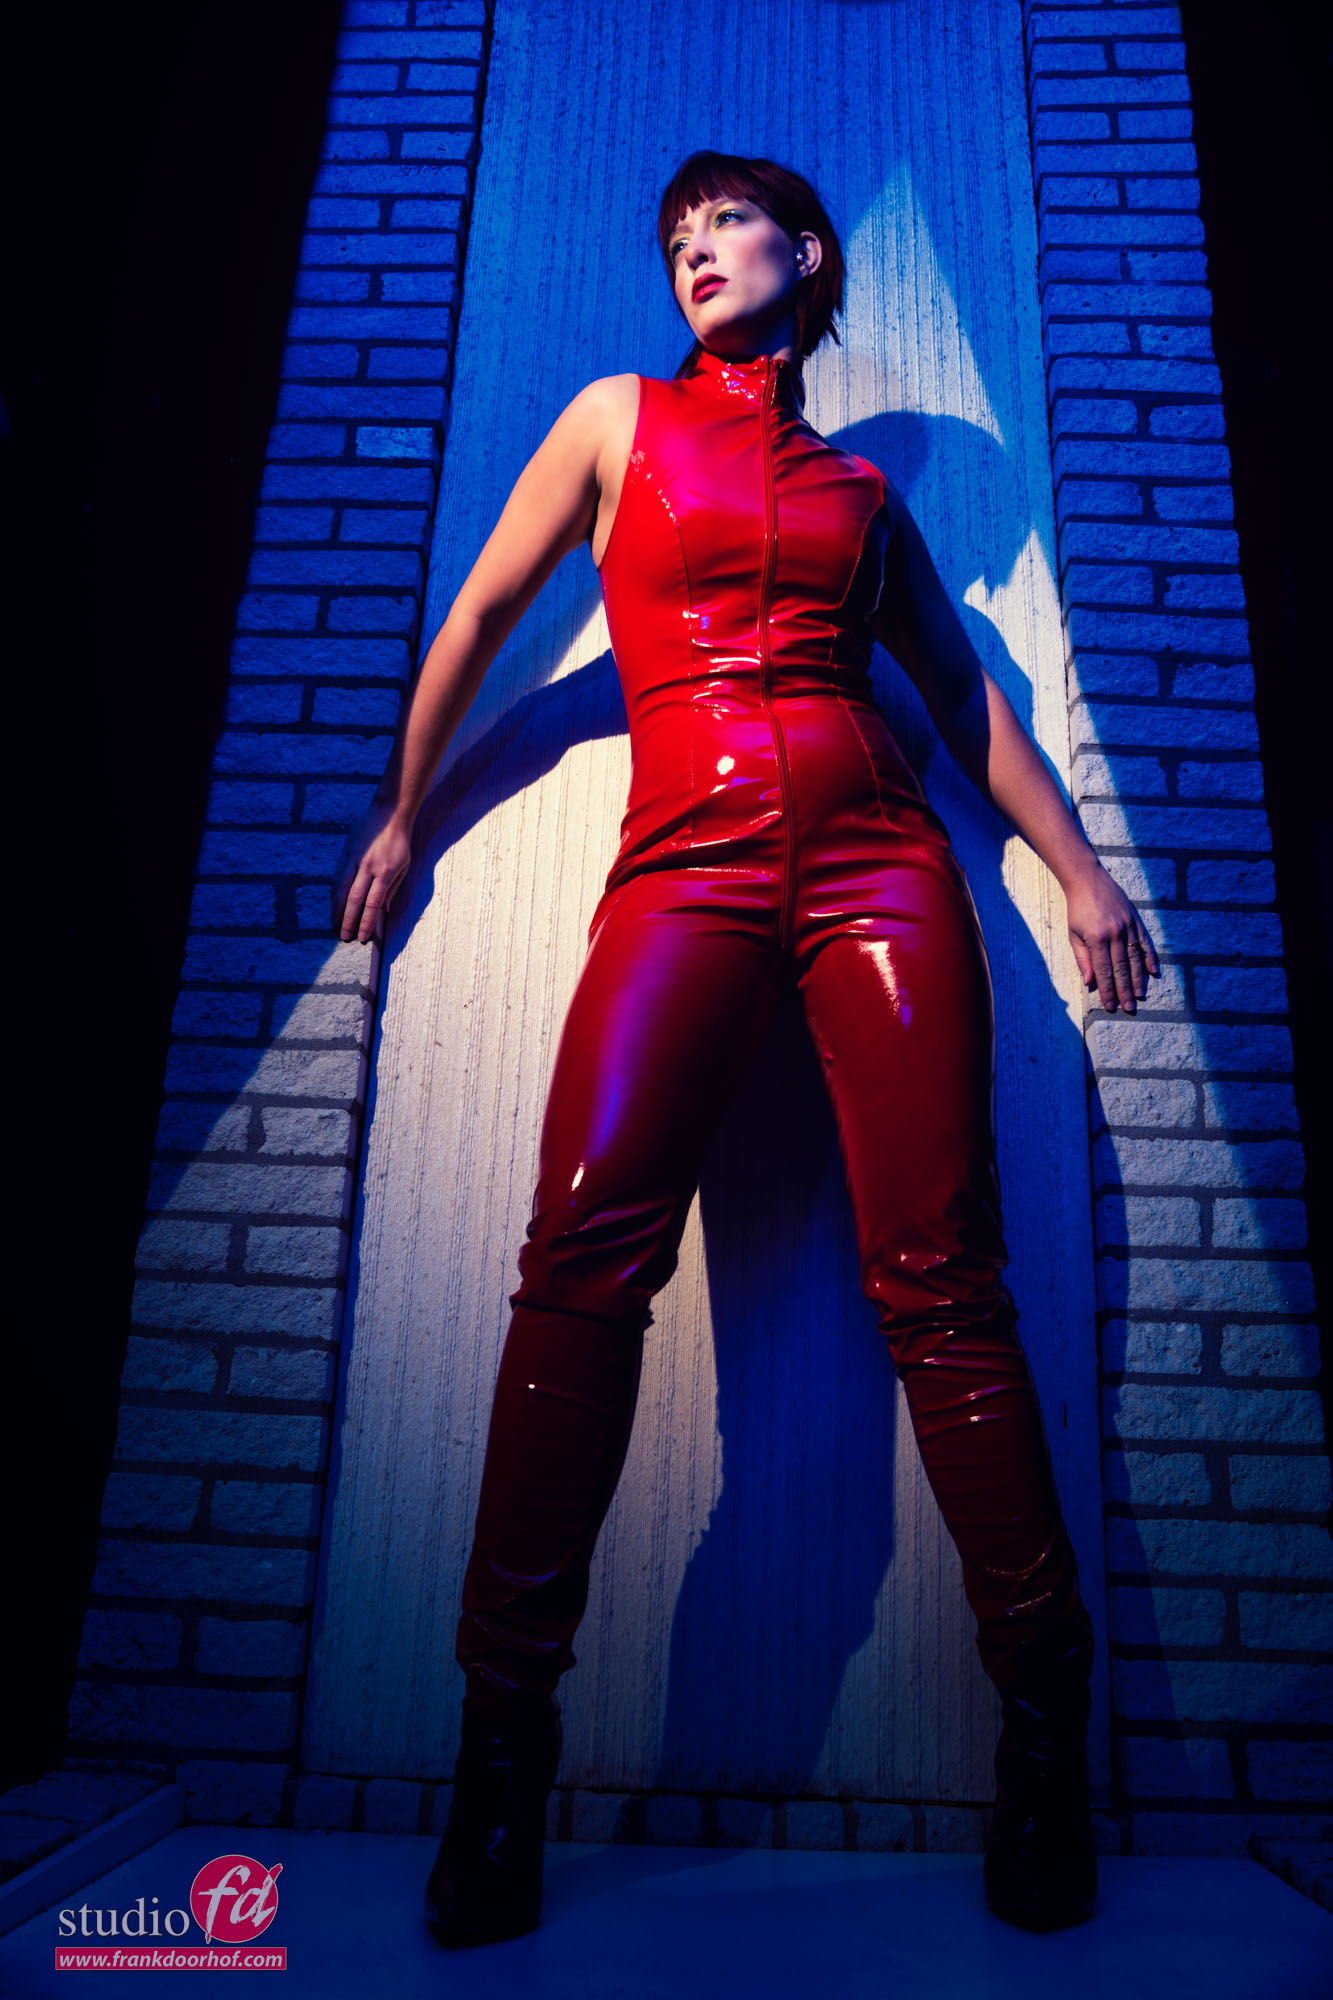
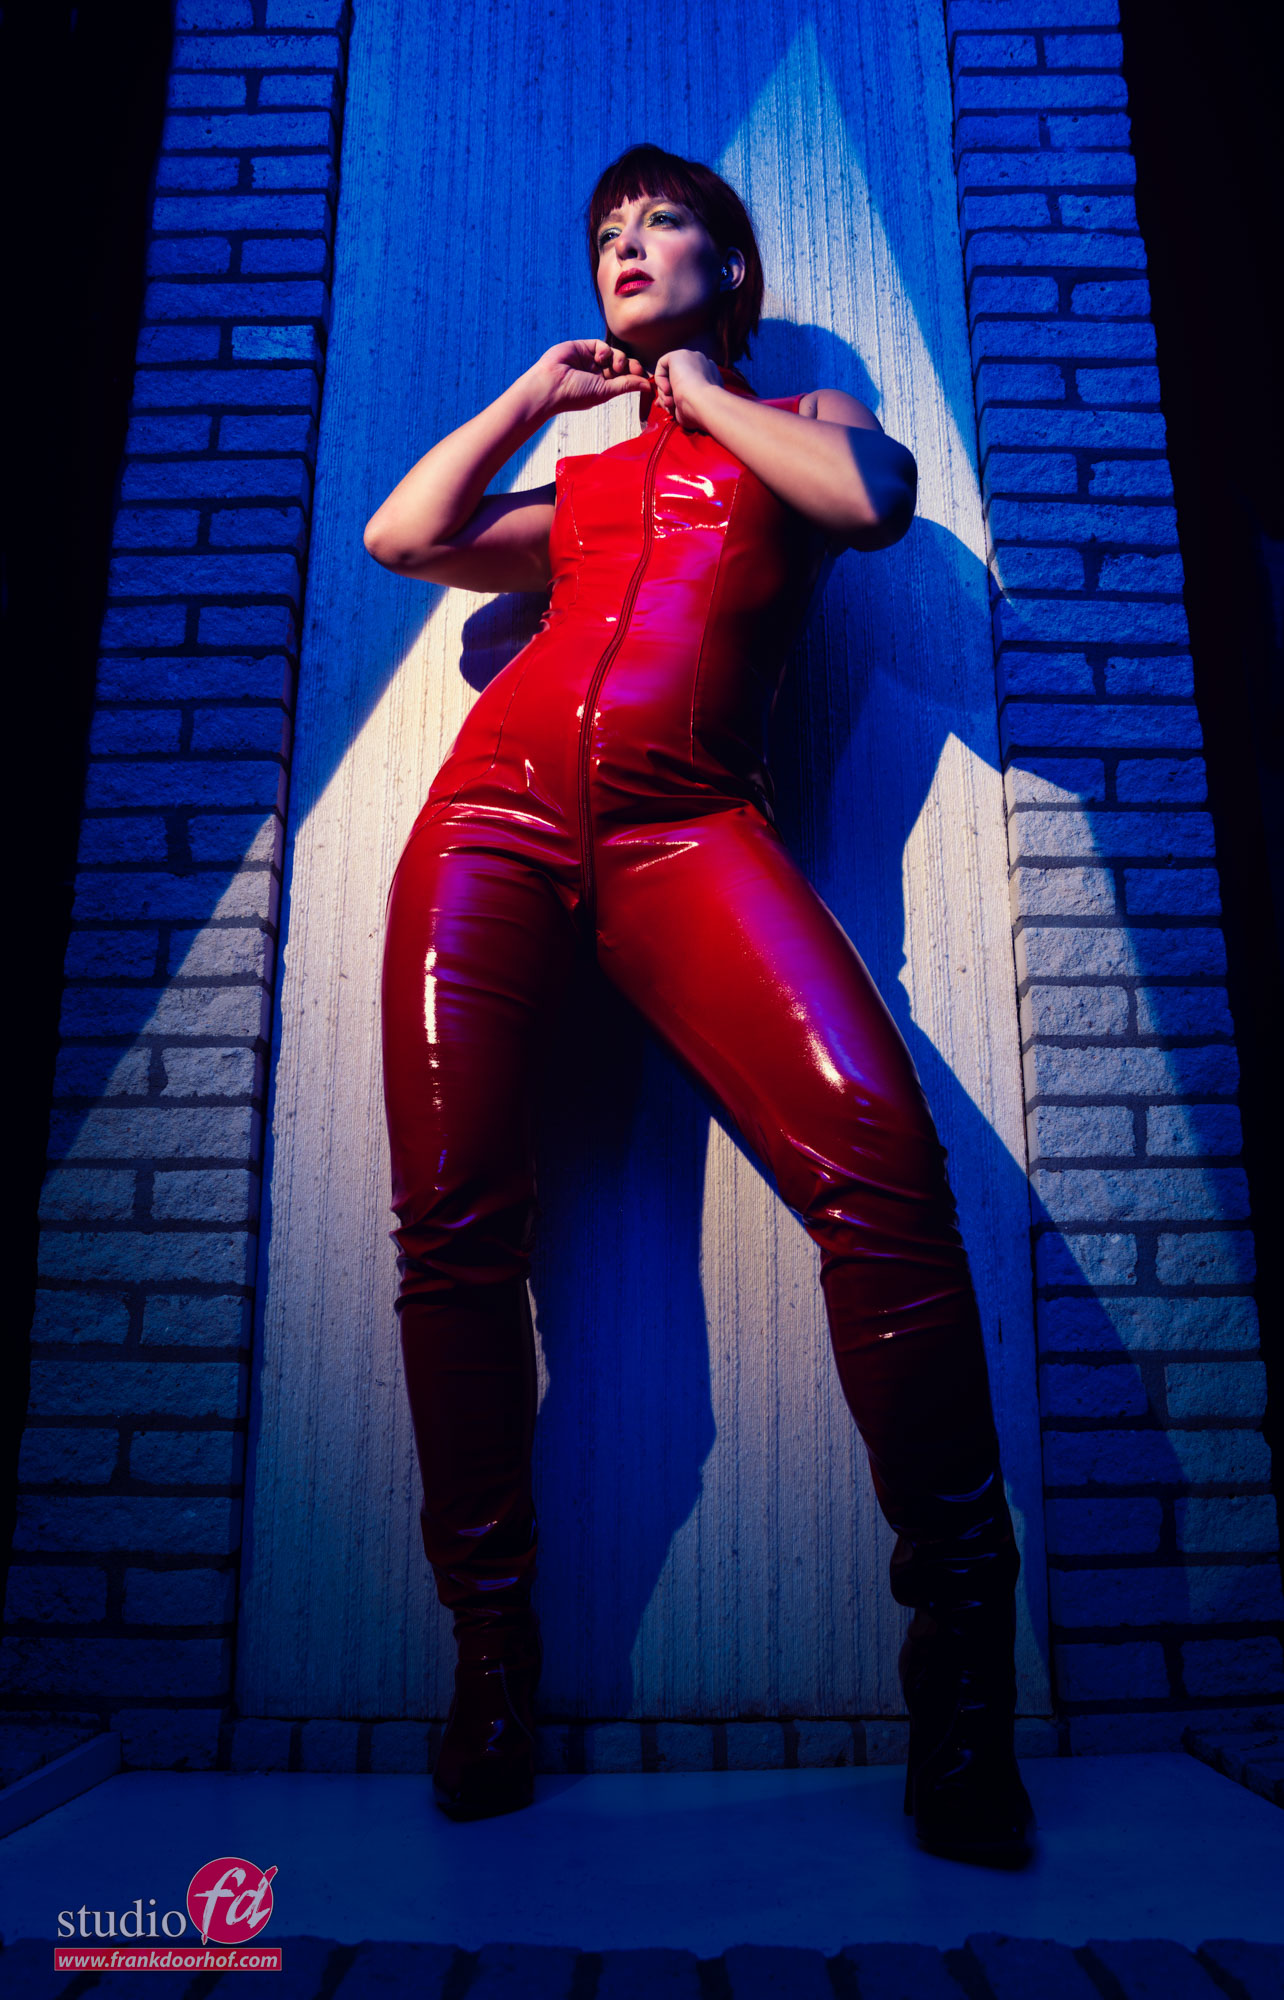
While shooting it’s important to not be fixated on one location or angle, as you can see in the results, the lower angle shots are clearly giving a totally different look to the the image. In my opinion a much stronger result. But the straight on results are also not bad, so always shoot both, sometimes the client will totally fall in love with one set and the next the other, so make sure you shoot both 😀
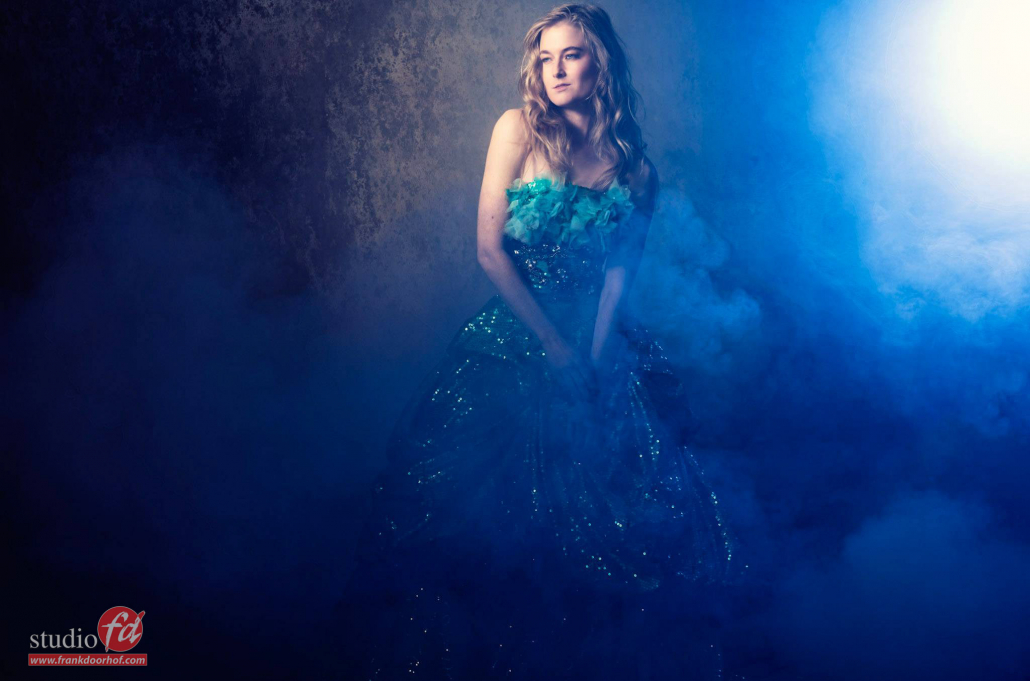
Also for the next setup I’m switching locations.
Make sure you setup your lighting so that it’s easy to walk around the model and you are able to shoot from different angles without having to move the light.
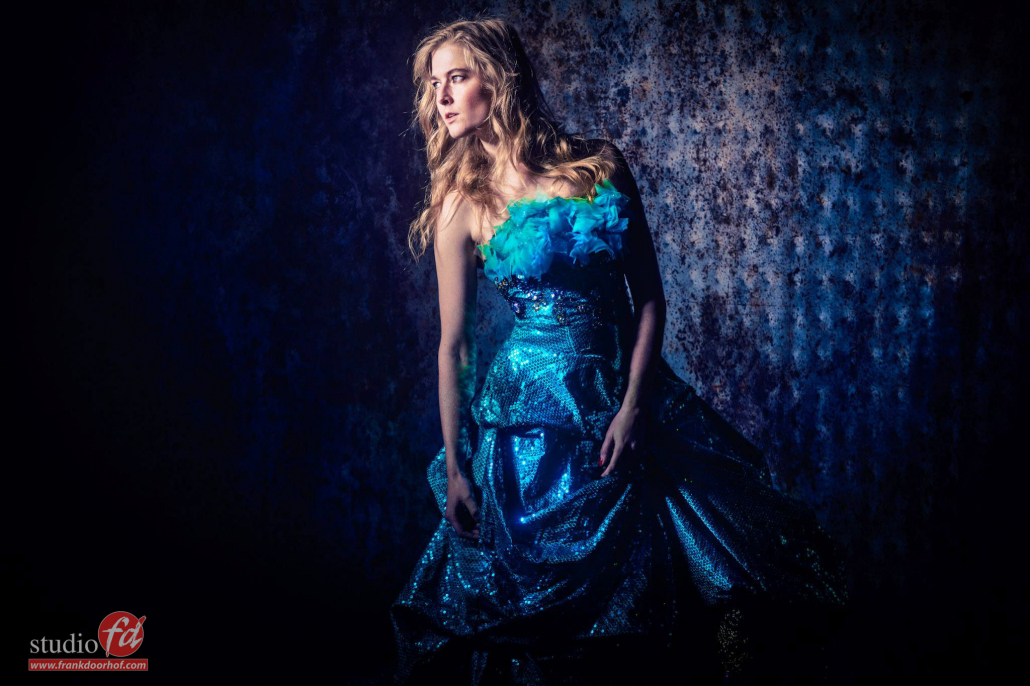
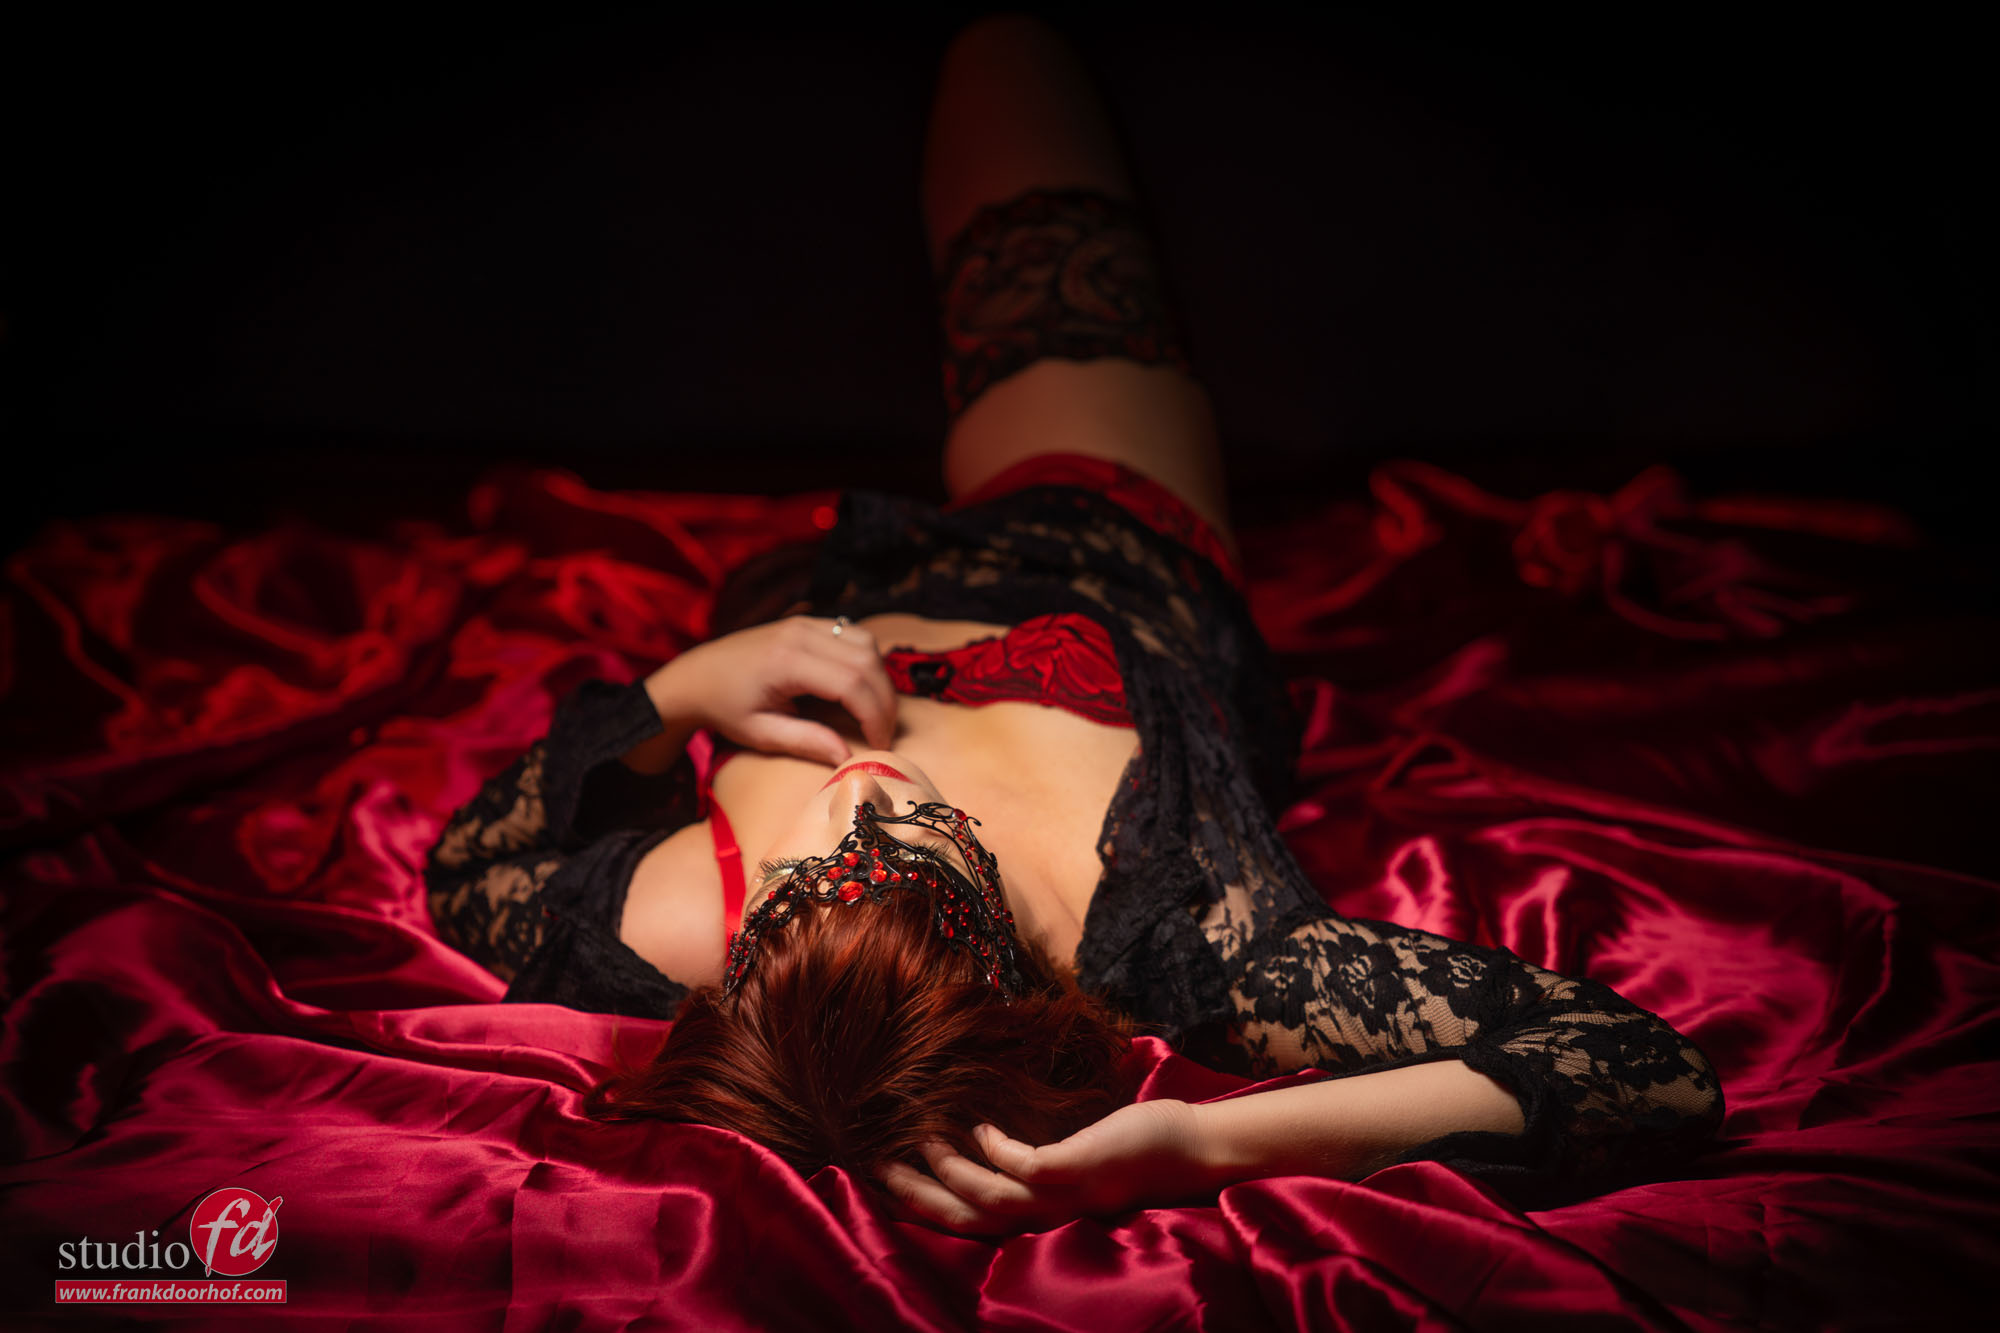
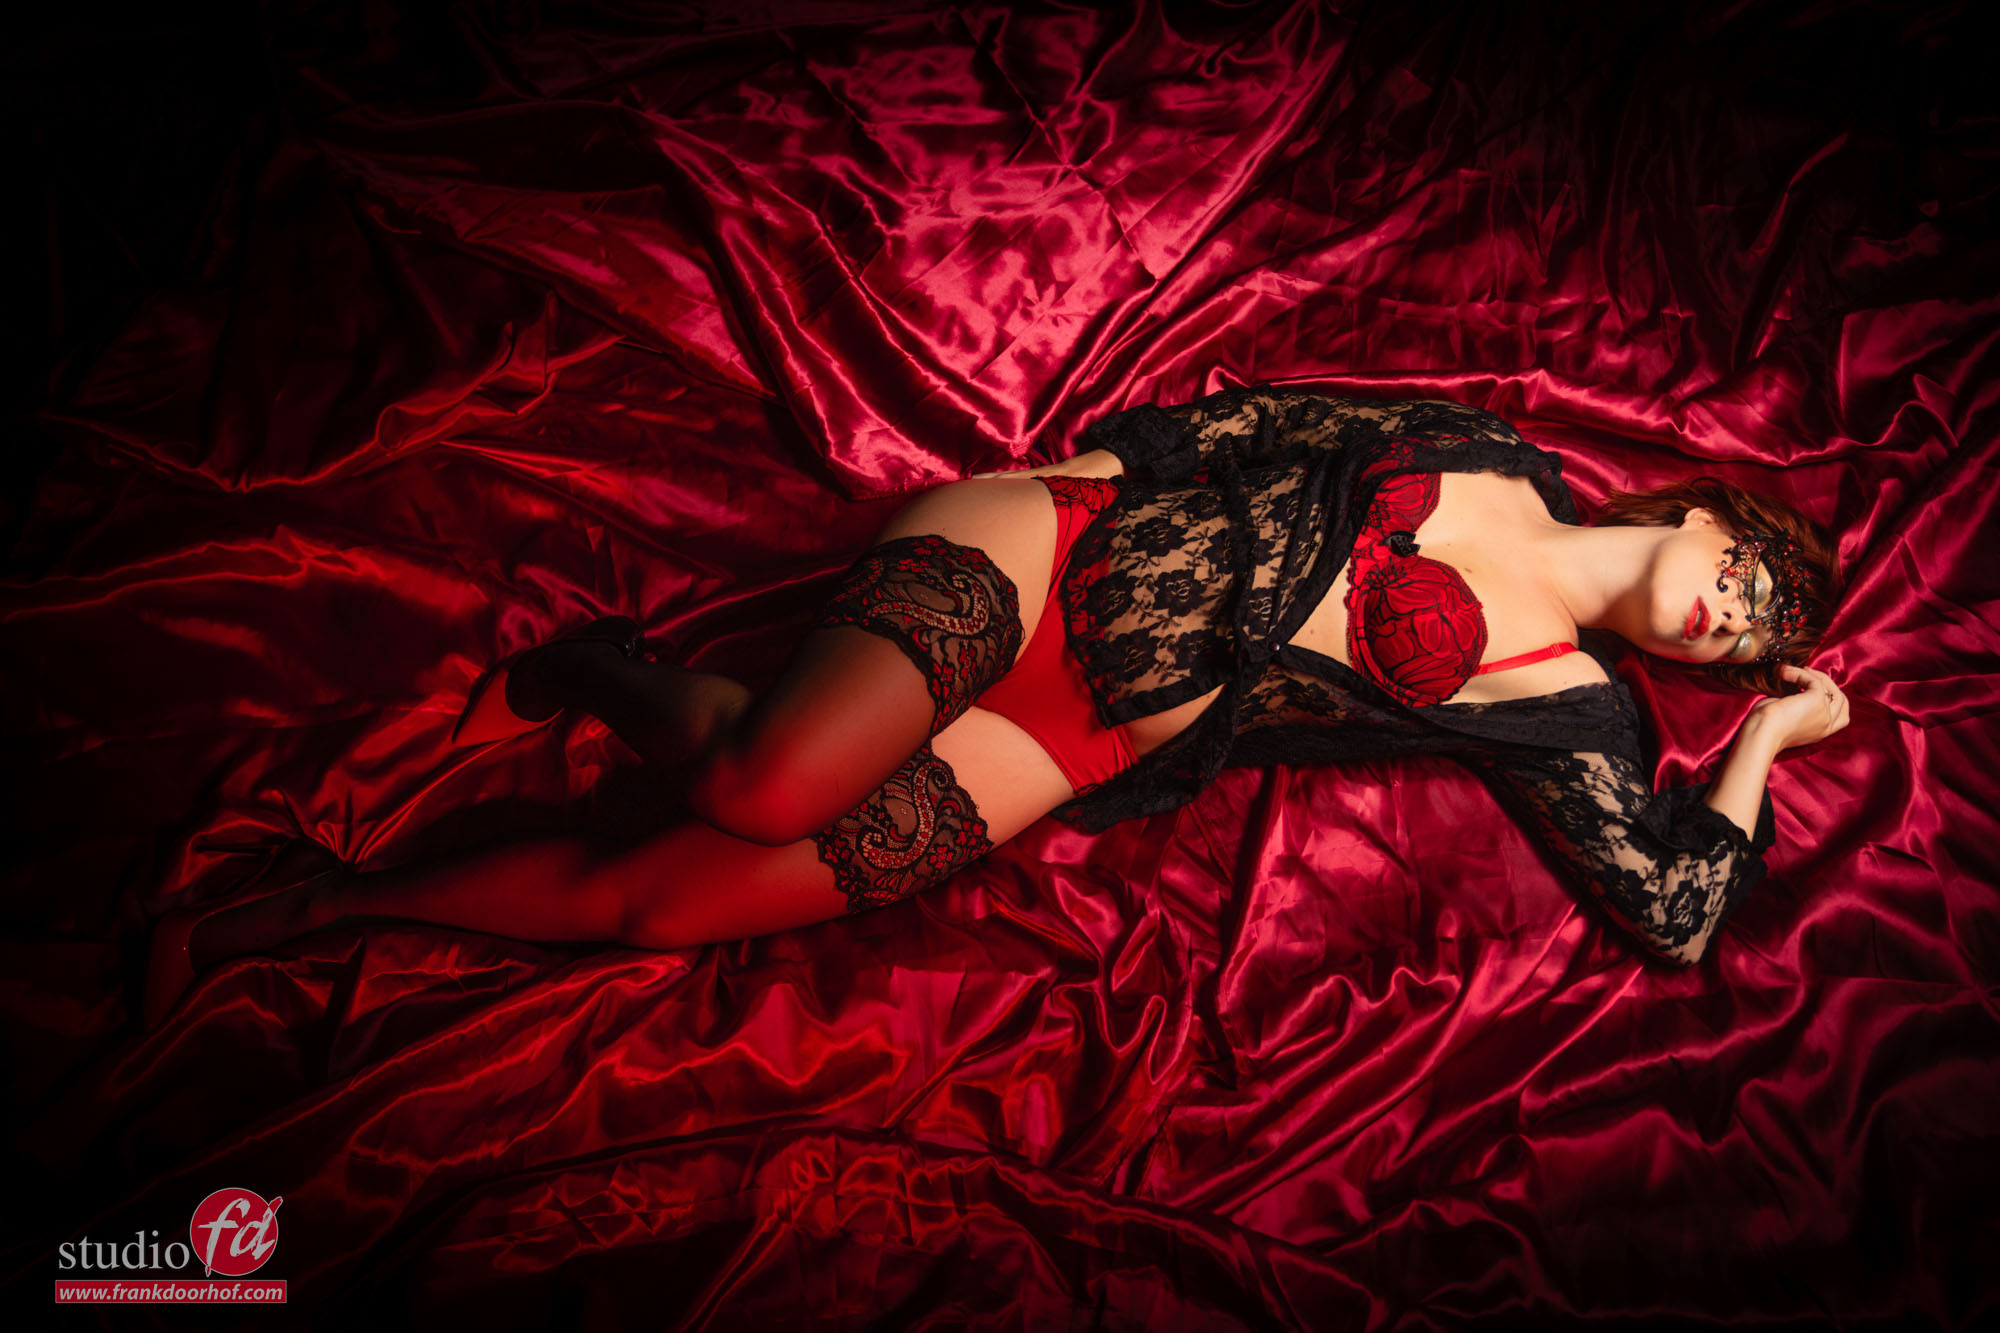
For me the red really adds to the image, so I wanted to make sure the color really jumped out. By using a smaller light source and a reflective material the colors really jumped.
The first images where shot from slighty above the floor.
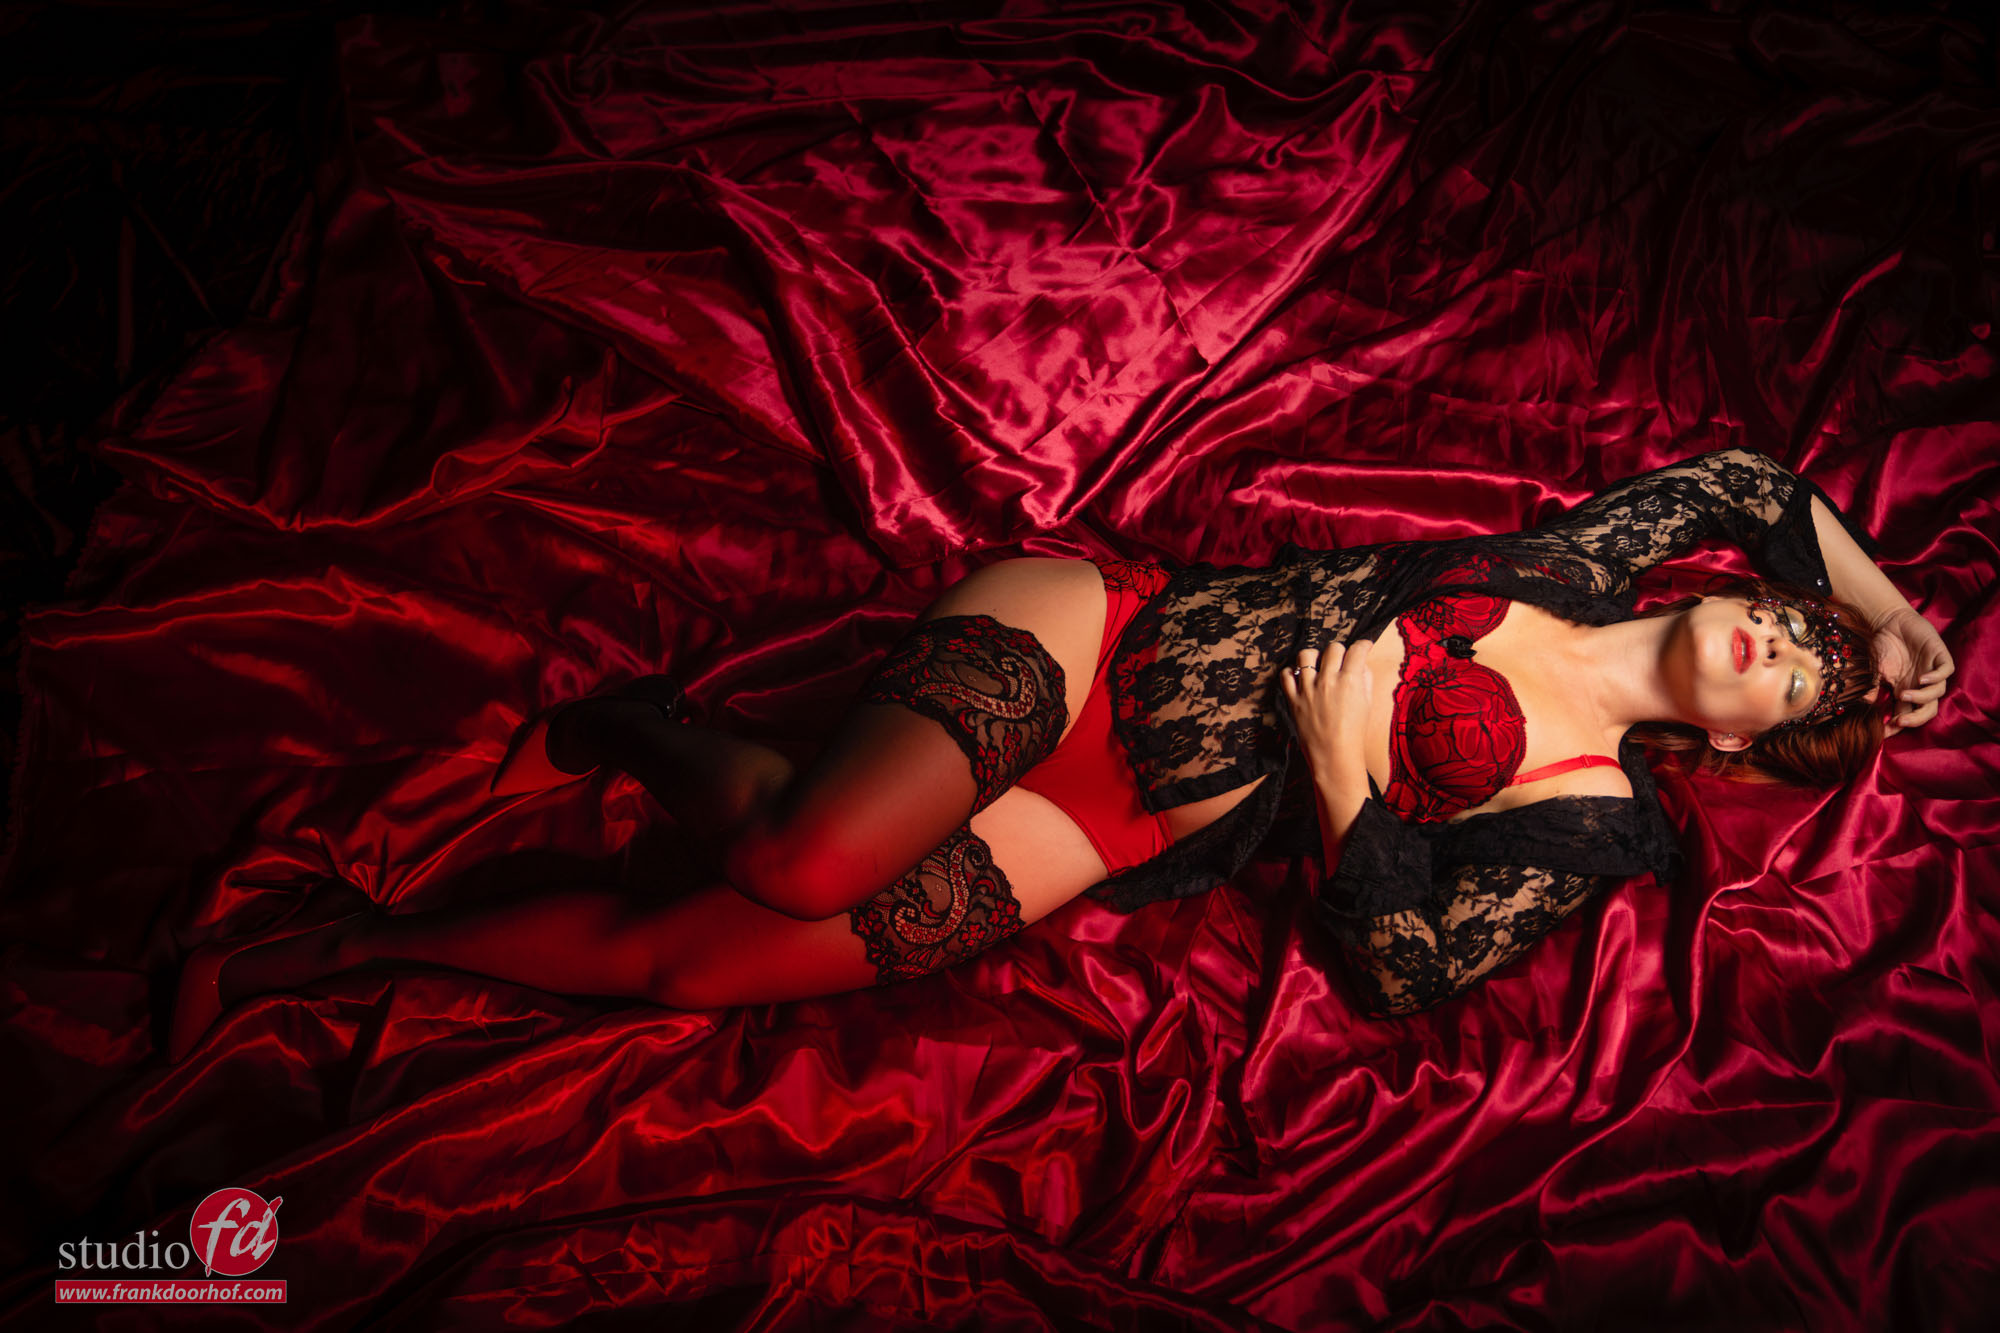
For the images from above we used a simple kitchen ladder. (one of the best studio props)

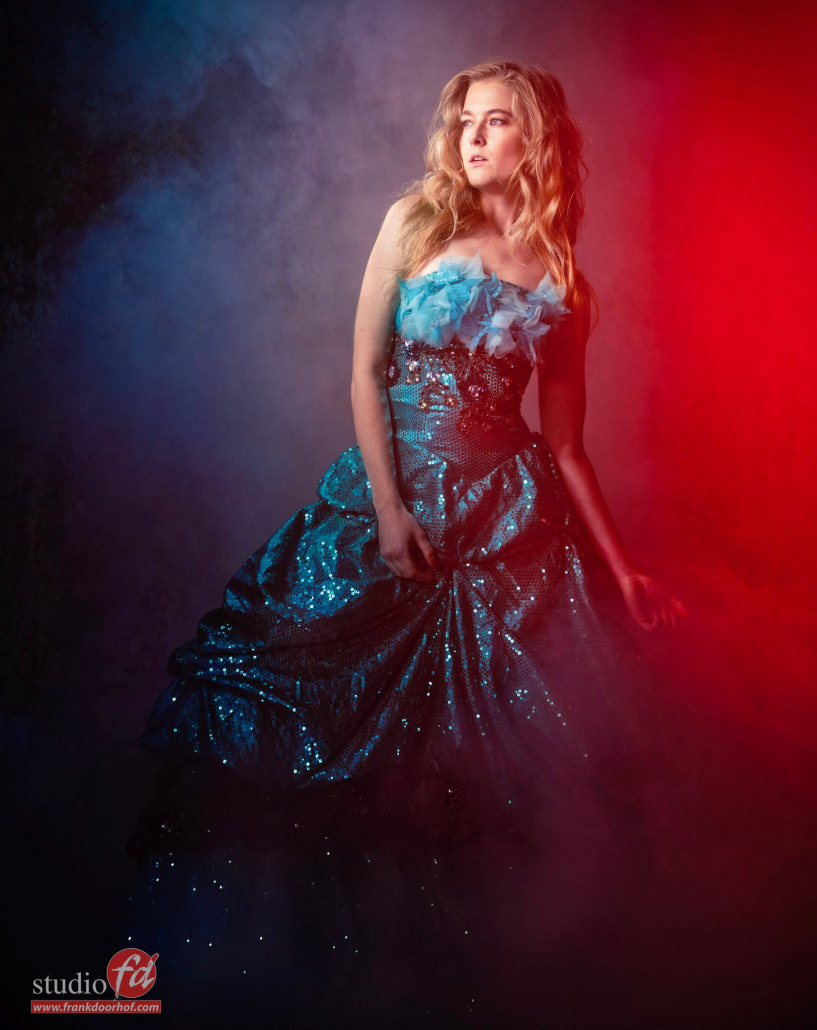
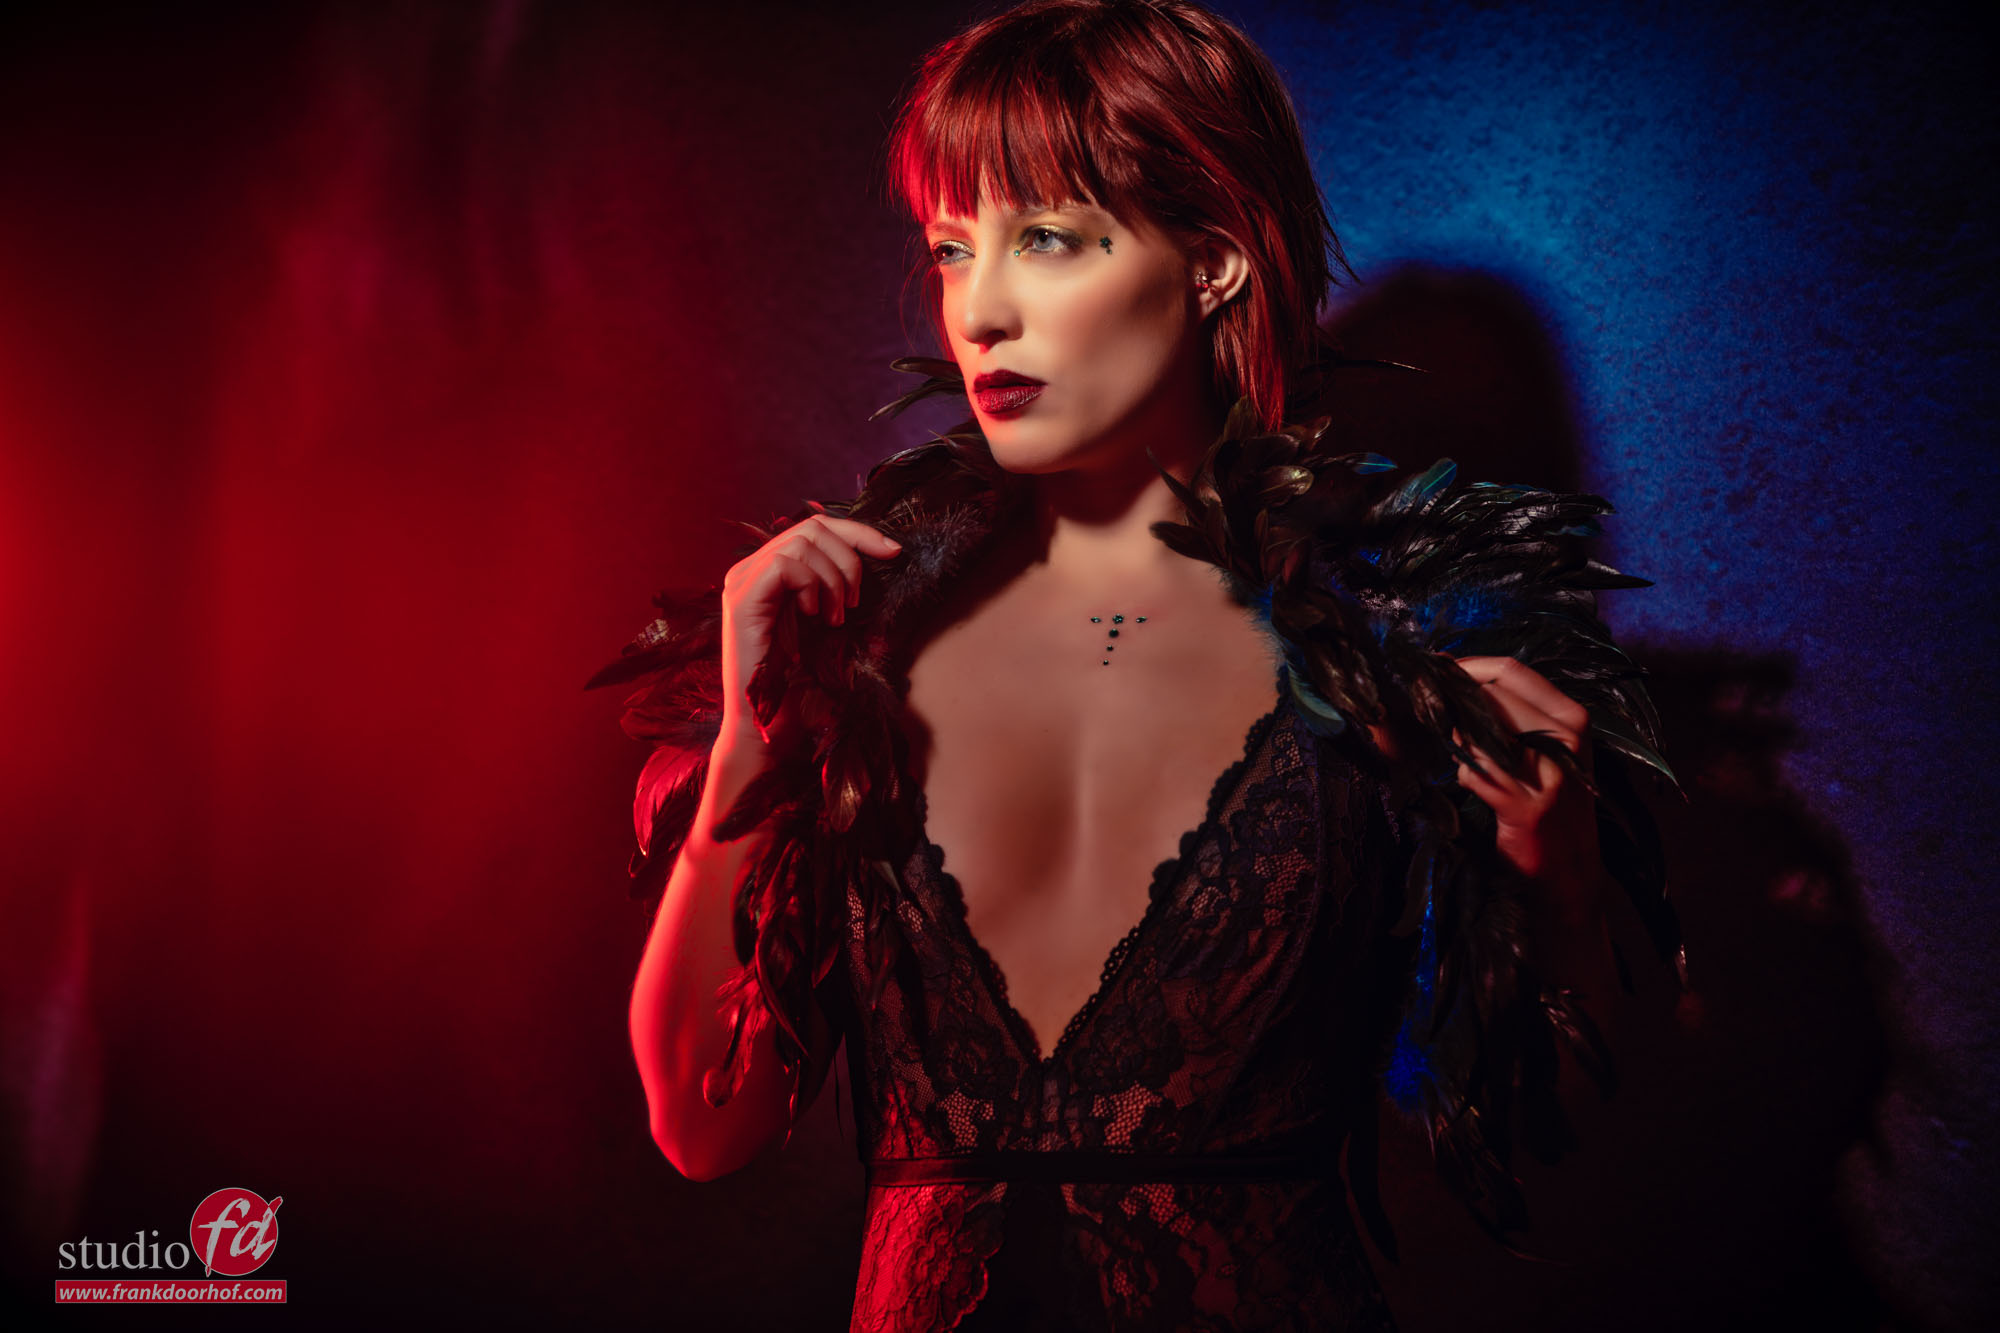
For the next setup we played around with lens flares and how one color can totally change the image.
I’m using our Clickpropsbackdrops here with a blue undertone, by adding red it creates a beautiful combinatie.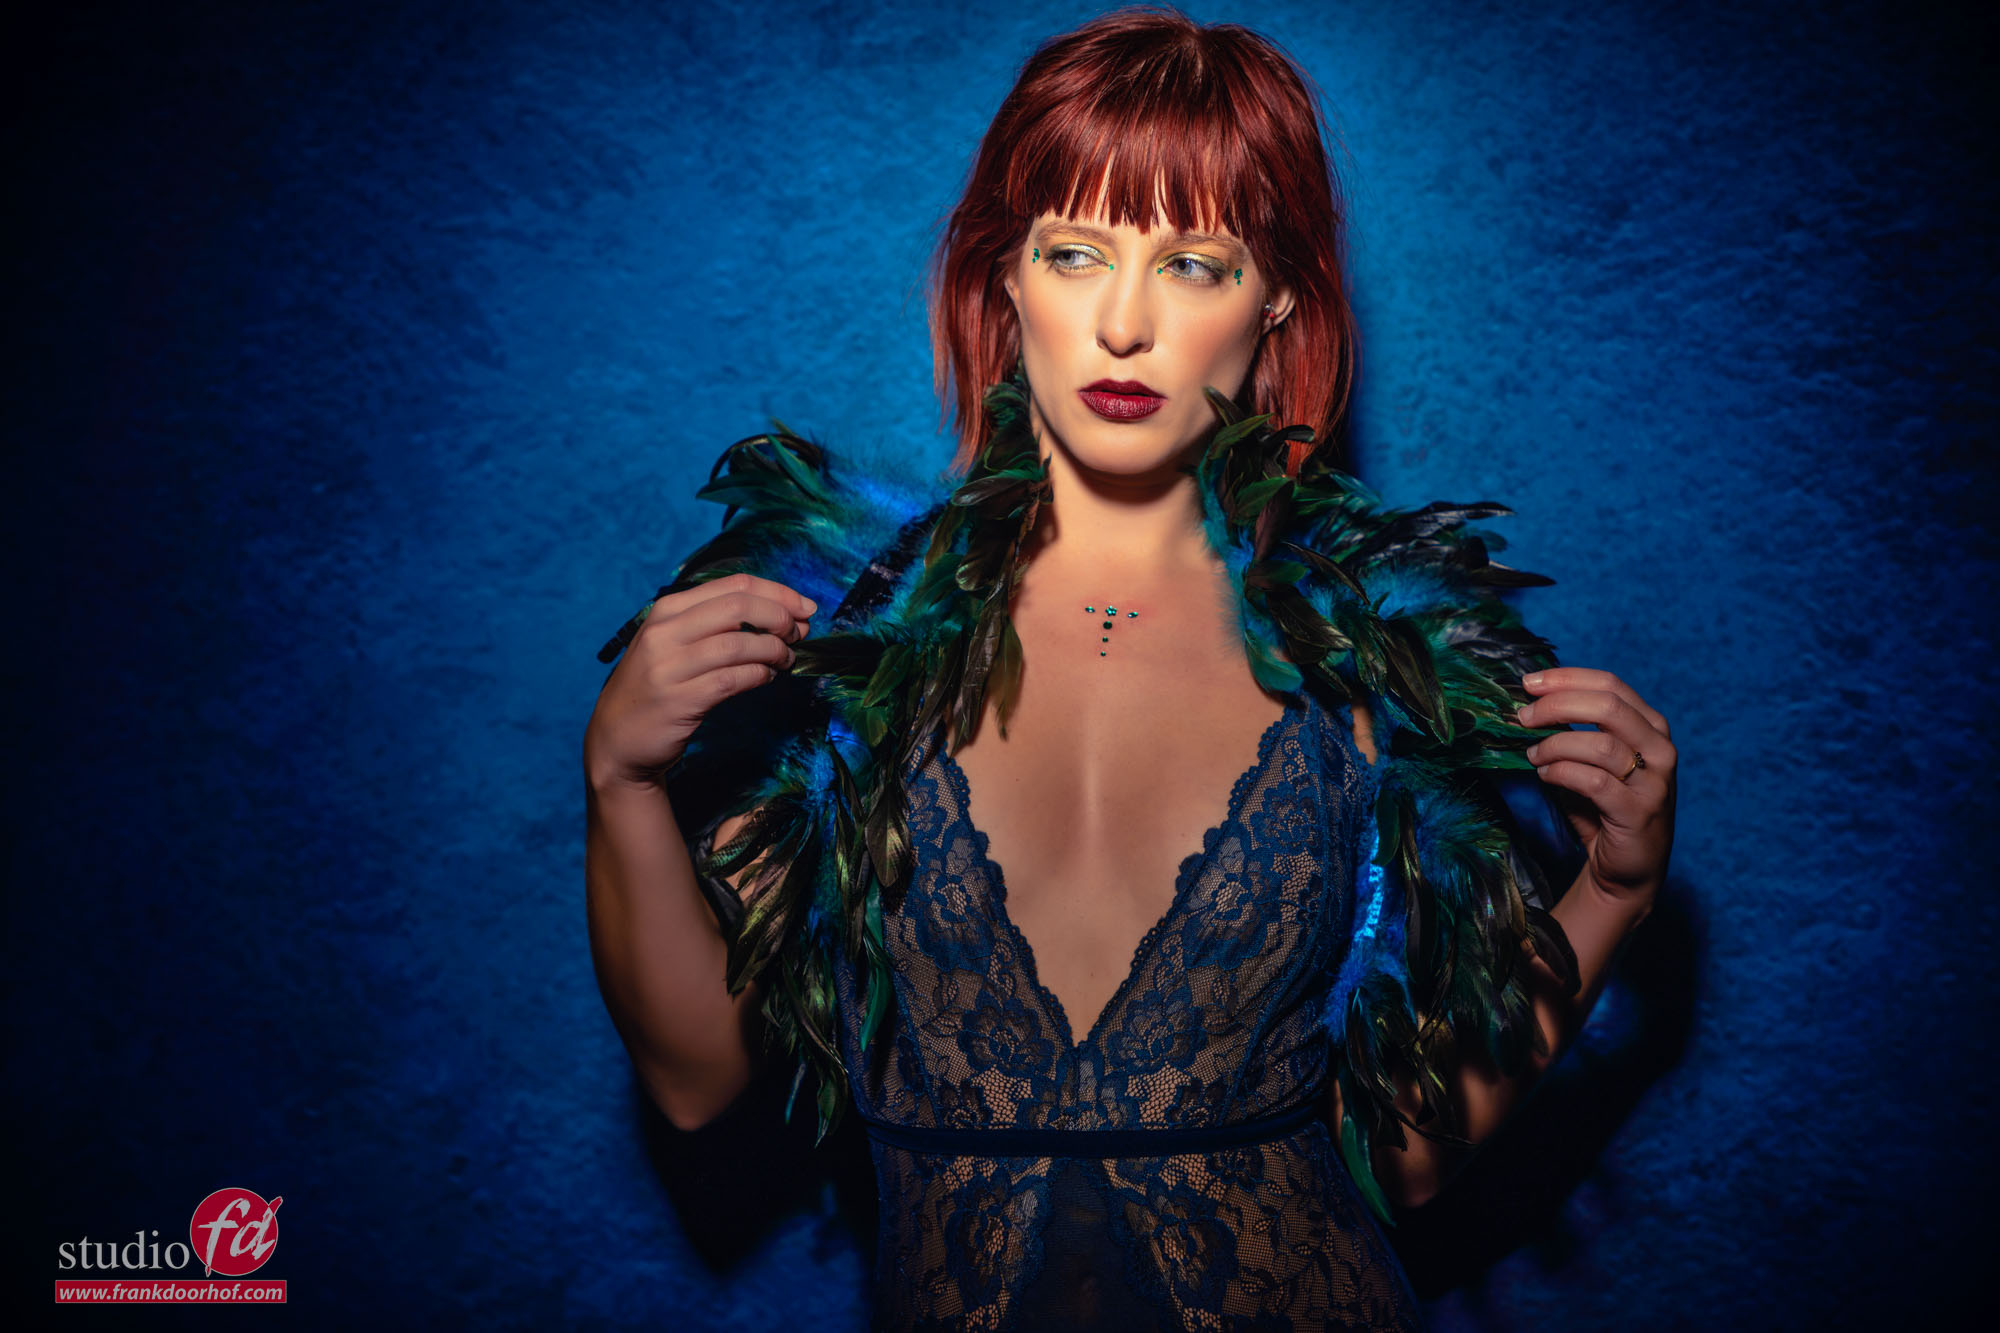
For the final setup we used our Red Metal backdrop which for me fitted the outfit perfectly.
Lighting was one Hensel striplight from the side.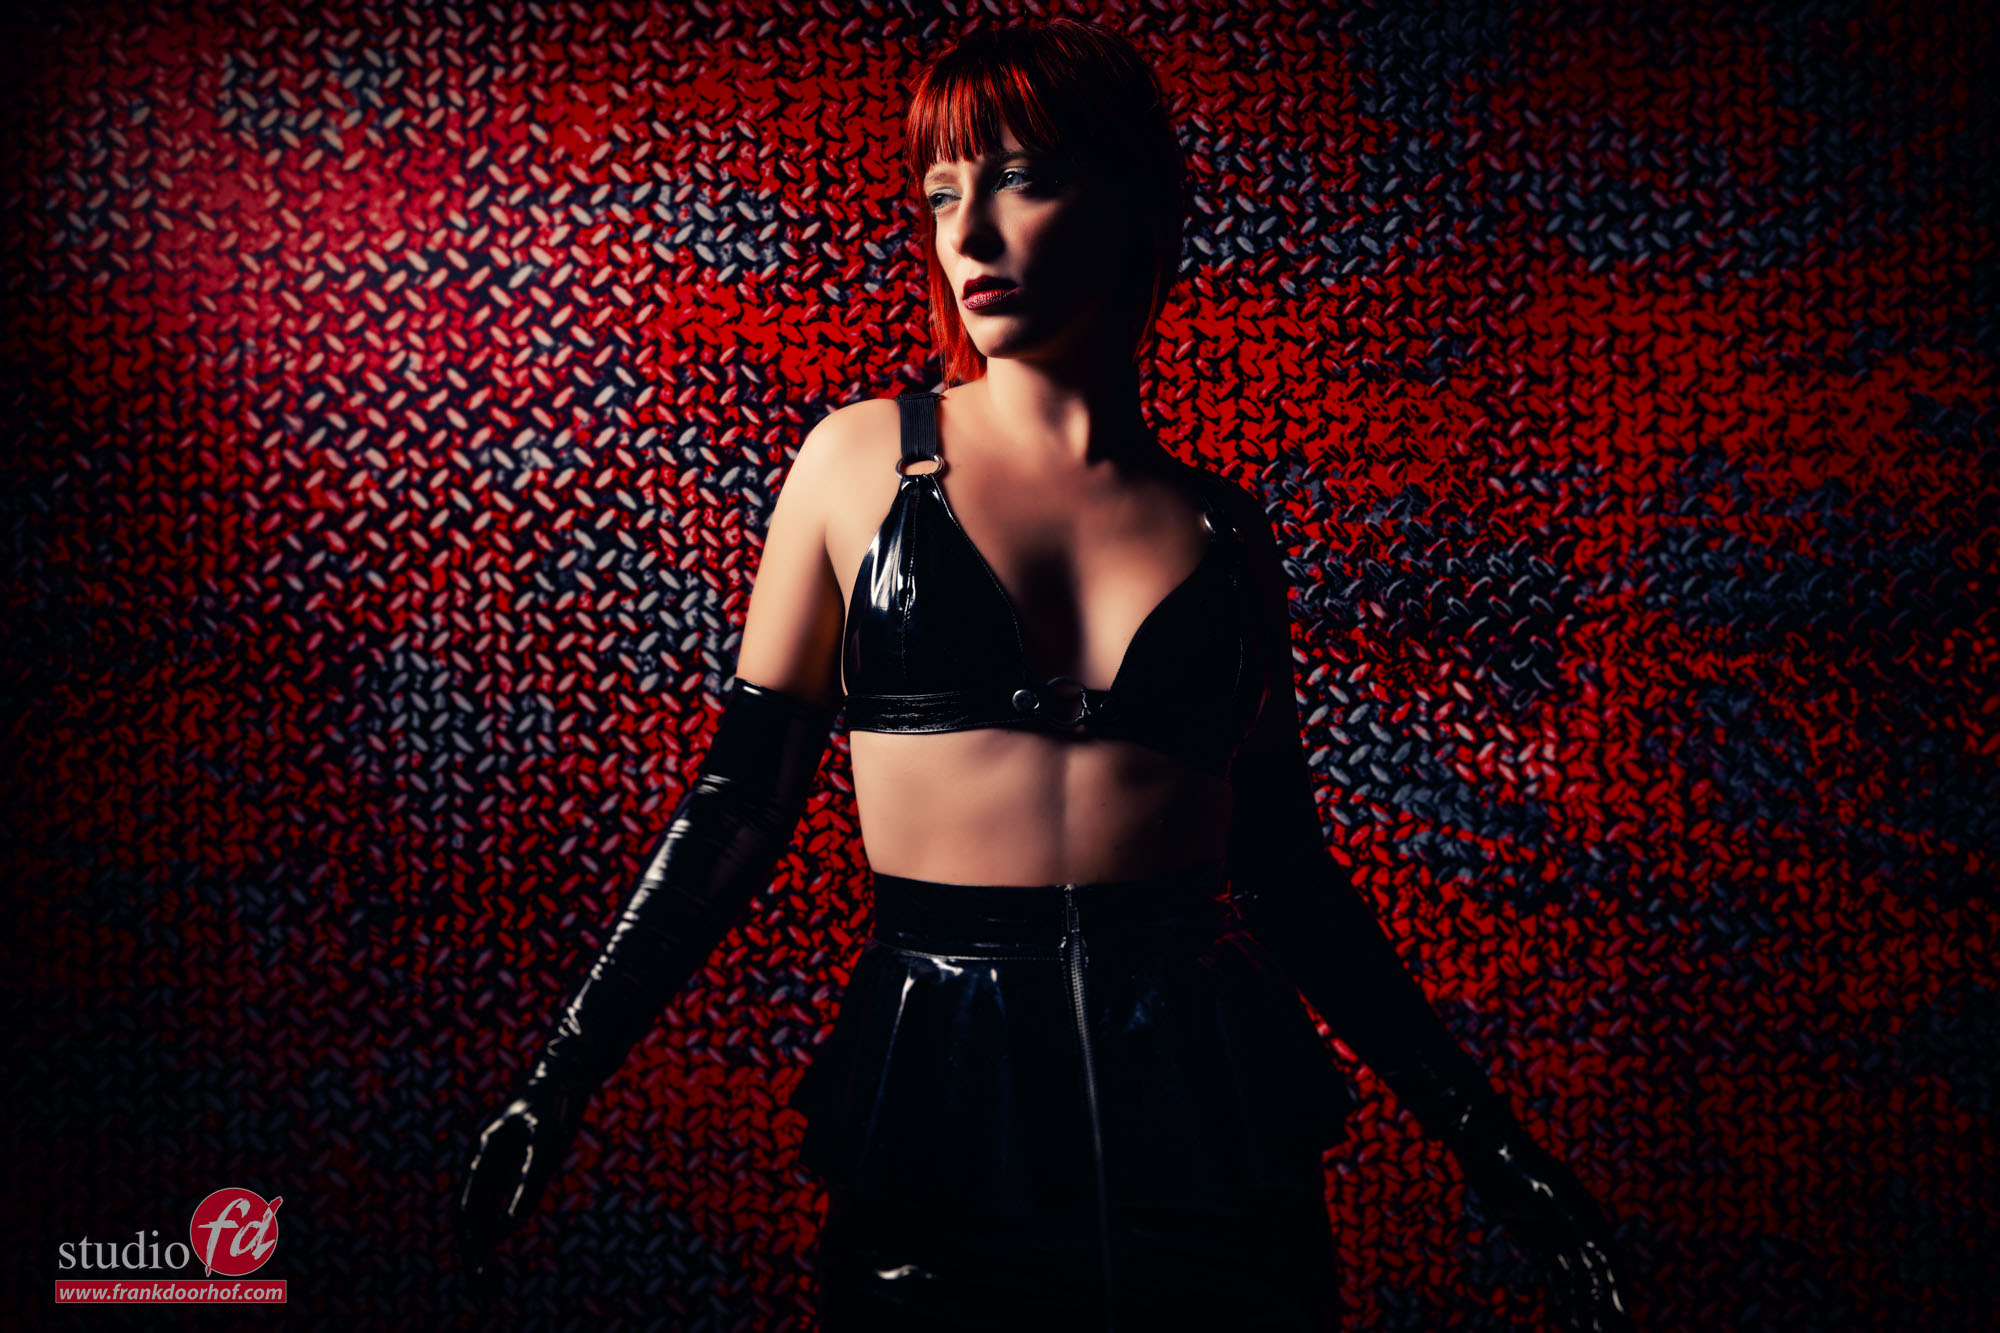
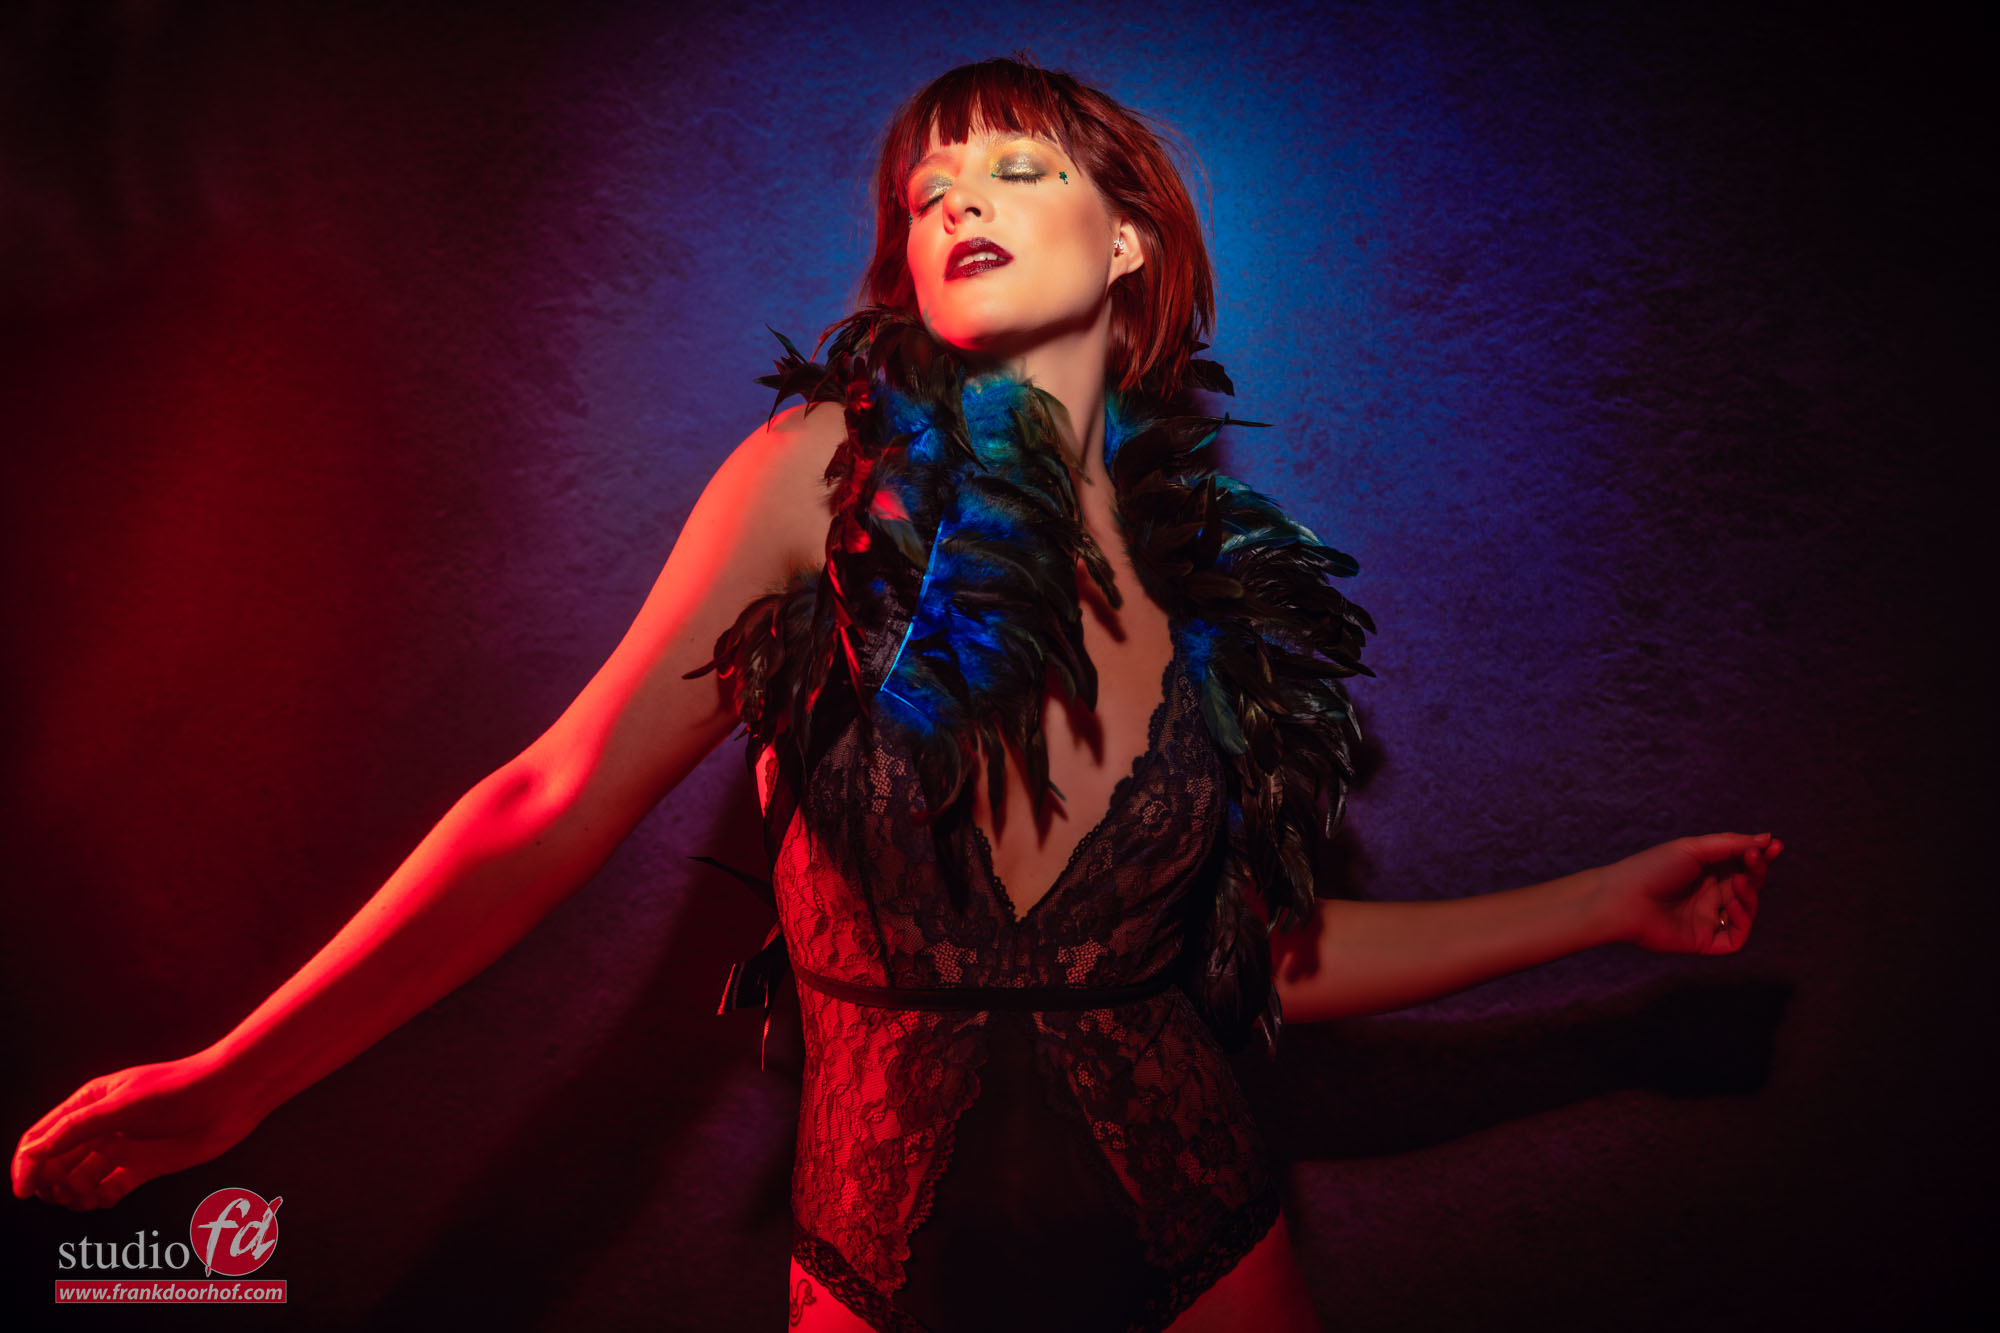
For me personally lighting is very important, but you can have the best lighting in the world, if the model doesn’t look the part, or the background is not fitting for the shot it all fails and you end up with an beautifully lit image that isn’t pleasing to look at.
For me a successful image is a combination of the lighting, the color scheme and of course the styling/pose/expression of the model… If we look the last image for example, the background really makes the image look the way it does now, but imagine just a white background behind the model, or a forrest….. so always make sure you don’t just pay attention to the model and lighting but also for the backgrounds and the colors the model is wearing.