Tag Archive for: styling

TIP on backgrounds

When I started out with model photography I used a lot of seamless backgrounds, and I think most of you do.
However the more I shot the more I grew bored with these backgrounds and I started using the studio walls and more and more and I was drawn to location work. Of course it’s not possible to work on great locations all the time, and let’s be realistic…. the background does have to have something interesting, being it structure, rawness (is that a word?), edginess (love that word, I always use it when I don’t know something else) and…. well you get the general idea, walls can be cool if they are cool.

At one point it dawned to me that if I couldn’t go to locations all the time why not get the locations in our studio, if you go through my portfolio you can actually see that a lot of my work is using models pretty much straight up or in front of walls. In our studio we actually painted all the walls in different themes and looks going from nice and dark to totally distressed with wallpaper hanging down and broken plaster. Sometimes people will actually comment on these walls and ask me when I’m gonna do some fixing up… until I tell them that those are sets and their response is “oh cool, I need that”… actually at that time I already earned my money for the workshop because in my opinion the biggest problem a lot of photographers struggle with is “seeing possibilities”. So if you see an old broken down wall don’t see it as something that has to go but see it as an photo oppertunity.

Our studio is pretty big and there is no wall in the studio that we can’t use as a backdrop, I always am stunned when I visit studios that are HUGE but have all the same color walls, it just doesn’t make sense for me, of course a shooting area for cars has to be one color, but there are also so many other walls, areas etc. that you can use and that are often left untouched, for me the studio is a working space and not an office (heck even my office has different themes, I hate plain walls I guess).

So what if you can’t do your walls like we can?
In essence all walls can be covered with wallpaper right?
So find some interesting wall paper like for example this :
Roosmarijn Maart 29 2016 0331

Roosmarijn Maart 29 2016 0340If you are not allowed to do this on the walls, make “small” (2.50×2.50 mtrs) panels and cover them.
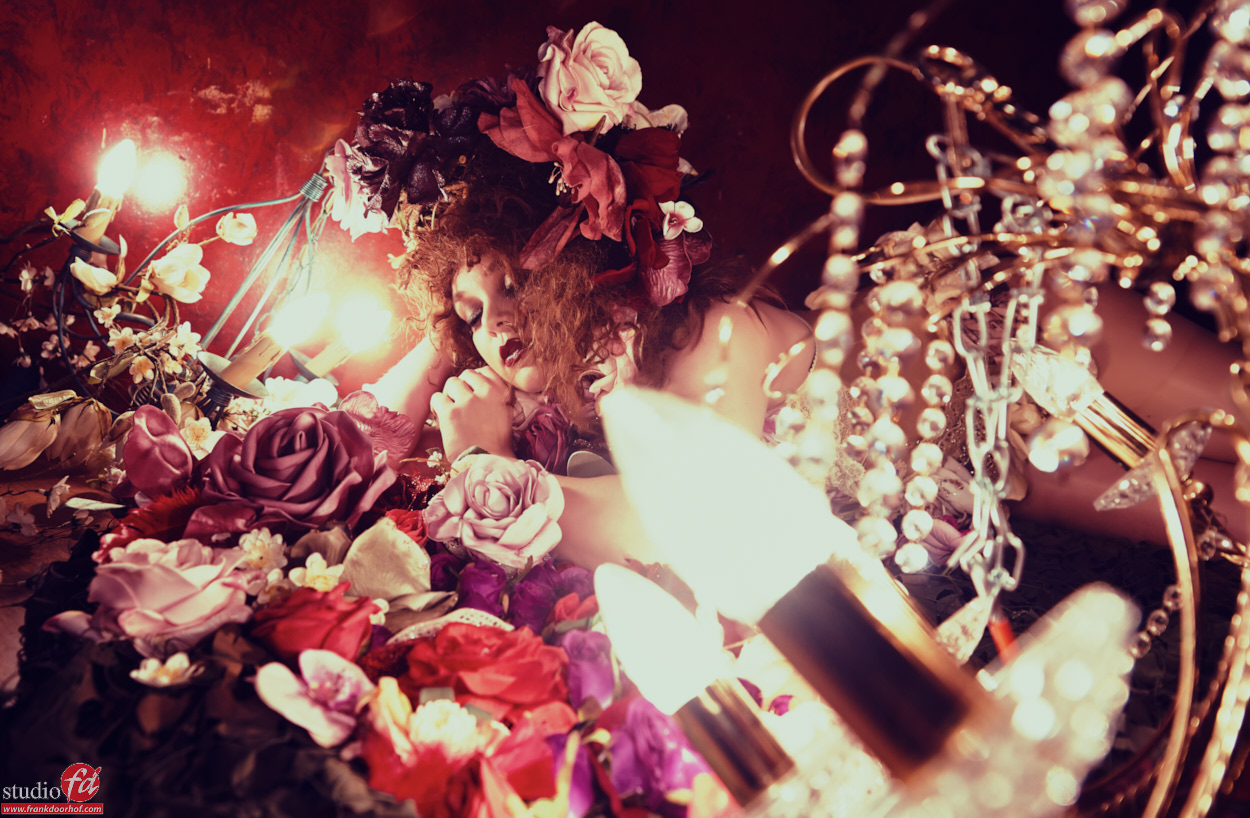
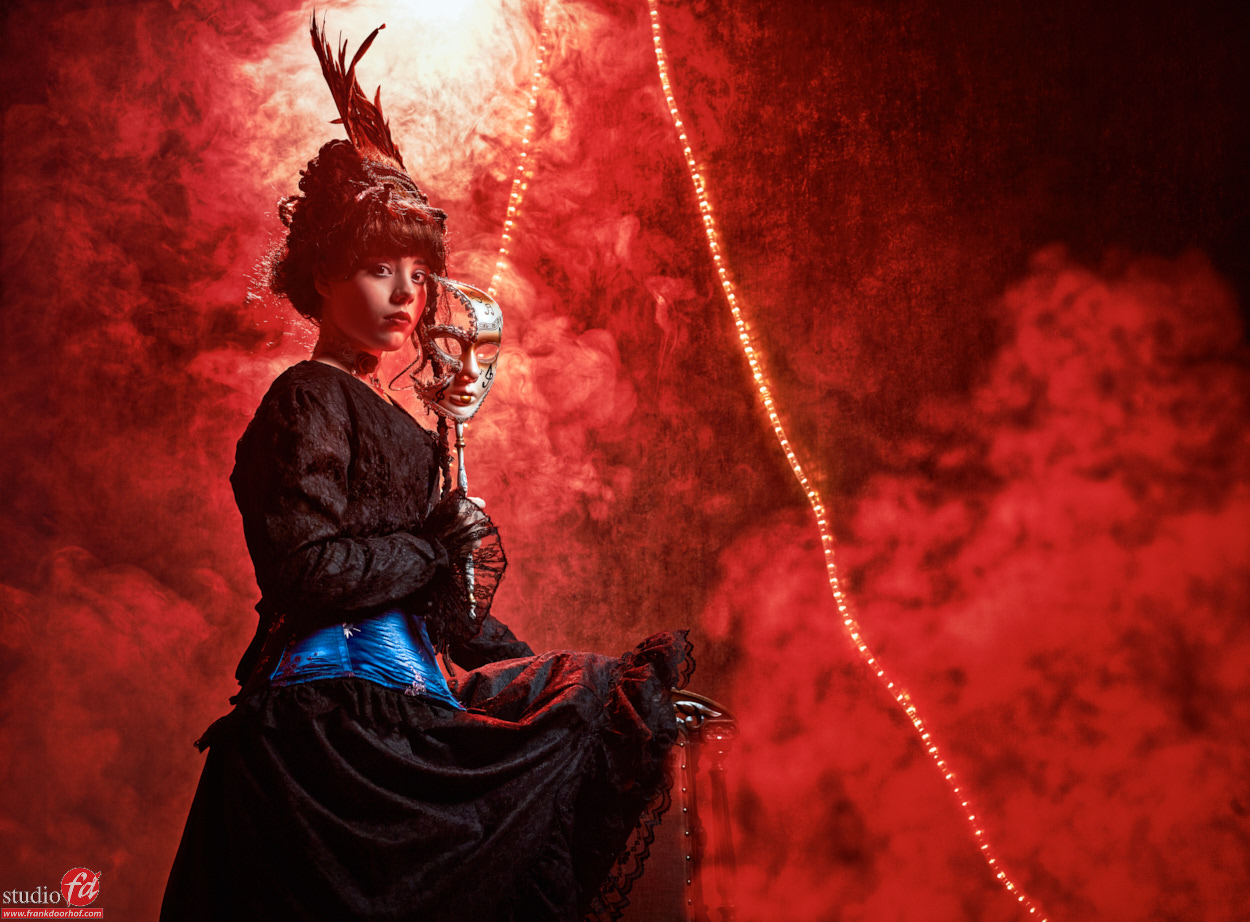
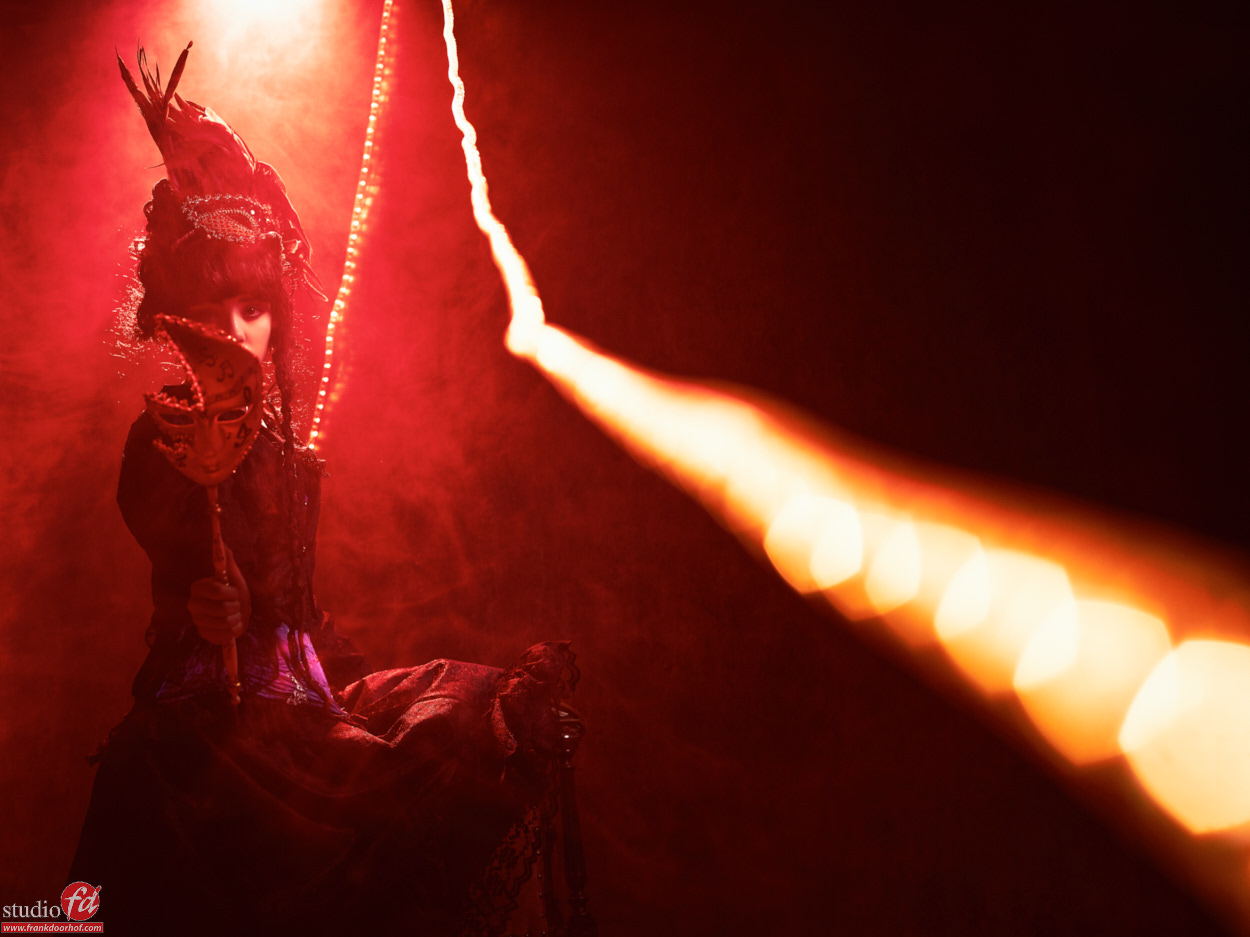
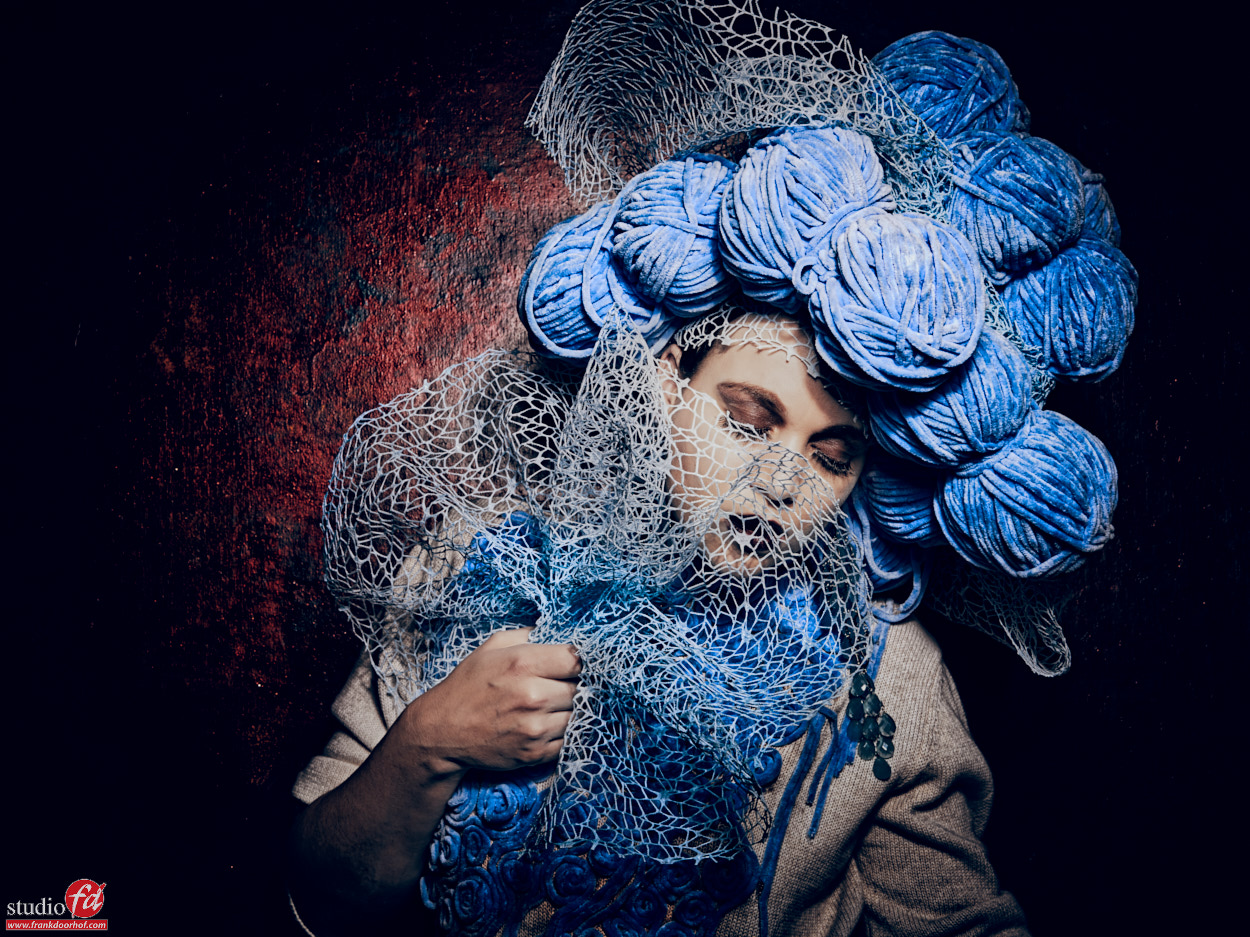
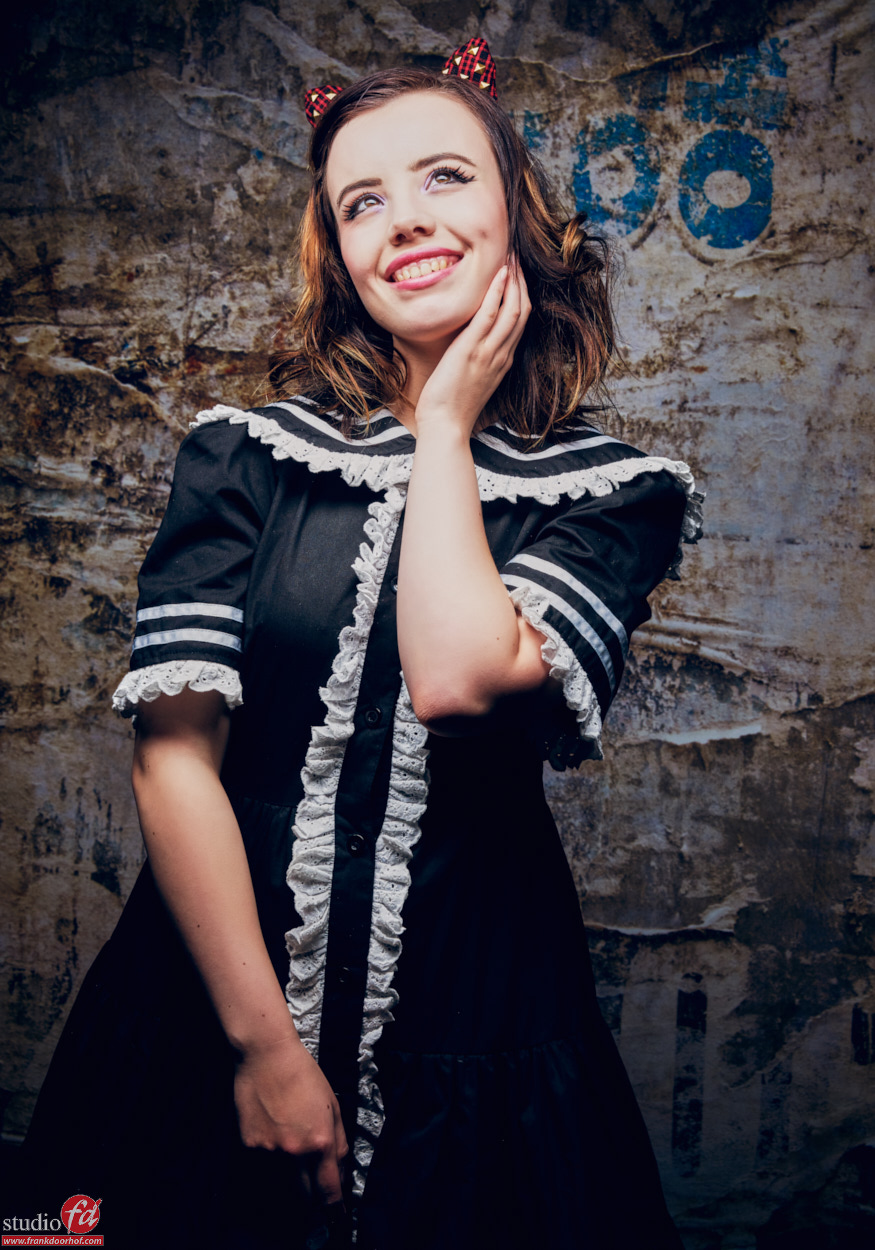
But you can also paint those panels, in this case one of our interns did a tremendous job I think, and as you can see it REALLY spices things up, the image in front of it is already cool but the walls…. well they complete it, and it really also helps to enhance the styling.

Nadine Professional Imaging - 16  March 12, 2016

Indeed all the structure and blues you see is in the wall, we used a little bit of smoke to spice the set up, but the wall in combination with nadine her awesome styling makes the image complete.

But a lot more can be done.
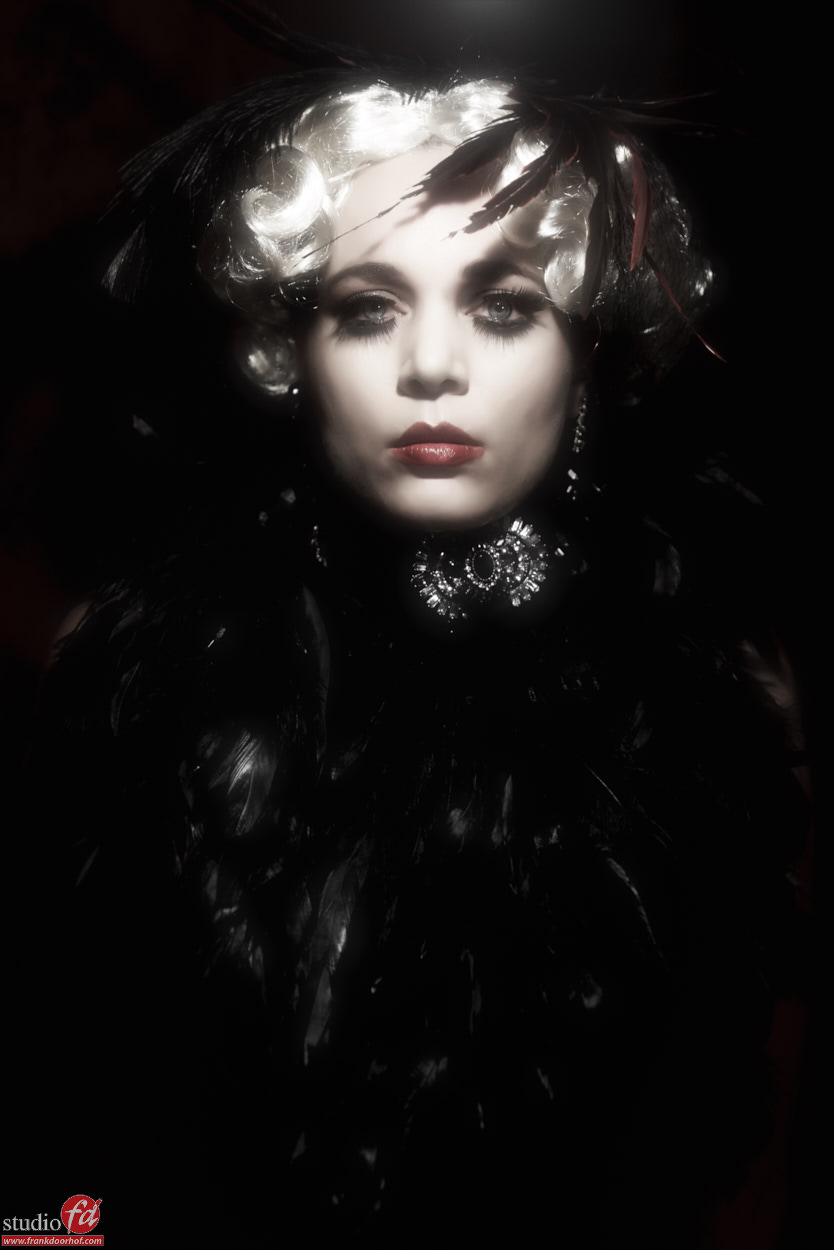
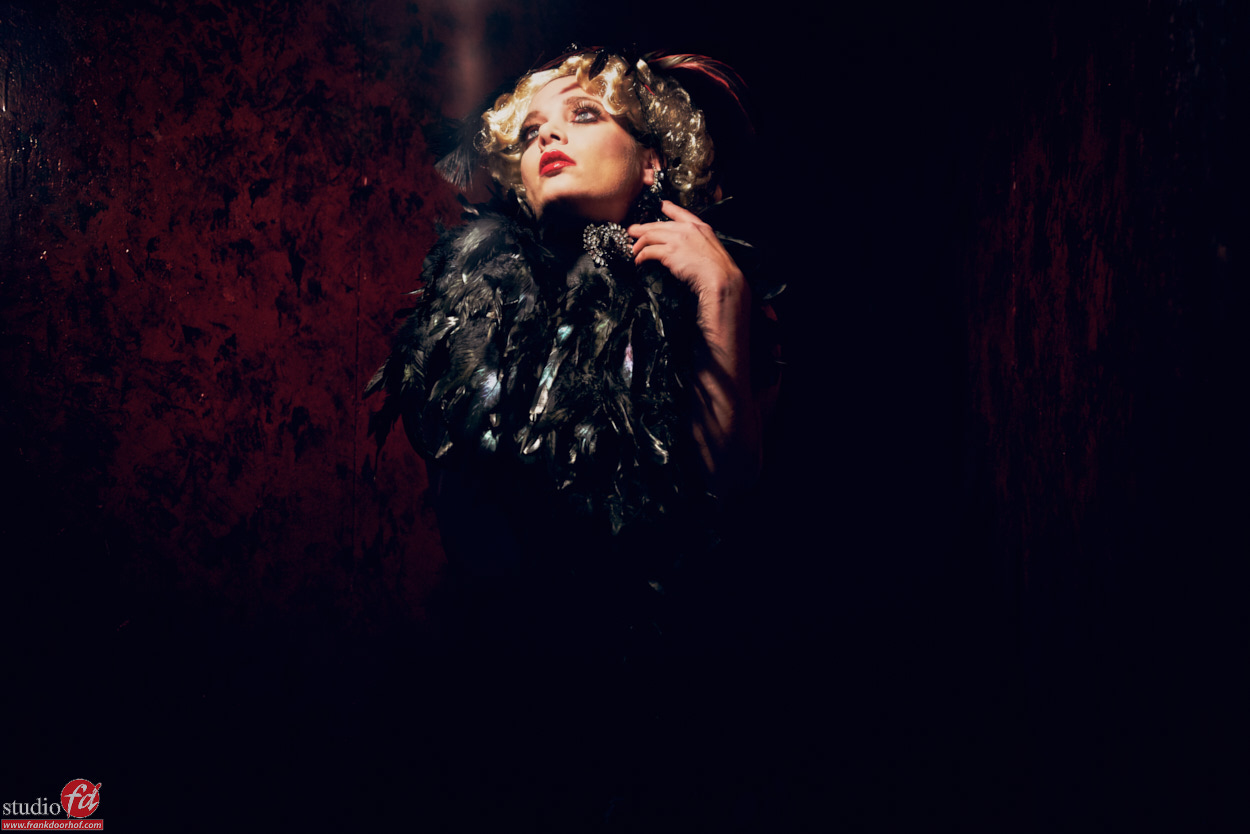
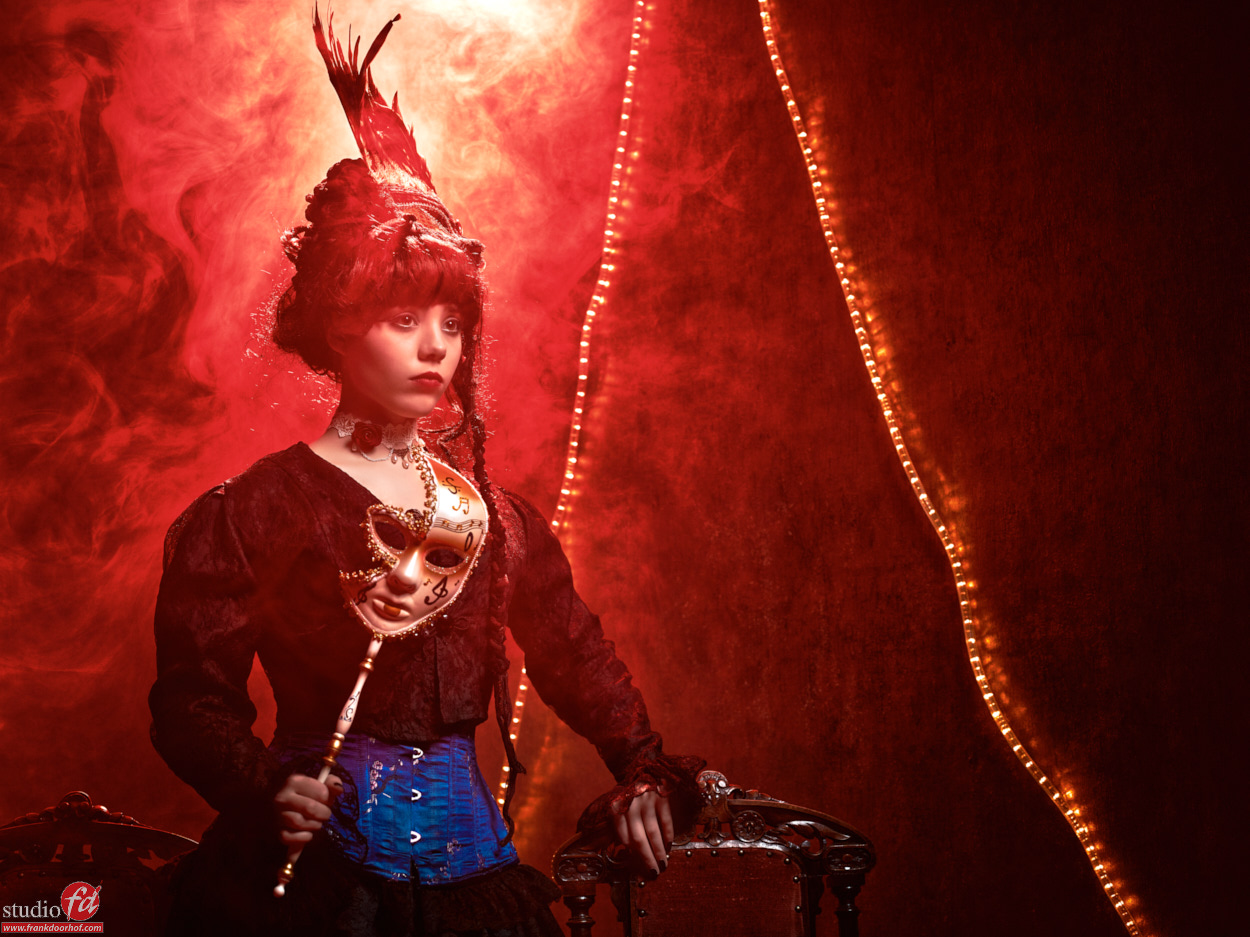
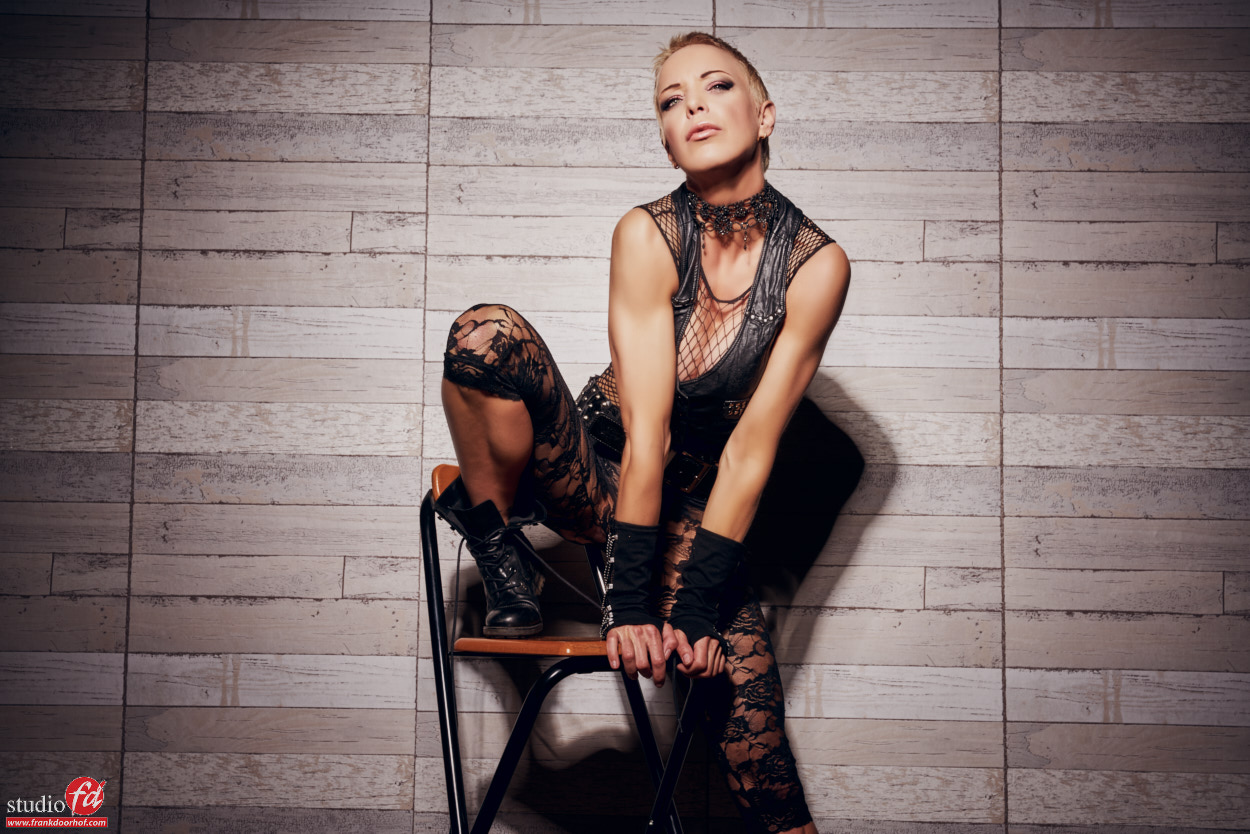
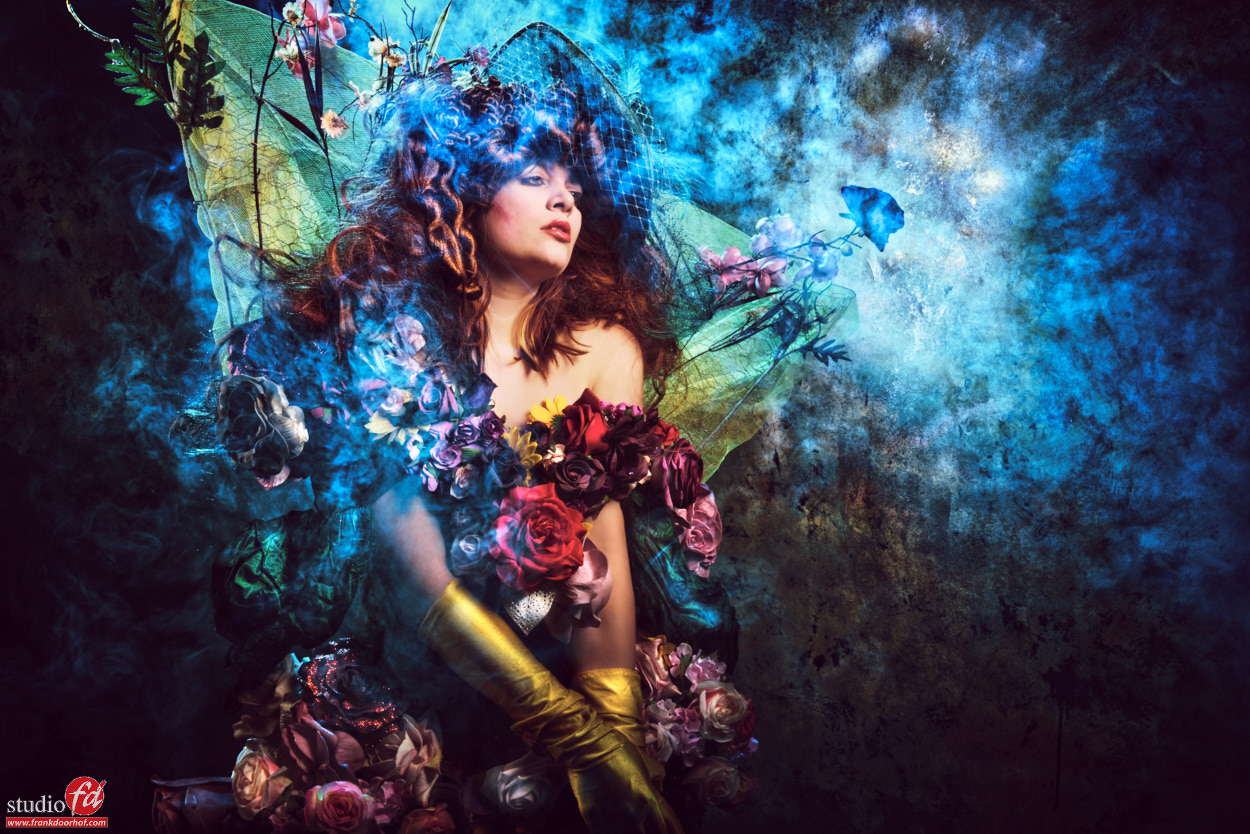
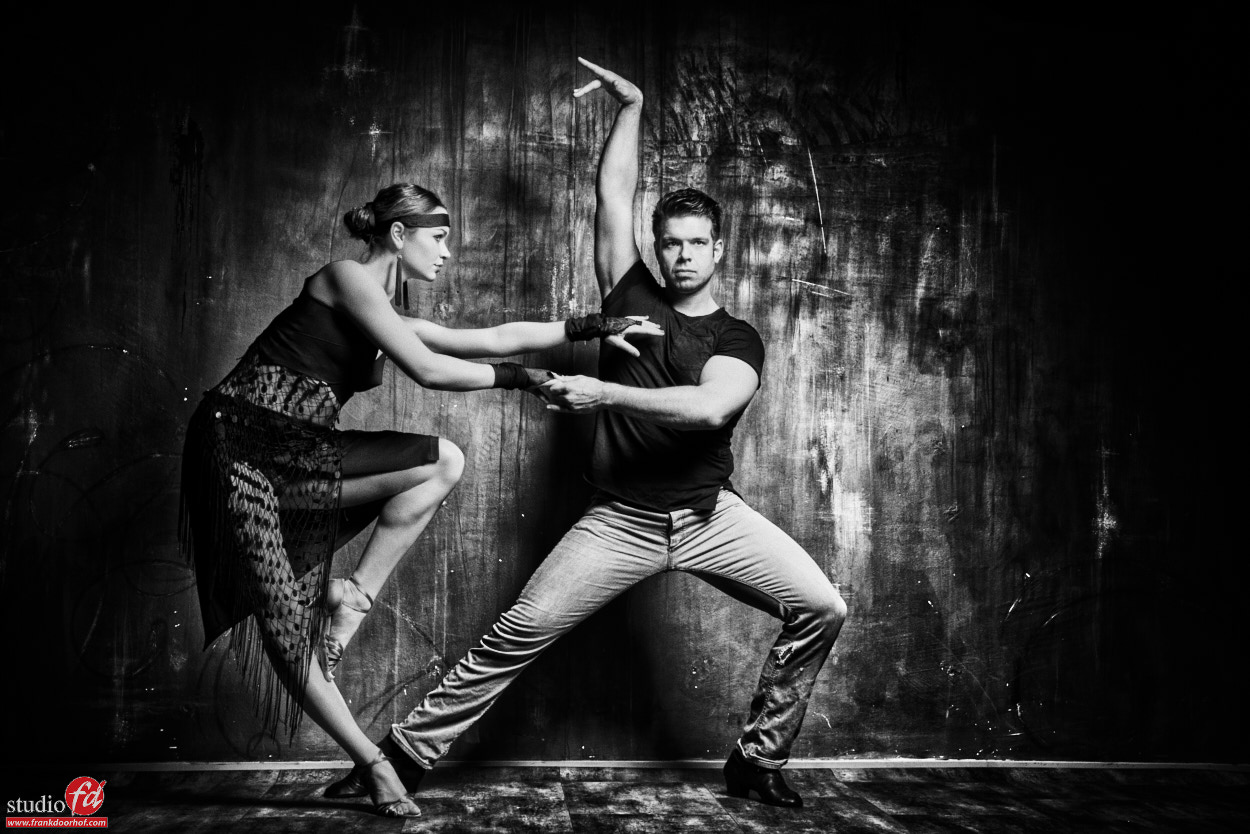
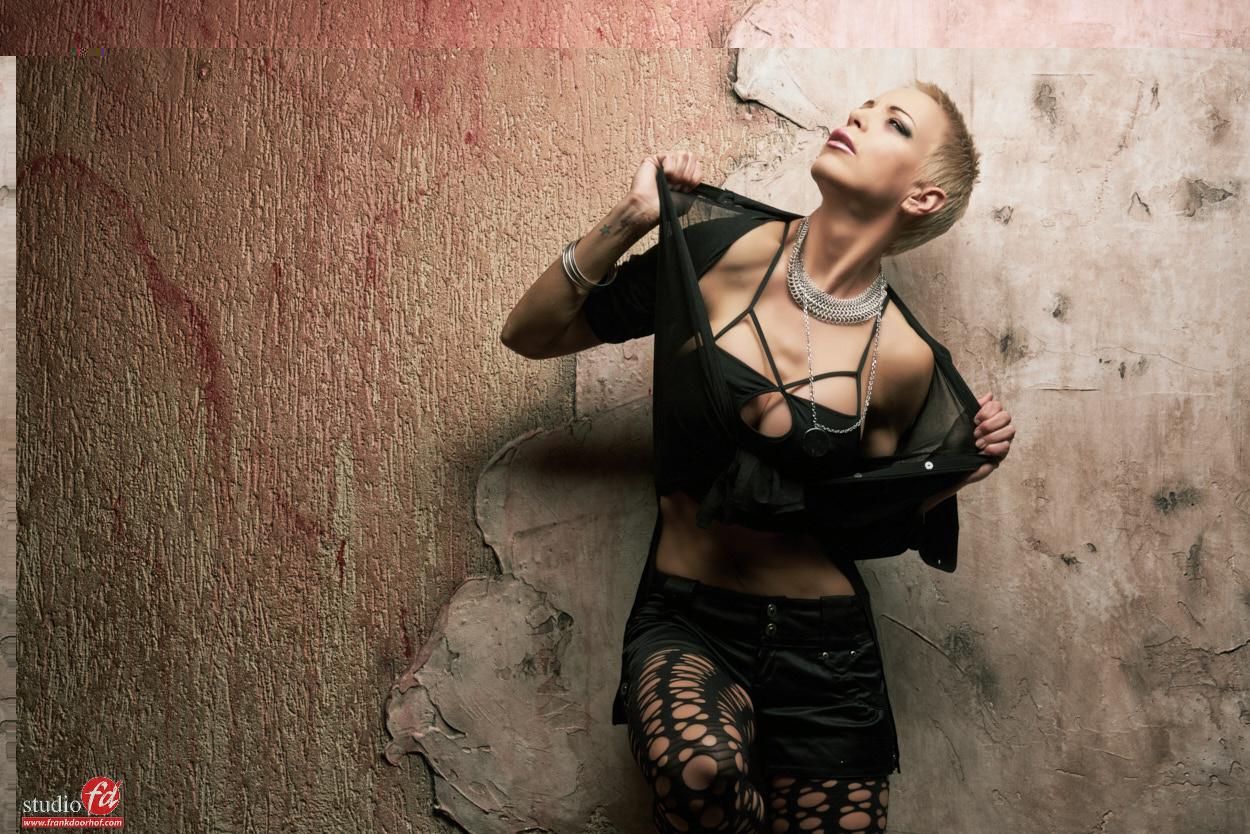
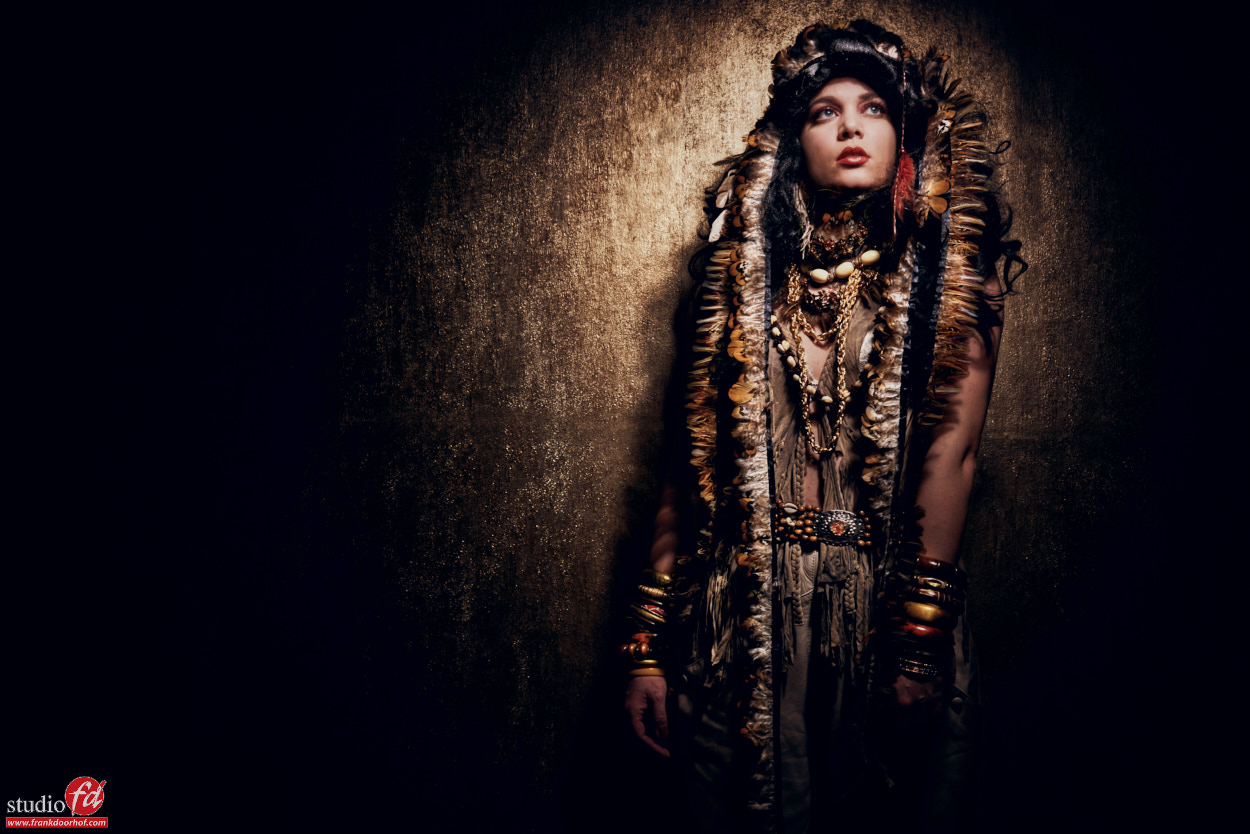
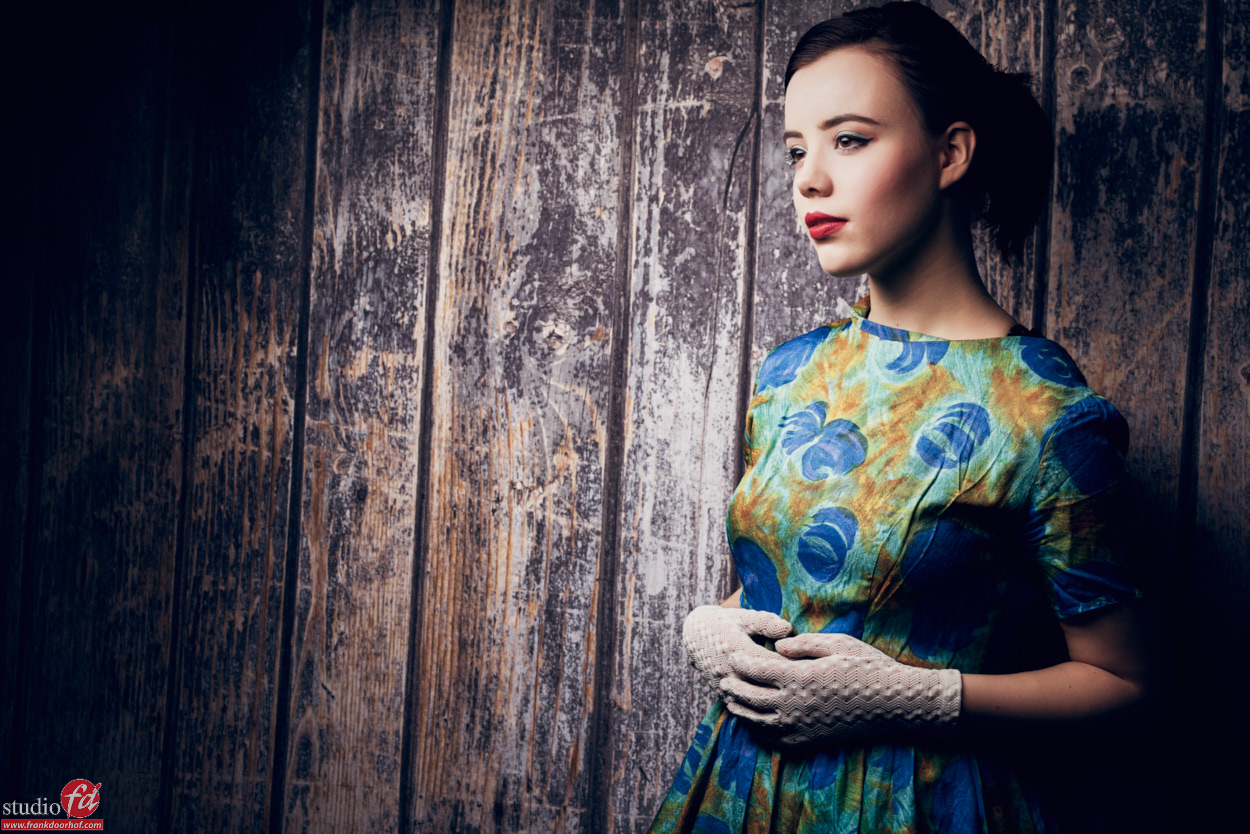
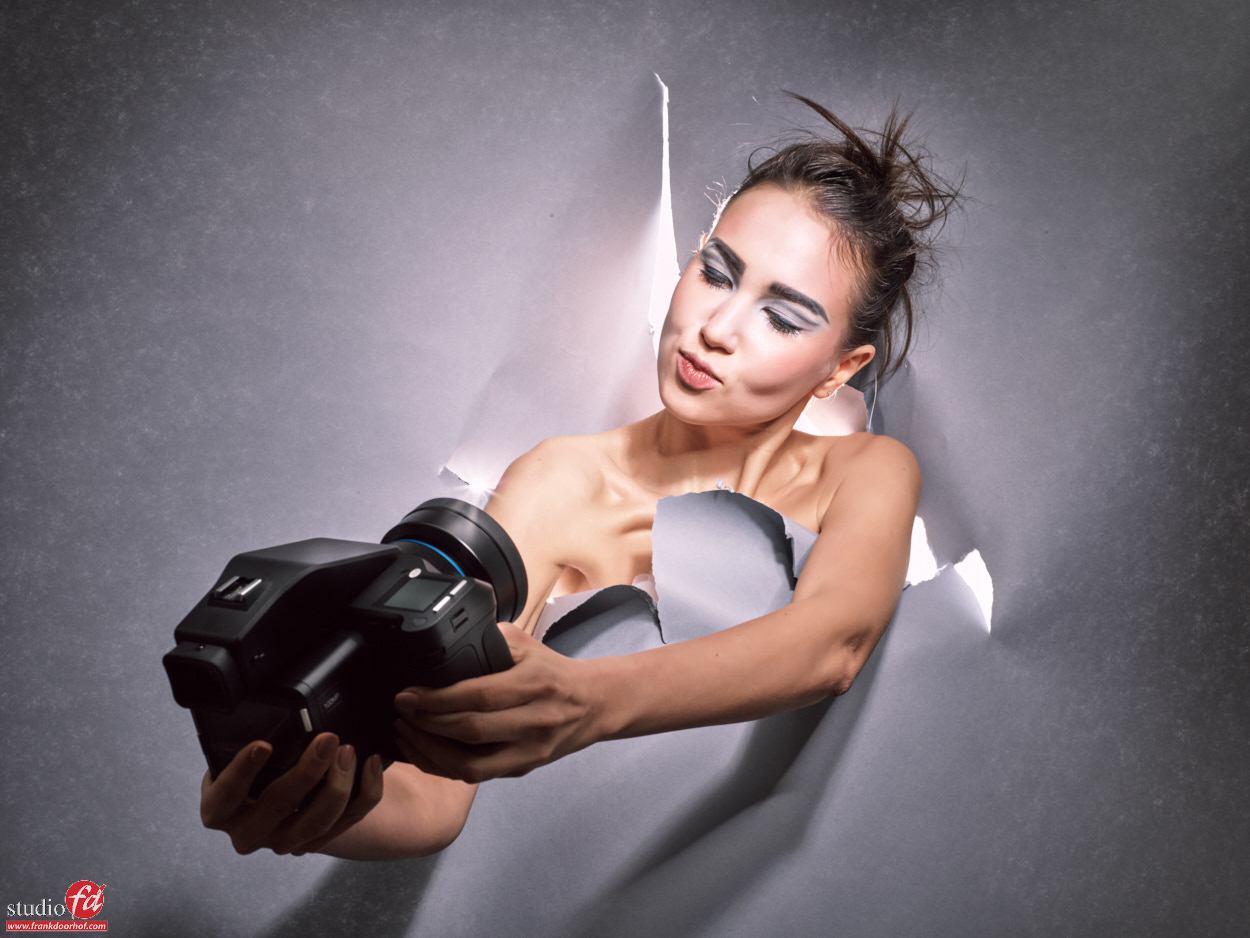
Here are some examples of our walls in action 😀

Bertrie en Mauries Februari 3 2016 0583 1

Roosmarijn Maart 29 2016 0347 1

Nadine Februari 6 2016 31200

Nadine Februari 27 2016 0020

Now if you don’t have the options for panels, or wallpaper or…. there is always another option.
Lastolite is a brand you probably know right?
They have some amazing foldable backgrounds with great prints, and the fun thing is… they don’t take up any space and they look great in a photoshoot. I always have some with me when I teach on location (just in case).

Here are some samples from the Lastolites.


Nadine April 3 2016 1430

Poeka bij FotoKlein December 19 2015 0010

Poeka bij FotoKlein December 19 2015 0042

Now if you think these are too expensive (man you are hard to convince :D)
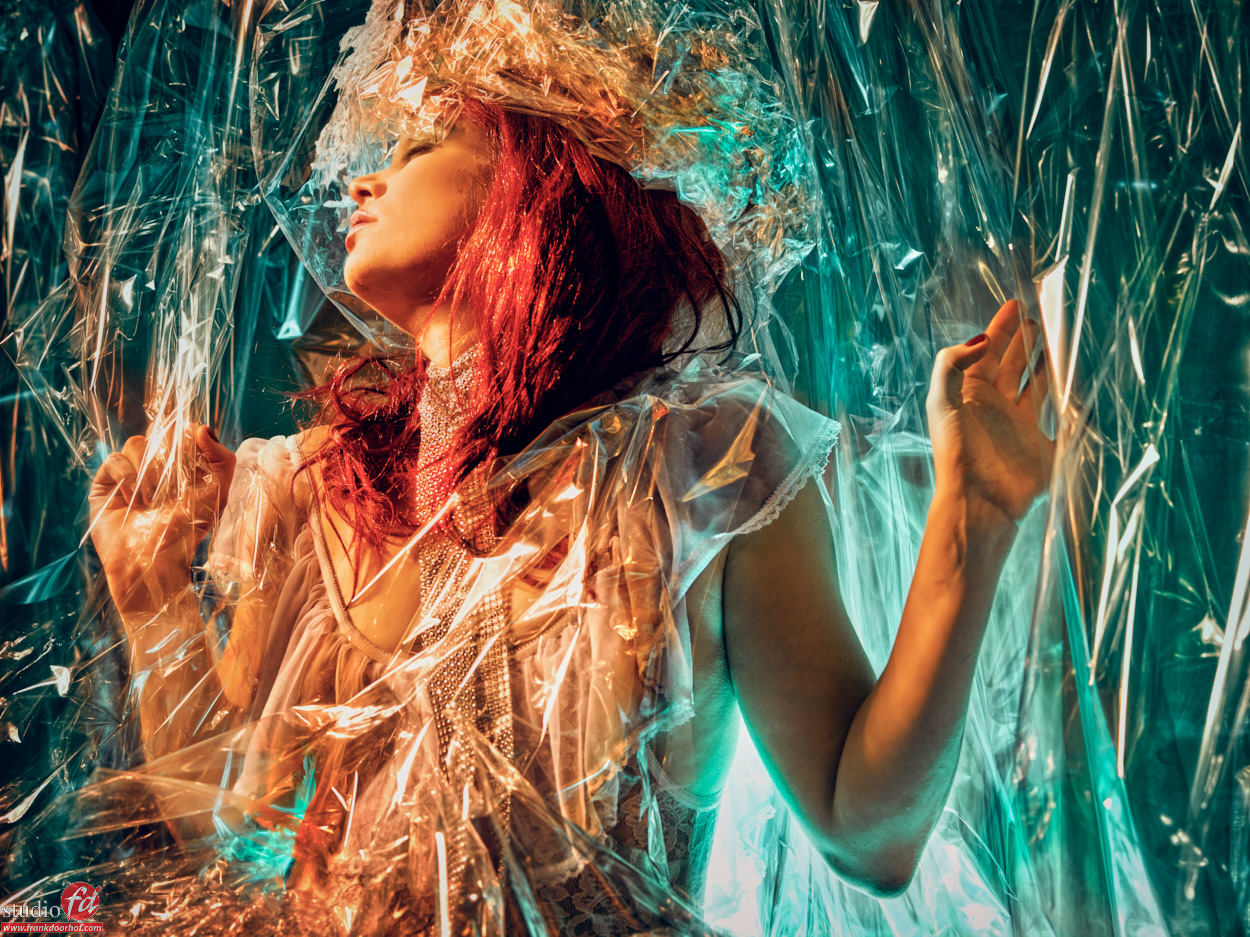
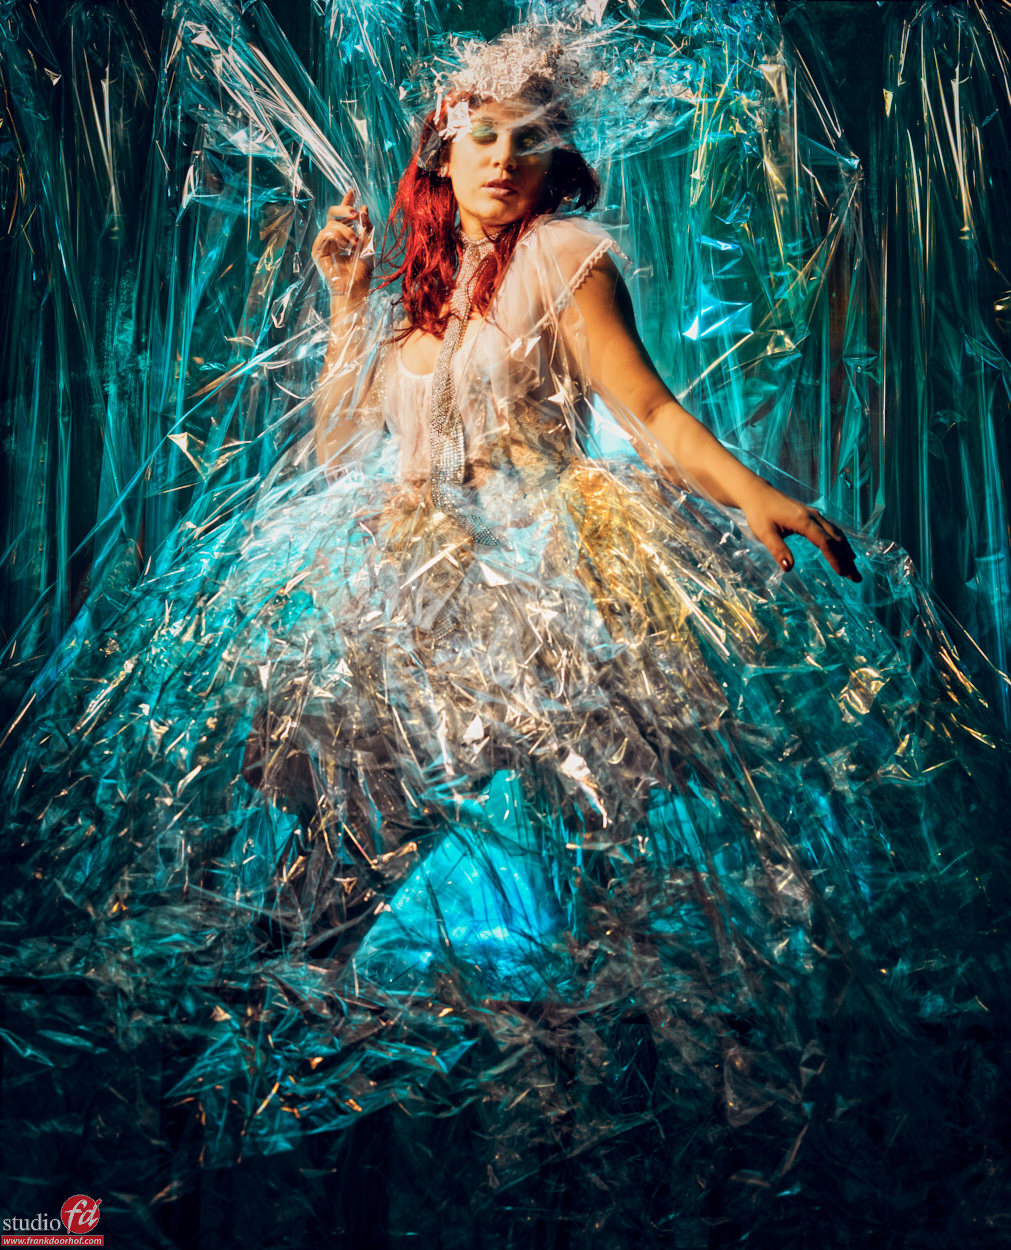
You can always use a backdrop system and mount some plastic to it and play with that.

Nadine open dag November 28 2015 30556

Nadine open dag November 28 2015 30526

Or use some curtains

Nadine open dag November 28 2015 30488

So the next time you grab your seamless…. try to do something more creative and start using the walls, areas of your studio etc.
OR….. well you also use seamless of course.

Karina Feb 13 2016 Phase One workshop NY 0064


Karina Feb 13 2016 Phase One workshop NY 0067If you want more in depth tips and tricks check out my book “Mastering the model shoot” it’s not just on models but also has extensive parts on styling, your studio etc.
Also check out my instructional videos via this website (see the left menu), and check out my videos on KelbyOne where you can also find one on building your own studio.

Digital classroom “alternative light sources”

In this episode of Digital Classroom a full 2 hours on alternative light sources.
A lot of photographers think you need expensive strobes to get great results, but in reality it can be done with much less, even lightbulbs, christmas lights etc. they can all be used for stunning results.


In this 2 hour recording of our live broadcast you can see how Nadine styles the sets and we shoot some killer images with just the available lights, no strobes 😀


Please subscribe to our YouTube channel via this link and make sure we continue to produce this kind of work.

And some of the results

Nadine Januari 6 2016 1346

Nadine Januari 6 2016 1055

Nadine Januari 6 2016 1054

Nadine Januari 6 2016 1046


About input and working together

Today some more images with the light snake like we discussed in the previous blogpost.


This time we have added a small set and did a bit more with the styling of the model.
These images were shot during a workshop about smoke and props, in this workshop we show the attendees on how to control smoke, and believe it or not it’s almost a science, but also on how to work with very simple and budget friendly props to create something cool.


One of things I always try to teach is that you’re much stronger if you’re listing to your team or anyone in the room. There is a saying “you’re as strong as the weakest link” and that might be so for certain areas but I strongly believe that if you combine everything together even the weakest link adds to the total amount.


What I see a lot on sets is that the photographer takes control…(read this with a low voice) it’s HIS set and everyone should listen, if someone has input HE will determine if it’s right…. (switch back to normal voice) now that might work for some people, or at least they think, in reality they are missing out a lot.


During workshops and shoots I always listen to everyone, I want all the input I can get, some ideas I will not investigate further because I simply know they are not fitting the shot I want/need but most of the time you will find that if you create the atmosphere in which people DARE to have input your session will FLY and your creativity will blossom.


In this set I just started simple and together with the students we started to think about what we could do with the light-snake, and see what happened.

Poeka Januari 9 2016 31007

Poeka Januari 9 2016 31017

Poeka Januari 9 2016 31027

as you can see it’s just a very simple change of the light snake and it actually changes the whole shot, the light snake goes from a position in the back where you could actually ask “why” to a major role into the shot. Now this was shot during a workshop so my time is always limited to shoot but imaging going further with this and connecting the back part for example to the mask….. just thinking out loud 😀


So next time you shoot, make sure to listen to your team and value their input, they REALLY can make you better, often people compliment me with the diversity of my portfolio, and I always honestly tell them that it’s because I always work with very creative people and value their input, this way you can always improve and change, even if you work with a steady team there is always a new element like an internet, an attendee or even just a simple visitor that can add to your shots..


Good luck.


If you like tips like this and want even more check out my book “Mastering the model shoot” or get one of our instructional videos from this site.

MTM goes New York

On February 13th I’ll be teaching a full day (small group) workshop in New York… the city that never sleeps.
And trust me… after this workshop you won’t sleep for a week…. it’s jam-packed with information on shooting models, understanding light, mixing light sources, shooting with advanced light setups and the bare basics (just natural light) and much more. The unique approach of the workshops is always that we start with a Q&A in which the participants can ask whatever they want and part of the questions will be answered right away and the other part will be incorporated into the workshop it self, this way the attendees always learn exactly what they want.


For this workshop we have some amazing dresses from our friend Lindsay Adler (they are stunning) plus the workshop itself is taught in a great studio with both day light and studio options so it’s possible to cover literally every aspect you can encounter, meaning you will get a very complete overview of techniques for both natural light and strobes (and mixing them of course).


During the workshop you will also get the chance to shoot with the brand new 100MP Phase One digital camera/back so you will be going home not only with stunning images… but also some very high resolution ones 😀


As an added bonus you will also see the whole retouch process from selection to finish with many tips in Photoshop and Capture One.
By the way… ALL participants will receive a free copy of Capture One 9 (valued at 299.00)


Topics will be :
Understanding/Manipulating/metering light
Using the light meter in incident and reflective mode
Mixing light sources
Coaching the model and working to a great shoot
Adding motion for that WOW effect
Advanced techniques for location shoots
Maximizing the location
The right gear
The complete workflow for model photography
Color managed workflows
Using Capture one during and after the shoot
Retouching and selecting images
And MUCH MUCH more…….

Retouching topics will be :
Skin retouching without spending hours behind the computer
Adding an unique look within seconds without plugins
Tinting your images 
Body shaping within Photoshop
Using BW convertors for stunning color enhancements
Adding skin detail back if necessary (this can save your shot)
Manipulating light
Adding atmospherical lighting to a shot
Enhancing the look of the scene
And MUCH MUCH more…..


Sounds good?
I think so, so head on over to https://frankdoorhof.com/web/tours/new-york-workshop-february-13th-2016/ and read more about this workshop and register.
CU in the big Apple 😀


facebook.4