Tag Archive for: speed light

Workshop USA Watsonville Santa Cruz July 15th

Mastering the model shoot on tour
July 15th 2016
(10:00-16:00)

Watsonville / Santa Cruz


$299.00
(early bird)
FINAL DAY OF EARLY BIRD !!!

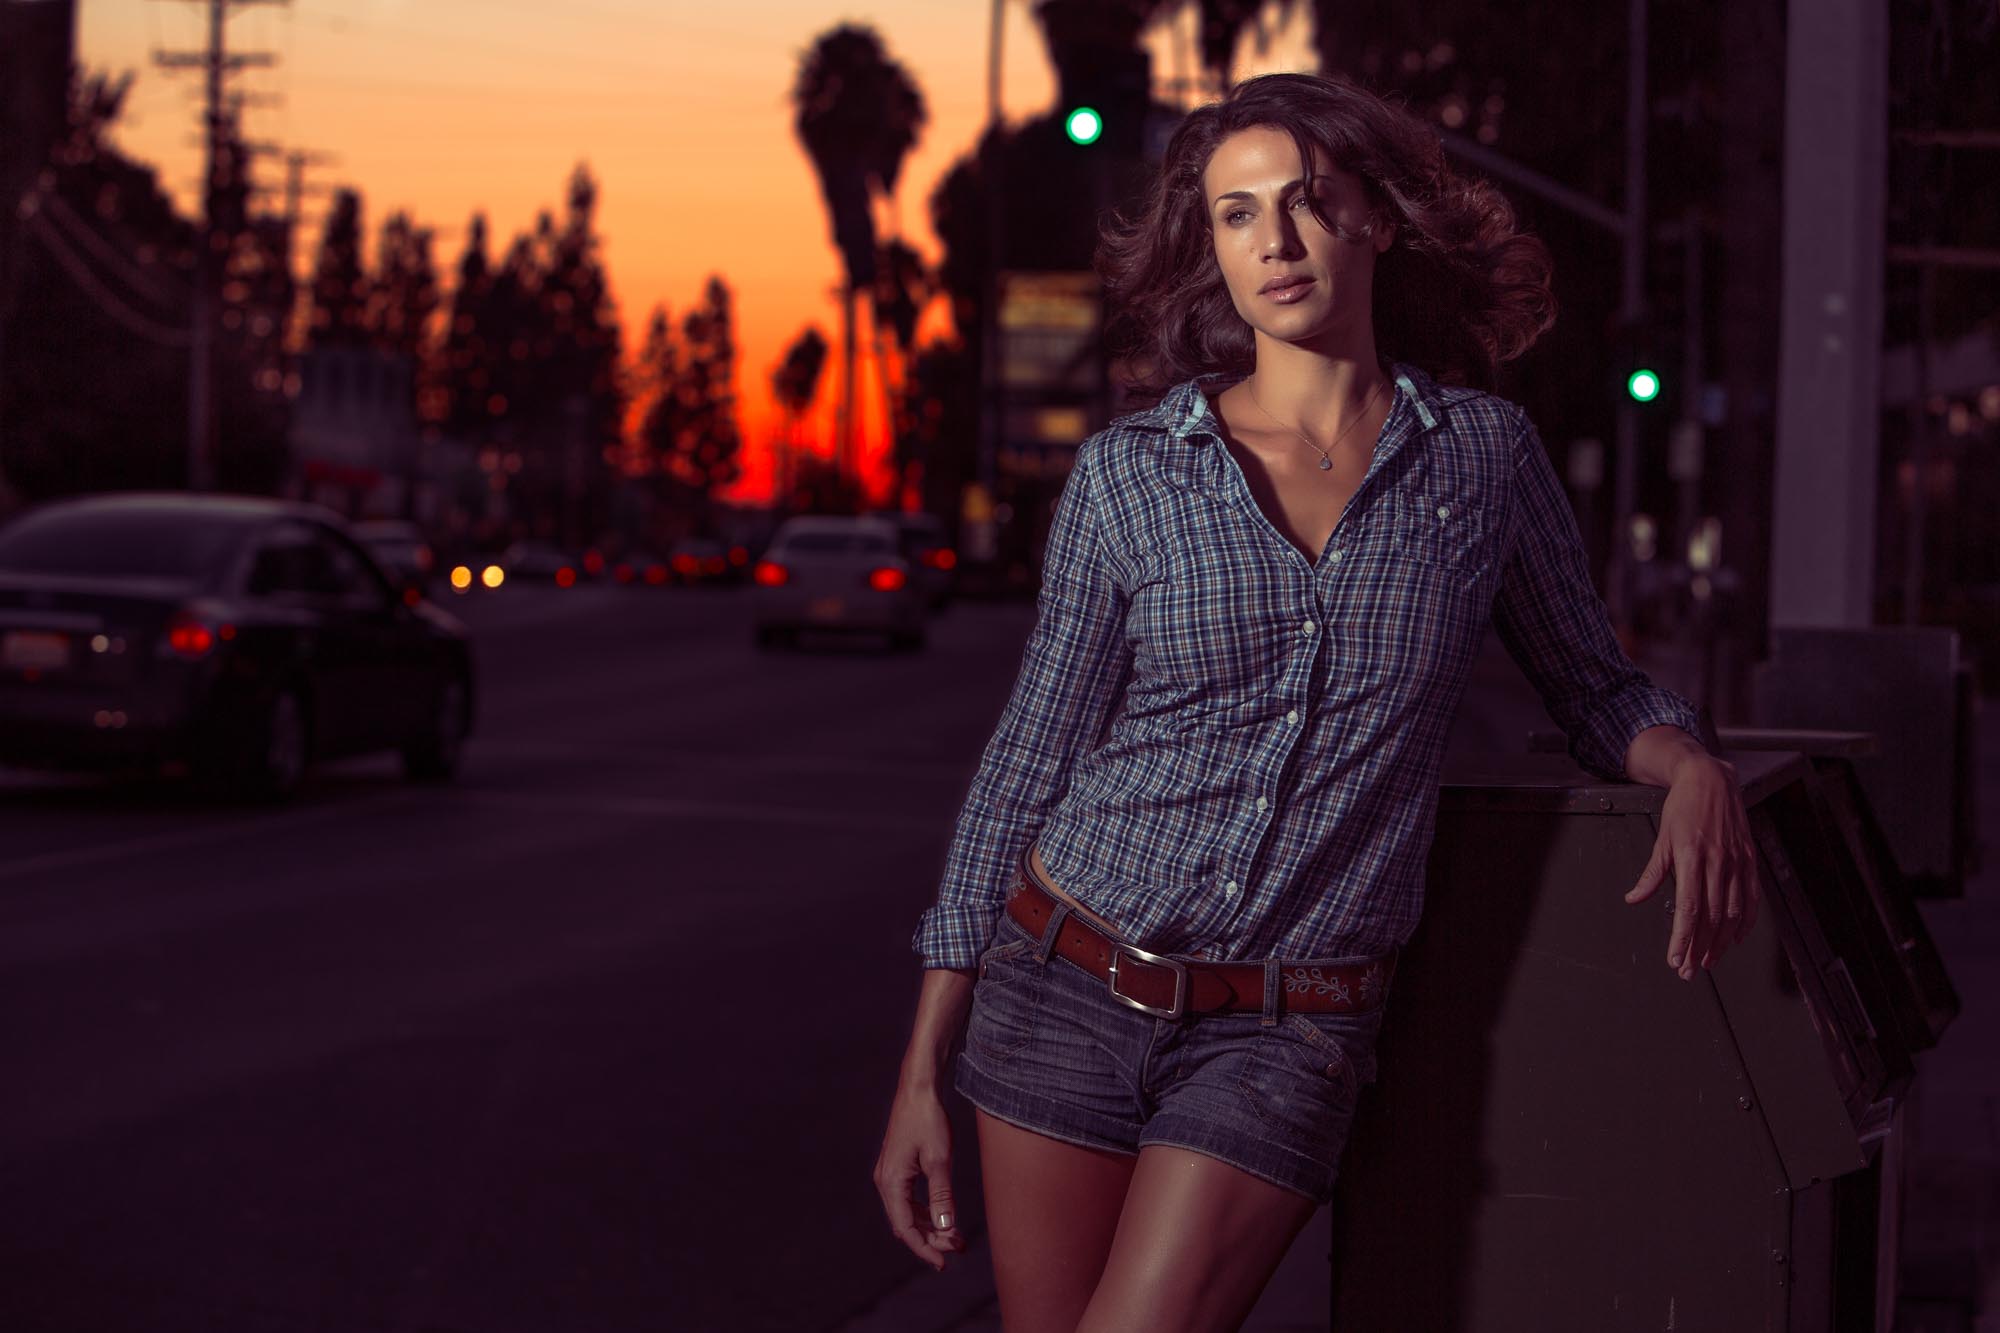
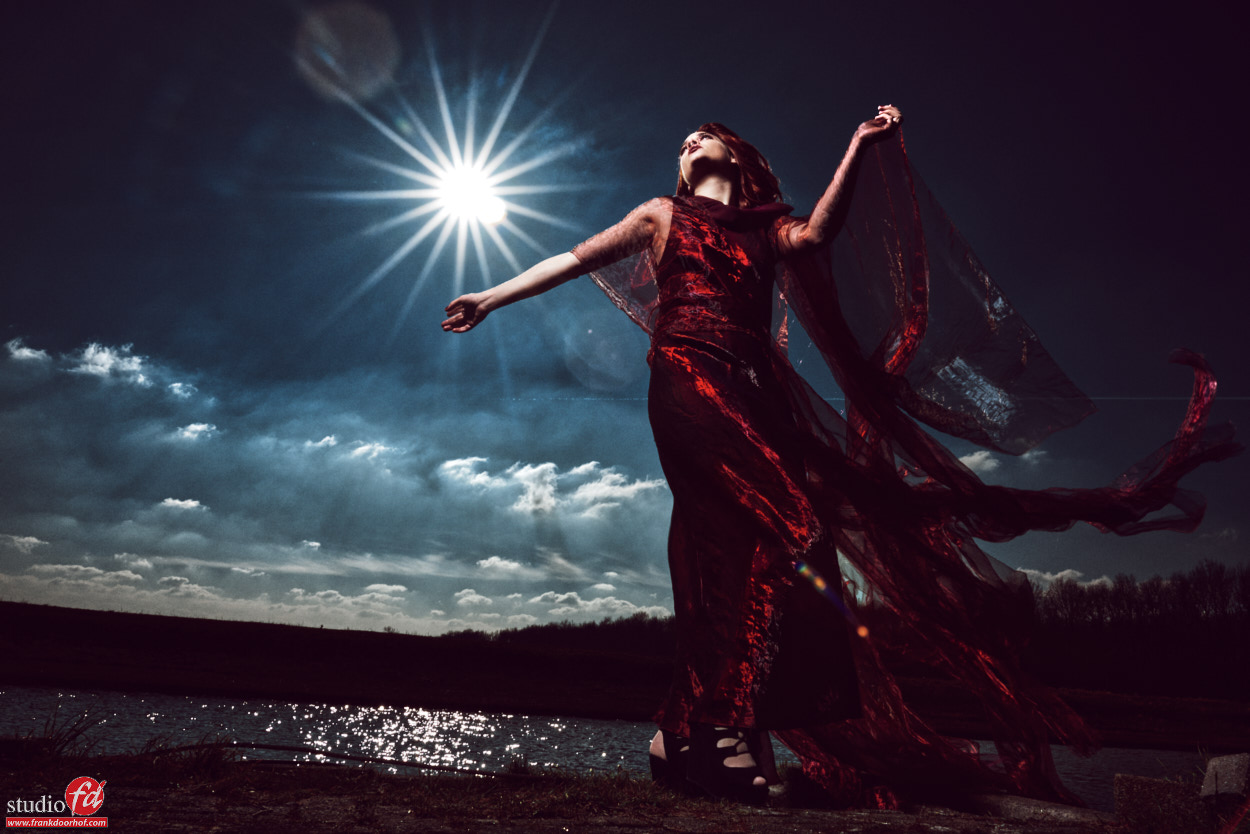
The magic of the speed light


On July 15th I’ll teach a one day class in Watsonville (Santa Cruz) in our Mastering the model shoot on tour workshops.
What can you expect during these workshops :


We start all workshops with an Q&A in which the group can ask any question they want, some questions will be answered right away, and some will be incorporated into the workshop after the Q&A. This means that the workshop is in fact 100% tailor made for the group and everyone gets exactly what they want from it, this is an unique concept that works very well for all levels of photographers.


Topics in the workshop always include the following :
Speeding up the workflow by using a light meter, advanced light meter techniques for outside use, mixing light sources, calibrated workflow, shooting tethered into Capture One (tips and tricks), coaching the model, finding the right angles and poses, maximizing the scene, story telling, styling, using props, expression, adding motion, working with clients, retouching and much much more.


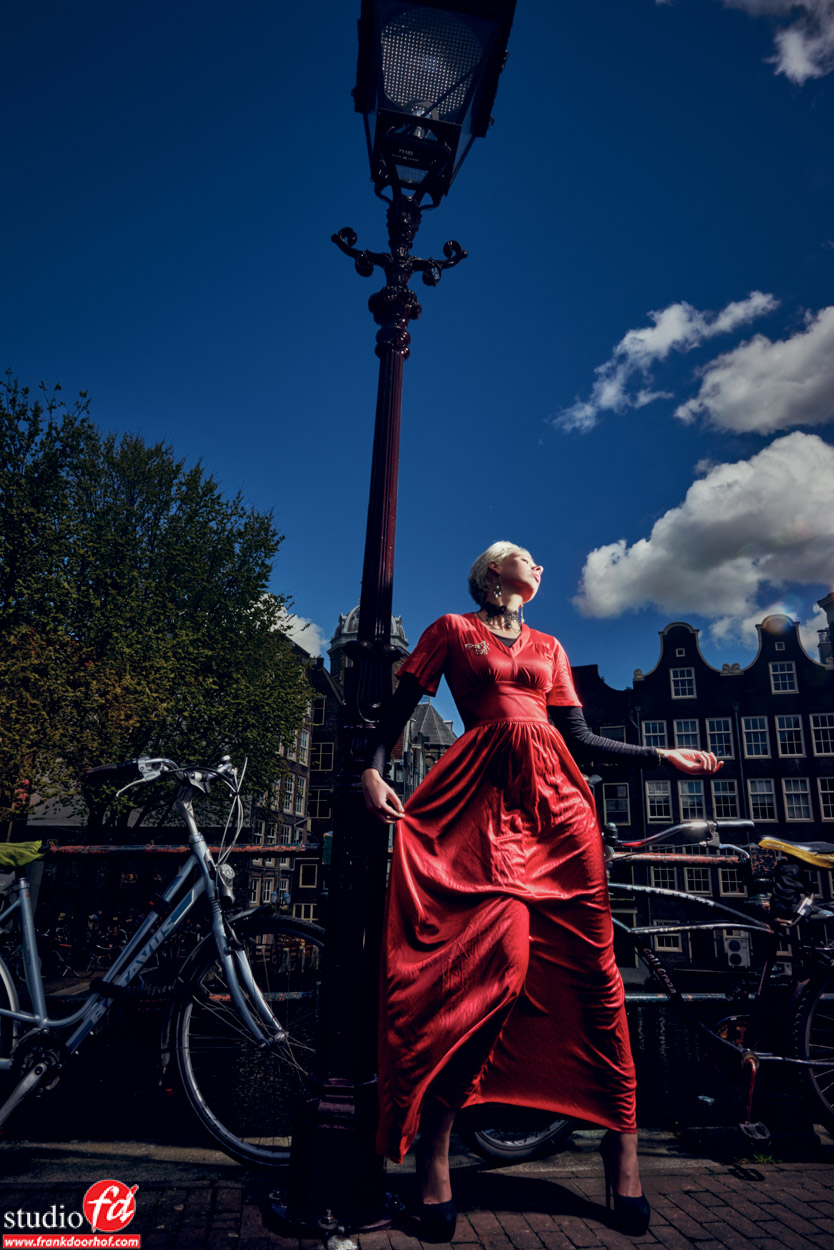
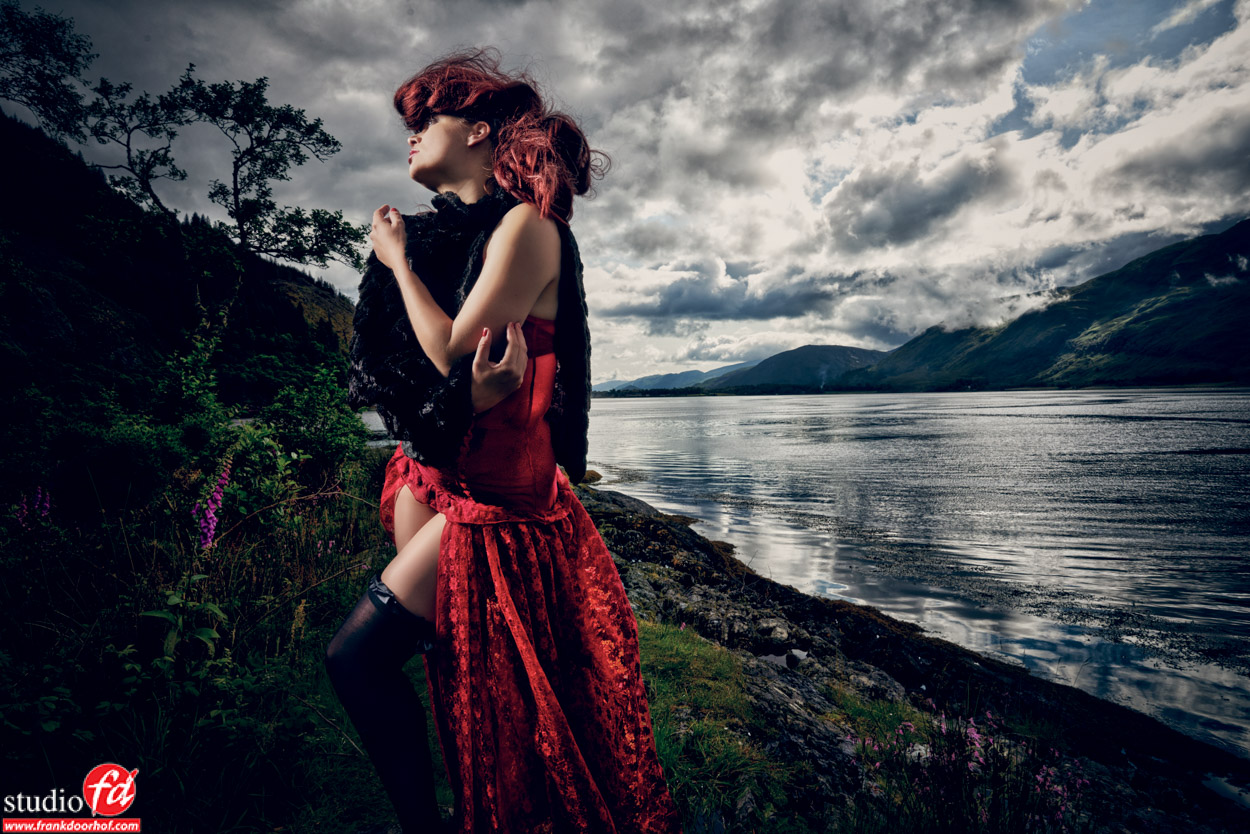
One of the topics that is incredibly important for a successful photoshoot but actually hardly ever taught is the maximum use of your location. In this segment we will not only discuss varies techniques for working on location but I’ll also show several setups in different locations using just the available space, proofing that with very easy to understand techniques you can literally create something spectacular in every single location.


This workshop is brought to you in cooperation with ExpoImaging so you are literally in the best place for all your questions about their amazing products and you can try them out on your own speed lights during the part where the students shoot.


During the workshop you will also get several retouching tips to speed up your workflow and most of all create an unique look.


I always teach in a small group, meaning there is a lot of room for questions and shooting yourself, although this is NOT a shooting zoo workshop, I always try to aim to maximize the learning experience, you will shoot images of course but don’t expect to shoot thousands of images, but do expect to go home inspired and a lot wiser on how to master your model shoot.


Topics will be :
Understanding/Manipulating/metering light
Using the light meter in incident and reflective mode
Mixing light sources
Coaching the model and working to a great shoot
Adding motion for that WOW effect
Advanced techniques for location shoots
Maximizing the location
The right gear
The complete workflow for model photography
Color managed workflows
Using Capture one during and after the shoot
Retouching and selecting images
And MUCH MUCH more…….

Retouching topics will be :
Skin retouching without spending hours behind the computer
Adding an unique look within seconds without plugins
Tinting your images 
Body shaping within Photoshop
Using BW convertors for stunning color enhancements
Adding skin detail back if necessary (this can save your shot)
Manipulating light
Adding atmospherical lighting to a shot
Enhancing the look of the scene
And MUCH MUCH more…..

How to shoot a model that’s lying down

This must be one of the most asked questions during workshops and especially the glamour workshops.
“How to shoot a model that’s lying down on the floor?”


Now at first this might seem simple.
Just lay her on the floor (watch out where you walk) and shoot her.
But in reality it’s often not that easy, for example what to do with the light, what to do with the background, what to do with her legs, pose, eyes etc. there are actually many things that can go wrong (including tripping over her).


In this shot we used a speed light to light the model from above.
As a modifier I used the Rogue grid which is awesome to really pin point the light to our model Ingrid.
One of the things I love to do with these kind of shots is make the light fall off, this also immediately takes care of the background which in most cases in studio work is not that interesting. Make sure the background is dark (no shiny objects like stands in the back) and just change the grid (or the distance of the strobe) so that the light fall off is nice and covers her face and just a bit of her lower legs in the pose you like.


Remember that you narrow the beam of your light with :
The distance of the strobe relative to the model (further away will make the beam wider)
The thickness of the grid (the thicker the grid the narrower the beam)


Now the light fall off you can determine two ways.
1. the hard way and long way.
Just shoot, and look, change, shoot, and look, change etc.


2. the easy way and looks pretty darn professional (meaning it looks like you actually know what you’re doing).
Use a a light meter and make sure the difference in light between the face and the part you still want SOME details in is app 4 stops apart, meaning if the face meters f11 the fall off should meter app f2.8. However in most cases we shoot this kind of stuff on f2.8 to get a really nice shallow depth of field (later more on this) so to make metering a bit more easy you can cheat a bit by setting your light meter to meter on ISO1600 while you shoot on ISO100 this way the meter will not show you the dreaded EU reading (Extreme Underexposed… yeah I know it means something different).


So as soon as we have the light fall off correct it’s important to talk about lenses.
We want a shallow depth of field so this often means we are shooting this kind of shots with a LONG lens, anything about 100mm works fine, but a 200mm will give you a really narrow depth of field but makes focussing very tricky.
As soon as we have the lens sorted, it’s now about angle.
So where do we sit, stand or ……
In my opinion the best angle depends on the model, the pose and personal taste, but I love to shoot from an angle where I actually sit on the floor or on the lowest possible position of my studio stool (which is pretty low). But this REALLY depends on your taste and the pose you choose.


So now it’s about pose.
In my case I always like to see the legs a bit more up, model is lying on her back looking towards the light slightly (to get a nice nose shadow) or totally away from it (more mysterious) and I most of the time will start with one leg at a 45 degree angle and one just playing around it, not on the floor, not at 45 degree but just “puzzle” a bit, this is very personal and often the most difficult part. One final tip on this is to count down and make the model put tension on her body on the moment you click.


What about the eyes?
Good question…
In some cases it can be downright CREEPY if she keeps her eyes open, so in that case close them… yep it’s as easy as that, it’s not rocket science. If you want a bit more “sexy” close the eyes and let her hands just slightly move around her neck area but beware that you don’t go to far with this because a nice and relative sexy shot can VERY quickly become a very erotic shot which might not be what you’re after. Also make sure you focus on the CLOSEST eye.


So the next time you shoot a model lying on the floor I hope these tips help out.
Make sure to show your results at our facebook group with the name “Mastering the model shoot” and check out my book with the same name for much more information on photographing model, or get one of our instructional videos from the site.


Ingrid January 7 2016 0021 BW

Ingrid January 7 2016 0059