Tag Archive for: retouching

Digital classroom from this week

Today (May 6th) is my birthday and what is better than to start the day with some gifts.


  1. Great MacPhun offer
    on my site on www.frankdoorhof.com/macphun you can buy the complete suite for a big discount.
  2. 25% off on all my instructional videos
    It doesn’t matter if you use our shop or the direct video download page… use the coupon code “super” and get a stunning 25% off


And we share the newest digital classroom with you guys, this was broadcast live on May 4th.
I love doing these and thanks to Rogue/Expo imaging and BenQ it’s also possible.
So enjoy the day and the digital classroom 😀
And by the way we REALLY appreciate it if you subscribe to our YouTube channel (see the button on the side of this site).

Interview with Joel Grimes

We travel a lot to teach on trade shows and of course our own workshops and one of the most exciting things for me is meeting up with other photographers and pick their brains about what drives them, pushed them forwards in their careers and their visions on our trade.

After professional imaging (the largest Dutch tradeshow) we invited Joel Grimes over to our studio to show him our area and of course squeeze in an interview for our videowebpodcast “Quite Frankly”, today you can see the video via our blog. Joel and me talked about a lot of topics ranging from working with handicaps to inspiring other people and of course the “perfect” lightsetup.

Enjoy.
And please subscribe to our channel.

Digital classroom with Kimberley

Digital classroom is without a doubt one of the most intense things I do online.
The idea actually started out as just having a camera on during a photoshoot, we did this a few years ago and people loved it, being able to see what we do during a photoshoot. At that time there was not much going on to be honest, it was mostly seeing the model being in makeup, some movement in the studio and of course the Photoshoot, but still people loved it.


Years later we wanted to pick this up again but with todays market you have to do something unique so we thought hard and decided we would let YOU the viewers interact with the shoot, but as soon as the cameras rolled and we were live things changed…. I love teaching and that was exactly what I started doing, explaining what we were going to do, showing the light setups, giving tips and even showing the complete retouch process….. this was a huge succes and now we can do these broadcasts every month thanks to companies like BenQ and Rogue/Expo imaging because without them this would never be possible.


Today I can show the digital classroom we did with Kimberley and watch this space on Monday for the results.
Enjoy… oh and if you REALLY want to do us a favor…. subscribe to our channel via this link…..


Now this is of course free, imaging what you get with one of our instructional videos you can order from our site, make sure to check them out and learn even more in depth techniques and tips.


Topics include :
Small flash, the light blaster, Rogue flash benders, how to meter light with a light meter, the new Sekonic 478, how to prevent reflections in walls, windows, glasses etc, how to coach the model, angles, gear, retouching in Photoshop and Capture one, tinting with Aliens Skin X and Capture One, some cool retouch tips and MUCH more…..

Different looks for different moods

In the old times we choose the filmrol for the look we wanted, now a days everything is of course digital and although I still love to shoot with film my workflow is 99% digital. I do however always say that “In my workflow I’m a 99% digital photographer, however in my heart I’m a 100% analogue photographer”, now why do I tell you this today?


When I look at my digital files I always feel something’s missing.
They are not bad, or looking weird, but they are just a bit “too” perfect, I know it sounds weird from a guy teaching to use the color checker and light meter however do realize that these tools are just to get the basis right, from this basis I always build up to the final look.

ALL the images you see from me are in one or another form tinted.
The last few years I’ve been mainly using the awesome DxO filmpack for this but since the release of Alien Skin Exposure X I have to be honest I’m more and more switching “back” to Alien skin, the X release is just really nice. If you already have filmpack… don’t upgrade (unless you want to) but if you don’t have any tinting plugin yet make sure to check out Alien Skin Exposure X (follow this link for a cool discount).


But what does tinting do?
To show you this and also to let you see my thought process I included 4 images from a session we did with Nadine in 4 different looks, it’s the same image, the only thing I changed are the colors, judge for yourself which one you like the best 😀

Nadine Januari 6 2016 1352 BW

Nadine Januari 6 2016 1352 SC

Nadine Januari 6 2016 1352

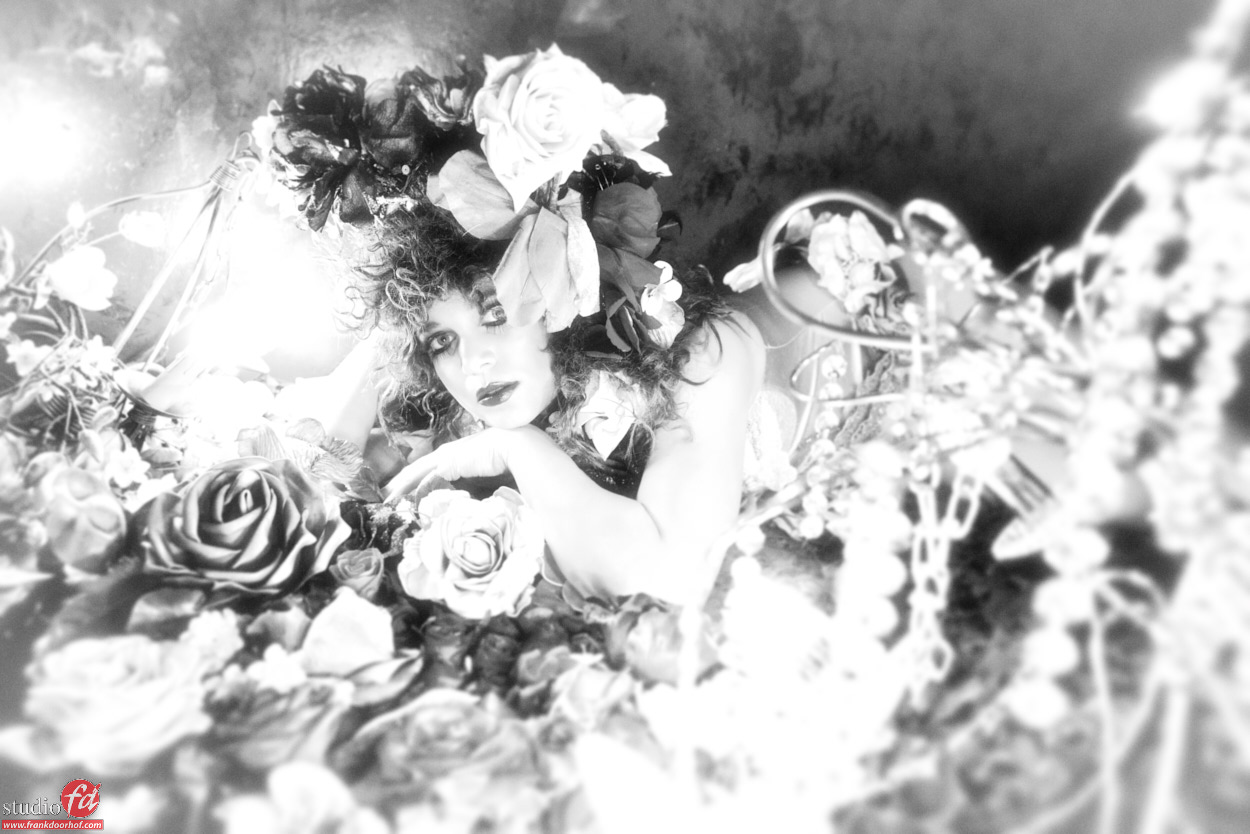
As you can see 4 totally different looks with different “feelings”.
I would normally just go through some presets I created and sometimes it just fits, but there is more….


If you shoot a commercial series it’s very important to keep the look constant, in other words use the same preset for all your images, now you also understand why it’s important to keep that basis correct, because if the basis is the same/correct the preset will give you the same results.


To make sure you select the right preset I would advise to try out your favorite preset on a few images and if they look awesome that’s the preset to use, however very often a really cool preset can look awesome on Photo 1 but terrible on Photo 2, often you will quickly see what the “problem” is, it’s better to select a different preset than that fits great for all images.
For commercial shoots I will also normally show a few images in a black and white conversion I really like, this way the client can always choose and making sure the clients gets a lot to choose from means that they will order more prints, but you will actually have a bigger chance they will hire you again because you give them a lot to choose from.


So the next time you’re done with your image…. and you think it’s perfect….. run it through a tinting plugin and I’m sure you will be very surprised 😀