Tag Archive for: location

A kind of different product photography, shots from guitar pedals

A kind of different product photography, shots from guitar pedals

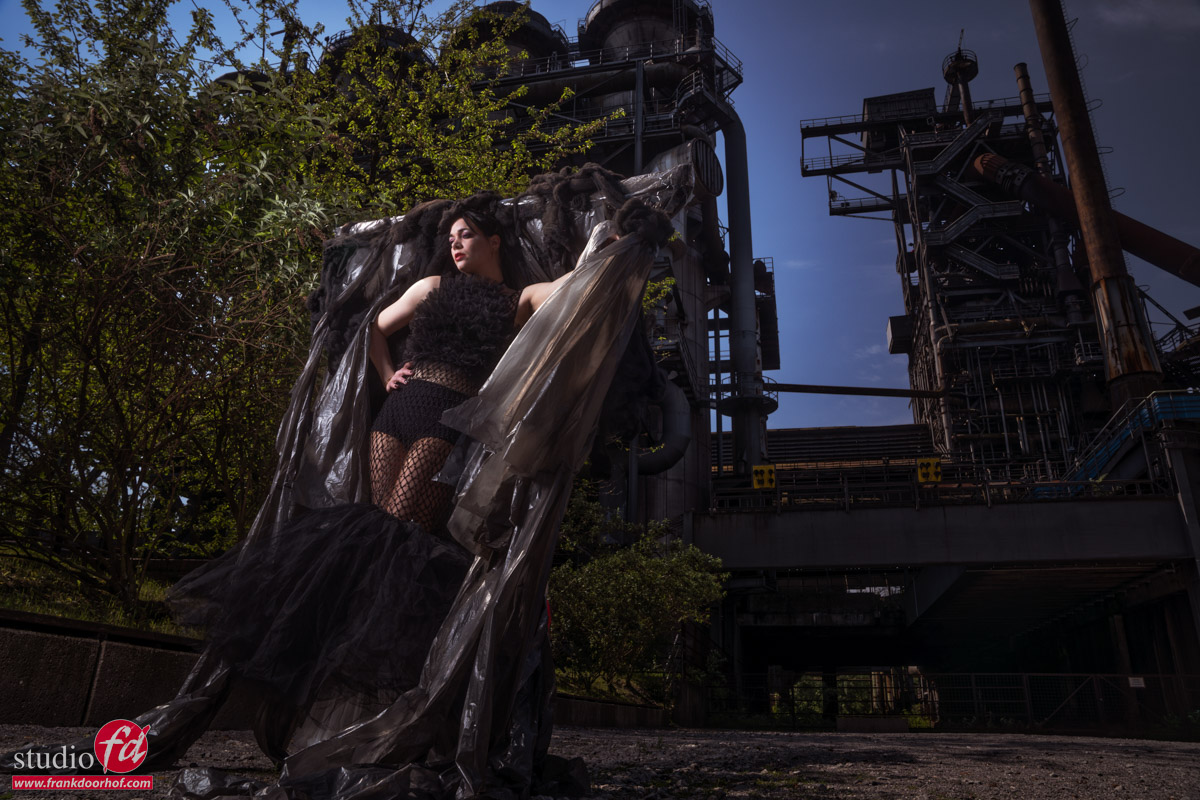
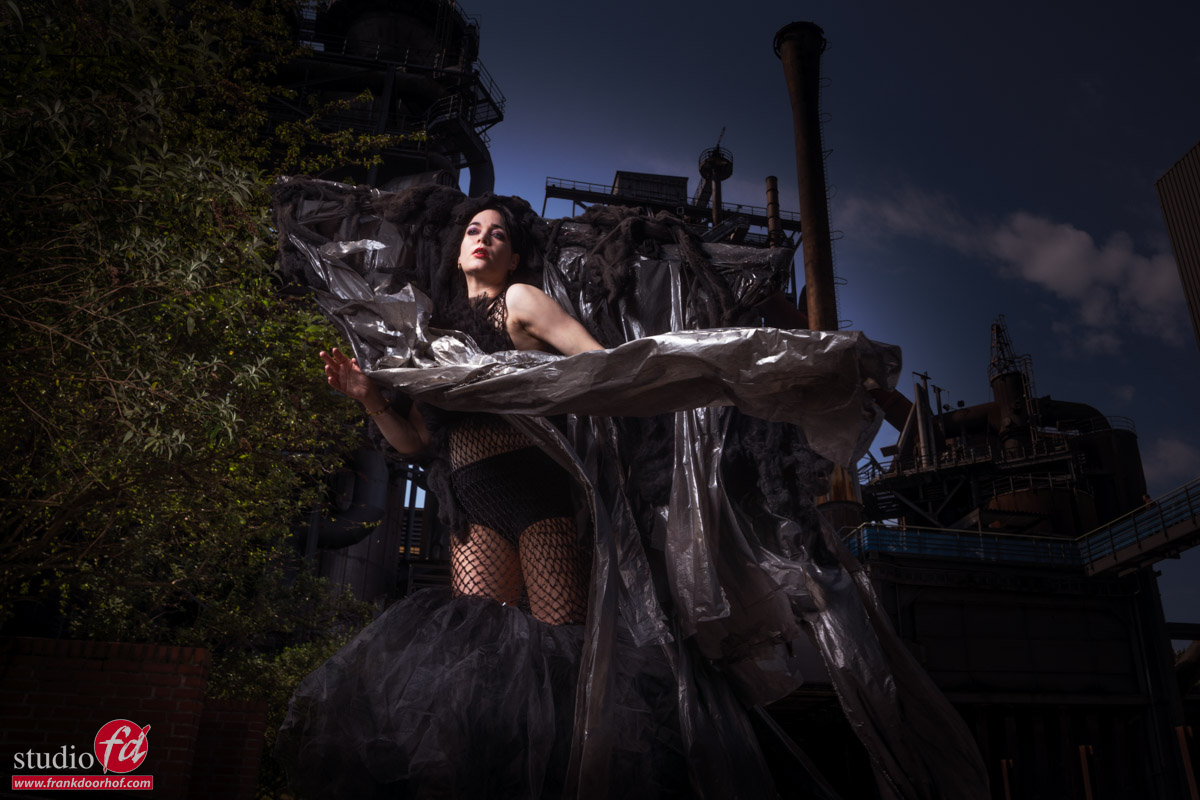
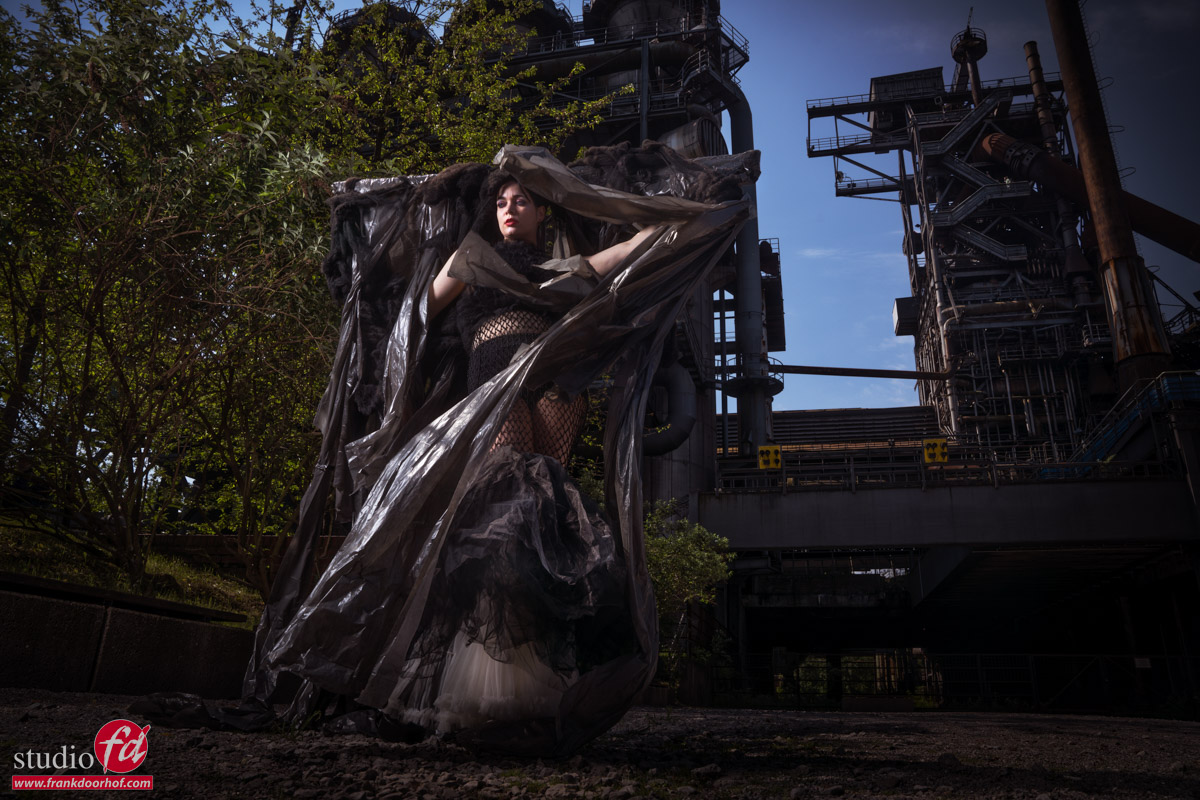
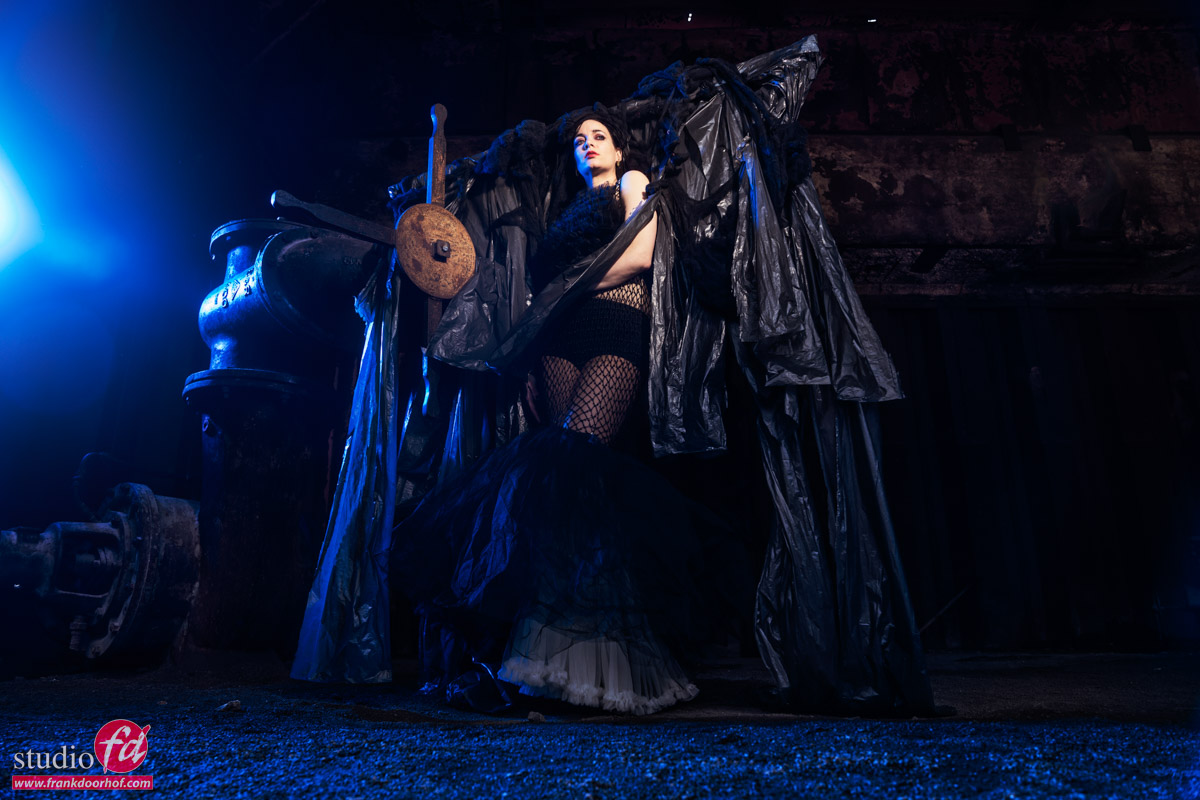
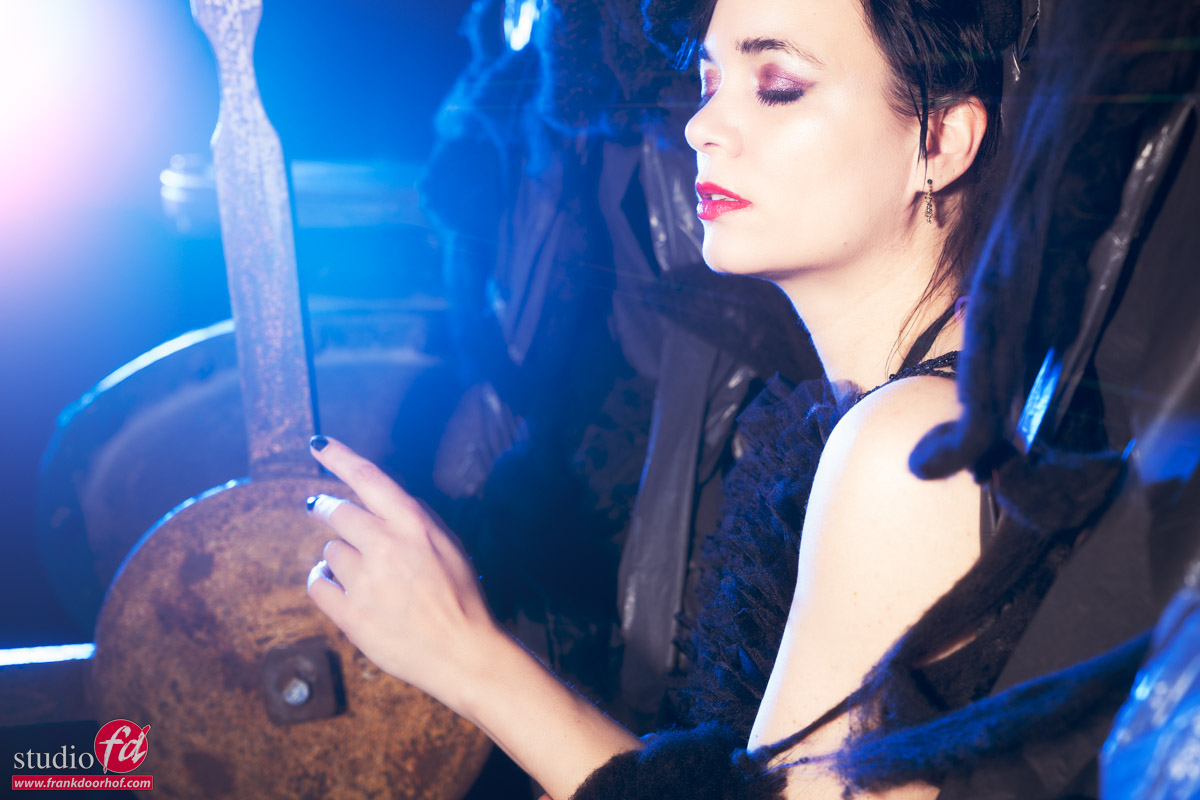
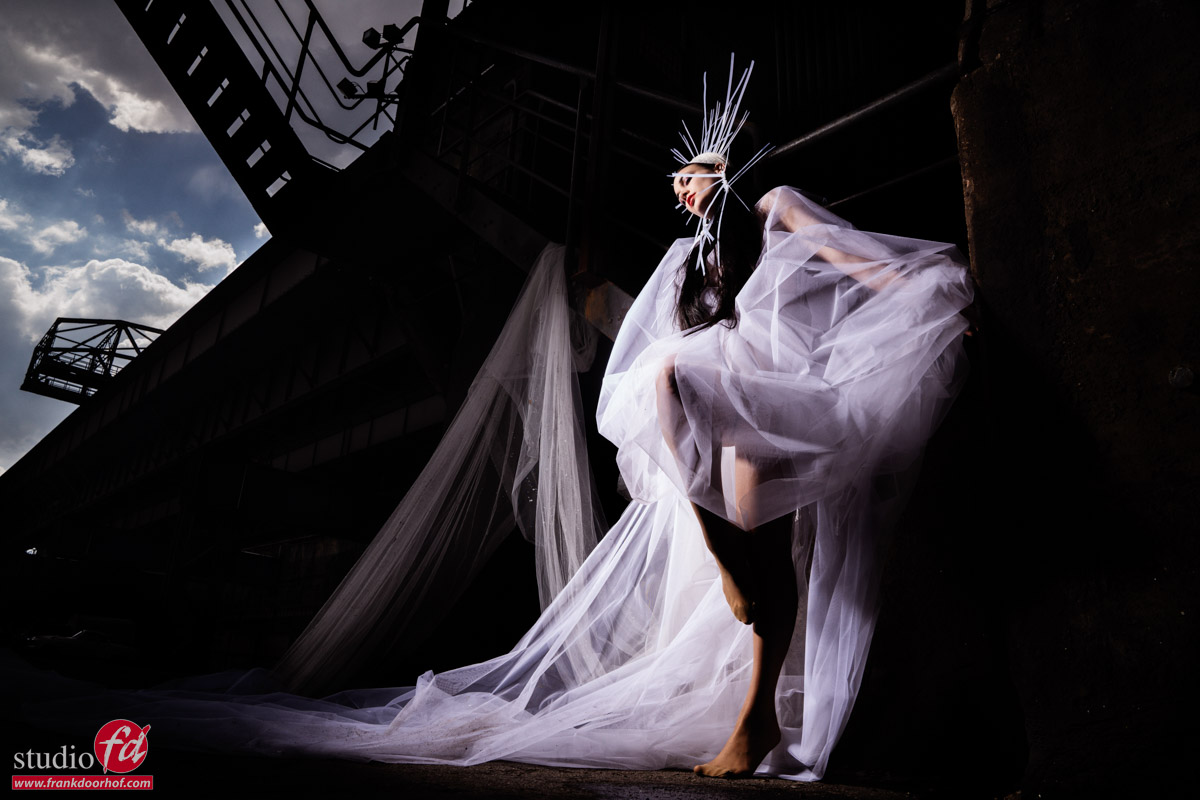
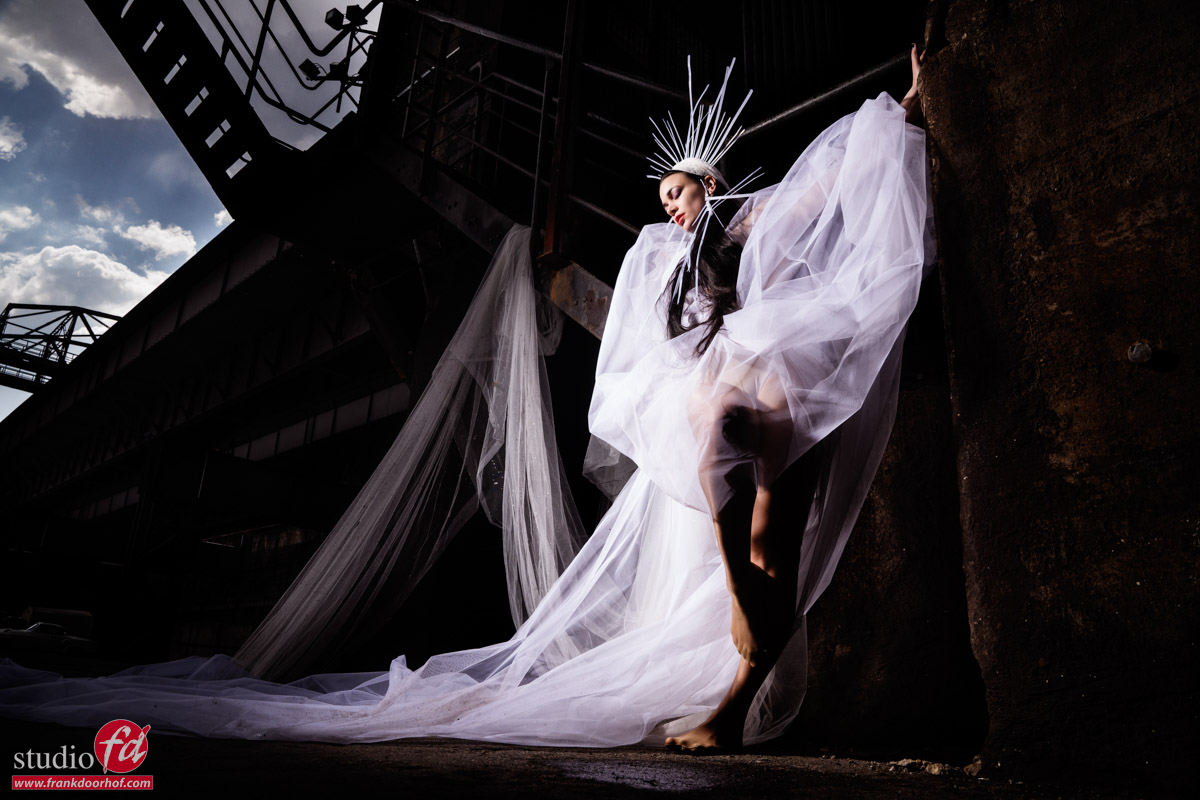
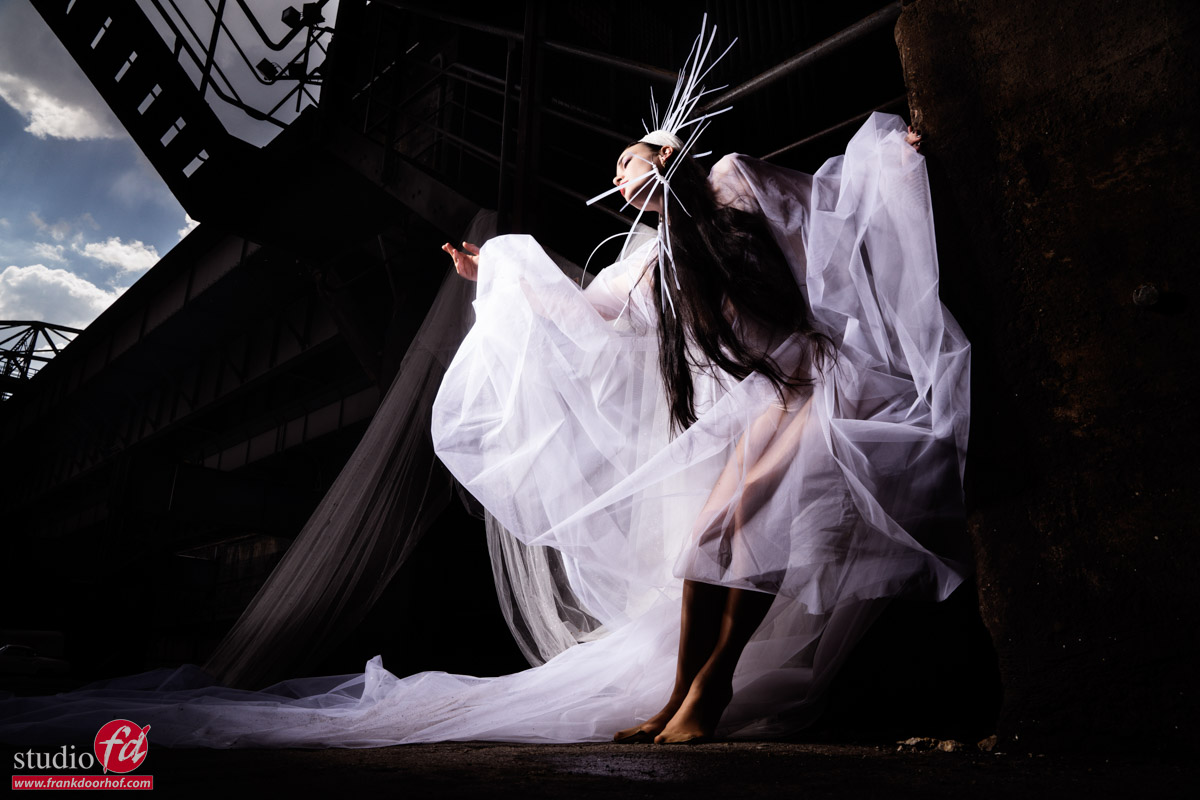
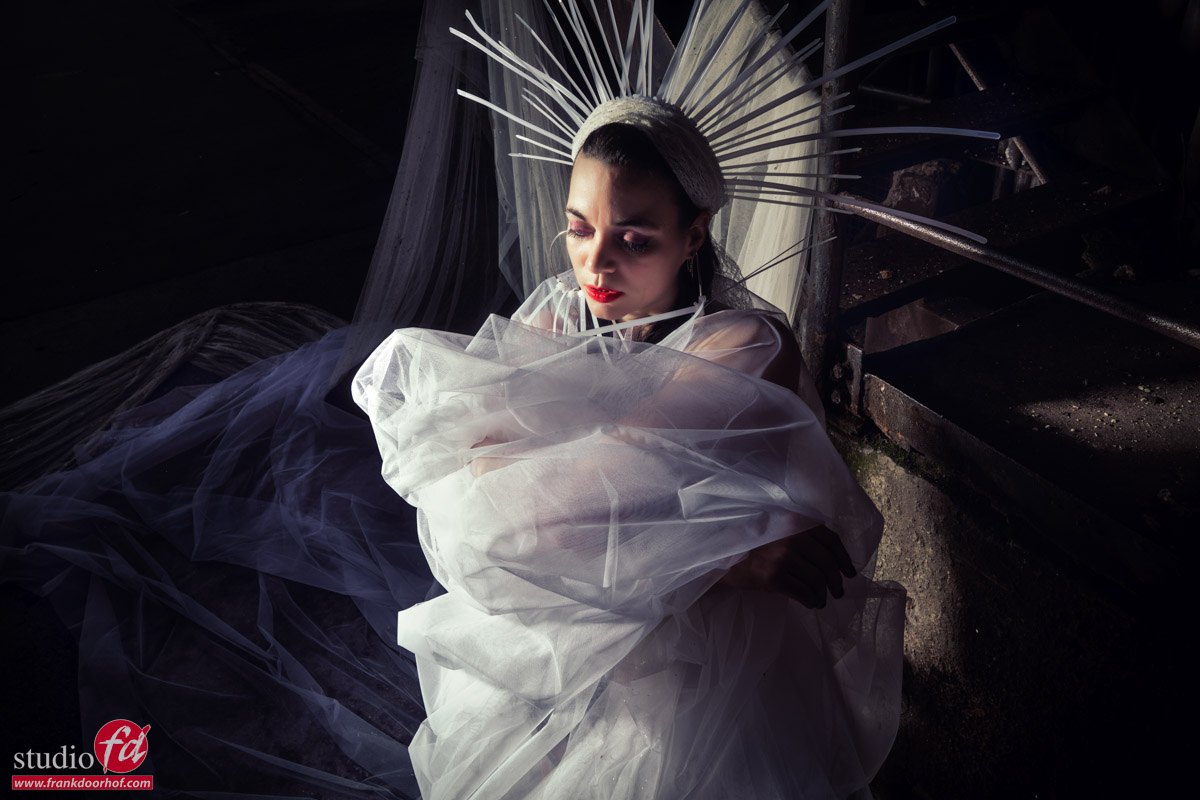
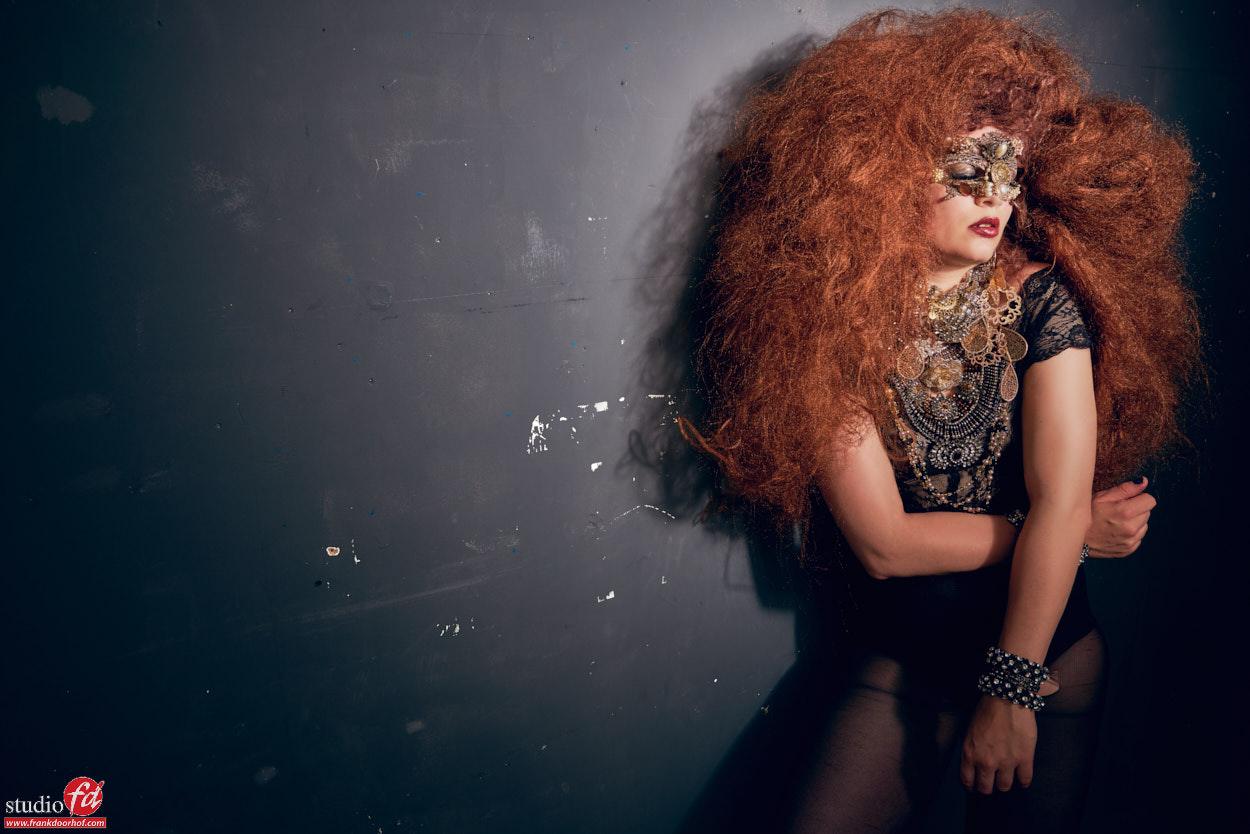
Most of the posts we do online are from model photography. But product photography is also one of the services we offer our clients. Most of the time, the model shots are however a lot more interesting to post. But sometimes we also show you some of the products we shoot, when it’s special.

Hobby vs business

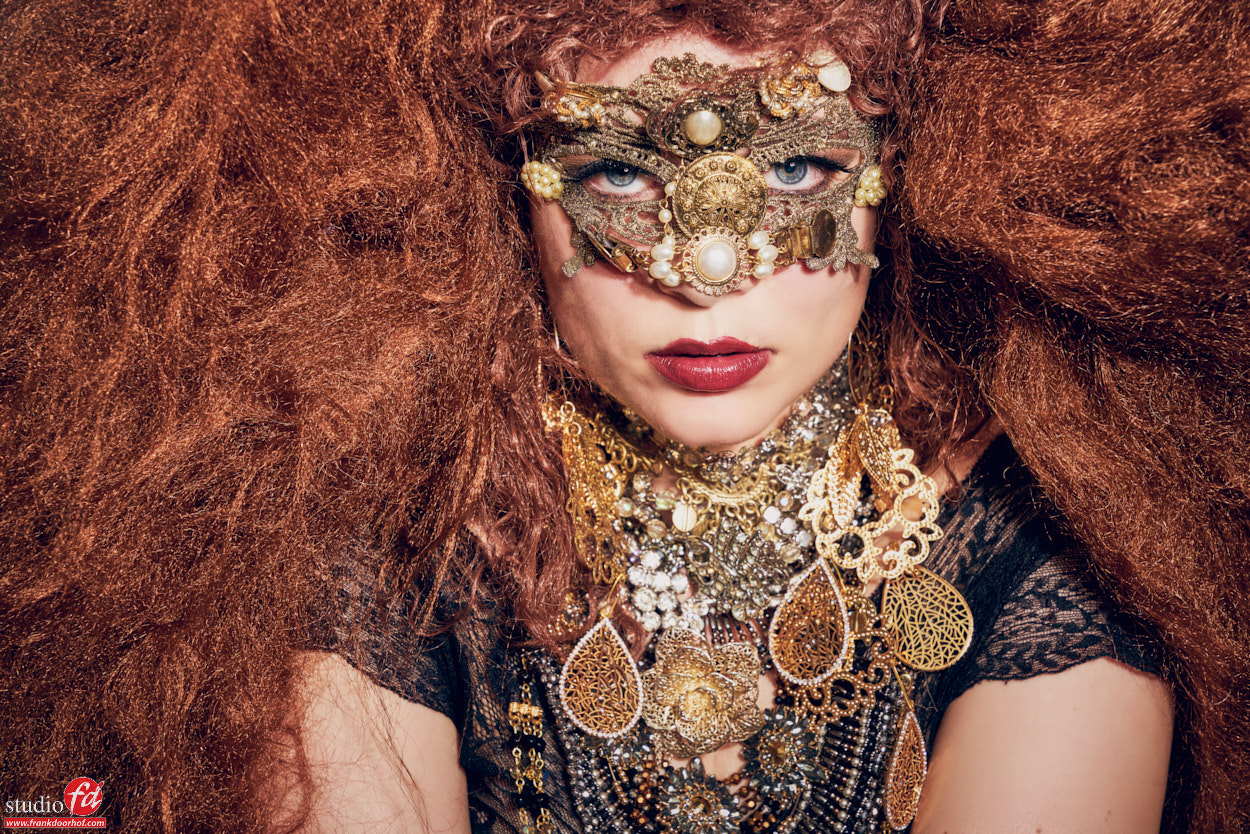
I always say I’m a lucky guy, every day I can do what I love most, create images. But sometimes I’m double so lucky when I can combine two of my passions.

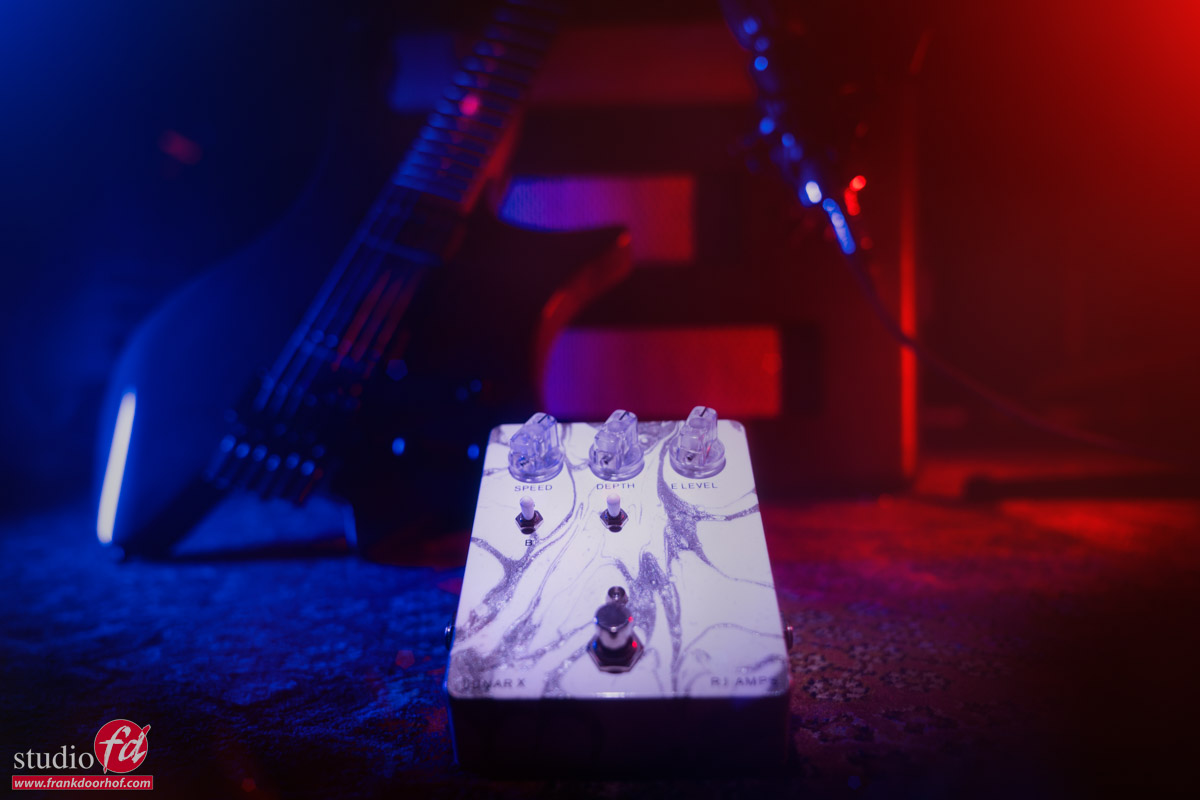
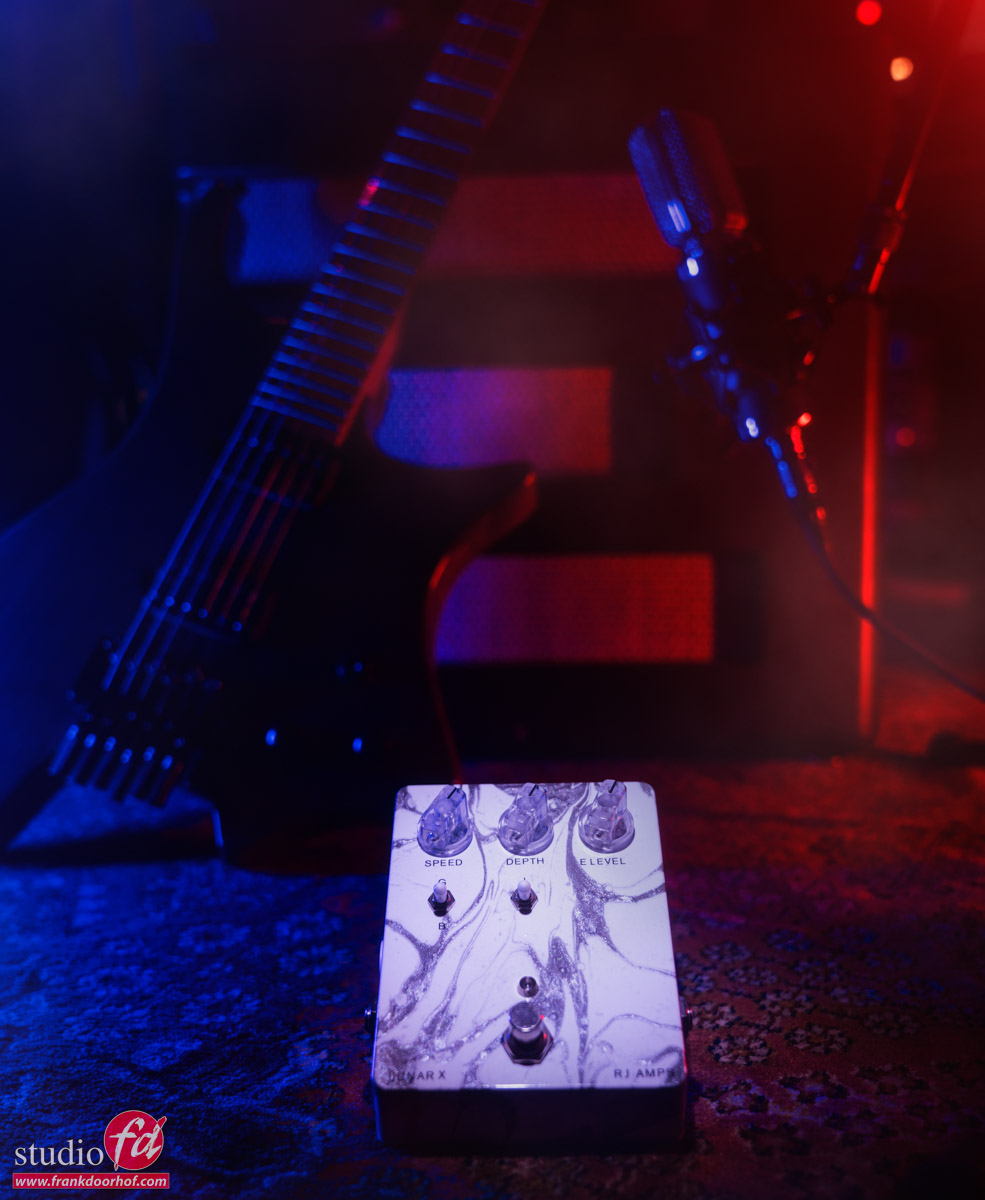
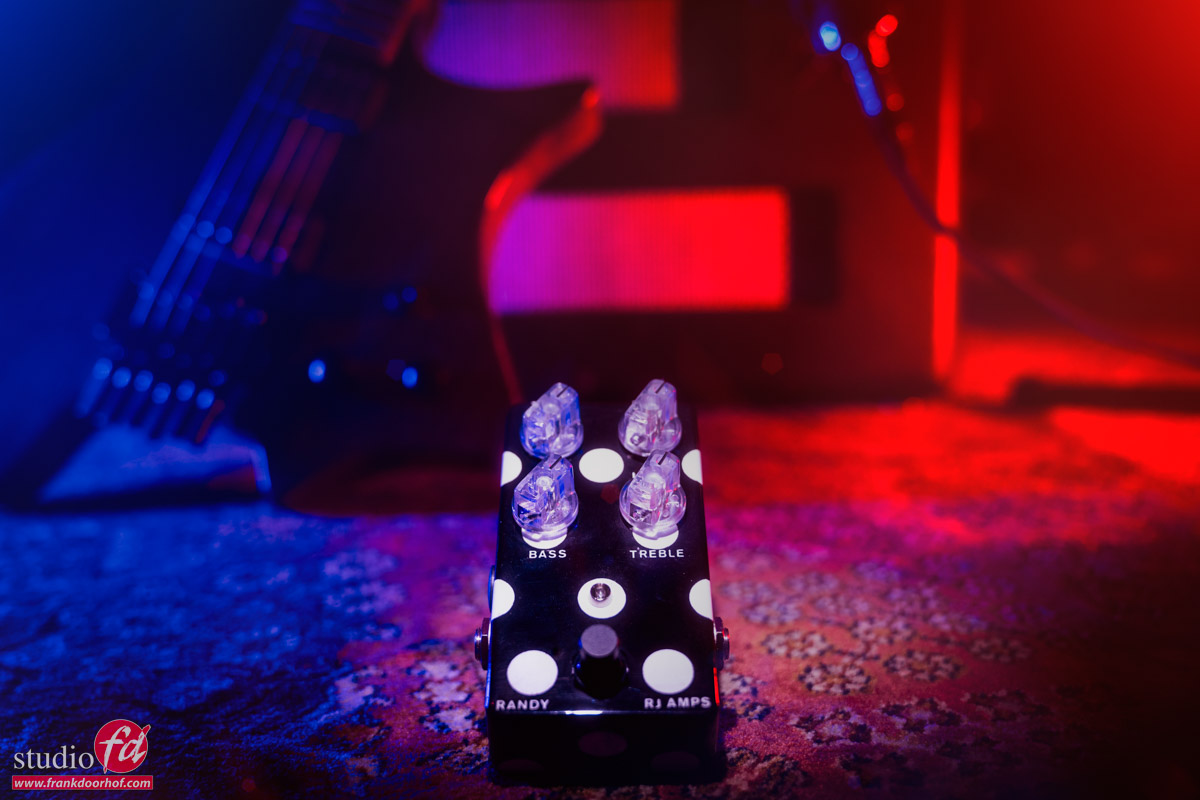
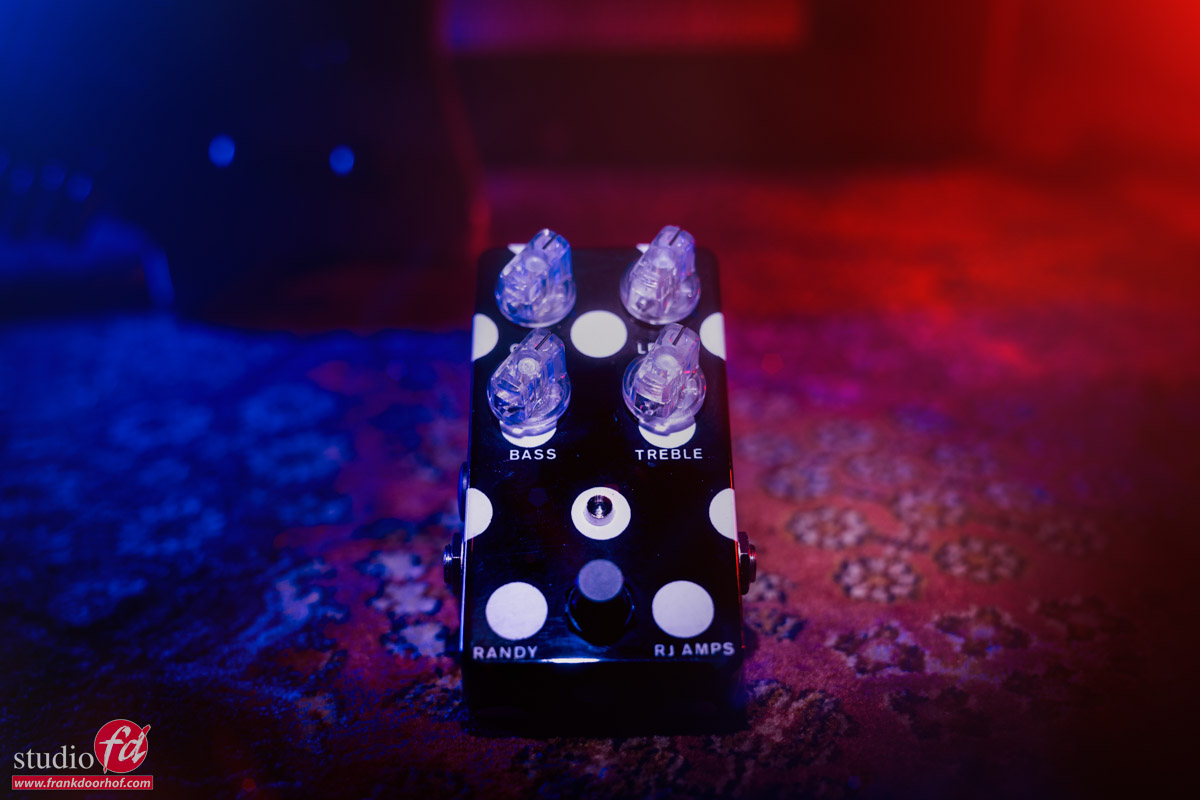
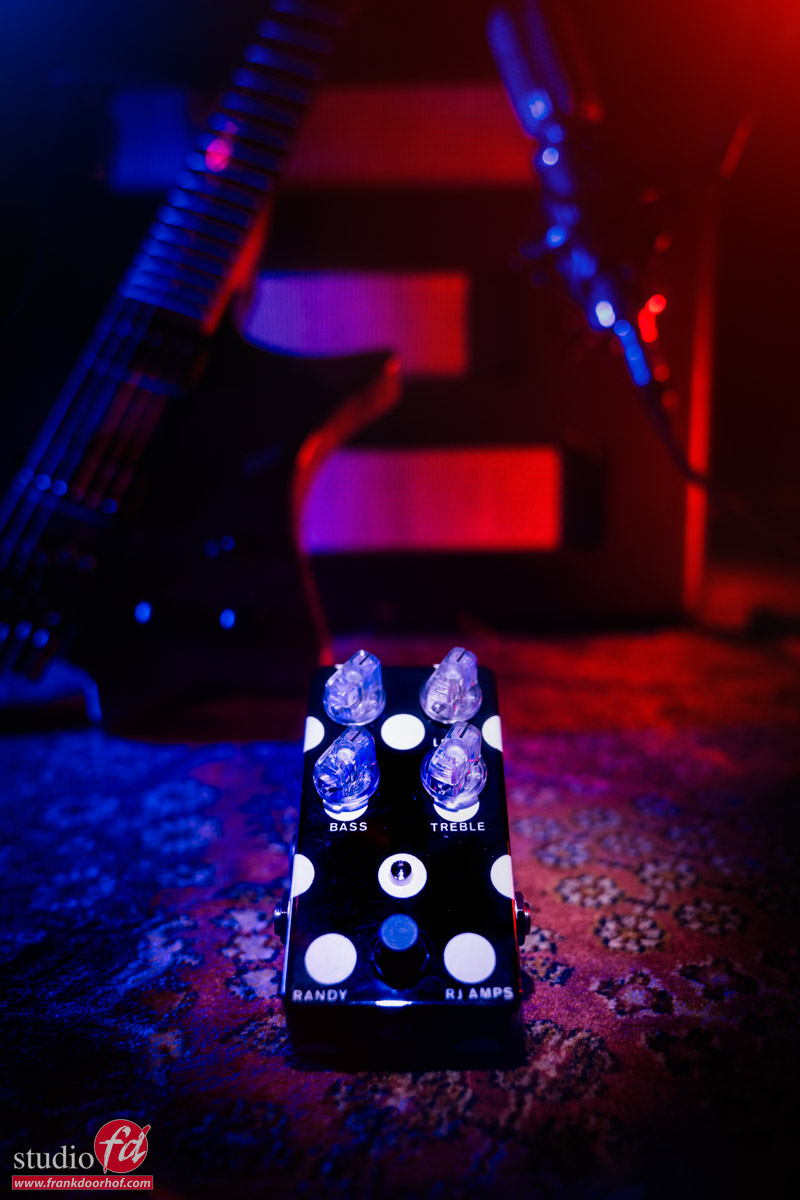
I’ve known RJ-amps for a few years now and he can do wonders with tube amps but also builds great guitar pedals. When I brought my amp in I got two brand new pedals to play with which will be released later this year. And of course…. and he knows that…. I couldn’t resist to take some images.

Now we also took some of the more boring white backgrounds but when we do product shoots I also always like to add some “special set” shots. With handbags for example. We build a small set fitting the brand and took some shots in there, with fancy lighting. In most cases, we do this for free (and fun) but clients often end up using those images also.

How I shot this product, the guitar pedals

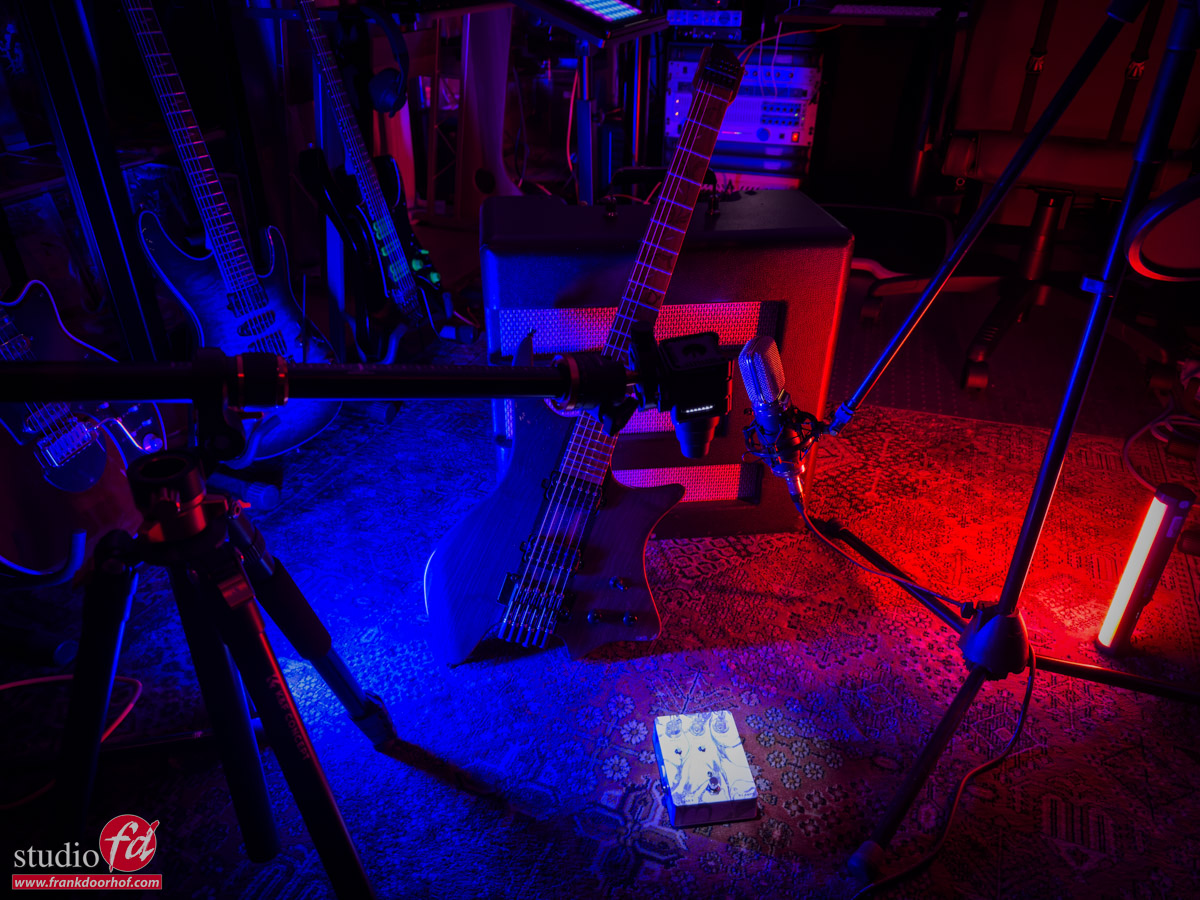
For this series I decided to shoot it at home with a combination of a Lumecube with a snoot and two Nanlite led tubes on the side.
The challenge was to get the Lumecube in exactly the right place, but luckily we could use the K&F concept tripod I’m using for my iPhone video setup. This is an awesome tripod because it can act as a boom arm, making it ideal for shoots like this or using phones in video setups.

Here is the behind-the-scenes setup for both pedals.

A kind of different product photography, shots from guitar pedals

A little bit of set styling

The reason I shot this at home was mainly because it was the best location 😀
This is the area where I create my music and also host live streams when I do seminars for clubs or Digital Classroom episodes without live shoots.

I love the carpet here (somehow most guitarists seem to love them) so I wanted to use that as my “base”
Because it’s a pedal I chose this vintage-looking amp because it’s pretty neutral-looking and stands close to the floor. So there is no problem fitting it in the frame.

Of course, you also need a guitar. Here I chose a custom-built guitar for the nice wood look which I think works great with the color of the amp and the carpet. Also, the finish has a very high gloss which makes it harder to light. But the effect when done right makes it possible to use just a little bit of light to see some details.

For some “fill,” I used my favorite-looking microphone, a nice Marantz Ribbon mic.

Lighting

As mentioned I’m using the Lumecube with a snoot and two Nanlites tubes on the left and right.
I love using accents with red and blue because both are on the same axis in the colorspace they blend together really nicely and both are also the so-called “emotion” colors so for me personally it’s a combination I use a lot.

Placing the lights is vital if you want details in the guitar without getting too much glare. However, around the edges, I did want just a little bit of reflection making the guitar stand out. After finding the right spot you can fine-tune the spread by just turning the tube very slowly and keep looking through your camera.

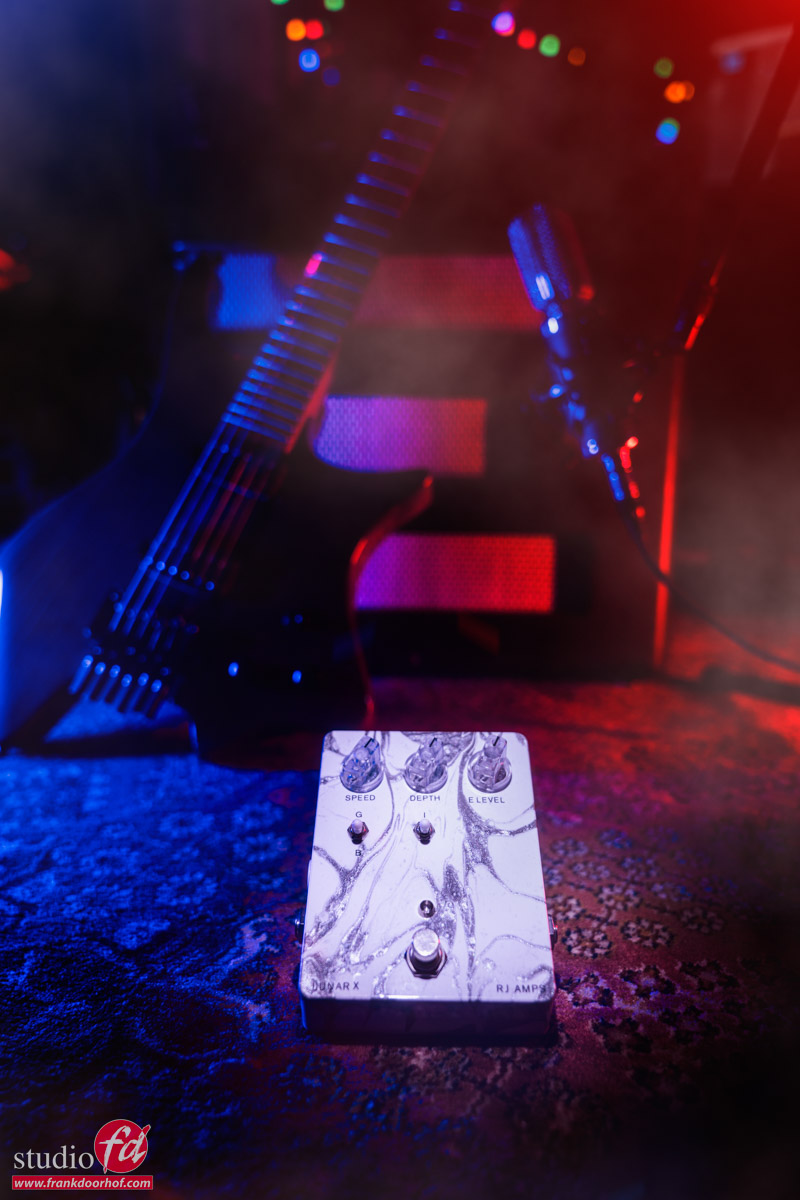
Ok… let’s show the results.
I did use just a little bit of BorisFX for special effects.
Get a 15% discount on BorisFX by using our link.

A kind of different product photography, guitar pedals A kind of different product photography, shots from guitar pedals


PS: if you like this blog about product photography (from guitar pedals), let me know! Find me on social media.

Results from the Landschaftspark workshop with Nadine

This weekend it was time for an awesome workshop.
The location: Landschaftspark Germany (Duisburg Nord). For Photo + Aventure festival 
An awesome location where I taught a workshop a few years ago. The plan was to come back the year after but Corona had other ideas. So after a few years… this weekend it was finally time to visit this amazing location again.

For a location like this we of course want some fabulous styling and a great model, so we brought Nadine with us 😀
With Nadine, we always know we get some kick-a$$ styling and great poses.

Gear is also essential when working on location. In Landschafstpark we can expect some locations that will be very bright but also some very dark areas. Luckily the Hensel Porty system has no problems with any location you throw at it.

The first set in this workshop is shot with our fiberglass Rogue umbrella.

The nice thing about this umbrella is that it’s very sturdy due to the fiberglass. And on location, an umbrella is easy to bring and has loads of options for lighting your model. And on the Porty we can even shoot in the bright sunlight without any problem.

The first set we did outside with one of the buildings in the back.

For the next set, we move “inside”.

I’m using the 14″ reflector and a slightly smaller reflector to really focus the light on Nadine.
By adding a blue gel I added a touch of color and mood to the set.

We still had a few minutes left before lunch so I quickly set up another option by using the nice structured wall and one strobe under an extreme angle. By moving around the model you can get some cool results very quickly.


After lunch, we decided to take some shots in a beautiful part of the park where you can really work with some nice angles.
I started with the light straight at Nadine as a sort of fill-in flash.

There is nothing wrong with this setup but I really wanted some more drama and “oompf” in my shot, so we moved the strobe to the side and got these results.

When we saw these shots we knew we still had more than enough time to add at least one more set. But how do you improve this I thought?

We decided to go for a location where we could let Nadine interact with the building and use the sky a bit more prominent with some strong shadows and leading lines.

The next shots were done with one strobe with the 14″ reflector and grid.

Sometimes we have these amazing shots and we are happy and stop.

But …..
Over the years I’ve learned that you should always also try different angles. And believe it or not, in most cases those images are at least as good. But often a lot better. The reason is that we as photographers often chose an angle that feels “natural” and it can create breathtaking shots. But when we start to experiment with stranger angles or simply move to the other side….. it often is a lot more interesting.


I absolutely love teaching workshops so I never stop exactly at the time the organization sets 😀


That meant that we decided to not go back to the meeting room but add another strobe with a red gel, move the whole set a few meters to the right, and ended up with maybe my favorite shots of the day.


Many thanks to Nadine for the awesome styling and posing.
Annewiek for filming the whole day (video will be uploaded tomorrow)
And of course the Photo+Adventure organization for inviting me over.
But not to forget the awesome group of students, we had a blast 😀

If you also want to visit a workshop visit www.fotografie-workshops.nl for the agenda.

Tip : The most simple location can be awesome

Often I hear photographers complain about the lack of great locations…
I always tell them “the best locations are in your head, and often right in front of you”.
Somehow it sometimes seems that if there isn’t a great location the creativity is gone, or is it just that……

In my opinion every location is great to photograph, but I often do look for certain extras like contrast, grunge (rough) and color, OR the lack of it. The more rough the better in all honesty, on the other hand something really static and modern can also be awesome, as you can see there is always something if you WANT to see it.

As I joke I sometimes say “put on your photographers eyes and hunt, don’t look for opportunities but try to find uses for what you see” this is a different mindset but often helps a lot.

Now if you add a little bit of styling to it (or a lot like in this case) you’re on the way to a great shot.
These shots were done during a workshop in Manchester with Nadine, a very simple light setup with one Elinchrom beauty dish with grid straight at Nadine. The wall didn’t look like much but I loved it, and seeing the responses from the attendees as soon as the images came in… they did too.

Nadine June 8th 2016 Manchester  0285

Nadine June 8th 2016 Manchester  0289

Tip : Hiding backgrounds

While working on location you will sometimes find awesome backgrounds, and sometimes…. well less interesting (and that’s putting it mildly).
Now not in all locations it’s possible to use smoke or change the background, for example for the simple reason everything else is cool and interesting. So how do we solve this.

A very simple trick (and easy to do) is to use a very strong backlight, mimicking the sun, a window… or just a very strong backlight (whatever you want). This way we overpower the background and fill it with light but also “draw” more detail in (in this case) the staircase leading up to the light.

Setting this light up can be tricky, make sure you feather it so you don’t blow out detail, and if that’s not possible, maybe aim it more up so it blows out the ceiling but not the rest, and just crop that part of in your composition, it isn’t a matter of just “throwing” a light source somewhere and blast it with light, it does take some planning. But when it works it actually never really disappointed me.


For much more tips, techniques etc. check out my book “Mastering the model shoot” or our instructional videos (also available via this site).