How to meter light on location, outside
. PIn today’s blog post, we look at a topic that is super easy when you “get” it. But can be super confusing when you start out. Do you know how to meter light on location outside? Continue reading if this is a problem for you.
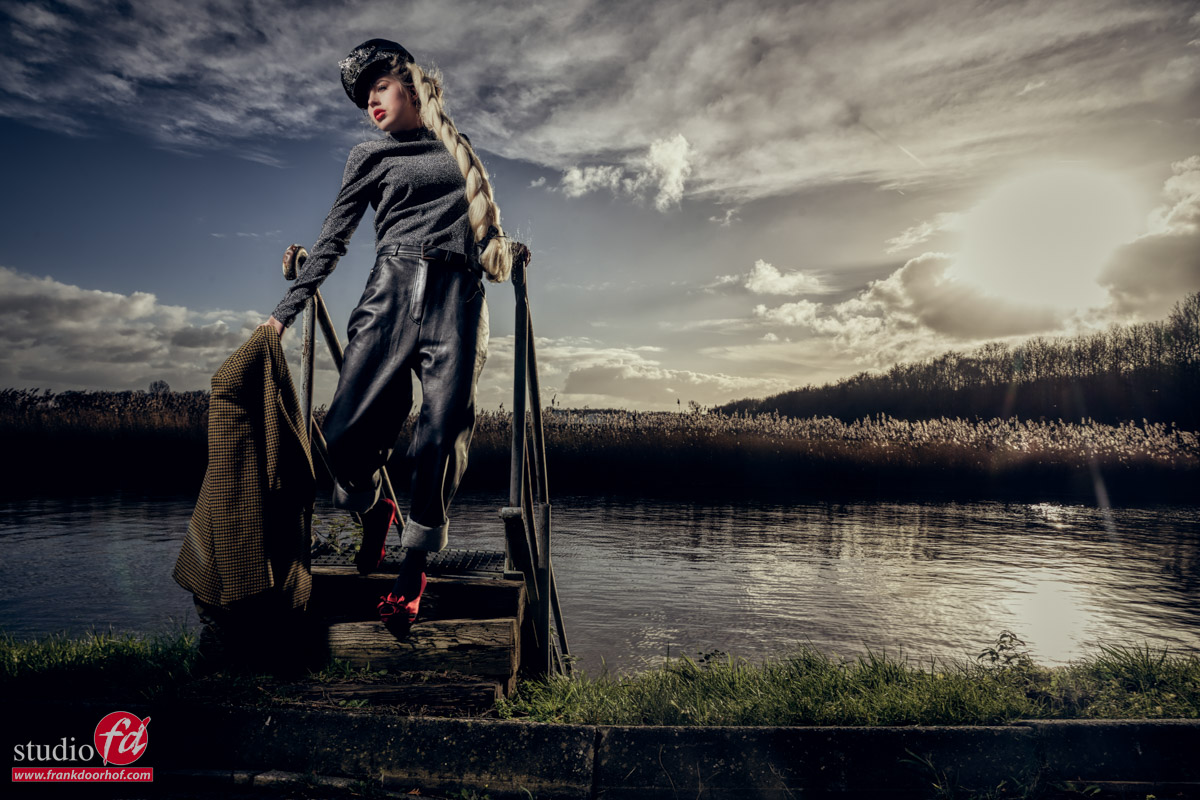
Metering outside to kill the sun
Ok, it sounds a bit harsh we don’t really kill the sun. But when using strobes outside the right way you can make it day-to-night without any problem.
See my previous article about Combining/mixing light sources
Now with the day-to-night technique, there is no real problem. So let’s start there.
When you don’t have a modern camera with an EVF you can use a light meter and spot meter for the area you want to be totally in shadow but just show a slight amount of detail. And now set the aperture for the strobe app 4-4.5 stops higher. Or meter the clouds and open up the aperture max 2.5-3 stops to keep detail in the whites.
With a modern camera, we can use the EVF (Electronic Viewfinder). Just make sure it’s set up to show you the results of the settings in the camera. I always call this the WYSIWYG method. From here on it becomes super simple. I mostly lock my shutter speed at 1/125 (Xsync) and ISO at 50/100 I will then use the aperture dial to dial in the look I like when I get the look I want that’s the aperture I will meter the strobes on.
Xsync is the max shutter speed that can be used without HSS, when you use HSS you do need an HSS-capable light meter like the Sekonic 858, everything else I discuss stays the same.
So if I love the F16 ISO50 1/125
The only thing I have to do is set the light meter to ISO50 and meter the strobe till it hits F16.
The nice thing about using the EVF is that you can already see the end result before you take the shot. Although a light meter is a very accurate tool it’s very hard to “imagine” how the end result will be by just metering. I can predict it for about 75% but using the EVF is 100% and much more accurate. The only thing you have to be aware of is that you have to “imagine” the model to be lit in the image while in essence you probably see him/her as a dark outline.
The problem area
I sometimes call it the Twilight Zone or the Outer Limits. In essence, it’s not far from the truth, and it’s an easy way to remember what the problem actually is. So what do I mean?
When we meter for day-to-night photography it’s standard that you start with the strobe on the highest setting. Let me be honest, you know you’re going to need it right?
So when you meter the strobe it will probably register as F22. And you lower it one stop and it will meter F16 and you’re there. But even when you lower the strobe another stop it will probably read F11. And probably also F8 after another stop…… Do you feel where I’m going?
There is a point where you MIGHT think you are influencing the strobe. But in essence, you are metering the clouds in front of the sun… So what’s going on, and why doesn’t it happen with day-to-night?
Fill in flash
When we shoot day-to-night we start from a high power output. And because we are overpowering the sun/ambient light we have loads of headroom to go down even more before we hit the Twilight Zone.
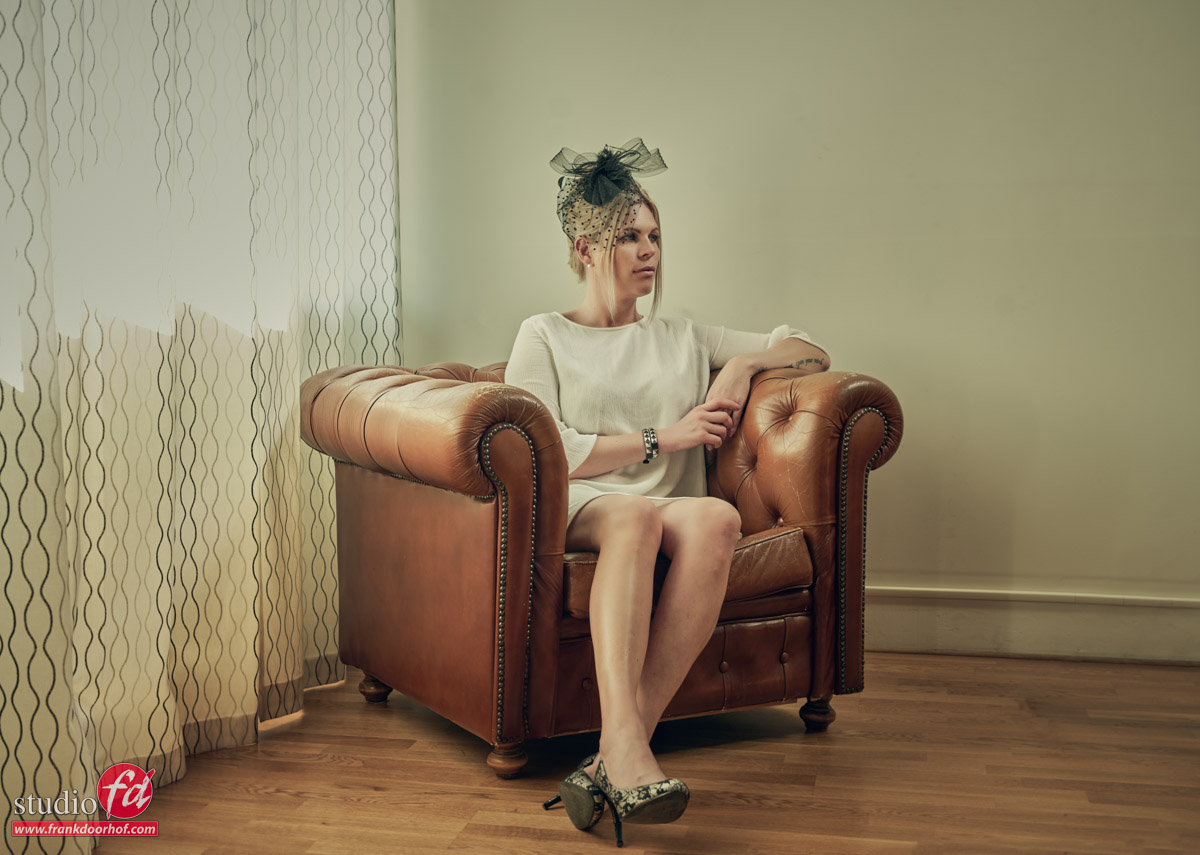
When we use fill-in flash, we are in essence adding a little bit of flash to the ambient light. Just to open up some shadows, or maybe just give an essence of extra mood, or mimic a lamp in the room, fill-in flash is subtle and most of the time not even visible (until you don’t use it).
So how do we set up the lights in this situation?
Indeed… where from day-to-night we went from the highest setting slowly down. We are now probably starting on the lowest setting and this is where the problems arise which I call the Twilight Zone.
It’s the light meter’s fault
When we look at how the light meter works it’s very easy to say that the light meter is the cause of this problem.
The light meter has a photosensitive cell and meters the light hitting that cell within the values you setup in your meter.
So let’s say I’m in a situation where my ambient light is: F4 ISO400 1/125
Now when I set up my light meter for ISO400 1/125, the meter will literally give me the value for the aperture with those settings. So where is this a problem? well, it also does that in flash mode, not just in the “sun” mode.
Let’s say I’m using a strobe with softbox at 1mtr from my model. I set my strobe up for the lowest setting, walking up to the model and meter the light… and wow what a piece of luck it’s F4…. That was easy. I walk back and take the shot…. And to my surprise, there is no strobe. Of course, check the connection, and I see the strobe firing, so I re-meter and the same thing happens. I raise the output of the strobe and the meter keeps saying F4…..
Does this mean the light meter is useless on location?
No not at all, in fact, it does exactly what it’s supposed to do 😀
On some meters you will actually see a percentage, this is actually the number of strobes vs continuous light. So in my situation, the strobe is probably not outputting F4 but more likely F2.8 or even lower. The meter does respond to the strobe but meters F4 on 1/125 ISO400 which is actually the ambient light as we had determined before.
So how do we solve this?
When I set up for fill-in light I will always put my strobes a bit higher than what I think I need.
I’ll first meter the ambient light via the EVF or light meter (depending on the subject). And then I’ll meter the strobes.
If my ambient light meters F4 I will make sure I first meter F5.6 on the strobes. And from there I will go down 0.5 stops if the meter also drops 0.5. I know that I’m in sync with the meter and the strobe vs the ambient light. From there I will go down 0.1 stops just as long as the meter also drops 0.1. As soon as the meter doesn’t drop anymore just add 1/10th and you have the perfect balance between ambient light and strobe. Now in all honestly I never use this technique, but it’s important to understand it, in theory, to see that there is a zone where the ambient light simply overpowers the strobe.
In most cases, I want a little bit more on our subject. So in most cases when my ambient is F4 I will set the strobes up for F8 and lower the strobes a full stop. If the meter also drops a full stop I know I’m fine and get the effect I want.

Why not just adjust and shoot….?
I get it.
Why use light meters, calculations, etc. to get something perfect when you can also just shoot, adjust and shoot.
First of all, when you adjust, shoot, adjust, shoot, adjust, shoot it takes up more time. Plus you waste a lot of battery power. When working for a client it doesn’t really give confidence if you as a photographer can’t nail your lighting with the first shot. And if you work with a model she won’t be your best friend if you have to do that every time something changes.
When using a light meter in all setups (except the 100% balanced fill-in flash) you only need to meter twice. Once for the current output, adjust the strobes and meter again to check, and if you trust your strobes…. Well, you don’t even have to do the second one.
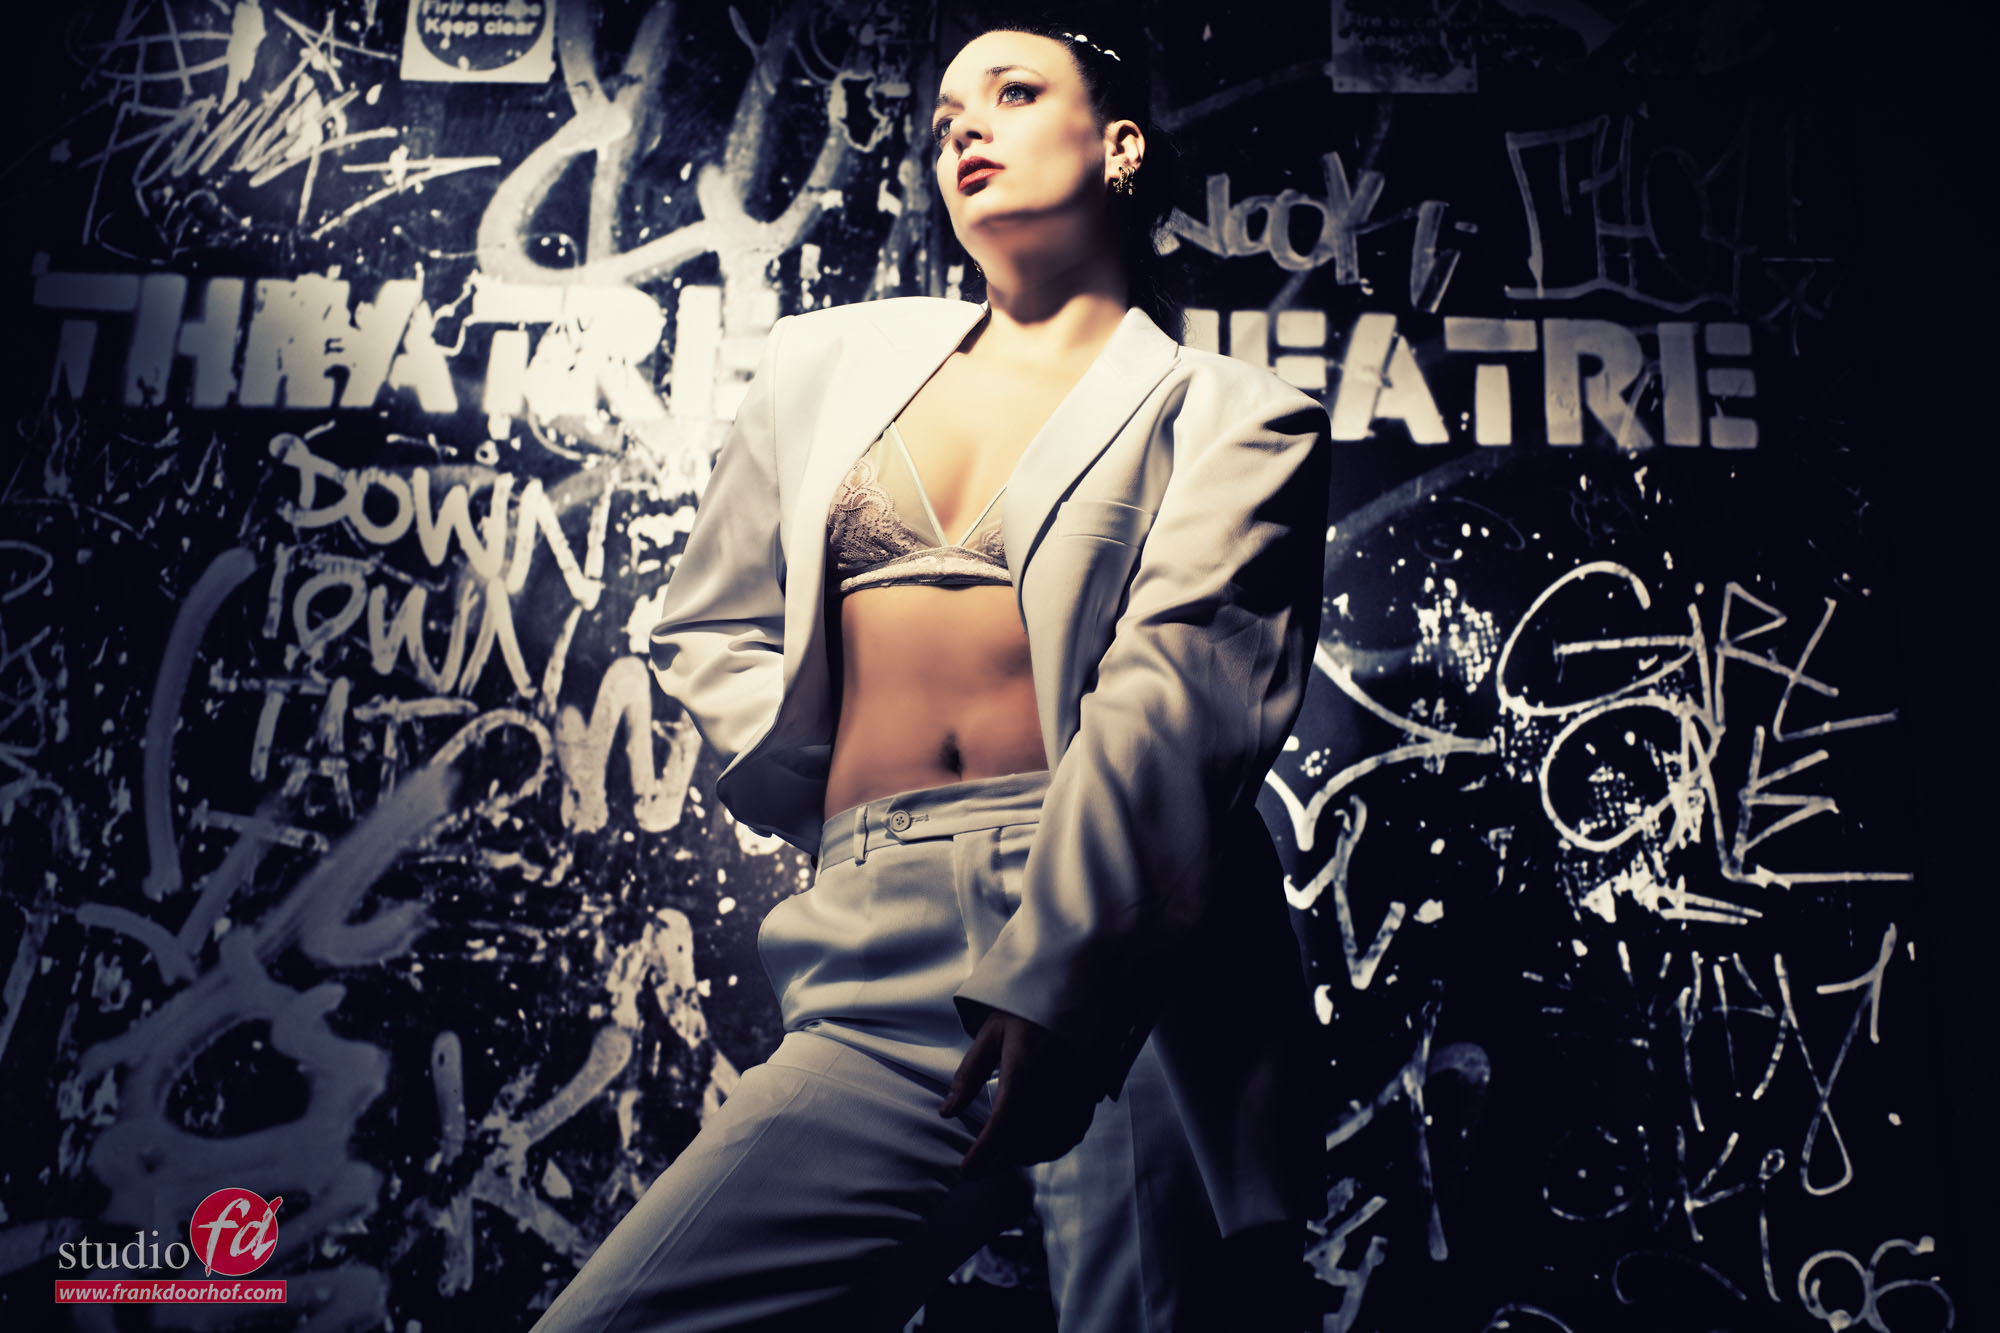
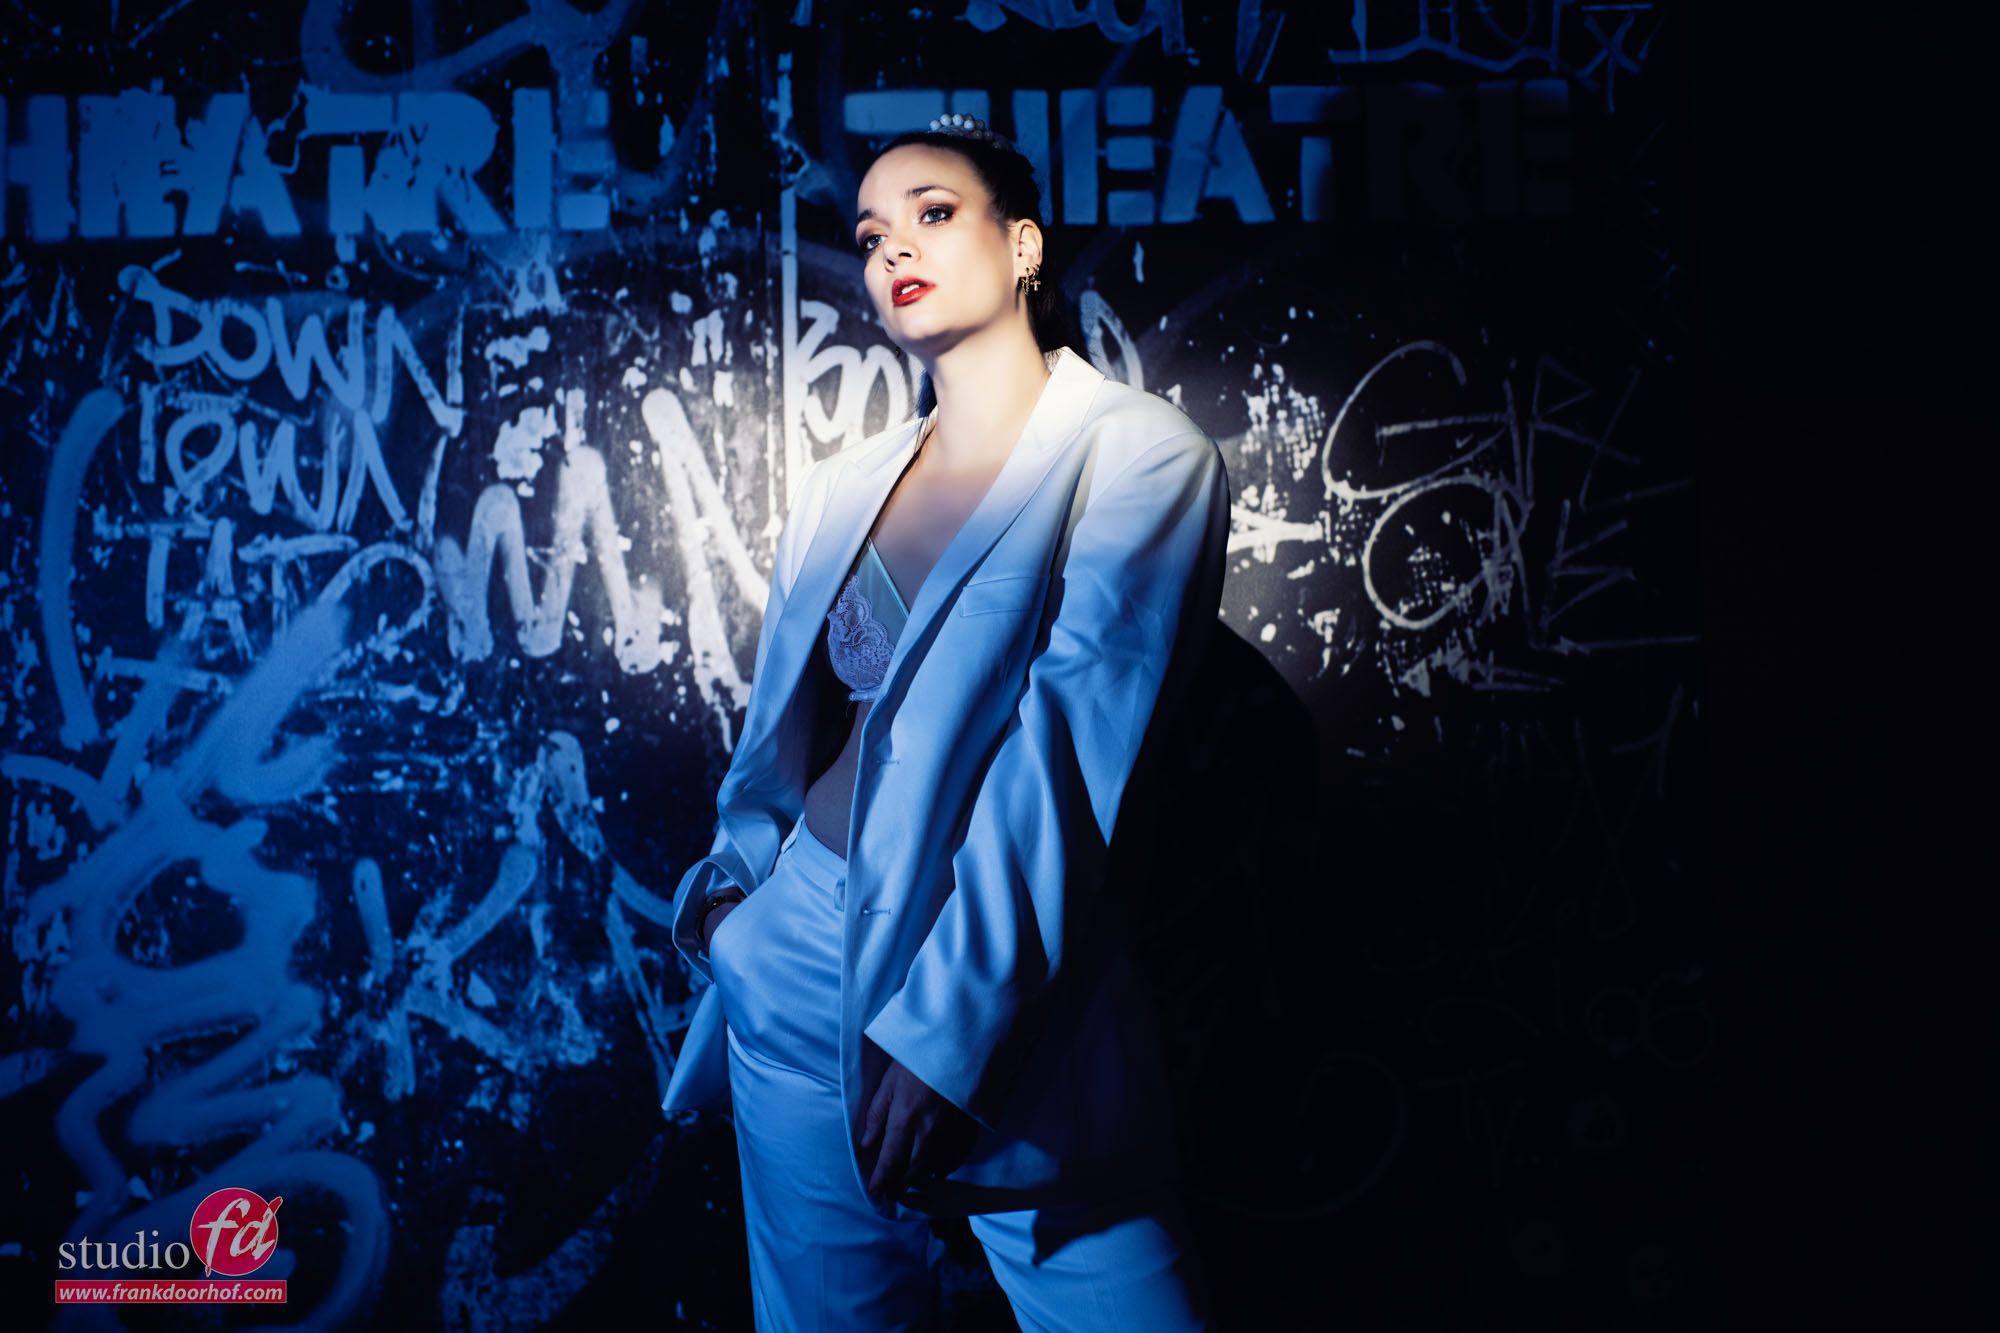
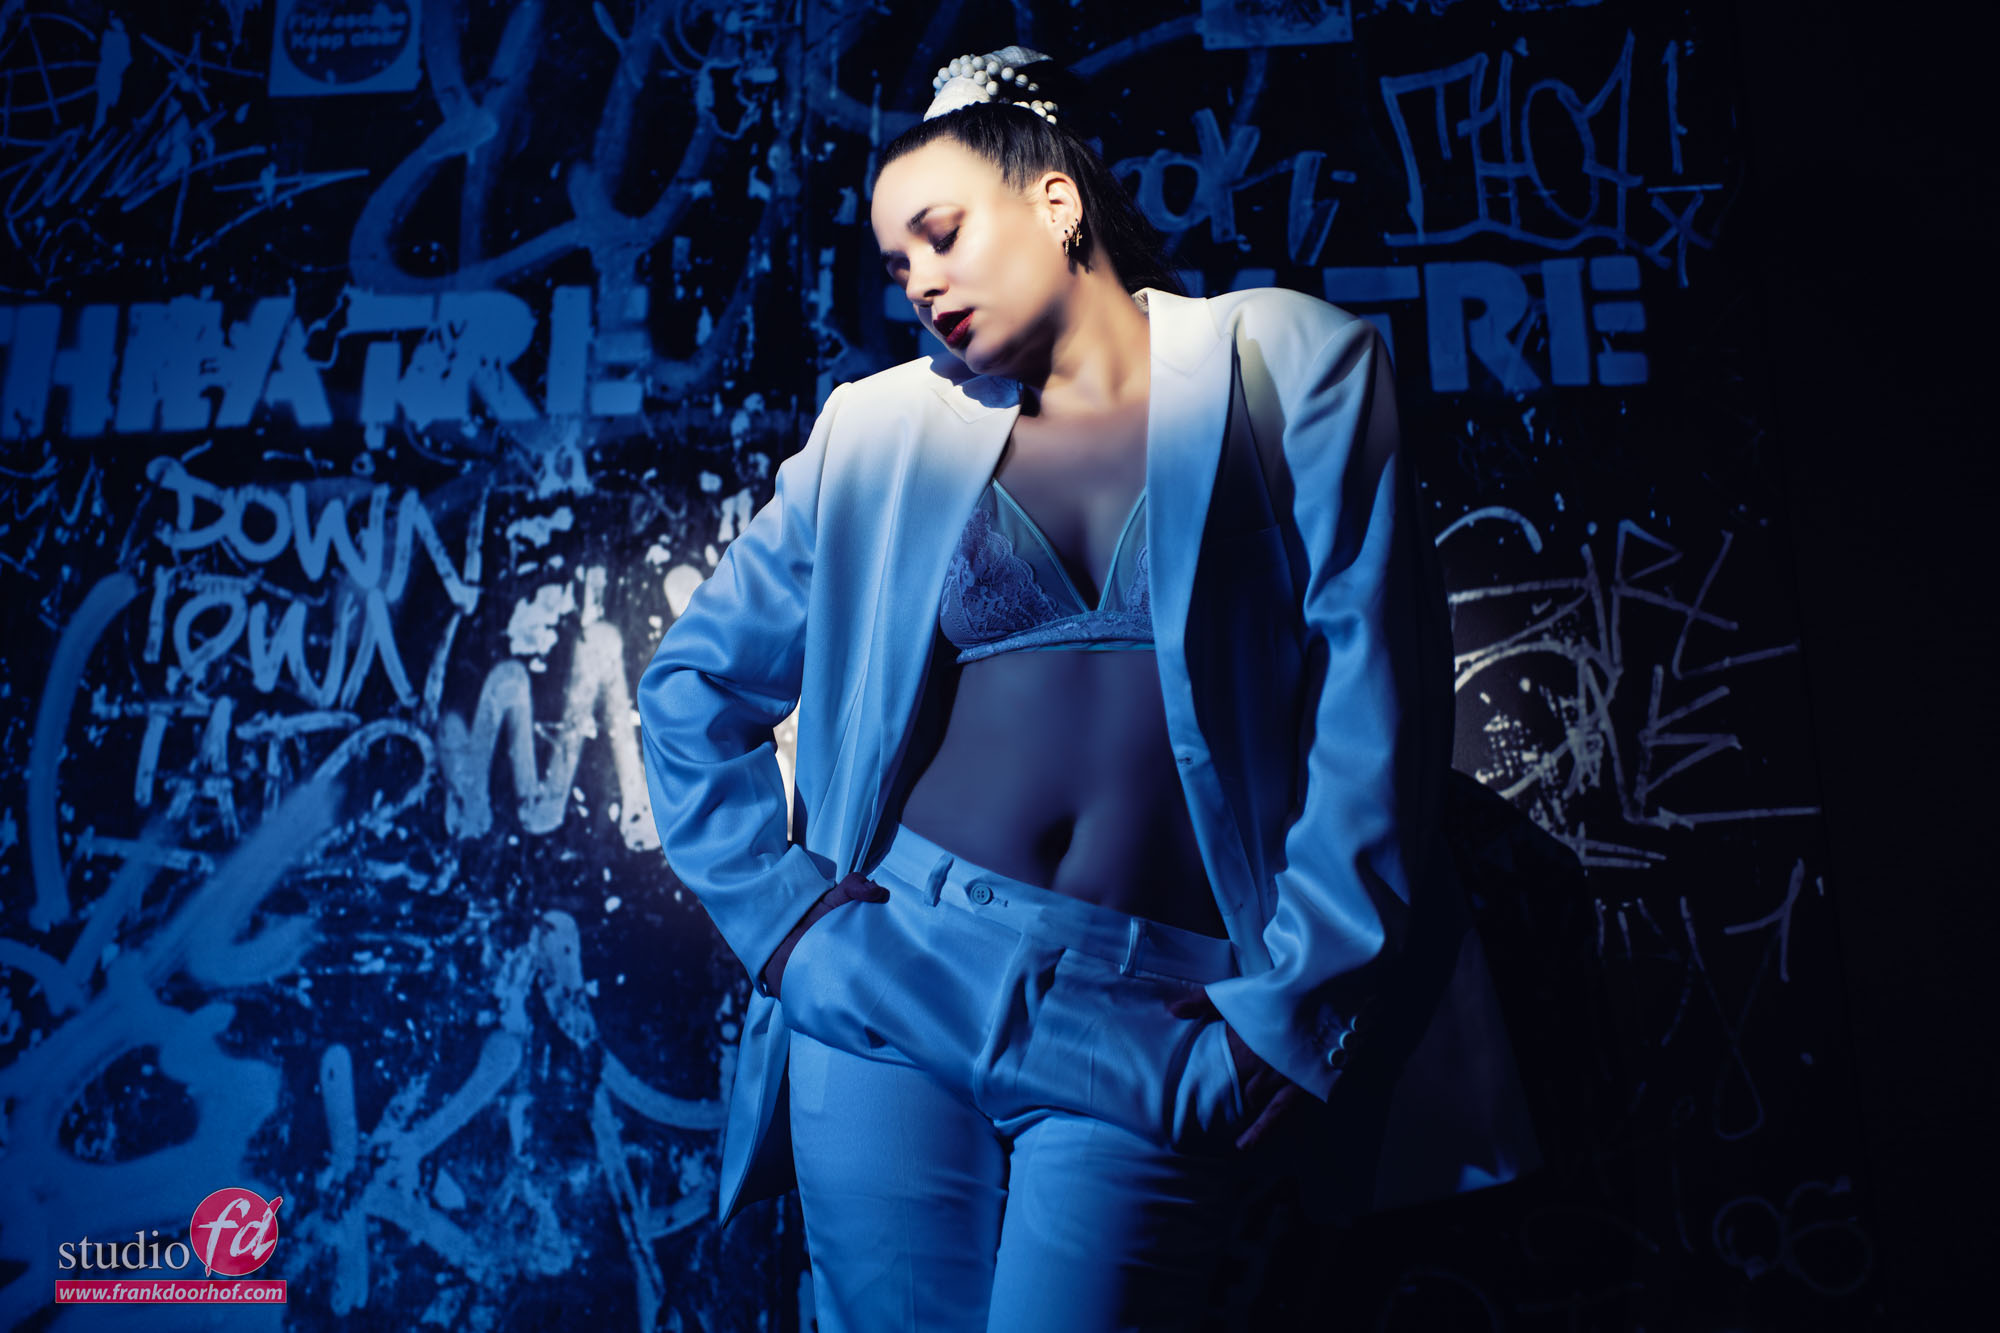
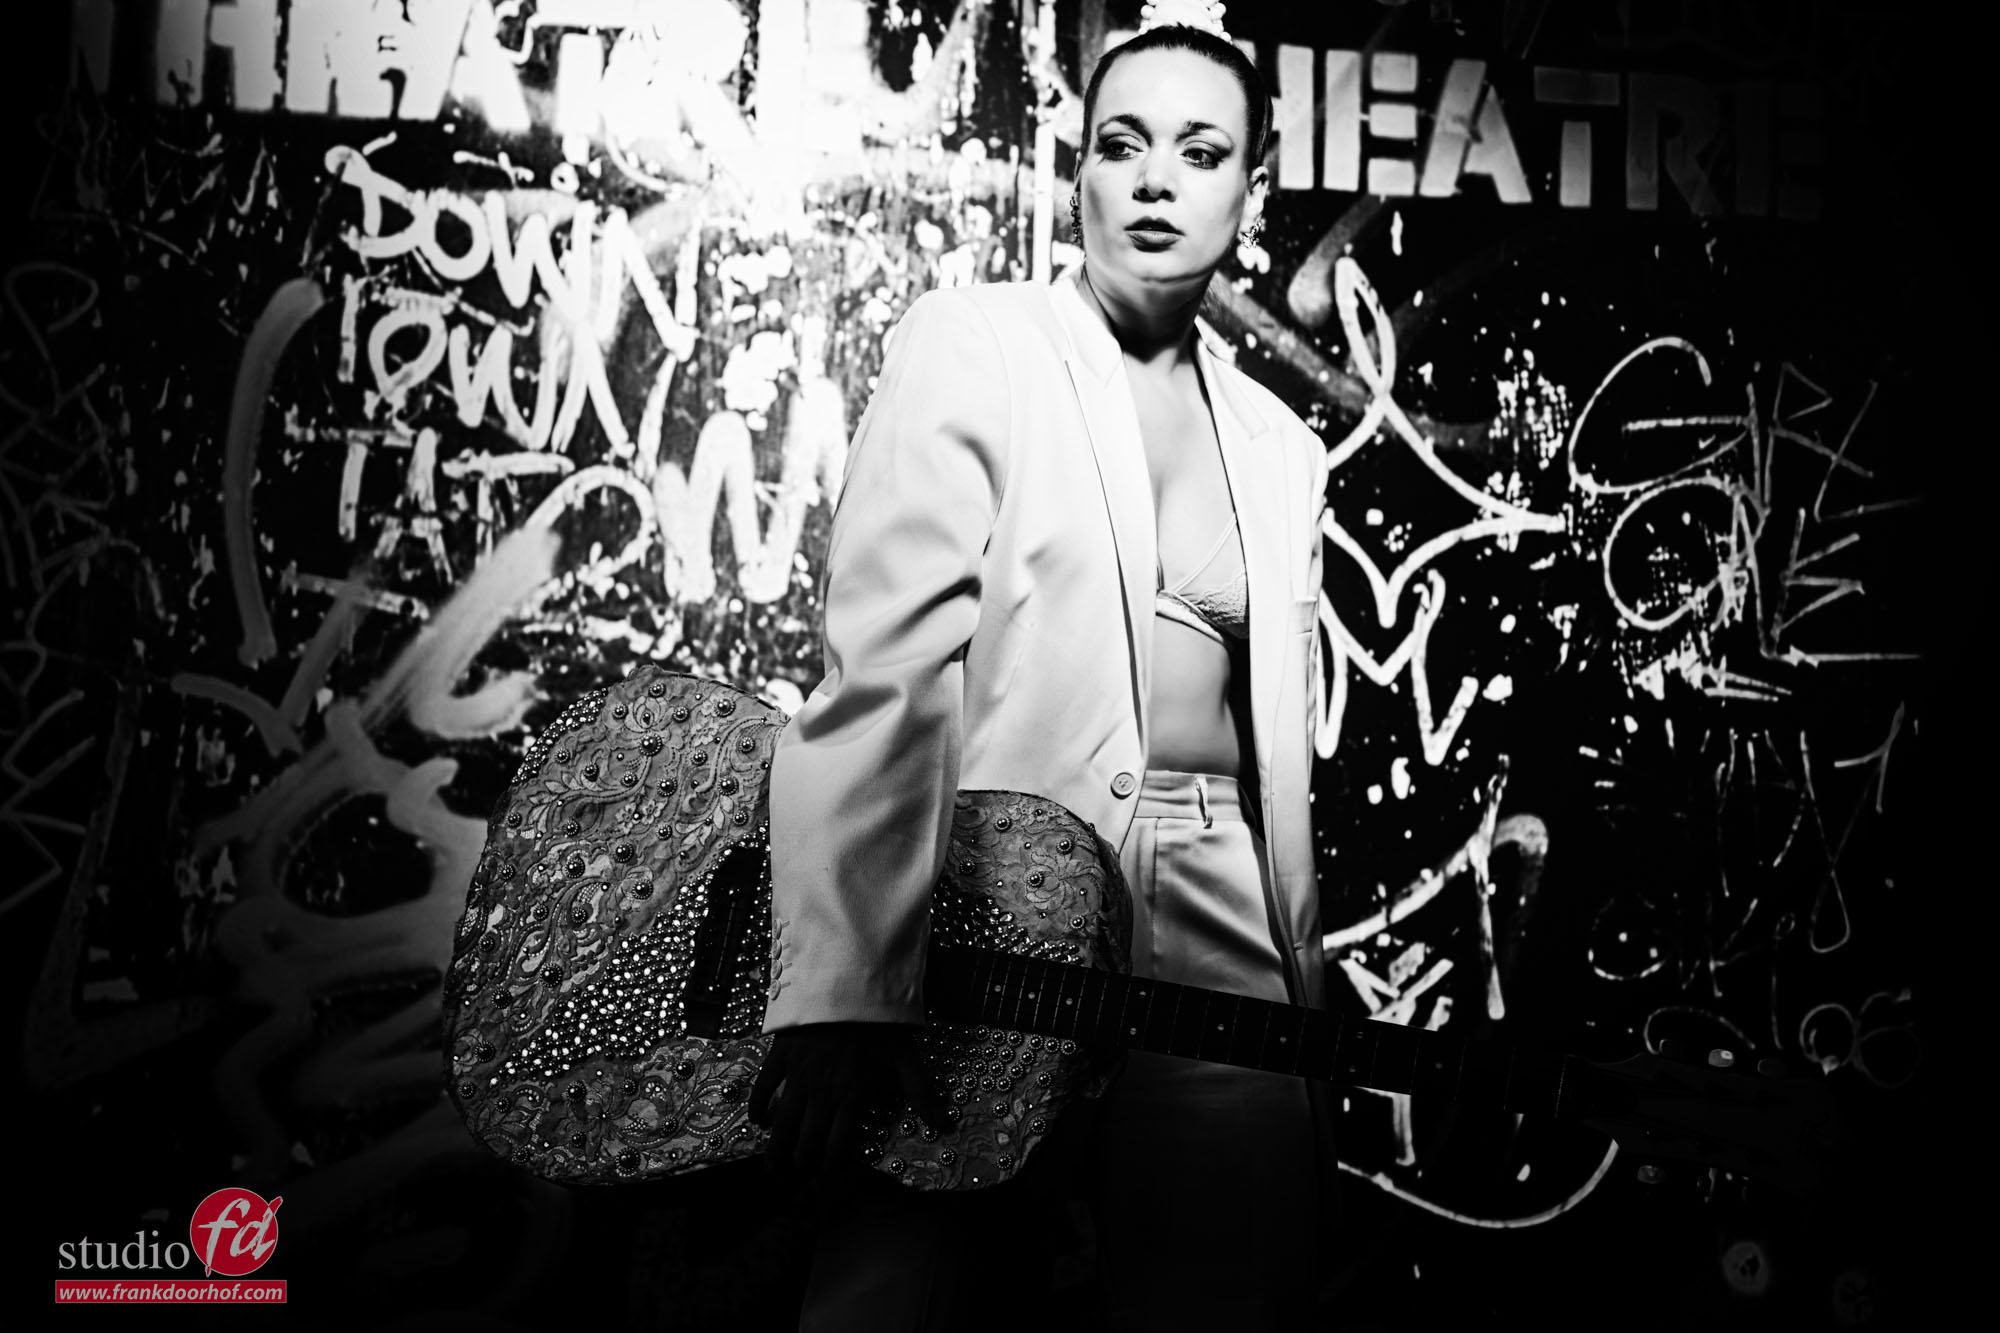
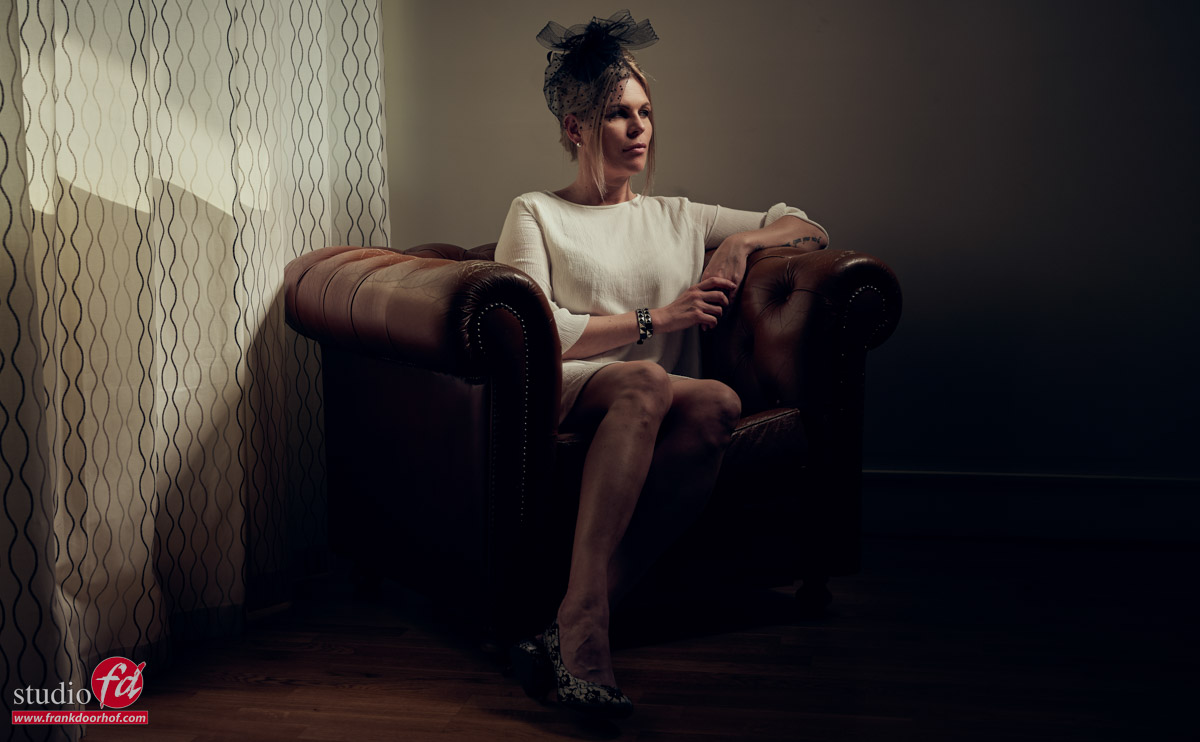
When you understand the concept and get some speed in balancing your lights you can very quickly change the total mood of a setup. Like these images I shot during a workshop in Sweden in the meeting room. We go from fill-in flash to more extreme settings.

If you have questions, feel free to leave them here or on our social media.