The things that you really need…..
A lot of people ask me about those little things that really are necessary to own.
If you look at the gear guide on this page you can already see some of the items I will mention in this thread. But I think it’s interesting to also do a small blog post about some of the items that will save your session, or add some amazing creative options…..
So here we go.
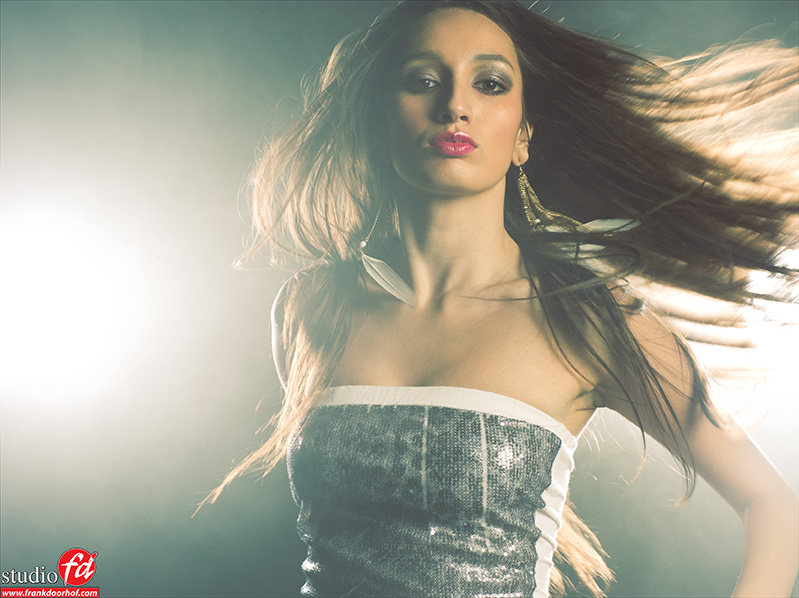
Smoke machine
A must have, but often not bought by photographers because they think they are expensive, cause malfunction to strobes or are hard to handle. Well in all fairness smoke-machines are there in many different sizes and prices and when you just call a company selling them, they will probably try to sell you the more expensive ones. I can however say that we have used the cheap smoke machines for many years with lots of shoots and they hardly ever disappoint, and when they break down… well you just buy a new one.
The fun thing about a smoke machine is that it gives you loads of options, you do have to understand that smoke works best when lit from behind, and if you add just a little bit of color to the strobes you will love the outcome. You can experiment with different fluids which are often mentioned by the thickness of the fluid or the smoke. I always like the more medium thickness because it works best in the studio and can also be used outside. One of the best tips for using the smoke is to have an assistant move the machine to create a nice omnidirectional feel to the smoke. When you blow it just from one static position you will often not get the nice results you see in other shots. And when you look at the cheaper machines like this one you can even add several to the set to create thick layers of smoke.
 Gel filters
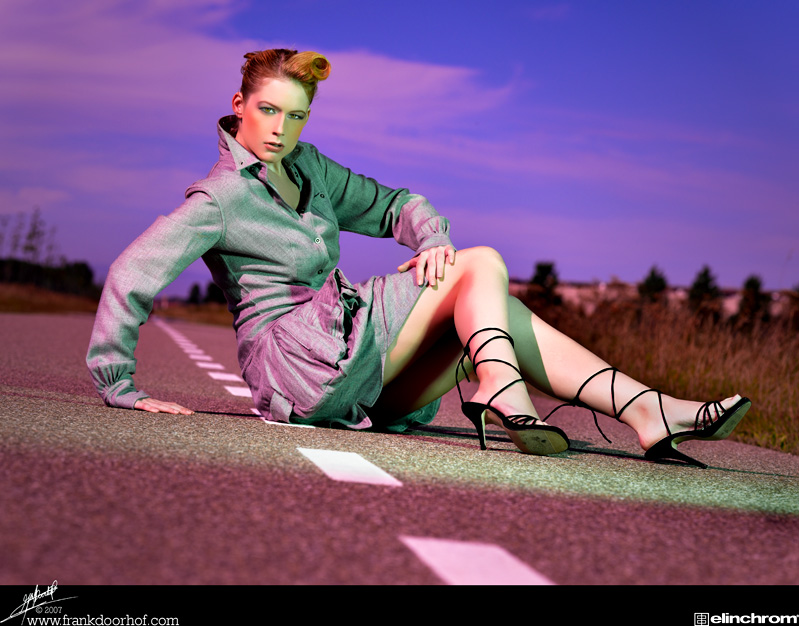
You really can’t be without these in your bag.
You can use them to lower the color temperature of your strobes to mix in with tungsten light (for example the amber gels are great for this), or you can use the gels more creatively, by understanding how color works you can for example change the color of the sky to for example magenta while your model has the correct color. In reality however you’re shooting with a green gel on your strobe and use a colorchecker or white balance card to balance the light on your model to neutral (do shoot RAW), when mixing this effect you can create stunning duo color effects without ever touching photoshop (remember my moto “why fake it when you can create it ?”.
 Talking about color
As you might know I’m a huge supporter of using light meters and some sort of color references.
You could do it very simple with for example a whitebalance card like this great set for next to nothing.
But you can also go one step further and do a total camera profile with the software delivered with the Xrite color checker passport, I use this little device in the studio and on location and the profit you get from it in color accuracy is without a doubt worth double the price. It’s a shame a lot of photographers still don’t use these simple tools (that’s why they are mentioned here again) but they do encounter a lot of problems with their images color wise. Often I get asked the same questions “how to get the reds of my camera correct”, “my skin-tones looks nice but they are not there 100%”, when I show them the colorchecker passport in action they are often sold and many times I receive a mail or call a few days later in which they say it really solved their problems…. so don’t stay behind and struggle with your color, the solution is here.
Judging your images and filming
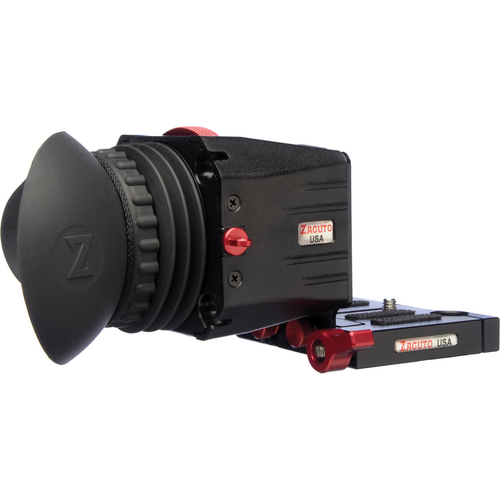
We all know the problems with viewing the back of the camera in bright sunlight, but since we can film with the DSLRs we also know the problems of movement during filming and trying to nail the focus. The Zacuto Z-finder is not cheap but worth it’s weight in gold for this. The Z-finder is mounted around your display with a nice connector that stays on your camera (so no ugly elastic bands etc.) and the Z-finder is clicked into place very quickly.
There are two versions, the 2.5x and the 3.0x both costing the same.
Viewing your photos becomes an absolute delight but when you film the advantage is huge.
By adding the Z-finder you are adding another contact point to your camera which GREATLY enhances the stability and makes filming much easier, oh and remember manual focus with the Z-finder is a breeze, it’s like looking at big tv screen just in front of your eyes. Highly recommended.
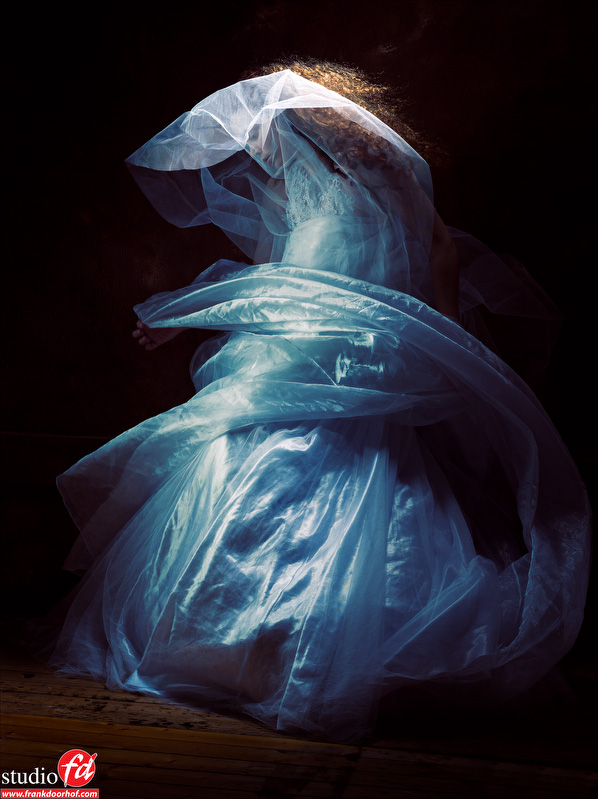
Windmachine
Now there is something you also can’t live without in the studio, just add a little bit of wind or movement and the shot comes to live. You don’t need to add the obvious storm but sometimes just a little bit can perform real magic. All the big names know the secret, motion sells. So if you don’t yet own one get one, and no it doesn’t have to be a big dollar unit, you can also settle for a normal fan with enough power, but I think you will pretty soon want something that really moves baby…. 😀 and these windmachines work.
More….. ?
Of course there is loads more like tethertools Jerk stoppers which I can’t live without and also some gadgets like the GPS units, but as mentioned before you can find those in the gear guide on this website. These items I wanted to point out in a dedicated blog post, and because we want to keep this blog interactive the question for you the readers is :
What’s your favorite, can’t live without accessory ?
*
*
Added by our readers
ND filters
Indeed when shooting outside with strobes a good ND filter can help to shoot at a wider aperture than without the ND filter, so also that is very valuable addition. Remember however that ND filters eat light (that’s what they are supposed to do) so make sure you get your focus correct, or switch to live view which is a live safer with ND filters.
Also remember that there are ND filters you can place in front of your strobes…. this will help you tame the output in the studio.
If you like what we do here, and want to support the blog please buy from our affiliate companies by following the links or the links below.



How about ND filters when shooting wide open w/strobes outdoors? I find them very useful. Hatch
I will add them to the blog post.
I wouldn’t be able to live without my reflector
The best way to learn is probably to find themes/plugins that you like, look at the source code, and make small changes until you get a feel for what does what.
My Blog
Frederick Slim
medical assistant resume