First workshop Small Flash
As you might have figured out by now I love to work with light, but I’m also a photographer that strongly believes that a setup should be measured and stable, meaning that you can deliver a system that works over and over again regardless of your own position, composition etc. I mainly work with studio/location strobes separate from the camera which I always call “big strobes” even thought the Elinchrom Quadras are in fact rather small still they have to be operated separate from the camera and measured with the light meter. Setting the “big strobes” up takes some time (although when you know what you’re doing it can be very fast) and in some situations there are simply put limitations to what you can do on location. Also take into account that when you travel, travel with the “big strobes” can be very limiting, not to say expensive.
But luckily there is an alternative the so called “system strobes” or what I call them (and many others) “small flash).
When I was demoing on Photokina last year I met up with Joe McNally (one of my absolute heroes) and somehow he triggered me to start looking into the “small flash” area again for the workshops, and to be honest he was 100% right. I teach the workshops a lot but mostly aimed at the “big flash” and there are of course a lot of people out there who are shooting with the “small flash” system, and since the theory behind light is exactly the same it should be a small change to include a workshop about the “small flash” into the program, this bugged me for some time and in my head I was thinking about the options and what I wanted to teach, because to put it mildly, to just put some strobes there and let people work with E-TTL would not cut if for me as an instructor, I really want my students to leave the workshop with some knowledges and tricks they did not think off before. Also because there are so many books out there and sites aimed at “strobist” style shooting I wanted something that would trigger people to think about the “small flash” differently than they are now.
Getting the workshop working
Also on the Photokina I met up with my friends from Canon and pingponged the idea of a “small flash” workshop with them, to make a long story short, they totally went for the idea and supported me to teach the workshops. After this it was time to select a certain amount of material I would need to use in the workshop to get the looks I want. Of course a bare strobe already does a good job when you know how to use it, but it doesn’t cut it of course for a whole workshop as you can imagine. So I visited the guys from Cameranu and together with Brian Dragstra (also a very active strobist shooter) we combined some modifiers which would in my opinion make the kit you can’t live without when doing the stuff I do, much to my surprise they labeled it the Frank Doorhof kit and you can order it from them at a very nice discount. For people from abroad I will label the modifiers in each shot with a link to B&H where you can order it, they ship worldwide so everyone can use them as supplier.
So after the preparation it was time to write all the material for the workshop, I always take my time for this because when I teach a workshop, as explained before, I want it to be non standard, jump forward into the now and yesterday it was time for the first time “workshop small flash”.
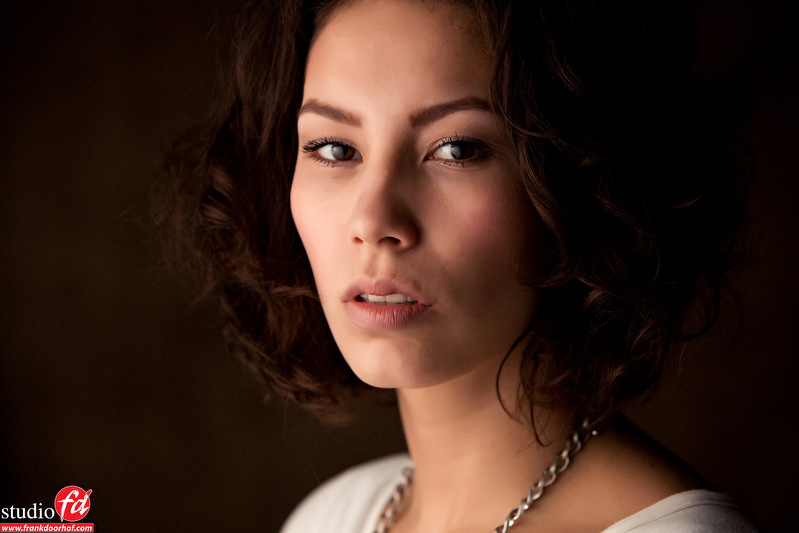
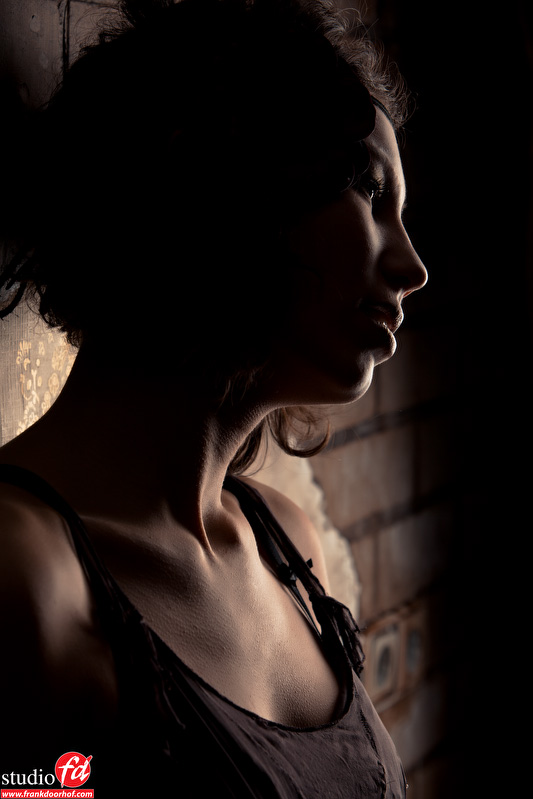
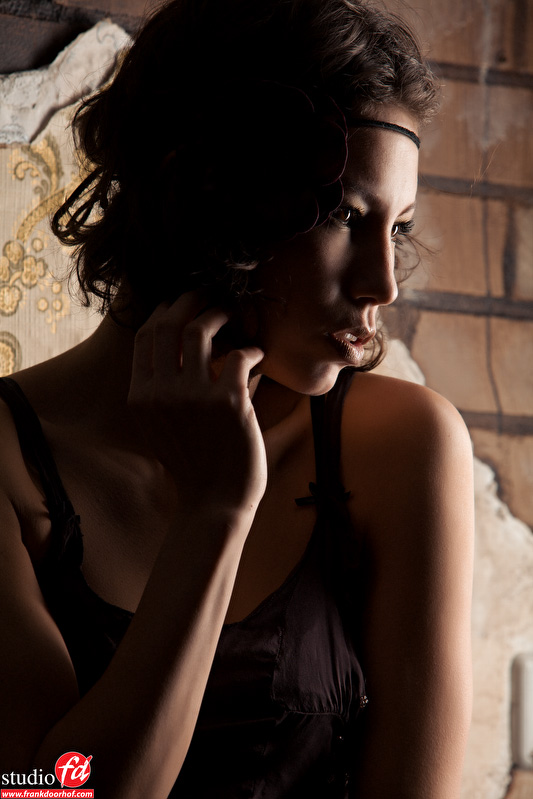
The model for the workshop was Stephanie and if you are reading my blog on a daily basis you might have seen she was very active the last few days during workshops. The group consisted of some students that I already taught in different other workshops but also some new students that indeed (you were right Joe) visited because it was a “small flash” workshops.
Theory
One of the main parts of my workshops is a piece of information about the theory behind the workshop. In the case of “small flash” I mainly aim this at some myths, the working of FEC en EC (or in short the difference between controlling the flash and the ambient, working with ETTL, working on manual, modifiers and much much more. The theory part of this workshop clocked in at around 90 minutes which is actually about average for the workshops. People thinking this is boring…. don’t worry there is a lot to talk about and I hate boring stuff myself.
Putting it into practice
Before the lunch I demonstrated the operation of the strobes themselves.
I use the Canon 430EXII strobes and the Canon ST-E2 transmitter, you can of course replace the ST-E2 with an extra Canon 580EXII strobe which has a master setting to fire the slaves. To be clear, my personal preference would also be to change the ST-E2 with a Canon 580EXII to be more flexible, however during the workshops it’s easier to hand the ST-E2 around to the students to operate the strobes.
Zoom
What a lot of photographers don’t realize is that the strobe alone is already very configurable and can give you some very nice light effects. Just aim it at a wall and experiment with the different zoom settings and you can see that you can really chance the light quality but also the focus of the light very easily. Now this is something I would LOVE to see in the Elinchroms with so much range. Also when using a modifier like this grid you can make the center spot hotter or less hot by controlling the zoom (add the diffuser for even more even spread within the hotspot).
The first setup manual vs E-TTL
For the first setup we kept it simple.
The first image is just the bare strobe hitting the model from an angle.
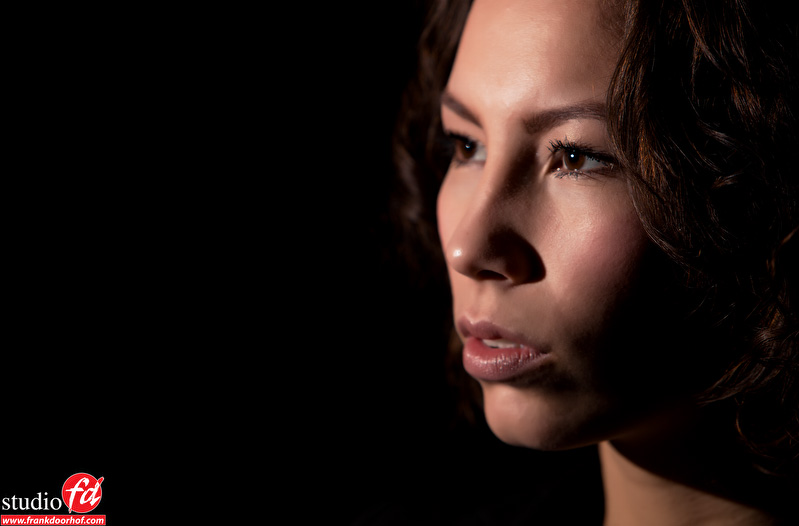 To soften this up I used a translucent reflector behind which I placed the 430.
In this setup it’s easy to show that the onflash diffusers hardly have any real impact, they do spread around the light, but to get that really soft effect you will need to change the distance of the strobe to the translucent material, in the end we settled for app 1.5 mtr which made the translucent lit up perfectly (on the wide setting of the strobe) and gave the light a really nice and soft quality (remember this is the same setup as the previous image).
At the moment we are still shooting on E-TTL and Stephanie could move rather freely through the studio. I used this to demonstrate the power of E-TTL compared to the studio strobes where a model has to stay put into a very small zone when using lights close to her, with E-TTL she can move around and the E-TTL will take care of the proper balance…. as it seems…. (more in a moment), so to have a bit of fun Stephanie also hugged the reflector.
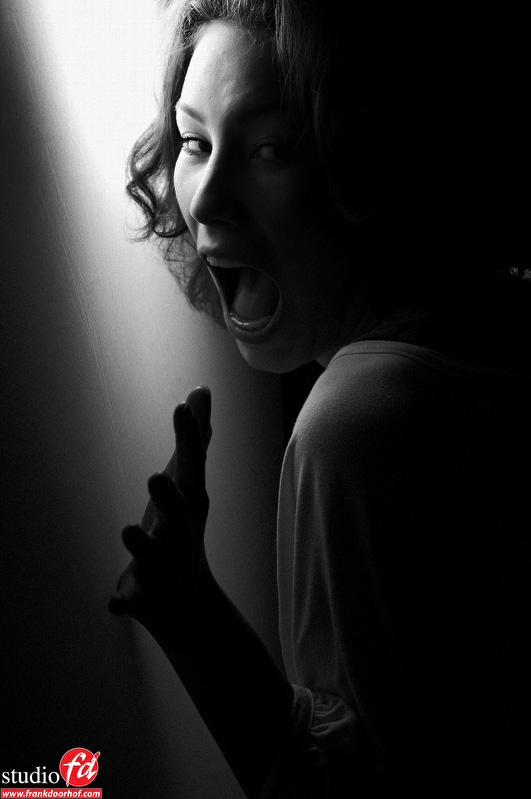 Wow for E-TTL, it rocks !!
One might think so when you read the above, however this is not the case. Remember I told you that I hate things to go on E-TTL only ?
The problem with E-TTL is very easy when you think about it, it measures the scene and will make an average for it to level it to 18% gray (12 according to some) and it will level the strobes for that. To demonstrate this I made the same shots with Stephanie in a black outfit and a white outfit, the nice thing (for some the horror) was that in the white outfit everything was underexposed and on the black outfit everything was overexposed.
There is however a solution (although not perfect), what you can do is to zoom in to the face, make a measurement and lock this with the AEL (* on Canon) now zoom out and make the shot. The same solution goes for shooting different compositions based of for example a full body or portrait, go back to the first shot, lock the exposure make the shot and repeat this….. yeah I know that sounds terrible but let’s face it E-TTL has many advantages but getting a stable lightoutput over different compositions simply isn’t one of them. But by using this zoom, lock method you have a rock solid lightoutput over the series.
Going manual
If you really want a rock solid output and don’t worry about anything but the model… enter the manual mode.
This is accessed on the back of the strobe and you can set the strobes (depending on the type) from 1/1 to 1/64 (1/32) output in 1/3rd stops. This gives you a really nice working area but you will need a lightmeter of course. The “big flash” can be set in 1/10th increments but by moving the strobes just a little bit you can be very accurate with the 1/3rd stops.
For the next setup I demonstrated first the manual method in which I had the light setup at once for a good evenly lit shot.
After this I changed to E-TTL mode where I had to adjust the FEC slightly to get the same effect, so why shoot E-TTL ?
One of the advantages of the E-TTL setting for this kind of shots is that you can change the ratio on the fly for the accents and the main light source.
So some people disappointed with E-TTL started to smile again (as it should)
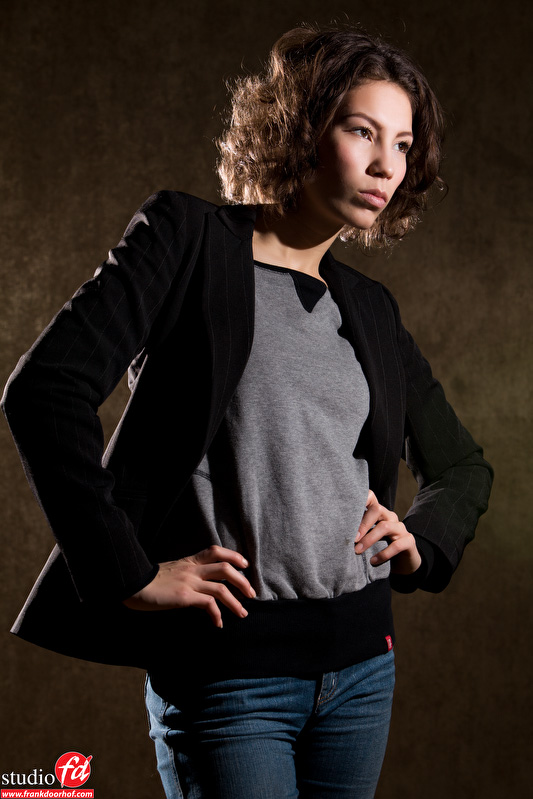 Backlight
I love to do the following setup with the “big flash” and also with “small flash” it’s quite easy to pull off.
I placed on 430EXII behind the translucent reflector and let Stephanie stand really close to the material, you will need to use a lot of FEC to get the reflector to really blow out but the effect can be the same as with the “big flash”
 Outside
The outside part I have to admit didn’t work out the way I planned today, not the fault of the strobes or myself but Stephanie was sick and it was freezing cold outside so I had to rush the material before my model would collapse. I will explain what I tried to demonstrate outside and how it should normally go in the workshop.
Understanding E-TTL, FEC and EC
As soon as you start to understand how those three interact you can do amazing things.
With the FEC you control the Flash Exposure Compensation, with the EC the normal exposure compensation.
To make it simple, with the EC you control the ambiant light and with the FEC you control the flash output.
Now throw in the E-TTL and you can do some pretty wicked stuff on the fly that would take you much longer with the “big flash”, and most importantly you can change it all on the fly with the ratios, now throw in a bit of HSS (high speed sync) and you can break the 1/200 barrier with ease. So to make a long story a bit shorter you can fight the sun with these little strobes. Just lower the EC with -2 (or as low as your camera can go) and the FEC will expose your subject correctly on 0, want a bit more strobe mix it with the FEC. So outside you can lower the brightness of the sky/background/ambient and really draw attention to your subject.
For this setup I used one 430EXII and a simple silvercoated umbrella.
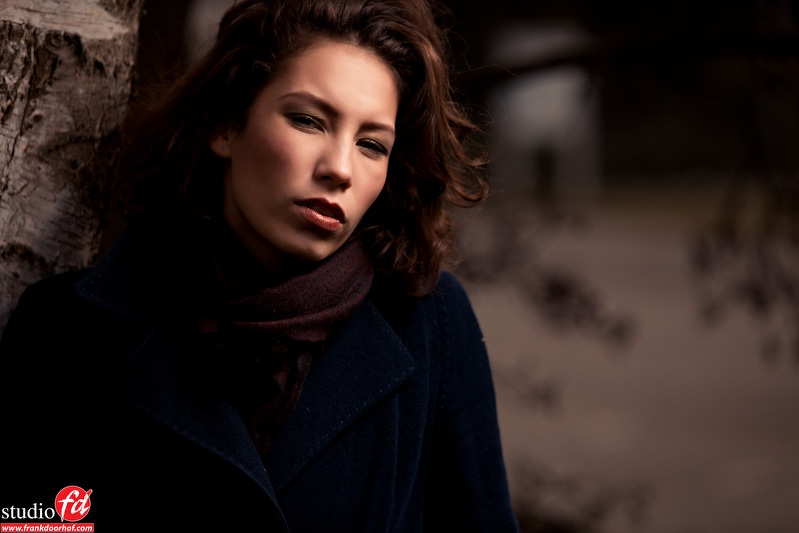 Working with the strip
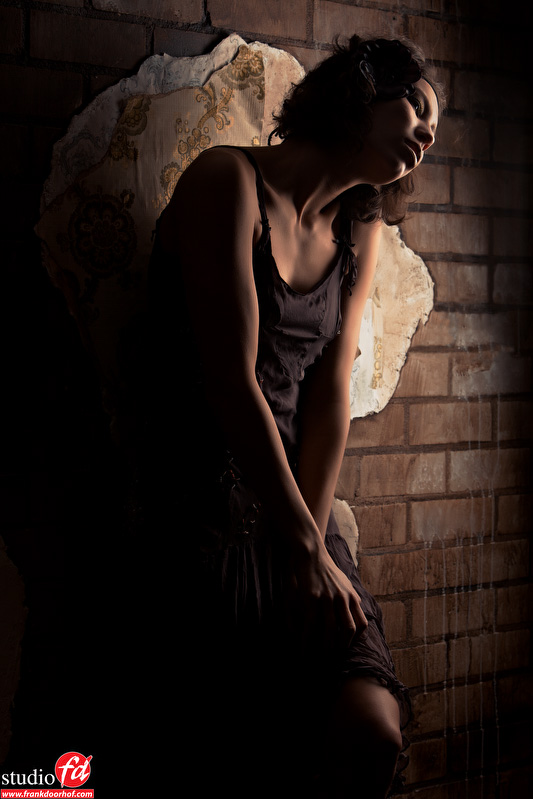
For the next setup I use one 430EXII inside a small striplight. To use the striplight I use an accessory that makes it possible to connect Bowens modifiers to a speedring and the strobe can be moved into place via a gliding rail, you really have to get this accessory, it’s a shame there is non to fit Elinchrom. At the moment I use the Bowens S-fit adaptor with a small strip similar to this one.
Using this gives you a very nice quality of light which you can use the shape the light just like with the “big flash” with one advantage, thanks to the gliding rail you can change the distance from your strobe to the translucent material, meaning you can change the look of the light.
 Playing with ambiant and strobe inside
For the last setup I tackled a problem a lot of people are experiencing when shooting indoors with tungsten or fluorescent lights.
The color temperature of your strobes is different from the color temperature of the ambiant light (in this case tungsten), this is however easily solved, by adding an amber colored gel I brought the color temperature of the strobe down to approximately the level of the tungsten light. Playing with the FEC (like outside) showed the students that you can change the main light source from the strobes to the tungsten lights, and playing with the EC lets you control the “brightness” of the lightbulbs in the mirror. Working this way is fast, accurate and loads loads of fun.
The light was again one 430EXII aimed into the silver coated umbrella, to be flexible one should really carry around a gel pack like this
Conclusion of the first “small flash” workshop
I love teaching the “big flash” workshops but I also have to admit that although I at first was a bit hesitate about teaching the “small flash” workshops it will now become a regular part of the workshop program, there is a load of information that the students did not yet knew or did not realize (and solved some of the problems they were experiencing). It’s a very intense workshop (maybe one of the most intense I teach) because although it seems that E-TTL is a miracle and pure heaven in reality it isn’t (but it can be), the students/photographers will have to understand a lot about light and how it behaves to use E-TTL blind in difficult situations but if they do it’s an incredibly powerful tool and it speeds up things considerably.
For me personally “small flash” is unique and different from “big flash” but it’s an absolute gift if you travel or need to be light, fast and need some flash.
If you have questions, remarks or whatever just press the comment button.
For more information about the workshops visit www.fotografie-workshops.nl
When ordering gear please use the links in this post and support our work.



Yesterday I have followed the small flash workshop @ Frank Doorhof
I must say that again I have learned a lot and got some very useful tips.
A recommendation for every photographer who wants to get the best from there flash results.
Rob
Thanks Rob, loved teaching it. You guys were a great group.
I second that.
Also kudos for Stephanie, she was really feeling sick, but when the camera was pointed at her, she was super!
Frank, thank you for the great experience..
I’ve learned a lot yesterday.
Thank you and show the results here 😉
Yes the workshop was really interesting and Frank makes it fun and is a real motivator. Being a fan of Joe McNally I was really delighted when I heard that Frank was going to do a small flash workshop.
Frank thanks again for all the useful information and I can’t wait to put it all into practice. Till next time.
Greetings
Hans
Looking forward to your results.
This is cool Frank but how do you measure the scene with ettl well in my case ttl? Are we using the camera meter to measure or are we ignoring that all together?
Well yes and know.
You will have to add some of your knowledge on some scenes, like with a largely white area you will now you will need some compensation, same for large black areas.
A meter with ettl or ttl could be used to add the correction but I think it will never work 100% dead accurate, that’s not what ettl is for, it’s to get in the ballpark very quickly and build from there.
If you want real accurate and repeatable results use manual and the meter.
Nice work with teh workshop frank. I only recently came across mcnally i hope im that good in 30 years ;P
Great post there Frank. I am forwarding it on to some that will this interesting. 🙂
Great blog post!
I regularly use up to 3 SB900 (well, actually 2. One I use as a commander [and a bit of on-axis fill @ -2EV]). Especially if I have to photograph artist and their dogs for a Belgium dog magazine I go strobist.
The i-TTL system works great if you have a skin tone as a reference.
When photographing the pets only, i-TTL doesn’t work that great. Dog coats are really varying in colors and reflection. Going manual is the only way to go. Then you can still use the CLS system for commanding the slaves, but you spend a lot of time evaluating the histogram compared to the scene / subject. Measuring won’t work; the commanding pre-flashes will influence the reading. Now I go with Phottix Attlas triggers, work in manual mode and measure the light. My most favorite set up for dog portraiture is to use one SB900 with grid for hair/rim light. The main light is the available light, sometimes bounced by a reflection screen.
@kurt,
In Manual the Canons don’t give a pre-flash, in ETTL they do but I guess you mean that.
ETTL systems are all based on reflective metering so they will never give you a 100% accurate exposure, as soon as you realize that and use the dynamic range calculations it’s however great to get close.
Frank,
For Nikon CLS speaking, you can use a SU800 as a commander for i-TTL, A, G or M mode. The individual flash power settings (spread over max 3 different groups) and trigger will be send by IR signals. All slave flashes are set to “remote” mode by this way of working.
The same operations are possible with the in-camera flash or an SB800 / SB900 Master flash (The way I work with the CLS system). However, the optical signal is then send by flashlight pulses instead of IR. This will influence the flash meter readings.
The fun part in this way of working is that, like with a skyport, you can adjust flash power on the fly.
Of course it is possible to put the slaves in Manual or A, G mode on the slave itself. But then you have to run back and forth to adjust the power or EV settings on every flash individual. The new PW, in combination with the zone controller, will solve this, but PW are a bit to expensive for my budget…
Interesting, but you don’t really need ettl or ttl anything, you can do it all in manual with some really cheap high powered strobes like Sunpak 555’s 😀